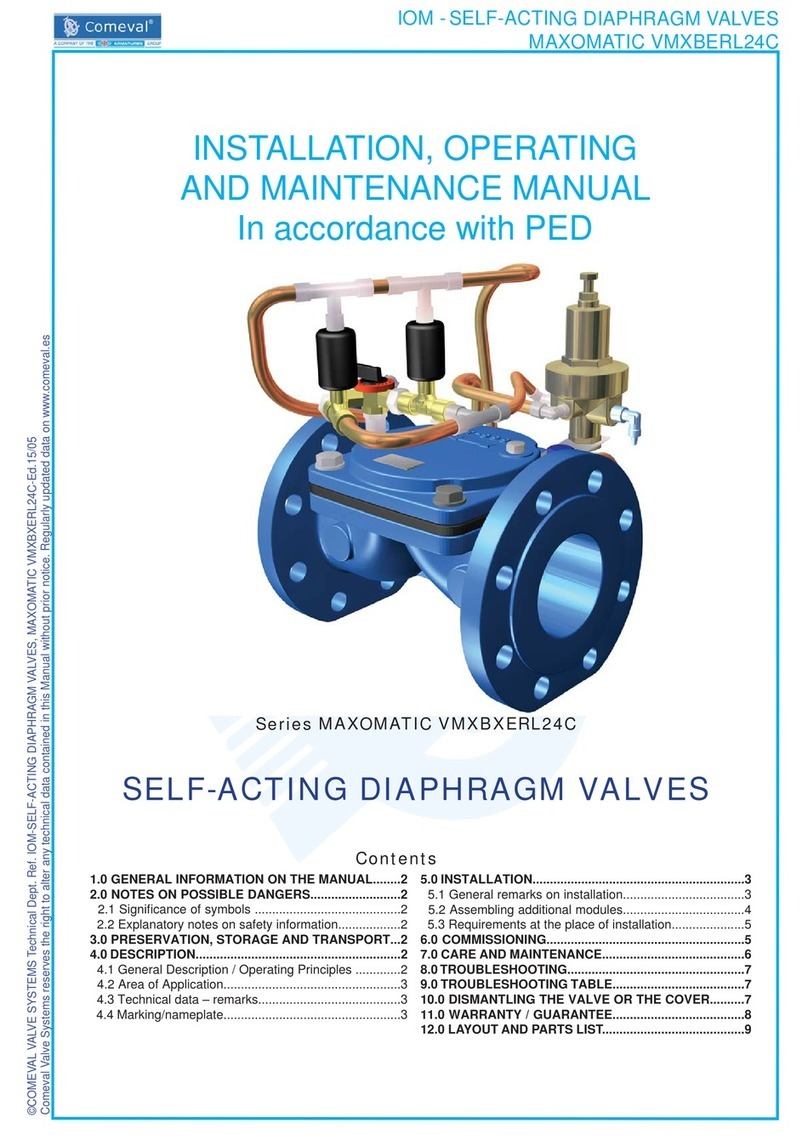
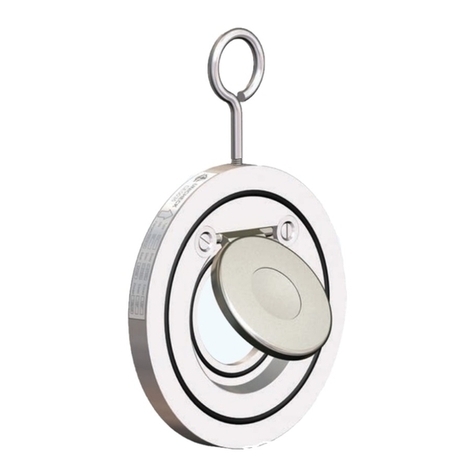
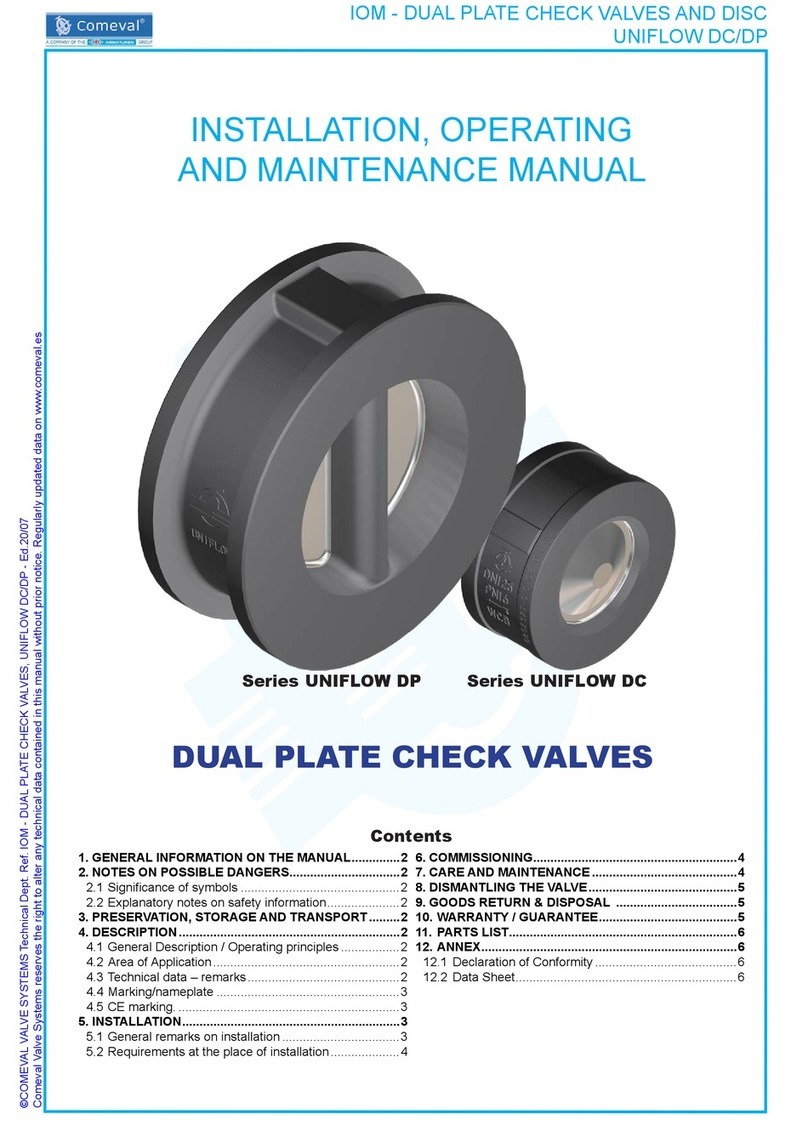
Comeval UNIFLOW 3P Installation guide

©COMEVAL VALVE SYSTEMS Technical Dept. Ref. IOM - PISTON (LIFT DISC) CHECK VALVES, UNIFLOW® 3P-35 - Ed.18/02
Comeval Valve Systems reserves the right to alter any technical data contained in this Manual without prior notice. Regularly updated data on www.comeval.es
IOM - PISTON (LIFT DISC) CHECK VALVES, UNIFLOW® 3P-35
Page 1
INSTALLATION, OPERATING
AND MAINTENANCE MANUAL
PISTON / LIFT-DISC CHECK VALVES
Contents
UNIFLOW® 3P
UNIFLOW® 35
1. GENERAL INFORMATION ON THE MANUAL..............2
2. NOTES ON POSSIBLE DANGERS................................2
2.1Signicanceofsymbols ..............................................2
2.2 Explanatory notes on safety information.....................2
3. PRESERVATION, STORAGE, HANDLING AND
TRANSPORT ......................................................................2
4. DESCRIPTION ................................................................2
4.1 General Description / Operating principles .................2
4.2 Area of Application ......................................................2
4.3 Technical data – remarks ............................................2
4.4 Marking/nameplate .....................................................3
4.5 CE marking .................................................................3
5. INSTALLATION...............................................................3
5.1 General remarks on installation ..................................3
5.2 Requirements at the place of installation ....................4
6. COMMISSIONING & OPERATION.................................4
7. CARE AND MAINTENANCE ..........................................5
8. TROUBLESHOOTING ....................................................5
9. TROUBLESHOOTING TABLE .......................................5
10. DISMANTLING THE VALVE OR THE COVER ............6
11. GOODS RETURN & DISPOSAL .................................6
12. WARRANTY / GUARANTEE........................................6
13. PARTS LIST..................................................................7
14. ANNEXES.....................................................................8
14.1 Declaration of Conformity .........................................8
14.2 Data Sheet................................................................8

©COMEVAL VALVE SYSTEMS Technical Dept. Ref. IOM - PISTON (LIFT DISC) CHECK VALVES, UNIFLOW® 3P-35 - Ed.18/02
Comeval Valve Systems reserves the right to alter any technical data contained in this Manual without prior notice. Regularly updated data on www.comeval.es
IOM - PISTON (LIFT DISC) CHECK VALVES, UNIFLOW® 3P-35
Page 2
1. GENERAL INFORMATION ON THE MANUAL
-ThisManualprovidesinformationonsafelyusingtheproduct,beingbindingforpreservation,storage,handling,transport,
installation,commissioning,operation,maintenance,repairanddisposal,andmustbethoroughlyobservedatanystep.
-PleasecontactthesupplierorthemanufacturerincaseofissueswhichcannotbesolvedbyreferencetothisManual.
-AnydeviationfromthisManualandsoundengineeringpracticeormodicationontheproductshallbenotiedtomanu-
facturer for advice or approval.
-Inaddition,regionalsafetyrequirementsmustbealwaysappliedandobservedatanystep.
-Alltheworkrelatedtotheproductmustbecarriedout,supervisedandinspectedbyspecialistpersonnel.Itistheowner’s
responsibilitytodeneareasofresponsibilityandcompetenceandtoensurethepropermonitoring.
- This Manual is in accordance with Directive 2014/68/EU on Pressure Equipment (PED).
- IncaseofcompliancewithATEXDirective2014/34/EU,pleaseobservealsoadditionalATEXspecicInstructions.
-Themanufacturerreservestherighttomaketechnicalmodicationsatanytime.
2. NOTES ON POSSIBLE DANGERS
2.1Signicanceofsymbols
ATTENTION!
...
Warning of general danger.
2.2Explanatorynotesonsafetyinformation
In this Manual dangers, risks and items of safety information are highlighted to attract special attention.
Informationmarkedwiththesymbolabovedescribespractices,whichiffailtocomplywith,canresultinseriousinjuryor
danger of death for users or third parties or in material damage to the system or the environment. It is vital to comply with
these practices and to monitor compliance.
TherestofinformationnotspecicallyemphasizedinthisManual,alongwithDataSheetandproductmarking,mustalso
beobservedandcompliedwithforsafelyusingtheproduct.
3. PRESERVATION, STORAGE, HANDLING AND TRANSPORT
ATTENTION!
- Protect against external force (impacts, vibrations, etc.).
- Allow only skilled personnel; suitable handling and lifting equipment must be used.
- Always use suitable protection equipment, and minimize the use of human body force at any step to avoid inju-
ries. See Data Sheet for weights or consult manufacturer.
- There is a risk of body member (hand, nger, arm…) crushed against any other solid element (wall, pipe, oor,
etc.) during handling. Take this into account and handle with care.
- There is a crushing hazard between the disc and the seat area. Ensure the disc is in rest position in case a hand
is introduced inside the valve.
- Check correct position of nameplate and handle with care to avoid personnel cuttings.
- Use proper packing for transportation.
-Keepstorageprotectionbeforeinstallation.
- In order to prevent damage, corrosion or rust on the surface, avoid extreme temperatures (keep at 5ºC to 50ºC), avoid
highenvironmentalhumidityorcorrosiveenvironment.Keepthevalvesawayfromdirectsunlight,dust,amesorrain.Do
notpileupexcessiveweight.Incaseofseverebumpinginspectthematerialforanydamageandreplaceifnecessary.
4. DESCRIPTION
4.1GeneralDescription/Operatingprinciples
PistonCheckValves,alsoknownasLiftDiscCheckValves,aredevicesforpreventingthereverseofowinapipingsys-
tem,bymeansofitsguideddiscthatcanbespringloaded.
ValvediagramwithpartscanbeseenatthelastpageoftheManual.
4.2AreaofApplication
Theyareusedforuidslikewater,oil,petroleumproducts,naturalgas,airandotherliquidsandgasescompatiblewith
materials of construction.
4.3Technicaldata–remarks
Checkvalveselection,materialcompatibility,pressureandtemperaturelimitsandotheressentialparameters.Ensurepro-
per safety devices/measures are implemented to prevent exceeding intended use of the product. Contact the manufacturer
for advice in case of pressure tests exceeding the intended use. Refer to Data Sheet for data such as main features, duties/
limits of use, dimensions, weights, etc. and consult the manufacturer for further information.

©COMEVAL VALVE SYSTEMS Technical Dept. Ref. IOM - PISTON (LIFT DISC) CHECK VALVES, UNIFLOW® 3P-35 - Ed.18/02
Comeval Valve Systems reserves the right to alter any technical data contained in this Manual without prior notice. Regularly updated data on www.comeval.es
IOM - PISTON (LIFT DISC) CHECK VALVES, UNIFLOW® 3P-35
Page 3
4.4Marking/nameplate
Nameplate description of the valve:
Mark Description
CE-Marking
NB Numberofnotifybody
EAC marking (compliance with
TR/CU 032/2013 & TR CU 010/2011)
Manufacturer logo
Explosion protected mark for EU free circulation
(see separate instructions for code)
www.comeval.es Websiteofmanufacturer
UNIFLOW® Brand
PED 2014/68/EU Directive 2014/68/EU
FIG. Valve code*
SEP Sound Engineering Practice
Y.20VV Manufacturing year
SN: VVZZZZZ-N Batch / Serial no.
SIZE Valvesize
CLASS Valve class
B Body material
STD Main manufacturing standard
D Disc material
S Seat material
PSmax Max. pressure
TS Max. temperature at max. pressure
PS Max. pressure at max. temperature
TSmax Max. temperature
* See coding system on Data Sheet.
4.5CEmarking
DN≤25 DN>25
5. INSTALLATION
5.1Generalremarksoninstallation
Thefollowingpointsshouldbetakenintoaccountinadditiontothegeneralprinciplesgoverninginstallationwork:
ATTENTION!
- Before installation, make sure previous chapters are thoroughly followed.
- Ensure safe access and working conditions for proper performance.
- Observe all applicable safety measures during installation.
- Remove ange covers or any other remaining packing/storage protection if present.
- Lay pipelines such that damaging transverse, bending and torsional forces are avoided.
- Protect valves from dirt during construction work. The interior of the valve and the pipeline must be free of foreign
particles.
- Protect the valve soft parts from heating caused by welding works at the plant during commissioning.
- Avoid mechanical damage to the disc and seat area.
- Follow the arrow in the body for normal ow direction for installation. The valve can be installed either in horizontal
pipelines (preferred position) or vertical pipelines (version without spring not suitable for vertical pipelines).
- There is a crushing hazard between the disc and the body. Ensure the disc is in rest position in case a hand is
introduced inside the valve.
- When installing the valve, there is a crushing hazard between valve and pipe system. Mind the hands to avoid it.
Flanged ends valves:
- Make sure that counteranges are compatible with the standard of the valve anges. When matching up anges,
avoid gradients, rotation and pipe misalignment that could cause pipe and valve stress and leakage once installed.
Flanges should t smoothly. Select the proper ange face gaskets according to duty and centre them on the ange
face properly. Do not force the counteranges and do not try to tighten the bolts when a gap exists between valve
and pipe or if misalignment is observed. Tighten in a crosswise, moderate and uniform manner.

©COMEVAL VALVE SYSTEMS Technical Dept. Ref. IOM - PISTON (LIFT DISC) CHECK VALVES, UNIFLOW® 3P-35 - Ed.18/02
Comeval Valve Systems reserves the right to alter any technical data contained in this Manual without prior notice. Regularly updated data on www.comeval.es
IOM - PISTON (LIFT DISC) CHECK VALVES, UNIFLOW® 3P-35
Page 4
ATTENTION!
Screwed ends valves:
- Make sure that the pipe screw has the correct nish and compatible cone for the valve.
- Use proper sealant according to duty when needed, such as hemp core, Teon, etc.
- Check that pipe introduction in the valve does not exceed its thread, leave a safety margin of minimum 1 mm.
- Tighten with a plain or adjustable wrench on the hexagon end of the valve only. Apply force to other area of valve
may seriously damage the valve. Do not use hook spanners or other wrenches that could damage the hexagon
surface. Valve should be threaded smoothly. If not, do not try to force the thread and avoid wrench extensions since
this could lead to breaking the valve or damaging the thread. A general recommendation is not to exceed the tighte-
ning torque of 30Nm.
WeldIing ends valves:
- Welding works must be carried out in accordance with approved procedure and following appropriate safety mea-
sures. Check correct pipe alignment. Clean valve and pipe connections carefully, tack-weld each end of the valve
on to the pipe in 4 or more points depending on size and weight. Put trim away if containing any soft part to prevent
heat exposure. Only put the trim back once the valve is cooled down. Take the necessary precautions to prevent
thermal stressing/overheating of the valve.
- In case of PWHT, temperature, gradient and time exposure should be controlled to the minimum required depen-
ding on the material. PWHT should be applied rstly to one end and secondly to the other end (not simultaneously),
and only to a limited area of each end of the valve, in order to limit the temperature exposure on the welding area,
rest of the valve body and trim. An appropriate method is the use of ceramic blankets covering the length of the
welding area plus a minimum additional length that is determined by the standard of the pipe, being the heating zone
limited to the minimum necessary as mentioned before. Electrical resistances must be set carefully in order to allow
uniform heating and avoid too hot points. Permanent control and register of the temperature should be carried out
during the process in order not to exceed the established temperature/time cycle. Also the adjacent areas should be
monitored to control reached temperatures.
5.2Requirementsattheplaceofinstallation
-Downstreamfromadisruptiveelement(pump,valve,elbow,pipereduction)leaveasmuchdistanceaspossible;mini-
mum distance recommended: 6 times the valve diameter (6xDN).
- Upstream from a disruptive element leave at least a distance of 2xDN.
- Aggressive environmental conditions may reduce the life span of the product. Consider special construction/protective
measures in such a case.
-Considertheinteraction between the systemand theequipment. Foreseeelements toabsorb vibrations,pipe dilata-
tions, guides, anchoring and proper support according to the weight of the components.
-Thesystemandoperationprotocolshouldbeconceivedinsuchawaytoavoidhighvelocities.Preventpulsingowor
water hammers, which are very harmful for valves and the rest of the components.
- Flooding of the product is not recommended.
- Allow enough space for valve installation, operation and maintenance.
-Itisrecommendedtoinstallapropersizedmeshstrainerupstreamthevalveinordertoprotectseatingsurfacesfrom
abrasionorerosionthatcouldleadtoseatleakage.
-Planners/constructioncompaniesortheownerareresponsibleforpositioningandinstallingproducts.
6. COMMISSIONING & OPERATION
ATTENTION!
- Before commissioning the valve, check the material, pressure, temperature, ow direction and other essential
parameters. Always use the product within the scope of intended service and operating duties.
- Before commissioning, make sure previous chapters are thoroughly followed.
- Regional safety instructions should be adhered to.
- It is essential to ush the pipe system thoroughly to eliminate all the particles and impurities which could remain in
the pipes and particularly welding residue, chips, tool remains, etc. that could damage the equipment during start-
up. Ensure that during cleaning of the pipe system, any chemicals used and temperature are compatible with the
valve construction.
- Temperatures above 50ºC or below 0ºC may cause personnel injuries if valves are touched. Ensure that the corres-
ponding warning signs are displayed on the valve or surrounding area, or isolate the equipment in case of danger.
- Leakage of media through valve,connections or at closing may also cause scalding, health harm, pollution, re or
damage to other parts of the installation depending on the media.
Use suitable protection equipment when approaching the valve, ensure that the corresponding warning signs are
displayed on the valve or surrounding area, and/or isolate the equipment in case of danger.
- Before commissioning a new plant or restarting it after repairs or modication, always ensure that:
- All work has been completed correctly.
- The valve is in the correct position for its function.
- Safety devices/measures have been implemented.
©COMEVAL VALVE SYSTEMS Technical Dept. Ref. IOM - PISTON (LIFT DISC) CHECK VALVES, UNIFLOW® 3P-35 - Ed.18/02
Comeval Valve Systems reserves the right to alter any technical data contained in this Manual without prior notice. Regularly updated data on www.comeval.es
IOM - PISTON (LIFT DISC) CHECK VALVES, UNIFLOW® 3P-35
Page 5
ATTENTION!
- The lling, warming-up and starting-up of the system shall be gradual so as to avoid any inadmissible stress. Check
for tightness in valve connections and body/cover union, and retighten crosswise and gradually if necessary until
leakage elimination. If leakage persists surfaces should be thoroughly cleaned and new gaskets correctly placed.
- Ensure valve surface is in good condition and retouch coating protection if any when needed.
-Incaseofriskofmediafreezinginsidethevalve,takeduemeasurestoavoidit.
7. CARE AND MAINTENANCE
Theoperatormustdenemaintenanceandmaintenance-intervalstomeetrequirements.
-Checkforbody,seatandconnectionstightness.
ATTENTION!
- Before disassembling the valve, note chapters 3, 10 & 12.
- There is a crushing hazard between the disc and seat. Ensure the disc is in rest position in case a hand is intro-
duced inside the valve.
- Only carry out maintenance work in the pipework when the valve has been secured from operation.
- Check the valve surface inside and outside and retouch coating protection if any when needed. If advanced
corrosion or erosion is observed, double check service and valve features and replace the valve properly.
- In case of body/cover leakage, dismount the cover, remove old gasket, clean sealing surfaces and use a new gasket.
- In case of seat leakage, remove the valve cover to clean the seating surfaces or grind them if necessary. Discard
any jamming on the disc movement. When mounting the cover again use always new gasket, and tighten the cover
bolts evenly crosswise with moderate and uniform torque. Retighten them if leakage is detected under pressure.
-Ifitisnotpossibletorepairthedamagesreplacethevalveandcontactusforassistance.
After any maintenance work please refer to chapters 5 and 6 for installation / commissioning.
RecommendedSpareparts:
Use only original spare parts.
Itisadvisabletokeepbody/covergasketsasspareparts.Typeandnumberofeachspareparttobestoredaccordingto
many factors: service level, valves quantity, etc. In many cases a good choice is to keep complete valves as spare part.
8. TROUBLESHOOTING
Intheeventofmalfunctionorfaultyoperatingperformance,checkthattheinstallationandadjustmentworkhasbeenca-
rried out and completed in accordance with this Manual.
ATTENTION!
- It is essential that the safety regulations are observed when identifying faults.
9. TROUBLESHOOTING TABLE
ATTENTION!
- Read the complete Manual before carrying out installation and repair work.
- Read chapter 6 before recommissioning.
FAULT POSSIBLE CAUSE CORRECTING MEASURES
Noow
Notenoughow
Flange covers or protection not removed Clear valve entrances
Improper installation position Followthearrowinthebody
Piping clogged Check piping system
Notenoughpressureorow Check working parameters
Plugguidingsystemblocked Checkandtrytounblock
Brokenange Bolts not properly tightened Re-alignpipingandtnewvalve
Matingangesnotproperlyaligned
Valvenotclosingwithreverseow
Improper installation position Check installation position
Disc surface or seat damaged Check valve components
Low pressure Check the system
Broken spring Replace the spring
Plugguidingsystemblocked Checkandtrytounblock
Disc stick Fine vacuum service Use a degassing connection
Leakeagebetweenbodyandcover Coverboltslooseorgasketdamaged Retighten or change gasket
Technicalsupportalwaysavailablethroughourwebsitewww.comeval.esoryourlocaldistributor.

©COMEVAL VALVE SYSTEMS Technical Dept. Ref. IOM - PISTON (LIFT DISC) CHECK VALVES, UNIFLOW® 3P-35 - Ed.18/02
Comeval Valve Systems reserves the right to alter any technical data contained in this Manual without prior notice. Regularly updated data on www.comeval.es
IOM - PISTON (LIFT DISC) CHECK VALVES, UNIFLOW® 3P-35
Page 6
10. DISMANTLING THE VALVE OR THE COVER
ATTENTION!
The following points must be observed:
- Pressureless pipe system.
- Medium must be cool.
- Plant must be drained.
- Note chapter 3 for proper handling and lifting.
- Additionally, in case of toxic, corrosive, ammable or caustic media:
- Purge pipe system carefully.
- Use proper protection equipment to avoid health harm.
- Adopt proper actions to avoid pollution of the environment.
11. GOODS RETURN & DISPOSAL
-Foranyreturnedgoods,theissuingcompanymustprovideinformationinwrittenonanyhazardsandtheprecautionin
case of potentially polluting or harmful residues, or any mechanical damage that could present a health, safety or environ-
mentalrisk,asenforcedbyEUHealth,SafetyandEnvironmentLaw,includingtheSafetyDataSheetofthesubstances
identiedaspotentiallyhazardous.
-Valvesarerecyclableandnotexpectedhazardtotheenvironment,withtheexceptionofsoftparts(PTFEandrubber
compounds)thatshouldbedisposedseparatelyonlybyapprovedprocedure,andnoincinerationispermitted.
12. WARRANTY / GUARANTEE
-Theextentandperiodofwarrantycoverarespeciedinthe“GeneralSalesTerms”ofCOMEVALVALVESYSTEMSvalid
atthetimeofdeliveryor,bywayofdeparture,inthecontractofsaleitself.
-Weguaranteefreedomoffaultsincompliancewithstate-of-the-arttechnologyandtheconrmedapplication.
- No warranty claims are accepted for any damage caused as the result of incorrect handling or disregard of this Manual,
Data Sheet and relevant regulations.
- This warranty also does not cover any damage which occurs during operation under conditions deviating from those laid
downbyspecicationsorotheragreements.
-Justiedcomplaintswillbeeliminatedbyrepaircarriedoutbyusorbyaspecialistappointedbyus.
-Noclaimswillbeacceptedbeyondthescopeofthiswarranty.Therighttoreplacementdeliveryisexcluded.
- The warranty shall not cover maintenance work.
- Our guarantee coverage does not cover for any commissioning, maintenance or installation of the product or external
parts.
-Ourguaranteedoesnotcoverproductsprovedtohavebeentamperedwithorfaultedbymaterialwearandtear.
-ThePurchaserisresponsibleforcheckingthattheincomingproductisreceivedingoodconditionandconformstothe
orderedspecications.Incaseofdamagecausedduringtransititisnecessarytoimmediatelycomplaintothecarrierwithin
24hours.Afterthistimecarrierscouldnotassumethederivedcosts.Incaseofanydeviationinrelationtoorderspeci-
cations, please contact us.
COMEVALVALVESYSTEMS,S.L.yCIA.,Soc.Comanditaria
Les Rotes, 15 46540 El Puig (Valencia) España
Phone+34 961 479 011 ·Fax+34 961 472 799
E-mail[email protected] -www.comeval.es

©COMEVAL VALVE SYSTEMS Technical Dept. Ref. IOM - PISTON (LIFT DISC) CHECK VALVES, UNIFLOW® 3P-35 - Ed.18/02
Comeval Valve Systems reserves the right to alter any technical data contained in this Manual without prior notice. Regularly updated data on www.comeval.es
IOM - PISTON (LIFT DISC) CHECK VALVES, UNIFLOW® 3P-35
Page 7
13. PARTS LIST
Nº PART
1 Body
2 Disc
3 Bushing
4 Cover
5Eyebolt
6 Cover gasket
7Coverbolt
8 Cover nut
9 Spring (option)
Detailedviewwithspringoption
(recomendedforsize≤6”
andforverticalpipeline)
UNIFLOW® 3P

©COMEVAL VALVE SYSTEMS Technical Dept. Ref. IOM - PISTON (LIFT DISC) CHECK VALVES, UNIFLOW® 3P-35 - Ed.18/02
Comeval Valve Systems reserves the right to alter any technical data contained in this Manual without prior notice. Regularly updated data on www.comeval.es
IOM - PISTON (LIFT DISC) CHECK VALVES, UNIFLOW® 3P-35
Page 8
14. ANNEXES
14.1 DeclarationofConformity-DC20_07EN
14.2 DataSheet-DS20
Updated documents on www.comeval.es
Nº PART
01 Body
02 Disc
04 Cover
06 Cover gasket
08 Coverbolt
09 Spring
UNIFLOW® 35
This manual suits for next models
1
Table of contents
Other Comeval Control Unit manuals

Comeval
Comeval UNIFLOW DP Series Installation guide

Comeval
Comeval UNIWAT CV Installation guide

Comeval
Comeval UNIFLOW PP Series Installation guide

Comeval
Comeval UNIWAT CH Series Installation guide

Comeval
Comeval MAXOMATIC Series Installation guide

Comeval
Comeval UNIWAT VF791 Series Installation guide

Comeval
Comeval Uniwat 3240 Installation guide

Comeval
Comeval UNIFLOW BV BT-B9 Installation guide