6
•You can adjust DOOR VIDEO SET, UTILITY and check INFORMATION(model
name &version) with (UP)△/ (DOWN)▽button after pressing Menu button on the
front of the product in video talk mode or stand-by monitoring.
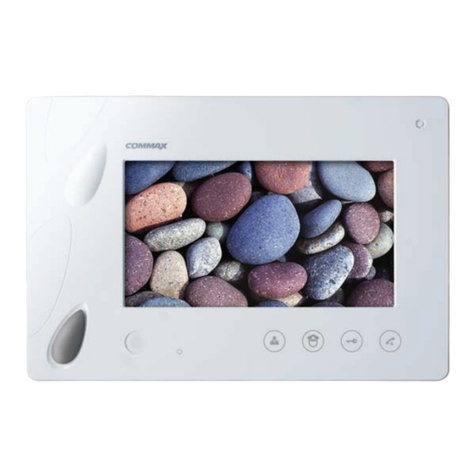
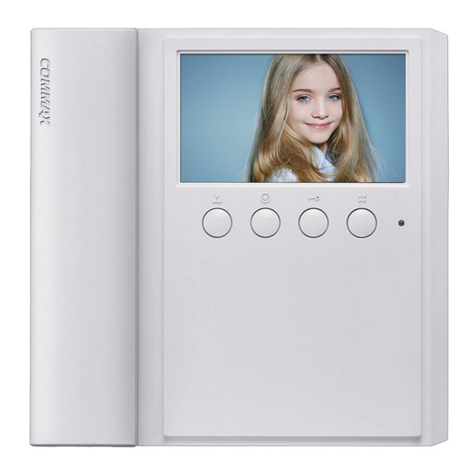
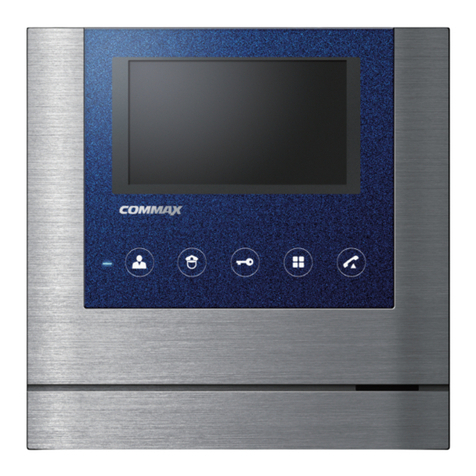
•Product settings need the following 4 buttons on the front of the product.
*Start Menu / Exit : MENU button * Select and in-put : SELECT (Interphone button)
* Move up / Move right : △/▷(Open button)
* Move down / Move left : ▽/◁(Monitoring button)
7. Settings
③Adjusting call level : 0(MUTE) ~ 3(MAX)
④To complete the set, press SELECT button.
①Move to CHIME-BELL VOLUME icon with △/▽button in UTILITY Menu.
②Press SELECT to enter the menu.
(4) RESET : Initializing
※How to Reset
①Move to RESET menu in DOOR VIDEO SET menu
②Press SELECT to enter the menu.
③Select YES with ◁/▷button
④Press SELECT button.
(5) EXIT : Go back to setting mode
7-2. UTILITY(additional function)
Press the Menu button and access to Utility SET and enter the menu by pressing SELECT
button.
(1) CHIME-BELL VOLUME : setting call sound level
7-1. Screen setting (Brightness/Contrast/Color adjustment function)
Press the Menu button and access to DOOR VIDEO SET and enter the setting menu by
pressing SELECT button.
(1) BRIGHTNESS : Adjusting Brightness of Screen
(2) CONTRAST : Adjusting Contrast of Screen
(3) COLOR : Adjusting Color of Screen
※ How to adjust
①Move to Menu you want to adjust with △/▽button on the list of DOOR VIDEO SET
②Press SELECT button to choose an icon.
③Adjust the set value with ◁/▷button
④To complete the set, press SELECT button.
3..
Monitoring : function to see the image of visitor in the entrance.
(stand-by mode) Operation
- By pressing the Monitor button repeatedly, the monitor will work as following in order.
Camera 1 ( Camera 2 ) OFF Camera 1 ............
(On talking mode)Operation
- By pressing Monitor button repeatedly, the monitor will work as following in order.
Camera1 ( Camera 2 ) Camera 1 ( Camera 2 ) ............
