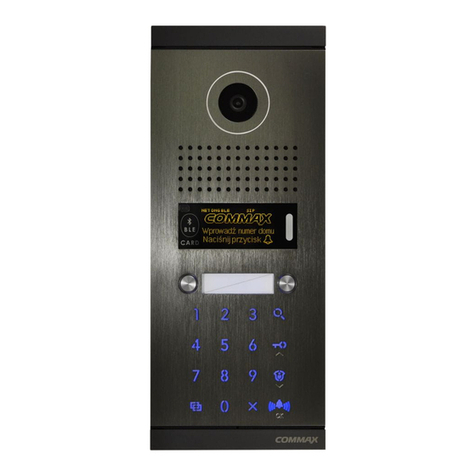
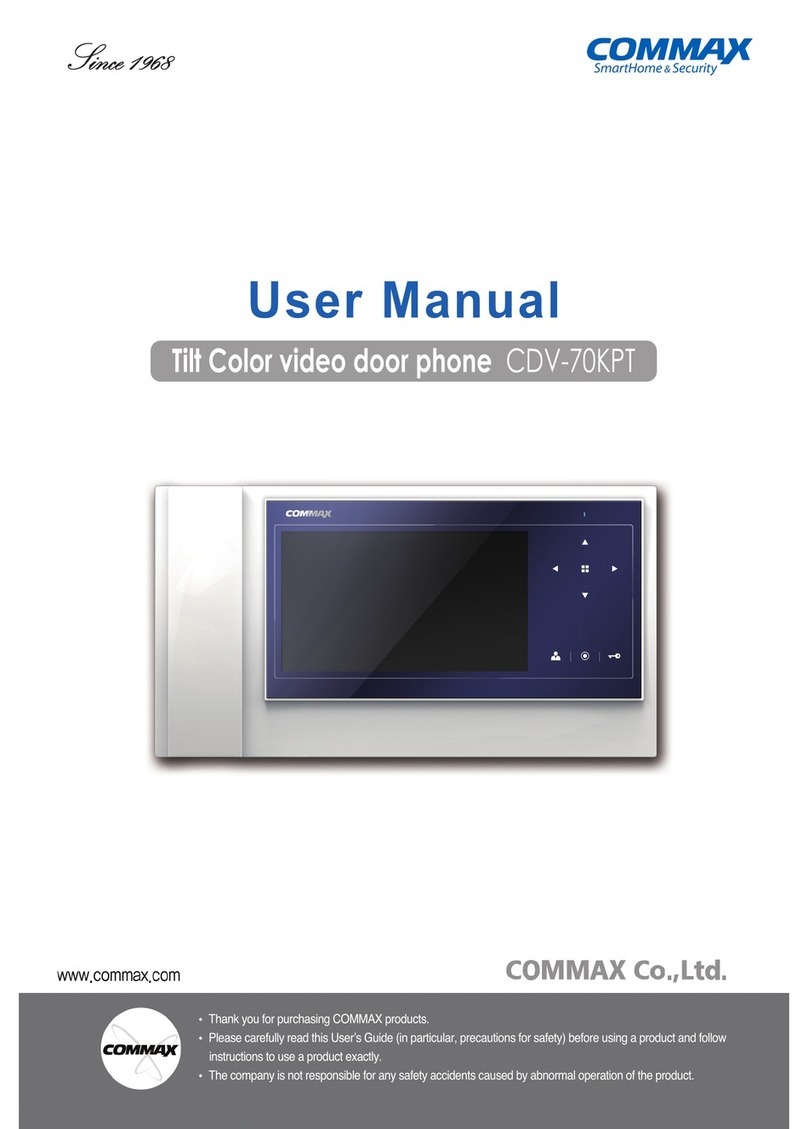
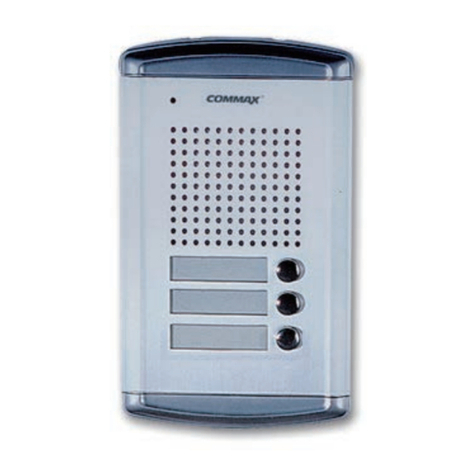
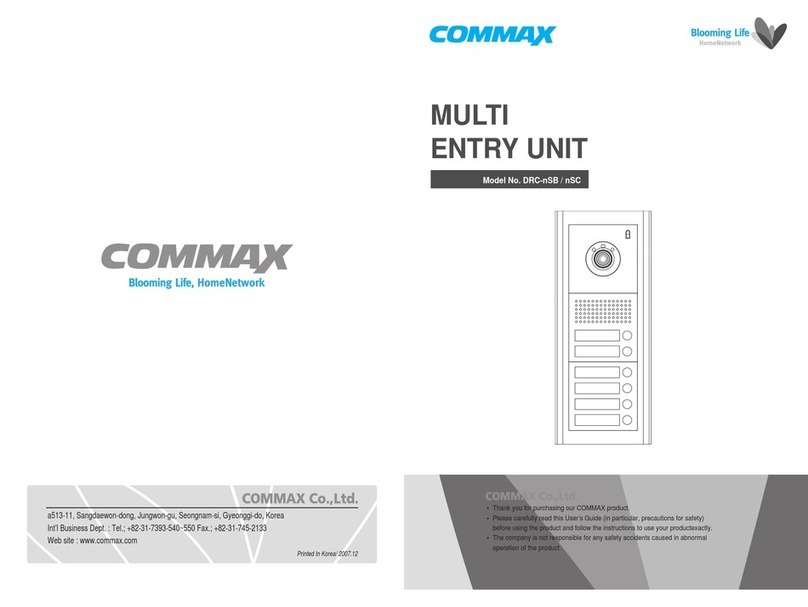
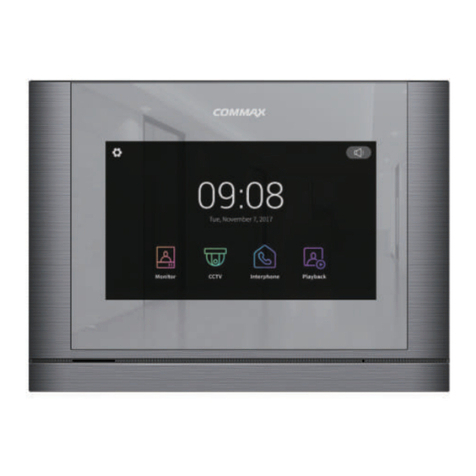
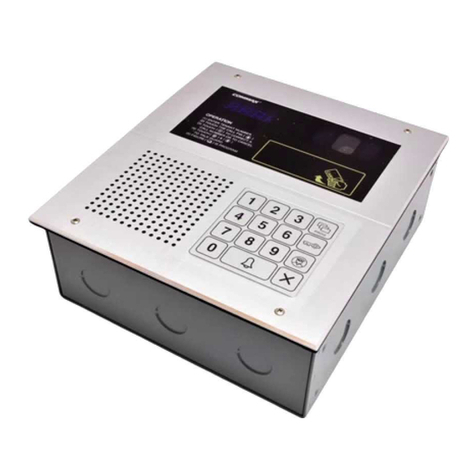
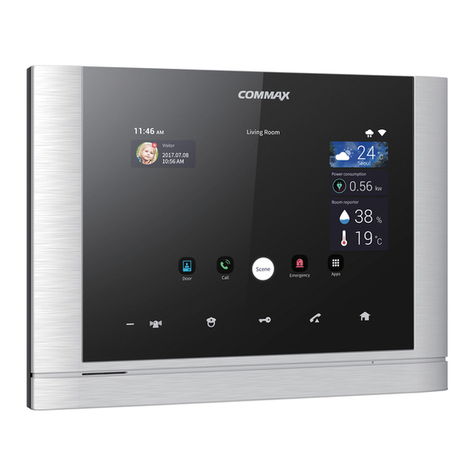
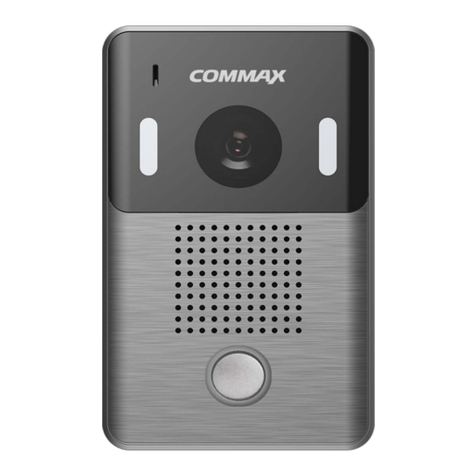
Commax DRC-8ML/RF1 User manual

• Thank yo for p rchasing COMMAX prod cts.
• Please caref lly read this User’s G ide (in partic lar, preca tions for safety) before sing a prod ct and follow
instr ctions to se a prod ct exactly.
• The company is not responsible for any safety accidents ca sed by abnormal operation of the prod ct.
Tel.
•Thank you for purchasing COMMAX products.
•Please carefully read this User’s Guide (in particular, precautions for safety) before using a product and follow
instructions to use a product exactly.
•The company is not responsible for any safety accidents caused by abnormal operation of the product.
User Manual
DOOR STATION DRC-2(4,6,8)ML/RF1, DRC-24XM(F)
https://aros.kz

1
Contents
Safety Warning & Caution ·····································2
1. Overview ························································4
2. How to use ·····················································5
3. Wiring ···························································7
4. Installation ······················································8
5. Part List ························································9
6. Specification ···················································9

2
Please follow the things described below in order to prevent any
danger or property damage.
Warning
Caution
Pr hibiti n.
N disassembly
N t uch
Must f ll w strictly.
Sh ws plugging ut the p wer c rd
with ut an excepti n
Sh ws the warning and cauti n f r an electric sh ck.
Sh ws the warning and cauti n f r a fire.
It may cause a seri us damage r
injury if vi lated.
It may cause a min r damage r
injury if vi lated.
Power & Installation
Warning
Please d n’t use several
pr ducts at the same time n
ne p wer s cket.
·It may cause a fire due t an
abn rmal verheating.
Please d n’t bend the p wer
cable excessively r it may
cause an electric sh ck.
·fire when using a damaged
p wer cable.
Please d n’t handle the
p wer cable with a wet hand.
·It may cause an electric
sh ck.
Please plug ut the p wer
cable fr m the s cket when
n t using it f r a l ng peri d
f time.
·It may sh rten the pr duct
lifespan r cause a fire.
Please d n’t install the
pr duct in the place where
there is much il, sm ke r
humidity.
·It may cause an electric
sh ck r fire.
Please d n’t install the
pr duct with the lightening
and thunder.
·It may cause an electric
sh ck r fire.
Please d n’t use and c nnect
this pr duct with ther
pr ducts with different rated
v ltage
·It may cause a dis rder r
fire.
When installing the pr duct
that generates heat, please
install the pr duct away fr m
the wall (10cm) f r the
ventilati n.
·It may cause a fire due t
the increased internal
temperature.
Safety Warning & Caution

3
Cleaning & Use
Please d n’t disassemble,
repair r rebuild this pr duct
arbitrarily (please c ntact the
service center if a repair is
needed.
·It may cause an electric
sh ck r fire.
Please plug the p wer cable
firmly int the inner end
·It may cause a fire.
Please h ld the plug tightly
when unplugging the p wer
cable (a part f the c pper
wire may be disc nnected if
the grabbing is nly made n
the c rd when pulling ut the
cable).
·It may cause an electric
sh ck r fire
When c nnecting the p wer
cables after cutting the cable,
please install the pr duct with
p wer ff
·It may cause an electric
sh ck r fire
When installing the pr duct,
please fix it firmly while using
the wall-m unting unit and
screws.
·It may cause an injury fr m
the falling bject.
Please be careful when using
an AC circuit breaker since
there is a p ssibility f an
electric sh ck.
When cleaning the pr duct,
please rub it with a s ft and
dry cl th after plugging ut
the p wer cable. (Please
d n’t use any chemical
pr ducts such as wax,
benzene, alc h l r cleanser.)
Please d n’t dr p the
pr duct n the gr und and
d n’t apply a sh ck .
·It may cause a failure.
Please use the designated
c nnecti n cable within the
maximum calling distance
designated f r the pr duct
·It may reduce the pr duct
perf rmance.
Please check the use v ltage
and current f r the DC- nly
pr ducts and use the
appr priate rectifier.
·It may cause a fire.
Please av id direct rays f the
sun r heating devices at a
time f installati n.
·It may cause a fire.
Please d n’t install the
pr duct n an unstable place
r small supp rt b ard.
·It may cause an injury if it
falls d wn while in use.
If an abn rmal s und, burning
smell r sm ke is c ming ut
f the pr duct, please plug ut
the p wer cable and c ntact a
service center.
·It may cause an electric
sh ck r fire.
Please d n’t insert any
metallic r burnable materials
int the ventilati n h le.
·It may cause an electric
sh ck r fire.
Please use nly the designated
batteries f r the pr ducts f
using DC p wer.
·It may cause an electric
sh ck r fire.
Cleaning & UsePower & Installation
Warning
Caution
4
1. Overview
/P Contents /P Contents
$BNFSB )PVTFIPMEDBMMCVUUPO
4QFBLFS .JDSPQIPOF
,)[PS.)[3'SFBEFS 8JSJOH3FGFSUPೢ8JSJOHೣ
$%4TFOTPS-&%MJHIU 8JSJOH3FGFSUPೢ8JSJOHೣ
%3$.-3'%3$.-3'
% 3 $ . - 3 ' % 3 $ . -3'

5
2. How to use
2-1 Function
1.The power supply of this product is DC12V.
2. If the household videophone is answered when you call from this door
camera(entrance), you can talk with household.
3.Please note that 3-way communication is possible when another user turn on the
monitor when you are talking with visitor at the entrance.
4.Please note that 3-way communication is possible when you call a house and then
call to other house in a row.
5.This product supports 2 ports for OPEN contact so that CDV-70KR3/70AR3
videophone can be connected.
6.If you want to open the door using a RF card key, please tag it to CARD point.
7.You cannot use a RF card, when you talk with household or any household is
monitoring.
8.Extension panel (DRC-24XM(F)) can be connected up to 1 unit.
2-2 How to register/delete RF card
*Button type
Button 1 : to register RF master card only for
registration of other RF cards Button 2 : to register
RF master card only for deletion of other RF cards
1. How to register Master Card
1) Master card for Registration
(1) LED slowly flickers with beep sound on pressing button 1.
(2) Tag the master card for registration on LED flickering.
(3) If registered normally, LED flickering and beep sound stops.
2) Master card for Deletion
(1) LED flickers fast with beep bound on pressing button 2.
(2) Tag the master card for deletion on LED flickering.
(3) If registered normally, LED flickering and beep sound stops.
* Remark : Master card can be registered both registration/deletion purpose.
(1card for each purpose only) In case of new mater card registration, the previous
master card information will be deleted and new card should be registered.

6
2.Door release card registration/deletion
1) Card registration
(1) On tagging the master card for registration, LED slowly flickers with beep sound.
(Entering registration mode)
(2) Beep sound comes out when door release card is tagged.
(3) In case more than 1 cards have to be registered, repeat above (2) procedure.
(4) In case you finish registration, please tag the master card or registered door
release card.
2) Individual Card deletion
(1) LED flickers fast on tagging master card for deletion.
(Entering Pre-Deletion mode).
(2) Press button 3. Then beep sound comes out.
(Entering Individual deletion mode)
(3) In case more than 1 cards have to be deleted, repeat above (2) procedure.
(4) In case you finish deletion, please tag the master card.
3) All cards deletion
(1) Tagging the master card (for deletion) 3 times in 4 seconds, LED flickers fast
with beep sound. (Entering Pre-Deletion mode).
(2) If you tag master card for deletion once more in 4 seconds, the beep sound
stops and all card information is processed.
(3) When all card information is deleted, LED light flickering will be stopped after
beep sound.
*Remark : Maximum 2,046 cards can be registered. (including 2 master cards)
Do not turn off the device until all cards deletion process is completed.
* Precautions
- Other than the RF card provided by COMMAX, the recognition sensitivity may be
degraded or it may not work.
(Please use the RF card provided by COMMAX because it may cause security
problems.)

7
3. Wiring
% 3 $ . - 3 ' % 3 $ . -3'
% 3 $ . - 3 ' % 3 $ . -3'
3FGFS
%3$.-3'BOE%3$.-3'BSFDBOOPUDPOOFDUUPBOFYQBOTJPOQBOFM%3$9.'

8
4. Installation
%3$.-3'%3$.-3'
% 3 $ . - 3 ' % 3 $ . -3'

9
5. Part List
6. Specification
+VGO &GUETKRVKQP 3V[
&2113[
:LULQJ&RQQHFWRU'5&0/5)
6&5(:)+0[ %UDFNHW)OXVK0RXQW%UDFNHW
$'$37(5 9$$GDSWHU
32:(5&25' $GSDWHU3RZHU&RUG
0$18$/ 8VHU0DQXDO
.PEFM/P %3$.-3'
1PXFSTPVSDF %$7"
8JSJOH 8JSFT1PMBSJUZ
$PNNVOJDBUJPO )BOETGSFF%VQMFY
.JO-VY -VY6150NN'SPNUIF$BNFSB
-JHIU 8IJUF-&%QJF&"#VJMU*O
$BNFSB"OHMF )Ⰻ7Ⰻ%Ⰻ
$BNFSB.PEVMF $.04
3'.PEVMF .)[
5FNQFSBUVSF ȔUFTUFEVQUPȔaⳃ
%JNFOTJPONN %3$.-3'8Ⱋ)Ⱋ%
%3$.-3'8Ⱋ)Ⱋ%
$PNNVOJDBUJPO
%JTUBODF
%JBNFUFS Ż Ż
%JTUBODF N N
This manual suits for next models
6
Table of contents
Other Commax Intercom System manuals

Commax
Commax Fineview CDV-70H User manual

Commax
Commax CDV-70QT User manual

Commax
Commax CIOT-700ML User manual

Commax
Commax CDV-43K2 User manual

Commax
Commax CAV-40QG User manual

Commax
Commax AP-5HM User manual

Commax
Commax D PV-4LH User manual

Commax
Commax CDV-40QM User manual

Commax
Commax DR-2GN User manual

Commax
Commax CDS-70M User manual

Commax
Commax DR-2L User manual

Commax
Commax DPV-2LH User manual

Commax
Commax CDV-43KM User manual

Commax
Commax DRC-4BH User manual

Commax
Commax DRC-40YFD User manual

Commax
Commax DP-20H User manual

Commax
Commax T45-K User manual

Commax
Commax DP-2S User manual

Commax
Commax DRC-41UN User manual

Commax
Commax WT-171LM User manual