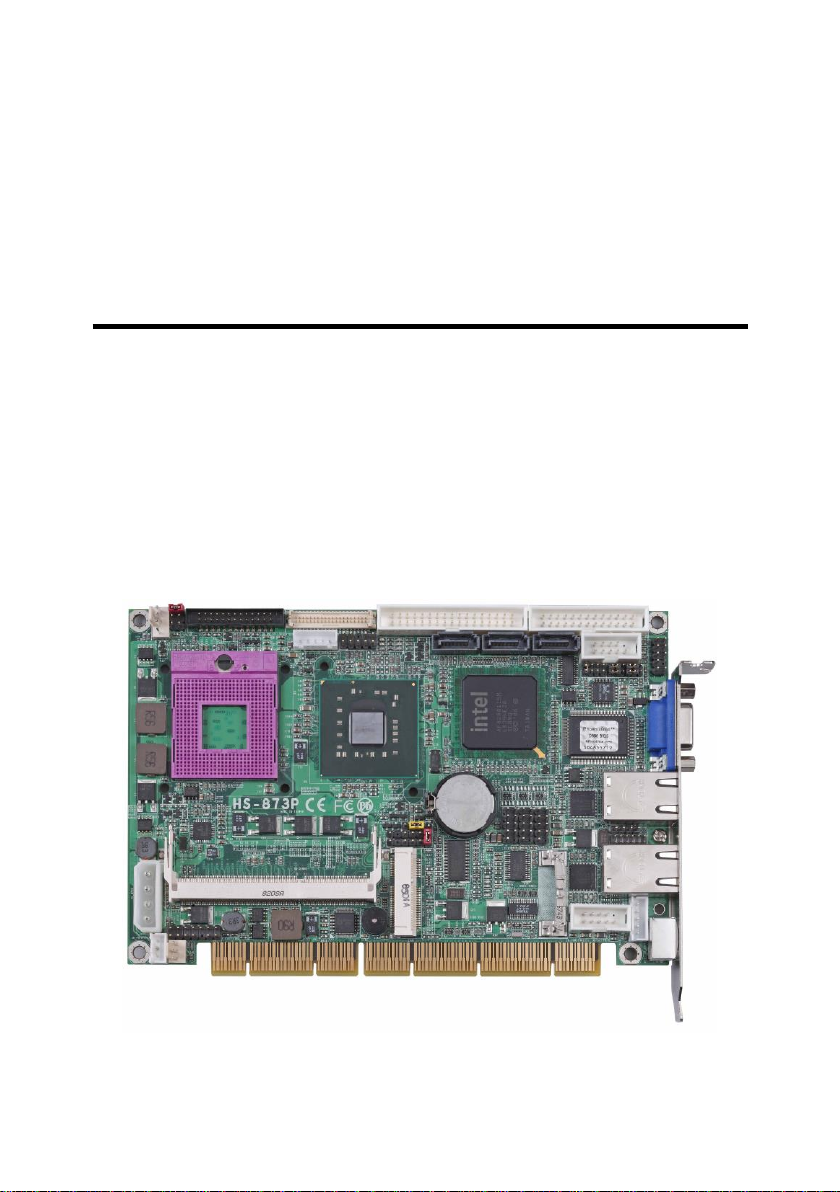
HS-873P User’s Manual
Index
Chapter 1 <Introduction> .....................................................................................6
1.1 <Product Overview> ..............................................................................6
1.2 <Product Specification> ........................................................................7
1.3 < Mechanical Drawing > ........................................................................9
1.4 <Block Diagram>..................................................................................10
Chapter 2 <Hardware Setup>............................................................................. 11
2.1 <Connector Location>......................................................................... 11
2.2.1 <Internal Connector> ...............................................................13
2.2.2 <External Connector> ..............................................................13
2.3 <Jumper Reference>............................................................................14
2.4 <CPU and Memory Setup> ..................................................................15
2.4.1 <CPU Setup>.............................................................................15
2.4.2 <Memory Setup>.......................................................................16
2.5 <CMOS Setup> .....................................................................................17
2.6 <Serial ATA interface>..........................................................................18
2.7 <LAN Interface>....................................................................................18
2.8 <Onboard Display Interface> ..............................................................19
2.8.1 <Analog VGA Interface> ..........................................................19
2.8.2 <Digital Display>.......................................................................20
2.8.3 <DVI Interface > ........................................................................24
2.8.4 <TV-Out Interface> ...................................................................25
2.9 <Onboard Audio Interface>.................................................................27
2.10 <USB2.0 Interface> ............................................................................28
2.11 <Serial Port Jumper Setting >...........................................................29
2.12 <Power and Fan Installation> ...........................................................30
2.12.1 <Power connectors> ..............................................................30
2.12.2 <Fan Connectors>..................................................................31
2.13 <Switch and Indicator>......................................................................33