3
Make a routine visual inspection daily before use for cracks, breaks,
loose and/or missing parts. Every 1 to 3 months manually check that
all connectors are tight and all components are functioning. Every
year perform a thorough safety inspection of all components. If equip-
ment is subject to heavy use increase inspection and maintenance as
appropriate.
Remove the product from service when any condition develops which
might make operation unsafe. If you plan to store your gym, remember
it is made of wood, and needs to be kept in a dry place.
Construction
The wooden components are manufactured from durable birch plywood or
solid birch protected with a child-safe finish.
Cleaning
Wipe with a damp cloth and mild detergent. Dry immediately. Leaving
water or cleaning agent on the surface may damage the finish.
When cleaning plastic surfaces, do not use harsh detergents or cleans-
ers. These may scratch or mar the surface. Nontoxic household plastic
cleaners should work well.
Vacuum carpets frequently. If you need to wash them, they are remov-
able. The carpet is attached with hook and loop fasteners.
We recommend steam cleaning the carpet. Do not soak carpet to
remove stains, dirt or other grime. Do not rinse under the tap or use
excessive water.
Carpet stains and spots should be attended to as soon as they occur.
Liquid stains like ink can be removed by using absorbent cloth. Solid
stains should be taken out with a spoon or the end of a knife. To
prevent the stain from spreading don’t rub it; instead remove the stain
by firmly dabbing it repeatedly with an absorbent cloth, starting from
the edges and moving to the centre.
User modifications
We are not responsible for modifications made by customers to our
products in the field, without our supervision, testing, or evaluation.
Ordering parts
To order replacement parts, contact customer service with a description
of the part(s) needed and the ID code from the product.
Use only replacement parts supplied by
Community Playthings.
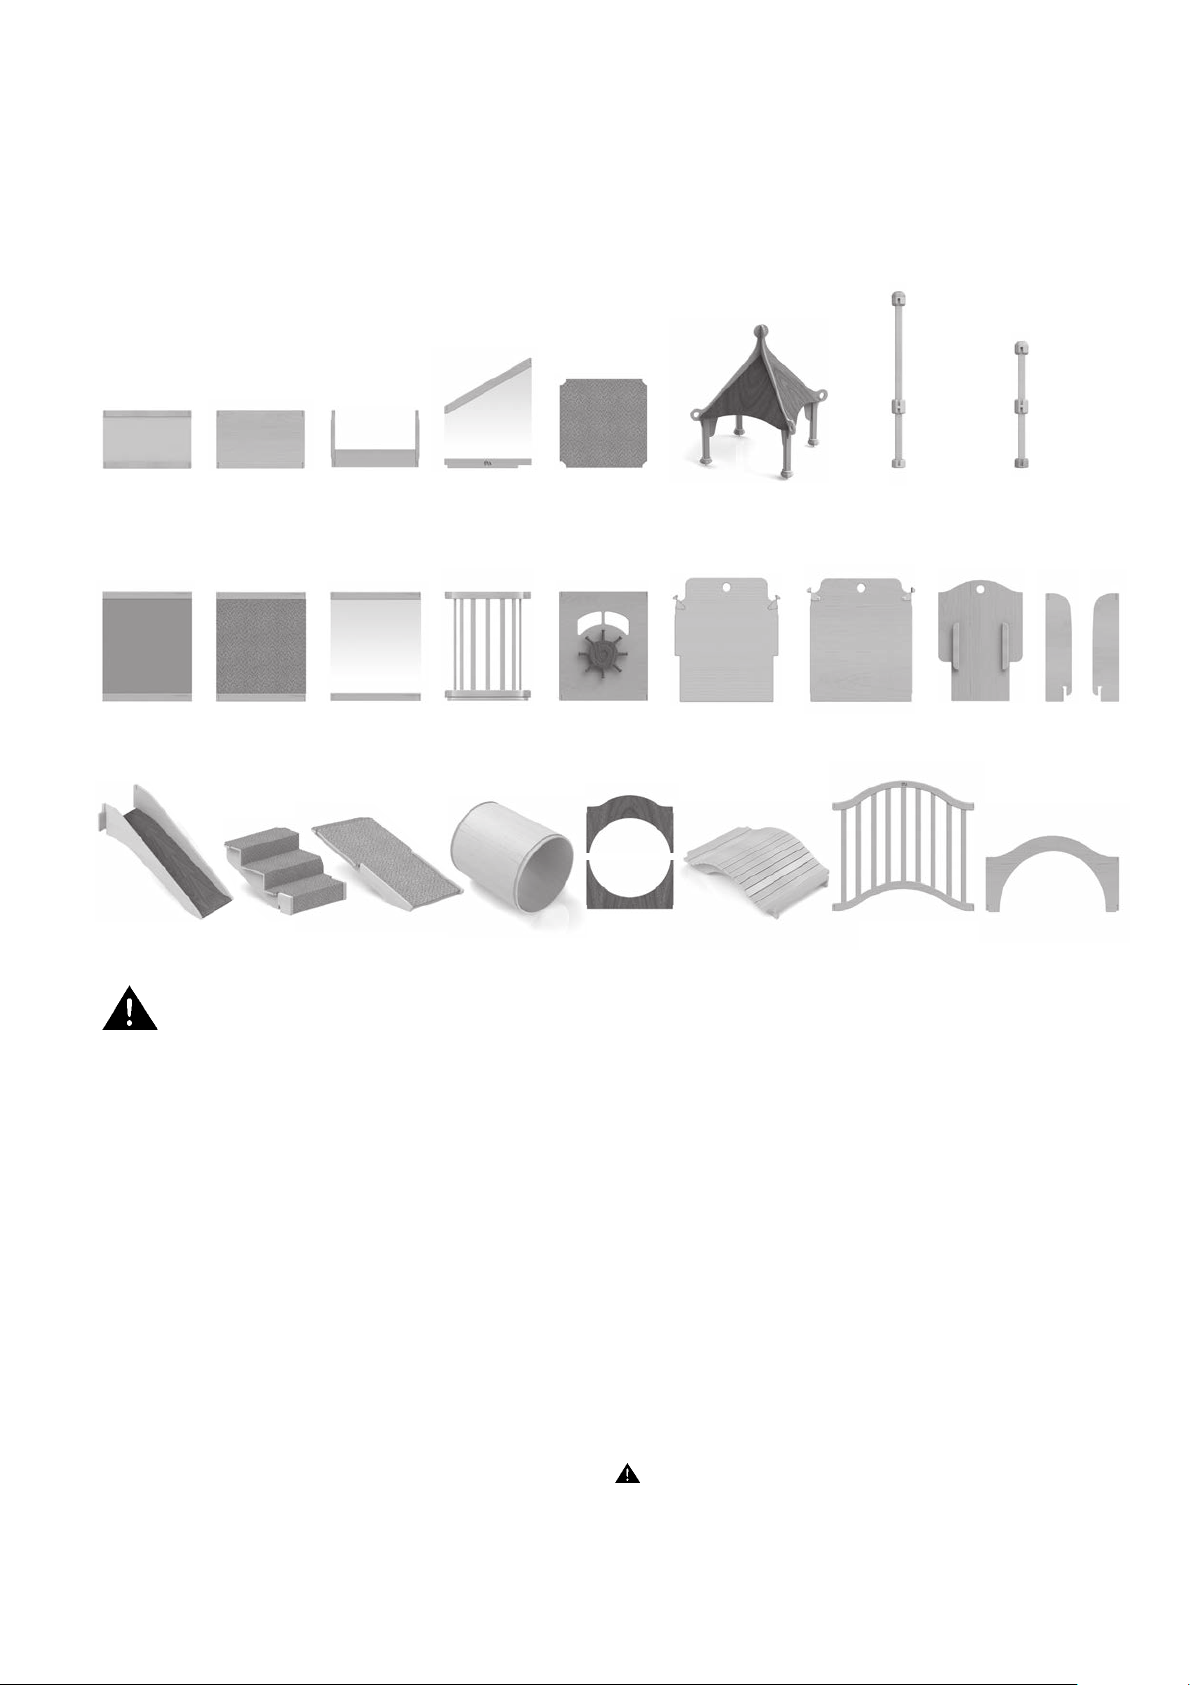
Stairs
Ramp
Banister panel
Banister brace
Slide with gate
Bridge with rails
Tunnel
Carpet platform
Roof
Balcony
Steering wheel
Mirror panel
Clear panel
Carpet panel
Small mirror
Small plywood
Long post
Short post
Climb and crawl G805 (p6) 1142 2324
Up and over with roof G807 (p6) 1142 11 1 12644
Up and over G808 (p7) 1142 1 1 1 2644
Climb and slide G815 (p7) 1 211 1 1 11542
Climb and slide with roof G816 (p7) 1 211 11 1 11542
Sand dune G826 (p8) 11421 1 1 2644
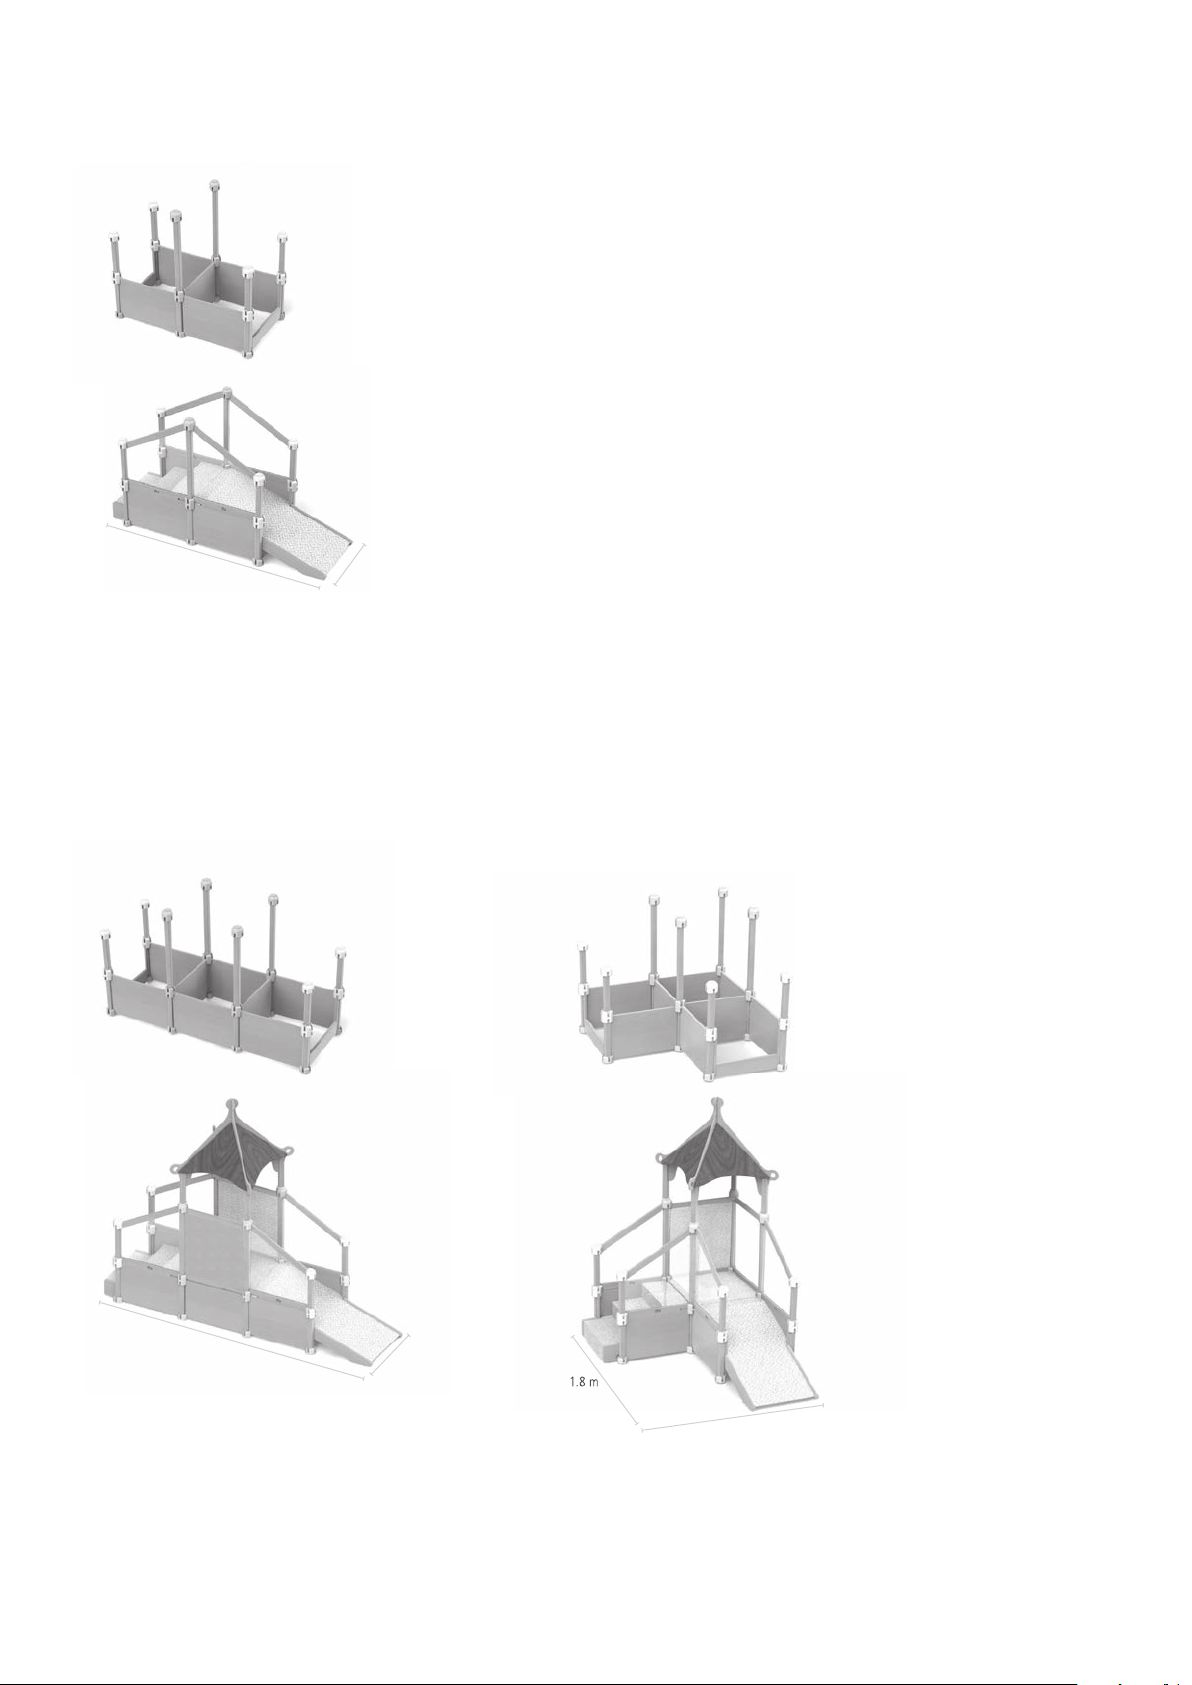
Rapunzel’s tower G828 (p8) 1 211 211 1111862
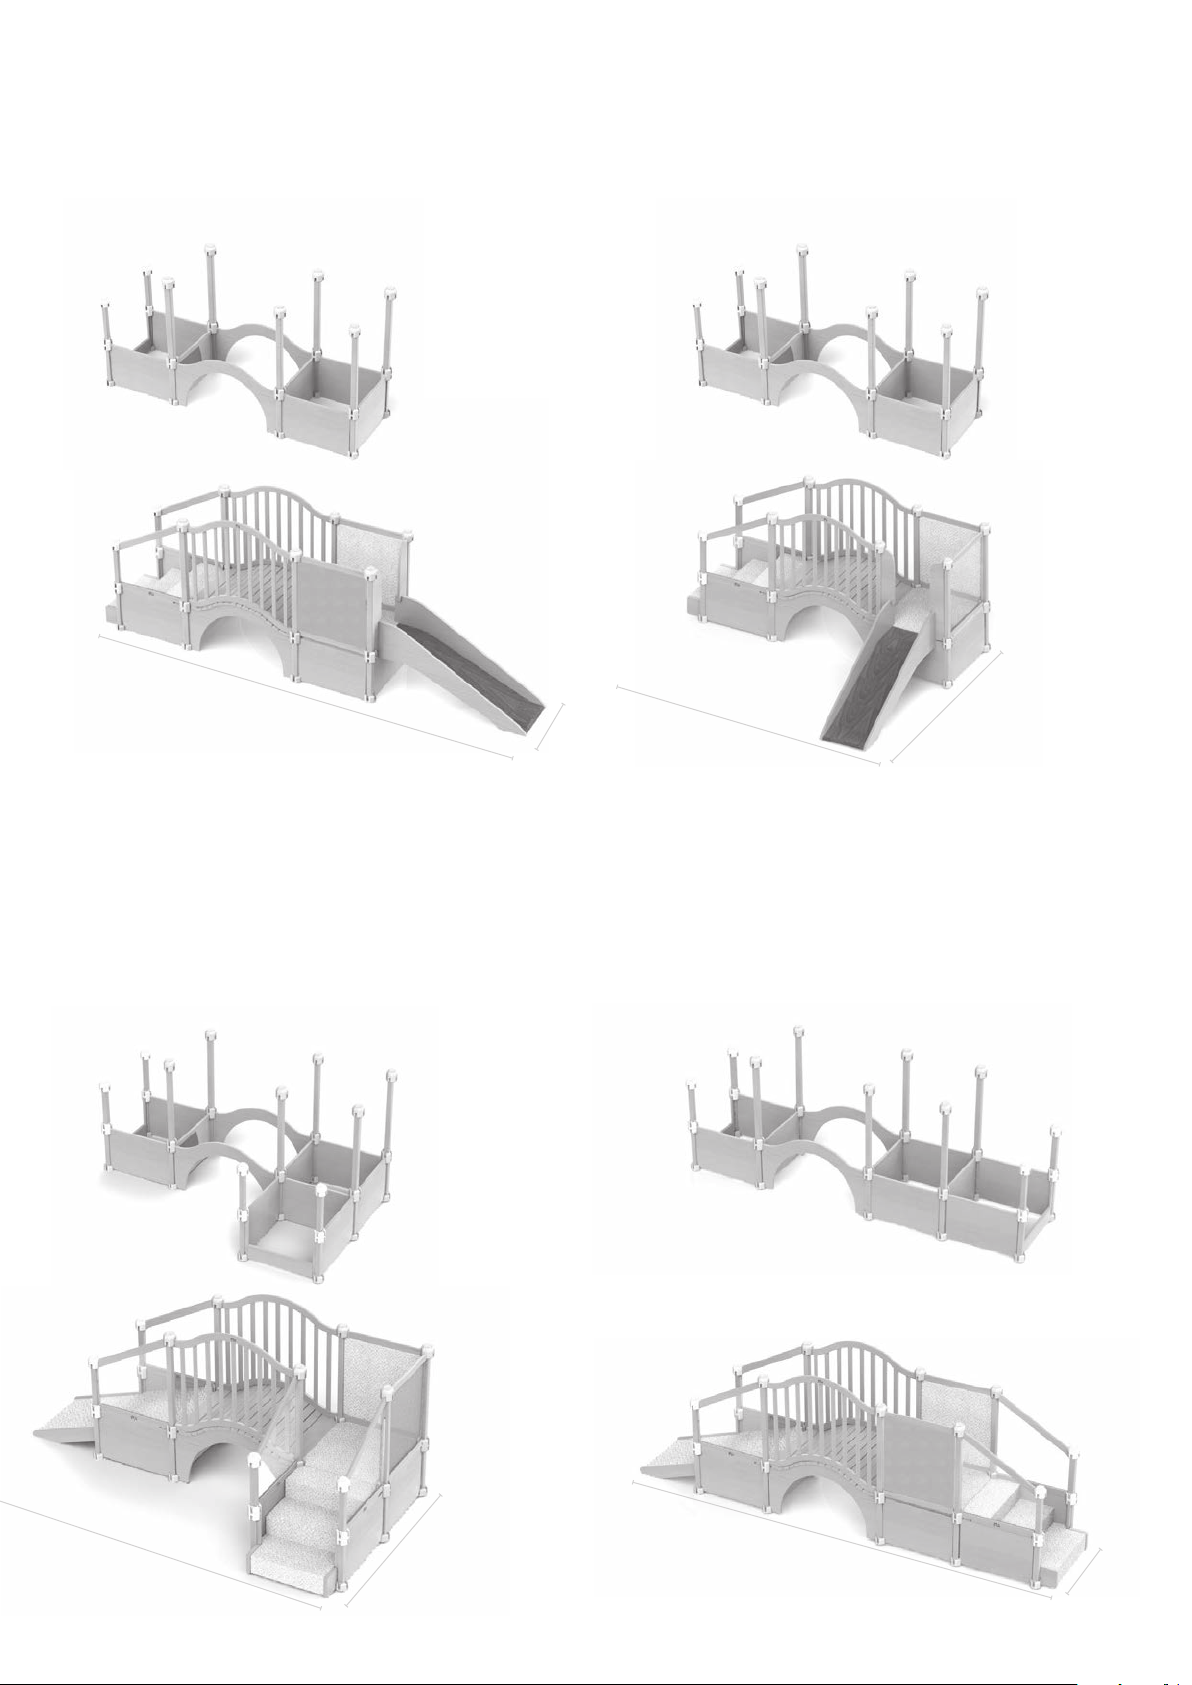
Billy goat’s bridge with slide G835 (p9) 1 2111 1 1 13462
Billy goat’s bridge with ramp G836 (p9) 1142 1 1 1 14564
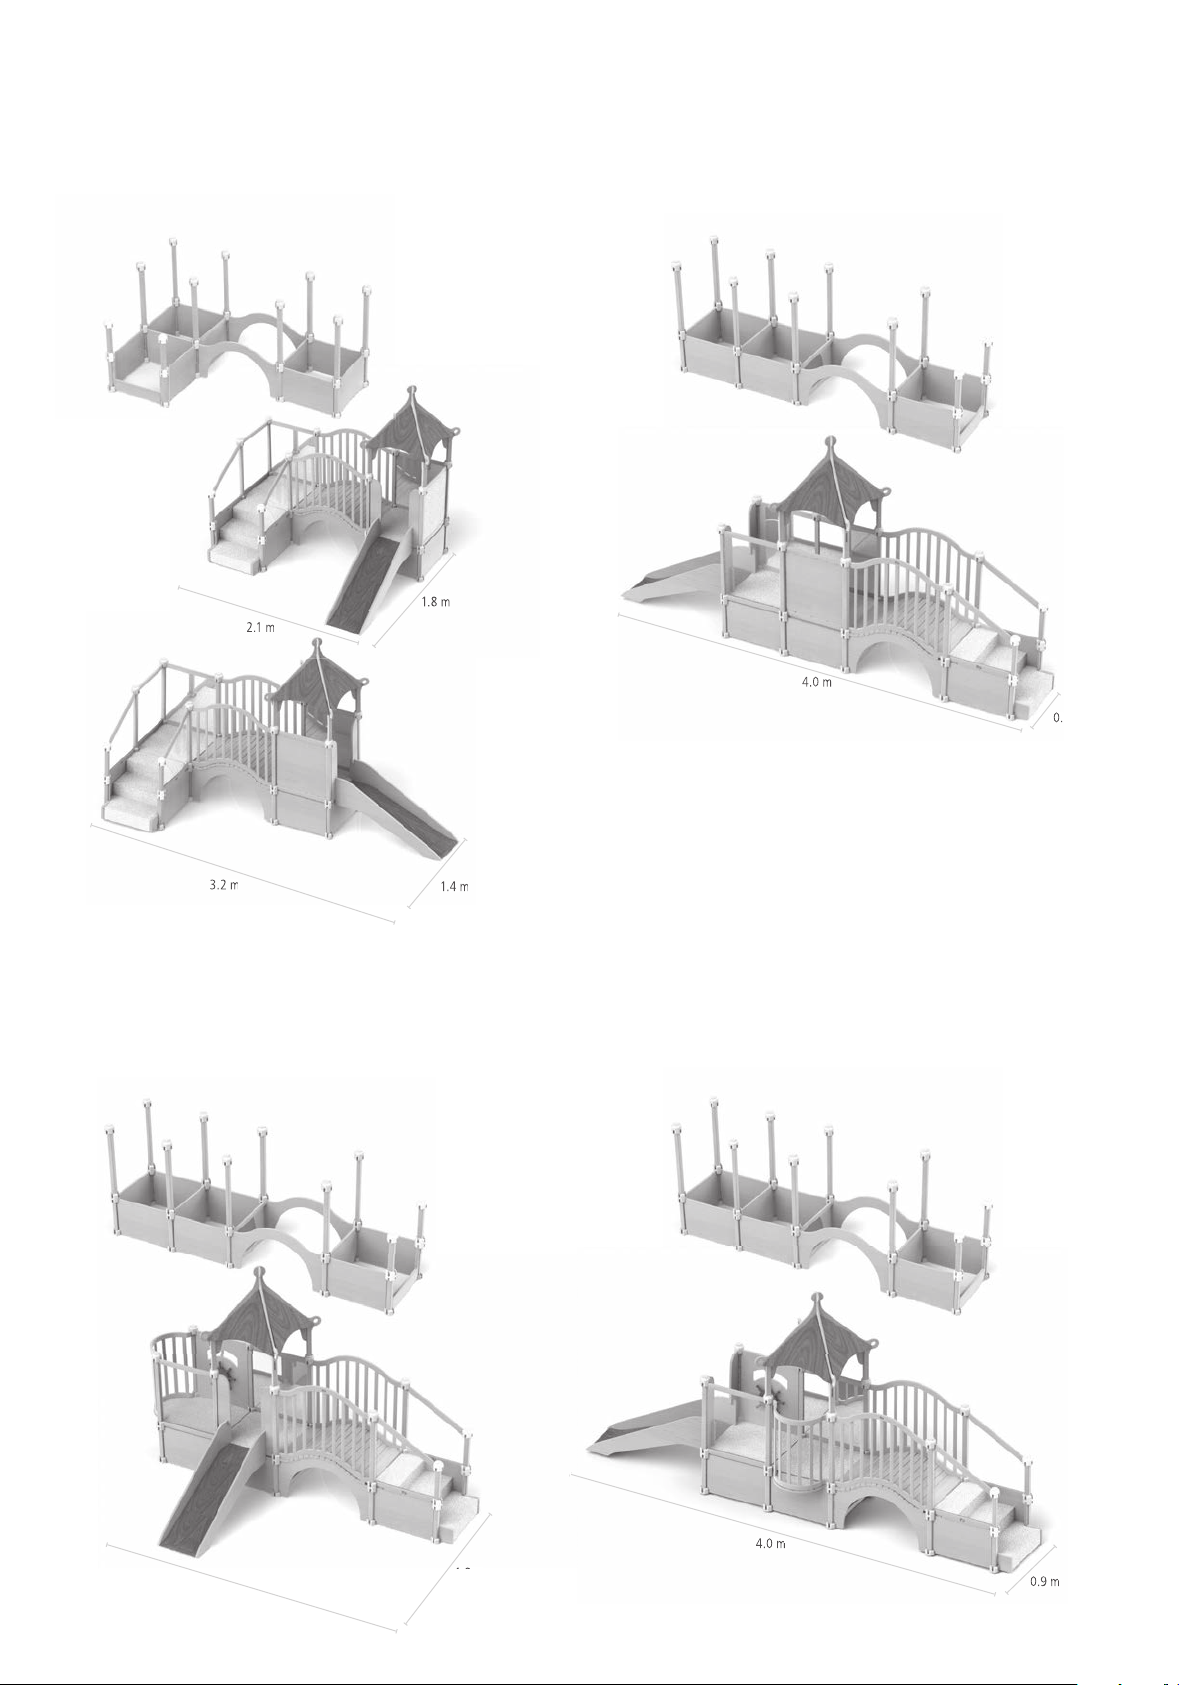
Knightsbridge G837 (p10) 1 2111 21 2113782
Knightsbridge with balcony G838 (p10) 1 2111 211111 3782
Tower bridge G847 (p11) 114211 32 212411 10 4
Tower bridge with balcony G848 (p11) 114211 3211111411 10 4
Mole hole with slide G855 (p12) 1 211 12 22 1982
Mole hole with ramp G856 (p12) 1142 12 22 210 8 4
Gnome home with slide G857 (p13) 1 211 121 1211982
Gnome home with ramp G858 (p13) 1142 121 121210 8 4
Windsor castle G846 (p14) 1 211 3111211111 8 2
The palace G865 (p15) 1 211113211211311 12 2
Maintenance
Gym parts
The Bridge weighs 20 kg and is the heaviest part.