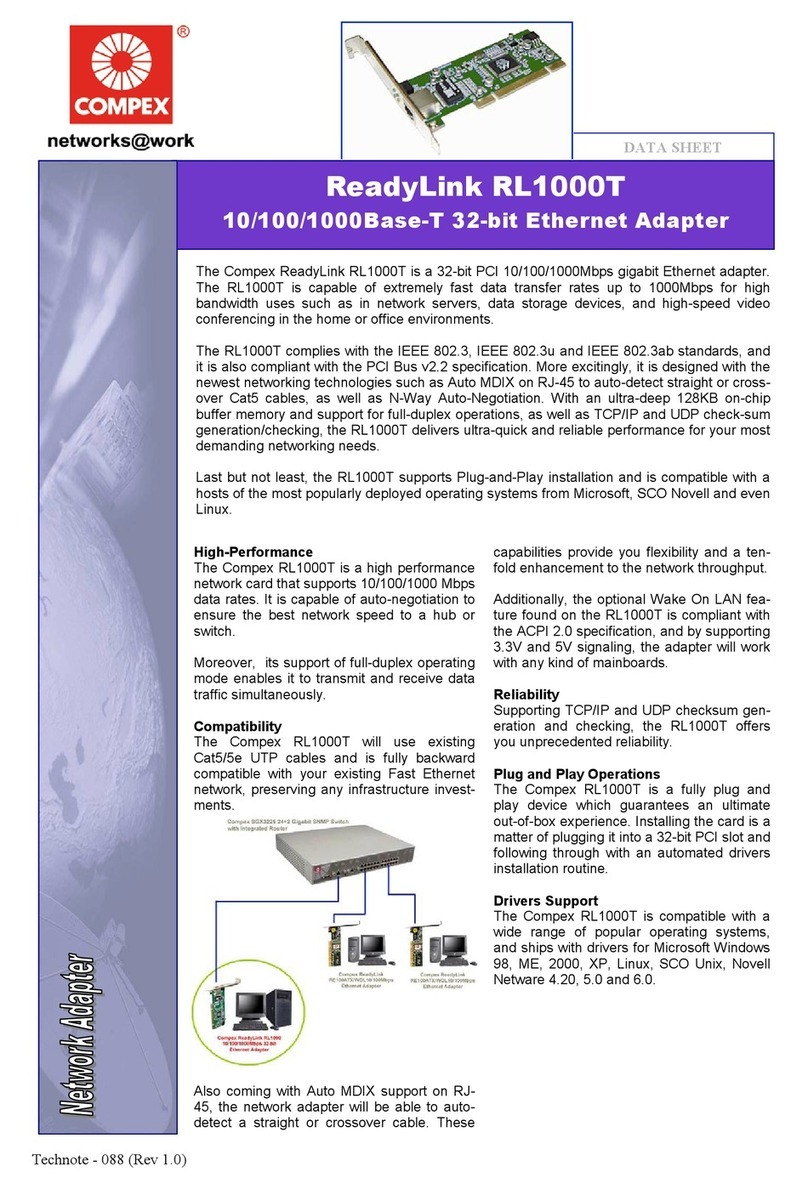
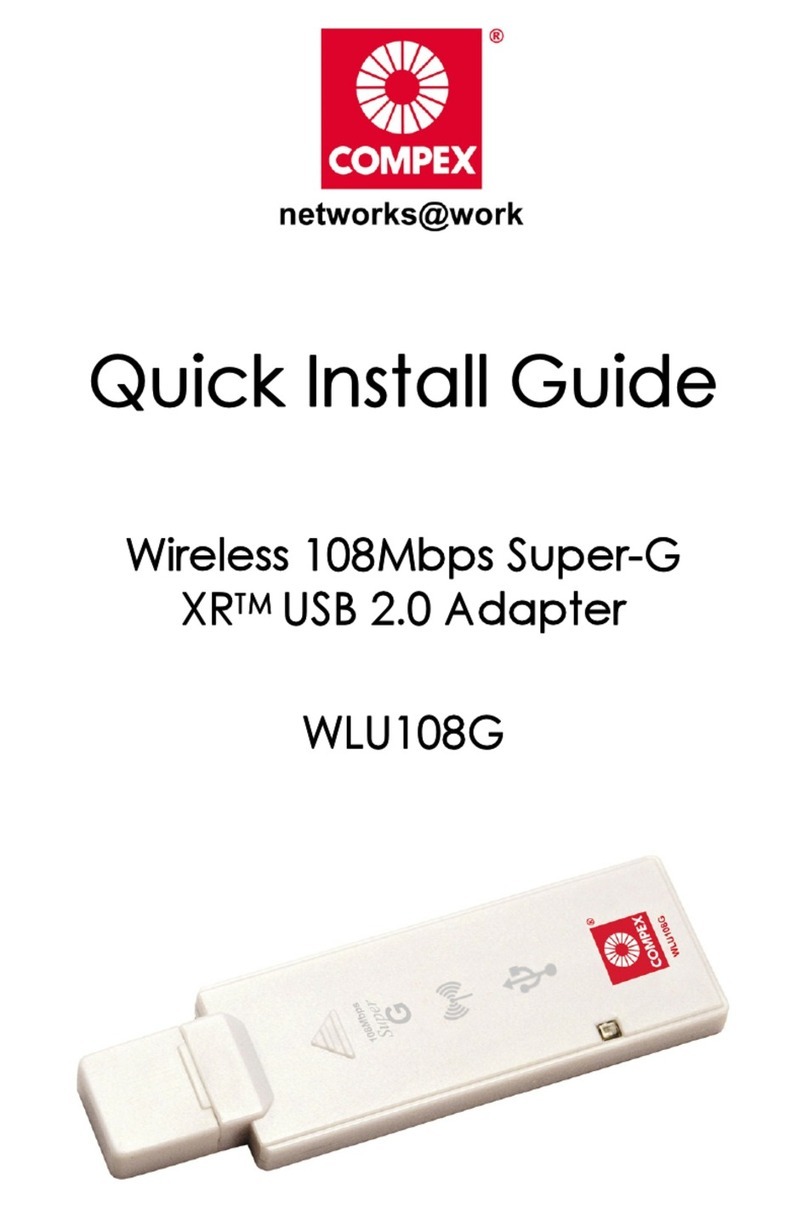
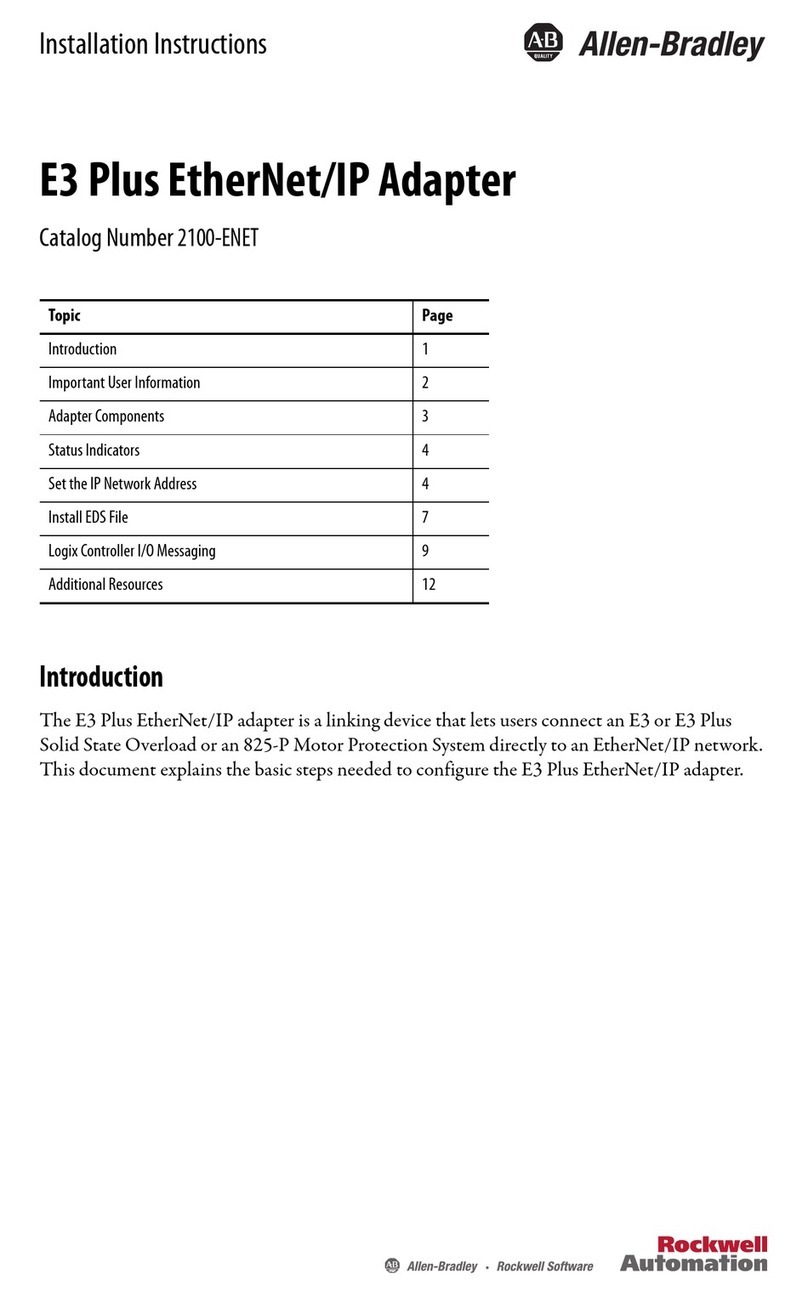
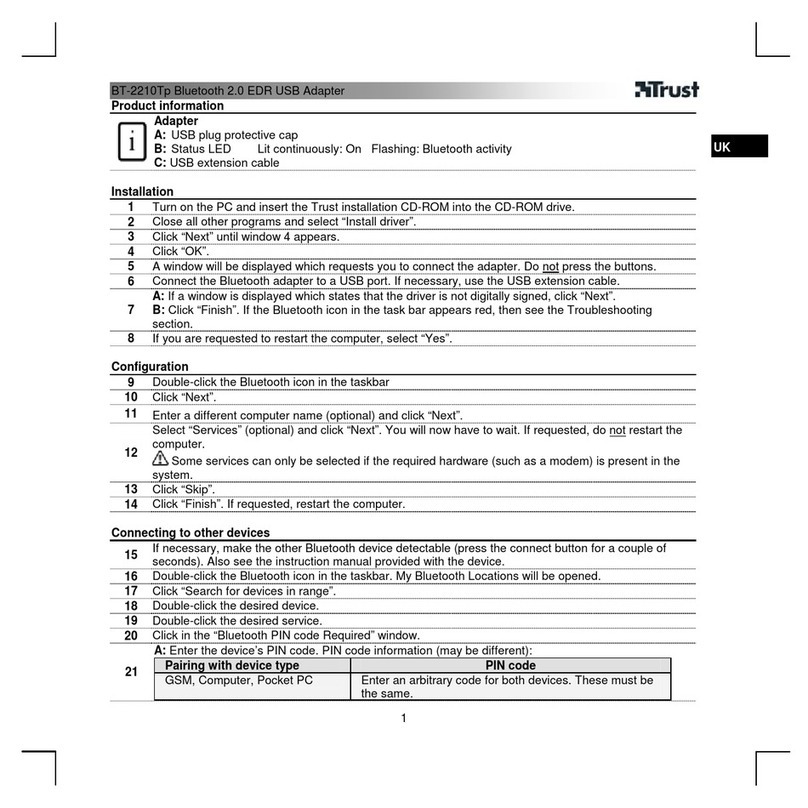
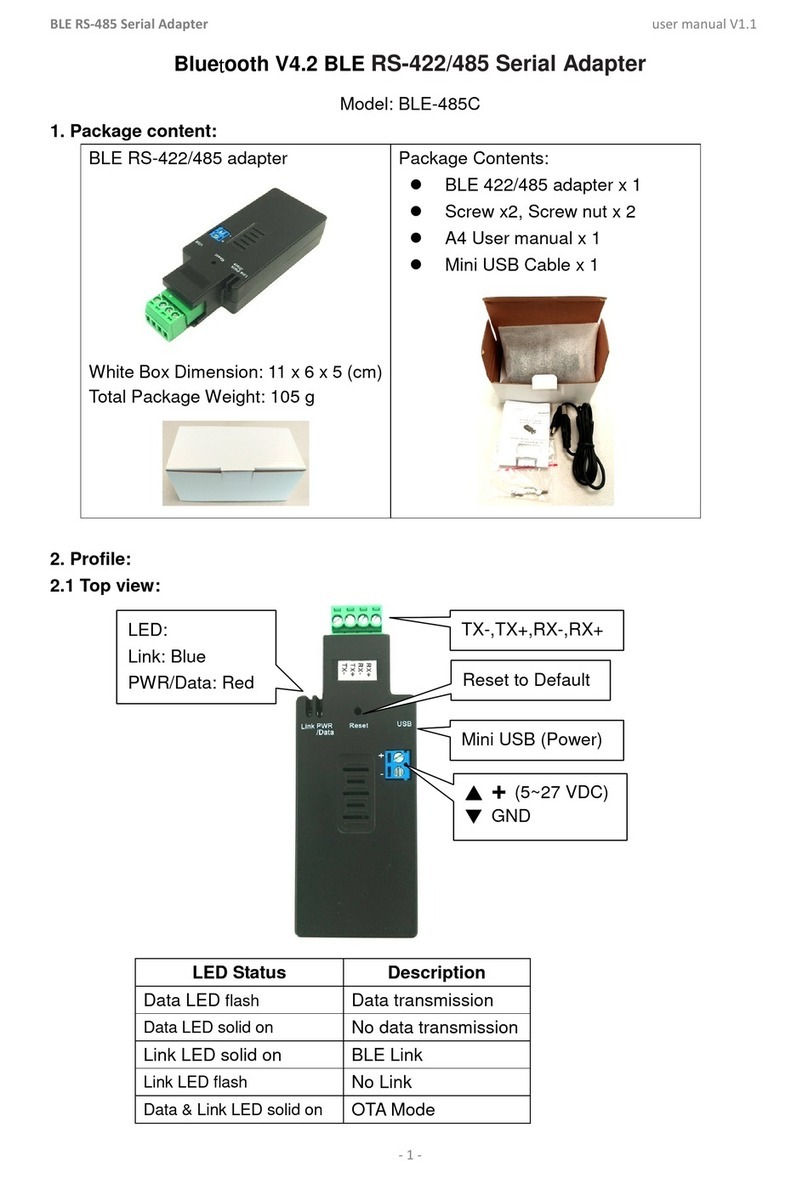
Compex LinkPort/TX32A User manual

Compex
LinkPort
CardBus Fast Ethernet
Adapter
LinkPort/TX32A
10/100 PCMCIA Fast
Ethernet Adapter
LinkPort/TX16A
Version 1.4C

Compex LinkPort/TX32A
CardBus Fast Ethernet Adapter
Compex LinkPort/TX16A
10/100 PCMCIA Fast Ethernet Adapter
User’s Manual
Version 1.4C
Manual Number: M-0151-V1.4C
Manual Release Date: February 2000
Printed in the Republic of Singapore

Contents
About this Manual ……………………………….. i
1. Introduction ……………………………………. 1-1
1.1 Description …...…………………………….. 1-1
1.2 Features …………………………………….. 1-2
1.3 Quick Installation …………………………… 1-2
2. Hardware Installation ………………………… 2-1
2.1 Contents of Package ……………………….. 2-1
2.2 LinkPort/TX32A……………………………. 2-1
2.2.1 Hardware Description ………...……….. 2-1
2.2.2 Installing the LinkPort/TX32A……….. 2-3
2.3 LinkPort/TX16A……………………………… 2-4
2.3.1 Hardware Description………………….. 2-4
2.3.2 Installing the LinkPort/TX16A………… 2-6
3. Windows Installation…………………………… 3-1
3.1 Windows 98 ……………………………….. 3-1
3.2 Windows 95 ………………………………... 3-2
3.3 Windows 2000 ……………………………… 3-4
3.4 Windows NT v4.0 ………………………….. 3-6
4. Software Driver Installation for Novell Netware
3.x/4.x Client …………………………………… 4-1
4.1 System Requirements ………………………. 4-1
4.1.1 Hardware Requirements ……………… 4-1
4.1.2 Firmware Requirements ……………… 4-1
4.1.3 Software Requirements ………………. 4-1
4.2 Driver Installation ………………………….. 4-2
4.2.1 Quick Installation …………………….. 4-2
4.2.2 Network Operating Systems (NOS) …. 4-4
Disclaimer …………………………………………. Appendix 1
Technical Support ……………………………….. Appendix 2
Notes ……………………………………………… Appendix 3

About this Manual
This is a user’s guide for your Compex CardBus Fast Ethernet Card
(LinkPort/TX32A) and Compex 10/100 PCMCIA Fast Ethernet Card
(LinkPort/TX16A). Please read this manual before you attempt to
install the product.
This manual includes the following topics:
§Product descriptions, features and specifications;
§Hardware description and LED indicators;
§Hardware installation procedure and;
§Software installation procedure.

Chapter 1: Introduction 1-1
Chapter 1
Introduction
1.1 Description
Thank you for purchasing the Compex CardBus Fast Ethernet Adapter
(LinkPort/TX32A) or Compex 10/100 PCMCIA Fast Ethernet Adapter
(LinkPort/TX16A).
LinkPort/TX32A and LinkPort/TX16A cards are network adapter cards for notebook
computers and comply with the PCMCIA TYPE II standard. They provide 10Mbps
and 100Mbps auto-sensing features which easily enable you to connect to Ethernet
networks of different speeds without having to reconfigure notebook each time. With
auto-negotiation capability, LinkPort/TX32A and LinkPort/TX16A cards can run in
full-duplex mode for both 10Mbps and 100Mbps line speeds to double your network
bandwidth.
The LinkPort/TX32A and LinkPort/TX16A are switchless and software configurable.

1-2Chapter 1: Introduction
1.2 Features for LinkPort/TX32A andLinkPort/TX16A
LinkPort/TX32A LinkPort/TX16A
§5.0mm Type II credit card size §5.0mm Type II credit card size
§Complies with IEEE 802.3
10Base-T and IEEE 802.3u
100Base-TX
§Complies with IEEE 802.3 10Base-T
and IEEE 802.3u 100Base-TX
§Complies with PCMCIA 1995 PC
Card Standard
§Complies with PCMCIA 2.0/2.1
§PC Card standard 68-pin 32-bit
CardBus Interface
§PC Card standard 68-pin 16-bit
Interface
§10/100Mbps auto-sense capability §10/100Mbps auto-sense capability
§Full/Half-duplex mode auto-
negotiation for both 10Base-T and
100Base-TX
§Full/Half-duplex mode auto-negotiation
for both 10Base-T and 100Base-TX
§Supports UTP-5 cable and STP-5
cable
§Supports UTP-5 cable and STP-5 cable
§3.3V power consumption §5 V power consumption
§10/100Mbps Link Active,
Full/Half-duplex Mode and
Transmit/Receive LED indicators.
§10/100Mbps, Link and Active LED
indicators.
1.3 Quick Installation
This section briefly outlines the steps needed to install the LinkPort/TX32A and
LinkPort/TX16A cards, their driver software and how to connect them to the network.
(Read Chapter 2 and 3 for details)
1. Install card to your notebook computer.
All LinkPort cards can be installed in notebook with CardBus slot.
For notebook with PC card slot, only LinkPort/TX16A is supported.
2. Connect to the network.
Using an MDI cable connect from the Media Coupler to a Hub or Switch port.
3. Install the software driver. (Read Chapter 3 for details.)
Chapter 2: Hardware Installation 2-1
Chapter 2
Hardware Installation
2.1 Contents of Package
Please check the complete list of items in your package:
LinkPort/TX32A LinkPort/TX16A
Compex 10/100 CardBus Fast
Ethernet Adapter. Compex 10/100 PCMCIA Fast
Ethernet Adapter.
User’s Manual. User’s Manual.
1.44MB 3.5inch software driver
diskette. 1.44MB 3.5inch software driver
diskette.
Media Coupler Media Coupler.
2.2 LinkPort/TX32A
2.2.1 Hardware Description
The LinkPort/TX32A card is encased in a stainless compact frame that is
easily transportable. It has a 68-pin connector and a 15-pin flat connector for
attaching to the notebook computer and ethernet adapter cable respectively
(Fig.2-2.1)

2-2Chapter 2: Hardware Installation
Note: The hardkey of a CardBus card is different from that of
the traditional 16-bit PCMCIA card. This mechanism can
protect the 3.3V CardBus card from mis-insertion to 5V 16-bit
PCMCIA slot (Fig. 2-2.2).
Figure 2-2.1 CardBus Fast Ethernet Adapter (LinkPort/TX32A)
Traditional PC Card (5V) CardBus Card (3.3V)
Figure 2-2.2 Hardkey of CardBus and Traditional PCMCIA Card Ethernet
Adapter Cable and RJ-45 Extension Adapter (See Fig. 2-2.3)
Ready LINK
Protection grid

Chapter 2: Hardware Installation 2-3
2.2.2 Installing the LinkPort/TX32A Adapter
Follow the procedure below to install the LinkPort/TX32A card:
1. Turn off the host computer.
2. With the card’s 68-pin connector facing the PCMCIA
CardBus slot, slide the card all the way into the PCMCIA
CardBus slot as illustrated in Fig.2-2.3
Figure 2-2.3 Insert the LinkPort/TX32A into the Socket
3. Plug the Ethernet adapter cable to the 15-pin connector
on the LinkPort/TX32A card as shown in Fig.2-2.4.
Note: Attention should be paid when removing the 15-pin
connector. Please press the both sides of the connectors
before pulling out of the PC Card.
Figure 2-2.4 Plug 15-pin Flat connector to 15-pin Mating connector
Act
Fast
Ethernet
100M
Link

2-4Chapter 2: Hardware Installation
4. Connect the Ethernet adapter cable to network to a Hub or
Switch as shown in Fig.2-2.5
Figure 2-2.5 Connecting to a Hub
5. Power on the computer.
2.3 Section B: LinkPort/TX16A
2.3.1 Hardware Description
The LinkPort/TX16A card is encased in a stainless compact frame that is
easily transportable. It has a 68-pin connector and a 15 pin flat connector
for attaching to the notebook computer and media coupler respectively
(Fig.2-3.1).
Figure 2-3.1: 10/100 PCMCIA Fast Ethernet Adapter
(LinkPort/TX16A)
Ready LINK

Chapter 2: Hardware Installation 2-5
Media Coupler
The LinkPort Coupler with the female RJ connector at the end is for
attaching the card to the network. Fig.2-3.2 shows the LinkPort Coupler.
Figure 2-3.2: Media Coupler of LinkPort/TX16A
LED Indicators
There are three LED indicators on top of the Coupler (Fig.2-3.3)
Figure 2-3.3: LED indicators for LinkPort/TX16A
1. ‘Act’ LED:
This LED monitors the network activity. It is normally off. It
will flash when there is traffic on the network.
"Act"LED
100M
"100M" LED
Link
Ethernet
Fast
Act
"Link"LED
Act
100M
"Link" LED
"100M"LED
"Act"LED
Link
Fast
Ethernet

2-6Chapter 2: Hardware Installation
The frequency of flashing increases with the network traffic.
2. ‘10/100’ LED:
This LED monitors the line speed of the card connection.
100Base-TX connection when both ‘Link’ LED and
‘10/100’ LED light up. 10Base-T connection when ‘Link’
LED is ON and ‘10/100’ LED is OFF.
3. ‘Link’ LED:
This LED monitors the link status of the card connection. It
lights up to indicate a good connection.
2.3.2 Installing the LinkPort/TX16A Fast
Ethernet Adapter
Installing the LinkPort/TX16A Fast Ethernet Adapter follow the
procedure below to install the Fast Ethernet card:
1. Turn off the host computer.
2. With the card’s 68-pin connector facing the PCMCIA slot,
slide the card all the way into the slot as illustrated in
Fig.2-3.4 (do not force the connection).
3. Grasp the PC Card 15-pins connector of the Media
Coupler. Turn to the side with the pointing triangle facing
upward. Plug to the PC Card until it clicks in place at both
sides as shown in Fig.2-3.4.
Note: Attention should be paid when removing the 15-pin
connector. Please press both sides of connectors before
pulling out of the PC Card.

Chapter 2: Hardware Installation 2-7
4. Connect unshielded twisted pair (UTP) cable from
network or repeater to the RJ-45 connector of media
coupler before loading any network driver.
5. Power on the computer.
Figure 2-3.4: Installing and connecting LinkPort/TX16A to network

Chapter 3: Windows Installation 3-1
Chapter 3
3. Windows Installation
3.1 Windows 98
Installation Procedure
1. Insert the CardBus PCMCIA Adapter into the notebook CardBus slot.
Windows Add Hardware Wizard will automatically detect and locate
a new device. The Add Hardware Wizard box will displays the device
name PCMCIA-Ethernet Adapter".
Click NEXT.
2. Windows then allow you to select one of the followings:
-Search for the best driver for your device (Recommended),
or
-Display a list of all the drivers in the specific location so that you
can select the driver you want.
Chose the first one and click NEXT.
3. Windows then allow you to mark on one or more of the followings:
-Floppy Disk Drive
-CD-ROM
-Specify a location
Check on Floppy Disk Drive and click NEXT.
* Note: Before you click NEXT, insert Compex LinkPort\TX32A
driver disk in drive A.
4. Windows will locate the PCMCIA device and display the followings:
"Compex LinkPort\TX32A Cardbus Fast Ethernet Adapter"
Location A:\CB8139.INF
Click NEXT, to start copy the driver.

3-2Chapter 3: Windows Installation
5. Windows will prompt for the location of the file CB8139.SYS
Enter A:\ and Click NEXT.
6. When copying the related files are completed, Windows will prompt
to Restart the machine.
Click YES if you do not intend to add additional clients and
protocols.
By default, Windows 98 install only the followings:
-Client for Microsoft Network
-Compex LinkPort\TX32A Cardbus Fast Ethernet Adapter
-TCPIP
Click NO, if you are not running TCPIP network. Remove the TCPIP
protocol and add NETBEUI and/or IPX/SPX protocols. If you have a
NetWare server add Microsoft for NetWare client.
Go to Control Panel Network applet and add these protocols and
Clients. If you share your machine resources, add Files and Printing
share services.
Refer to Windows documents for further details.
7. When completed, Windows will again prompt to restart the machine.
Click YES.
8. When Windows had rebooted, Compex LinkPort\TX32A adapter is
ready to access the network.
3.2 Windows 95
There are at lease 2 different releases version of Windows 95.
A) Windows 95 Release Version 2 or OSR2 Version and later releases.
B) Windows 95 Release Version A (First release).
For first release version of Windows 95 go to section B.
For second or later releases of Windows 95 go to section A.

Chapter 3: Windows Installation 3-3
Installation Procedure
Section A:
Installation for Windows 95 Release Version 2 or OSR2
(with Internet Explorer).
1. Insert the LinkPort/TX32A adapter in the notebook CardBus slot and
start up Windows 95.
2. Windows will automatically detect the LinkPort/TX32A adapter and
display "New Hardware Found" then "PCMCIA-Ethernet Adapter"
device name.
3. At the "Install From Disk" window, enter the drive letter and path
A:\ and Press "OK".
4. Windows will start to copy the necessary files from the Windows 95
CD-ROM and the LinkPort/TX32A driver disk.
5. When completed, Windows will prompt to Reboot the notebook.
Click OK.
6. LinkPort/TX32A adapter is now ready to service the network.
Section B:
Installation in Windows 95 First Release Version
(without Internet Explorer).
1. Insert the LinkPort/TX32A adapter in the notebook CardBus slot and
start up Windows 95.
2. Windows will automatically detect the LinkPort/TX32A adapter and
display "New Hardware Found" then "PCMCIA-Ethernet Adapter"
device name.
3. Select "Drivers from disk provided by hardware manufacturer".
4. At the "Install From Disk" window, enter the drive letter and path
A:\WIN95 and Press "OK".

3-4Chapter 3: Windows Installation
5. Windows will start to copy the necessary files from the Windows 95
CD-ROM and the LinkPort/TX32A driver disk.
6. When completed, Windows will prompt to Reboot the notebook.
Click OK.
7. LinkPort/TX32A adapter is now ready to service the network.
3.3 Windows 2000
The installation for LinkPort\TX32A adapter for Windows 2000 is a menu
driven through Windows interface. The directory structure provided on the
driver diskette has been setup for automatic OEM installation.
* Refer to Microsoft Windows 2000 manuals for further details.
Installation Procedure
This installation steps assumed your notebook has Windows 2000
installed.
1. Startup Windows 2000 on the notebook and insert LinkPort card in
one of the free CardBus slot.
2. Windows will automatically detect the adapter and bring up the
Windows Found New Hardware Wizard.
Click NEXT to continue.
3. In Install Hardware Device Drivers screen, Windows then provides
the following options to search the LinkPort driver.
-Search for the best driver for your device (Recommended),
or
-Display a list of all the drivers in the specific location so that you
can select the driver you want.
Choose option "Search for the best driver for your device" and insert
LinkPort\TX32A driver disk in floppy drive A.

Chapter 3: Windows Installation 3-5
Click NEXT to continue.
4. In Locate Driver Files screen, you can narrow and search the
driver files faster by marking on one or more of the options below:
-Floppy Disk Drive
-CD-ROM
-Specify a location
Check on "Specify a Location" option then click NEXT.
A box will appear for you to enter the search drive and path.
Enter A:\WIN2000 then click OK.
* Hint: If you have not inserted the driver disk after you click NEXT,
insert the LinkPort\TX32A driver disk and click BACK button will
back step the setup once, then click NEXT button to read the disk.
5. Windows will display the following:
"Compex LinkPort\TX32A CardBus Fast Ethernet Adapter"
Click NEXT, to start copy the driver.
You will hear a 2 tone sound when the Hardware Wizard had
successfully configured the LinkPort/TX32A adapter.
6. Windows will continue to copy all related files from Windows
CDROM. When completed, the message will display:
"Windows has finished installing the software for this device"
Click Finished.
7. Compex LinkPort\TX32A adapter is ready to access the network.

3-6Chapter 3: Windows Installation
3.4 Windows NT v4.0
* Note: Check that the PCMCIA device driver is started in Windows NT
v4.0 before you install the LinkPort adapter.
This installation steps assumed you have Windows NT v4.0 already
installed in your notebook.
Please ensure the LinkPort adapter is inserted in the notebook before
power on.
Installation Procedure
1. Open the Control Panel, and choose Network Settings double click on
it.
2. Click the Add Adapter button to add new network adapter.
A list of network adapters will be displayed. As LinkPort is a new
adapter and will not be on the list. Go to step 3.
3. Click on [Have Disk] button to select driver not found in Windows
default list of network adapters.
4. Type in the drive and path, A:\WINNT and click NEXT.
5. "Compex LinkPort\TX32A Cardbus Fast Ethernet Adapter"
selection will display. Select it.
6. Leave the Bus Number selected at 0.
7. Click on OK Windows will start to copy and installation of the driver.
8. Click on OK when completed
9. Windows will prompt to restart the notebook.

Chapter 4: Software Installation 4-1
Chapter 4
Software Driver Installation for Novell Netware
3.x/4.x Client
4.1 System Requirements
4.1.1 Hardware Requirements
Notebook must be equipped with TYPE II CardBus slot and CardBus
Socket controller for LinkPort/TX32A. But must have Type II PC card
socket for LinkPort/TX16A.
4.1.2 Firmware Requirements
Fully compliant with Rev. 2.1 or above PCI BIOS supplied with the PC.
4.1.3 Software Requirements
LinkPort/TX32A: Due to CardBus been a newer specification, older
Card and Socket services software do not currently support CardBus
devices. The Card and Socket Service drivers should comply with the
PC Card Standard, February 1995 or higher version to work.
LinkPort/TX16A: PCMCIA release 2.1 compliant Card Services and
Socket Services is required.
For your reference, the following DOS versions of the Card and Socket
Services are known to support CardBus (LinkPort/TX32A):
§AMICard Manger Pro Version 2.1.2 (supports CL-PD6832, TI113X);
§Phoenix Card Manager Version 2.0 (supports TI113X).
This manual suits for next models
1
Table of contents
Other Compex Adapter manuals

Compex
Compex HOMEPNA HP10 User manual

Compex
Compex WLM54AG Manual

Compex
Compex WLU108G User manual

Compex
Compex WLP54G 3a User manual

Compex
Compex iWavePort Series User manual

Compex
Compex iWavePort WLU11A User manual

Compex
Compex 10/100/1000 Base-T 32 bit Ethernet Adapter... User manual

Compex
Compex UE202-B User manual

Compex
Compex WLM54GP23 User manual

Compex
Compex WLM54AG User manual