Compex HOMEPNA HP10 User manual

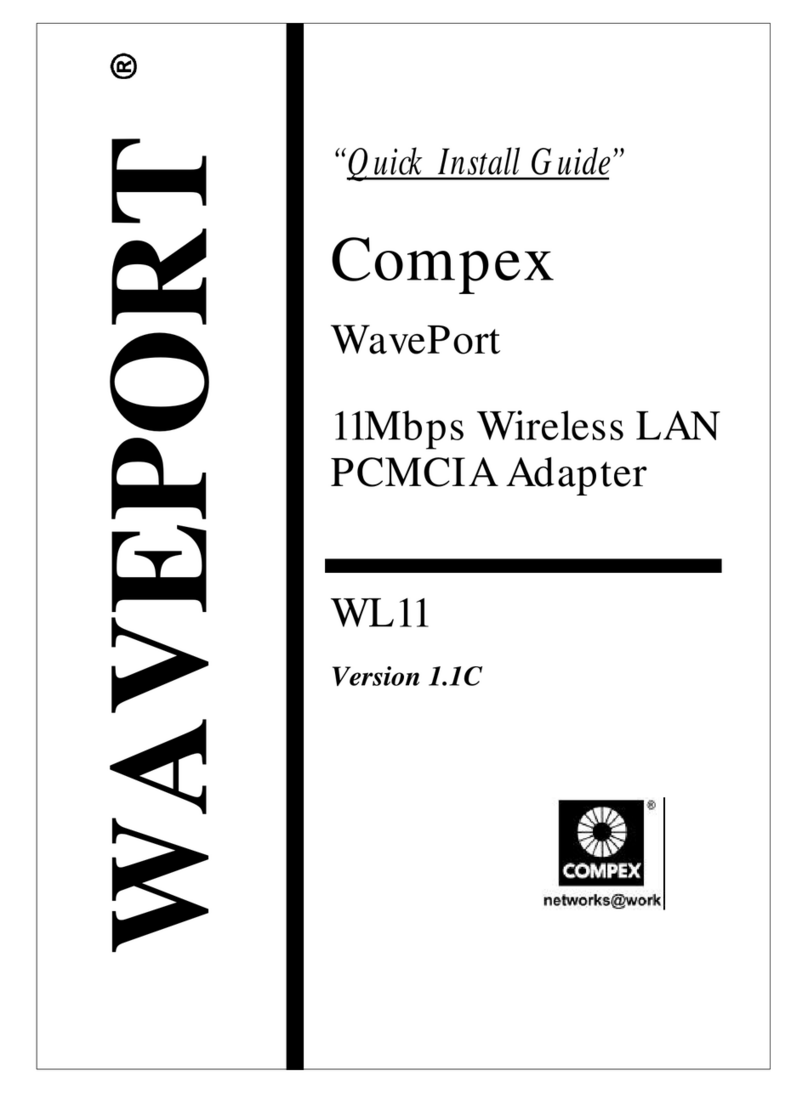
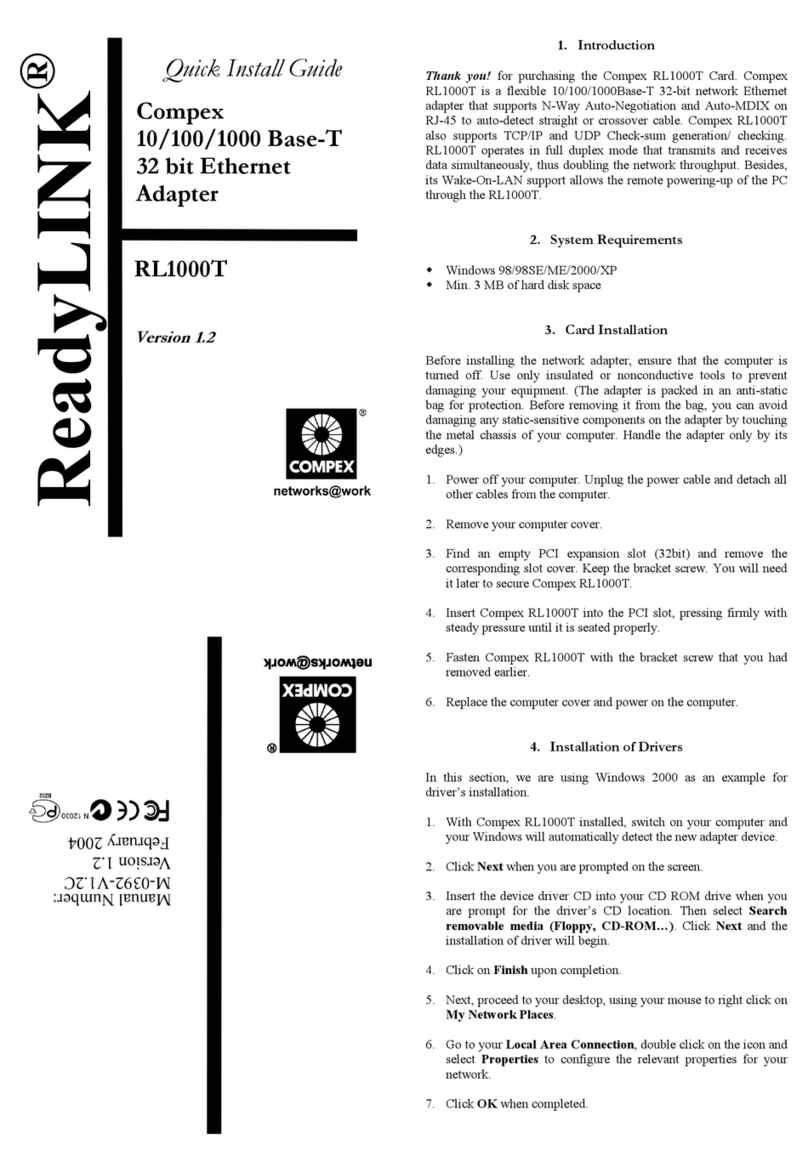
“Quick Install Guide”
Compex
Home Phoneline
10Mbps
Network Adapter
HP10
Version 1.1C
HOMEPNA

Addendum RN0246-V1.1C, version 1.1C, August 2000 1
ADDENDUM
Please note the following addendum is for Compex HP10 Network Adapter
Quick Install Guide M-0246-V1.1C:
vv Product Description:
♦
Compex Home Phoneline 10Mbps Network Adapter,
HP10
vv Please note that
ACPI function
is not available for revision A
Cards.

Contents
Diagrams Front Flap
Hardware Installation: Page 1
Inserting the Compex HP10 Card Page 1
To install a HP10 network card into
another computer Page 2
How to set up and connect Compex HP10
to your home phone cabling system Page 3
Software Installation: Page 5
How to install the Compex HP10 Home
Phone Network Adapter Page 5
System Requirements Page 5
TCP/IP Installation And Addressing Page 5
Windows 95 Configuration Page 7
Windows 98 Configuration Page 9
TCP/IP Configuration Page 13
Enabling Sharing Configuration Page 16
Technical Support Last Page

Figure 1: Compex HP10 Adapter
LED
Indicators Description of Function
Link
(Green) Steady light when properly
connected to another PC.
ACT
(Green) Flashes when data is transmitted
to/from this computer.
Figure 2: Compex HP10 connector and LEDs
PDS
HP10 2000C
Link Act

English Compex HP10 Network Adapter 1
“Quick Install Guide”
Compex HP10 Network Adapter
Hardware Installation
Installing the Compex HP10 Card
Inserting the HP10 Network Card
1. Turn off and unplug the power cord from the computer.
2. Open the case.
Note: Your computer may differ from the one pictured below. If you
have any problem removing the case, refer to the documentation
provided by the manufacturer.
3. Touch an unpainted metal surface on the computer to discharge static
electricity that may build up in your body.
4. Locate an empty PCI slot, and remove the slot cover. Keep the slot
cover screw handy. You will need it later.
Note: Most Pentium computers have two types of expansion slots:
ISA and PCI. ISA slots are black, and PCI slots are smaller and
white. Make sure you choose a PCI slot.
PCI slot (White)

2 Compex HP10 Network Adapter English
5. Carefully insert the HP10 network card in the open PCI slot.
Hold the card by its edges, and align the connector pins at the bottom
of the card. Press it gently but firmly straight into the slot. If the card
would not “snap” into the slot, pull it out and try again.
6. Replace the slot cover screw to secure the card in place.
7. Close the case.
8. Plug in the power cord to the computer.
To install a HP10 network card into another computer:
Take your network card to the next computer and repeat the installation
steps. Then connect your phone cables as described below before starting
the computer.

English Compex HP10 Network Adapter 3
How to setup and connect Compex HP10 to your home phone cabling
system.
A) If your home has several phone extension points.
1. Normally your telephone is connected to the wall socket. Unplug the
phone line from the wall socket and plugs to the bottom socket of the
Compex HP10 network card. Using another phone cable and plugs to
the top socket of Compex HP10 network card and the other end to
the wall socket.
2. Do the same as in step (1) for the next PC in the next room and so
on.
3. Your PCs are now ready to install the network card software to
complete the installation. Refer to the respective section of the
Windows version that you have installed in your PC.
LINK ACT
1 2 3
654 987 #0
Wall socket
Phone cable

4 Compex HP10 Network Adapter English
B) If your home has only one phone point.
You will need to purchase a long phone cable that runs from one PC to
another in the next room. This is ordinary phone cable also sometimes
called extension phone cable. You will also need to buy 1-in-2-way-out
phone jack adapter (see fig). The phone cable and adapter socket can be
easily purchases from any supermarkets and hardware shops.
You will need one cable for each PC to network.
1. Unplug the phone cable from the wall socket. Insert the 1-in-2-way-
out phone socket adapter in the wall socket.
2. Plug the phone line to one of the 2-way socket. The other end is
connected to a telephone. Using another phone cable plugs in the
second socket and plugs the other end of the cable to the top socket
of the Compex HP10 network card in the first PC.
3. To link another cable to the second PC use yet another cable plugs to
the bottom socket of the first PC and plugs the other end of the cable
to top socket of the Compex HP10 network card in the second PC.
4. Repeat step (3) for the third PC and so on until all the PCs you want
to network are linked up with cables.
5. Your PCs are now ready to install the network card software to
complete the installation. Refer to the respective section of the
Windows version you have installed in your PC.
.
** Hint:-
The maximum length to connect the Compex HP10 network from the
first PC to the last PC must not exceed 1000 feet or 300 meters.
ACTLINK ACTLINK
123
654 987 #0
ACTLINK
Wall socket
Phone cable
Phone Cables
English Compex HP10 Network Adapter 5
Software Installation
How to install the Compex HP10 Home Phone Network Adapter
System Requirements:
•Software (supports the following operating systems):
üEither Windows 95, Gold or OSR2 or Windows 98, Gold or
Second Edition
•Hardware:
üMinimum configuration: Pentium 200 MHz, 32 MB RAM
üCompex HP10 Network Adapter
üNormal home telephone cable
TCP/IP Installation and Addressing:
Before proceeding you will need to understand what Microsoft Windows
requires for networking to work and what are their installation defaults.
** Hint:
If you are not sure just follow the procedure as explained in
"Installation on Windows 95 using TCP/IP protocol" for all your
PCs that you want to be networked.
Windows 95 by default install NetBEUI network protocol.
Windows 98 by default install TCP/IP network protocol.
For networking to work, all PCs must communicate with the same
network protocol. So for PC running Windows 98 to network with PC
running Windows 95, one of the PC must add the required network
protocol running on the other PC.
Example:
Either Windows 95 adds the TCP/IP protocol or Windows 98 adds the
NetBEUI protocol.

6 Compex HP10 Network Adapter English
Scenarios that do not need to add additional networking protocol.
a) If your home PCs are not currently networked and all PCs are
running Windows 95, the same Microsoft Windows version
operating system e.g. all Windows 95 or all Windows 98 or all
Windows 2000.
b) If your PC are running Windows 2000 and Windows 95 only.
If you are planning to run TCP/IP protocol for your home network then
follow the guide as below or you may refer to the section of “TCP/IP
configuration”
1. If you are installing a new network at home, we recommend using
this private IP address range, 192.168.168.xxx where xxx is a
number from 1 to 254.
2. Each PC must be assigned a unique IP address. The first PC will use
IP address 192.168.168.1. The second PC will use IP address
192.168.168.2 and so on.
3. During the installation you will be prompt to enter an IP address.
Enter the address for each PC you install.

English Compex HP10 Network Adapter 7
Windows 95 Configuration:
NOTE:
During the installation process, some files might need to be copied from
the Windows 95 CD. Make sure you have it ready before you proceed.
1. When Windows 95 starts it automatically detect the Compex HP10
Network Adapter card. The "New Hardware Wizard" appears and
identify the card as a "PCI Network Controller"
2. Insert the Compex HP10 PCI Network Adapter driver disk in drive
A of the PC.
3. Click "Next" to proceed with the installation.
Windows then read the floppy disk to locate the adapter driver.
* Hint:-
If you have not inserted the Compex HP10 driver disk after you have
click NEXT, insert the Compex HP10 driver disk now and click BACK
button to back step to the previous screen. Then click NEXT button again
to continue.

8 Compex HP10 Network Adapter English
4. Windows will display the following:
Click NEXT icon to start copying the driver.
5. Windows will continue to copy all related files from Windows 95
CDROM. When completed, it will display the following screen:
Click Finished and the windows will prompt to restart the PC.

English Compex HP10 Network Adapter 9
6. At this stage NetBIEU networking protocol is installed and you
already can network your PCs with this protocol. To use this
protocol then answer Yes to restart the PC. When Windows restarts
the Compex HP10 network adapter is ready to service the network.
Note:
1. If you want to share your PC resources to other PCs in the network,
refer to the section of "Enabling Sharing”.
2. If you want to run TCP/IP protocol, you should answer “NO” in (6)
and refer to the section of “TCP/IP Configuration”. If you have click
“YES”, do not worry. Let the PC restart and continue to proceed to
the “TCP/IP configuration”.
Windows 98 and Windows 2000 Configuration:
NOTE: During the installation process, some files might need to be
copied from the Windows 98 or 2000CD.
1. When Windows starts, it will automatically detect the Compex HP10
Network Adapter card. The "New Hardware Wizard" will appears
and identify the card as a "PCI Network Controller"
2. Insert the Compex HP10 PCI Network Adapter driver disk in drive
A of the PC.

10 Compex HP10 Network Adapter English
3. Click "Next" to proceed with the installation.
4. Windows will then display the following options to locate the
adapter driver.
Add a check at "Search for the best driver for your device" and click
NEXT.
5. Windows then ask which preferred read device to use.
Add a check at "Floppy Disk Drive" and click NEXT,

English Compex HP10 Network Adapter 11
* Hint:-
If you have not inserted the Compex HP10 driver disk after you have
click NEXT, insert the Compex HP10 driver disk now and click BACK
button to back step to the previous screen. Then click NEXT button again
to continue.
6. Windows will display the following:
Click NEXT icon to start copying the driver.

12 Compex HP10 Network Adapter English
7. Windows will continue to copy all related files from Windows
CDROM. When completed, it will display the following screen:
Click Finished and the windows will prompt to restart the PC.
At this point you should answer NO and proceed to the section of
"TCP/IP Configuration”. If you have click “YES”, do not worry. Let the
PC restart and continue to proceed to the “TCP/IP configuration”.
However, if you already have a network running IP protocol and also
have a DHCP server. Click YES and restarts the Windows. The DHCP
server will automatically update the PC TCP/IP properties like assigning
a unique IP address for this PC. In this case the networking installation
have complete at this stage.

English Compex HP10 Network Adapter 13
TCP/IP Configuration
Step 1 From the Win95/98 Start Button, select Settings, and then
Control Panel. The Win95/98 Control Panel displays.
Step 2 Double-click on the Network icon as below,
and you will see the diagram as below.
Step 3 Check your list of Network Components in the Network
window Configuration tab. If TCP is not installed, install it now.
Select the Add button and you will see below figure. If TCP/IP
is installed, go to Step 8.
Installed components
Look for TCP/IP
Add button

14 Compex HP10 Network Adapter English
Step 4 Select “Protocol” and click “Add..” button. Then you will see
the figure as below.
Step 5 Select “Manufacturers” as “Microsoft” and “Network
Protocols” as “TCP/IP” (as shown on above diagram) and click
“OK”. You may need your Win95/98 CD to complete the
installation.
Step 6 After you install TCP/IP, go back to the Network window.
Select TCP/IP in the list of Network Components.
Step 7 Click Properties, and check the settings in each of the TCP/IP
Properties window

English Compex HP10 Network Adapter 15
Step 8 Click on the “IP Address” Tab and select “specify an IP
address”
Step 9 Enter the following for the first PC:
IP Address: 192. 168.168.1
Subnet Mask: 255.255.255.0
The second PC will use IP address 192.168.168.2 and so on.
The IP address for each PC must be unique.
Step 10 Click on the “Gateway” Tab and make sure all fields are blank.
Step 11 Click “OK” to return to the Network Box. From here you can
choose to enable sharing of your PC resources like harddisk and
printer. Refer to the section of the “Enabling Sharing
Configuration” if you want to share. Otherwise, click OK to
save the configurations and Windows will prompt to restart the
PC. Then click Yes for PC to restart. The network adapter is
now ready to service the network.
For details, please refer to Windows manual on how to share the hard
disk and printer.
TCP/IP Properties Tabs
(IP Address Tab Shown)

16 Compex HP10 Network Adapter English
Enabling Sharing Configuration
Step 1 From the Win95/98 Start Button, select Settings, and then
Control Panel. The Win95/98 Control Panel displays.
Step 2 Double-click on the Network icon as below,
and you will see the diagram as below.
Step 3 Click File and Print Sharing icon once and you will see the next
digram,
Click here
Table of contents
Languages:
Other Compex Adapter manuals

Compex
Compex WLM54GP23 User manual

Compex
Compex WLM54AG Manual

Compex
Compex WLU108G User manual

Compex
Compex LinkPort/TX32A User manual

Compex
Compex WLM54AG User manual

Compex
Compex WAVEPORT WL11 User manual

Compex
Compex RL1000T User manual

Compex
Compex WLP54G 3a User manual

Compex
Compex NetPassage WLM54AGP23 User manual

Compex
Compex iWavePort Series User manual