What to do in the event of a problem?
The POWER LED is not lit
Check that the power supply block is properly plugge in.
Check that the power supply cable is properly connecte to your terminal.
Check that the electrical socket is working correctly an that your electrical supply is on (power cut").
I can’t connect to the Internet in Ethernet mo e Check that the black (or yellow) Ethernet cable is properly connecte to your computer an Mo em.
Also check that your computer is properly configure (network configuration menu).
I can’t configure my Mo em in Wi-Fi mo e By efault, the Wi-Fi port is enable . But if it is not, fell free to activate it through the Web interface by clicking on the “Wireless”
menu an then ticking the “Enable Wireless” box (refer to the Wi-Fi configuration page).
I can’t use my Mo em in Wi-Fi mo e First check that Wi-Fi is enable both on your computer an mo em. Then check that the WEP encryption key has been properly
entere in your Wi-Fi receiver.
Wi-Fi is properly configure but I still can’t connect in
Wi-Fi mo e
Check that the Mo em is working properly, that your computer’s Wi-Fi a apter uses WEP 128 encryption an that you have
properly entere the WEP key printe on this ocument (page 5 section 3).
Then eventually, move your Wi-Fi terminal closer to the Mo em.
I can’t connect multiple computers to the Mo em Check that each new computer is correctly connecte to the Mo em (either in Ethernet, USB or Wi-Fi mo e) an that the use
mo e is correctly configure on each computer.
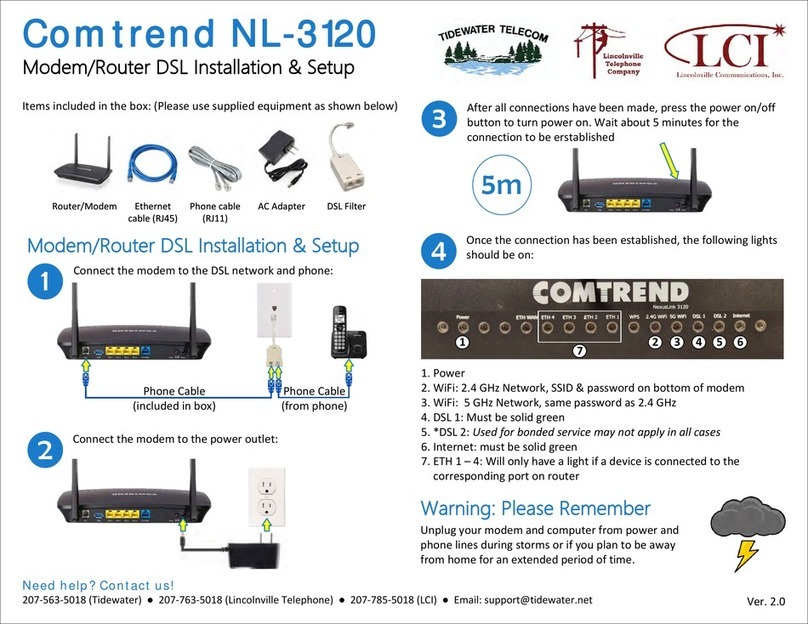
I can’t surf the Internet Reboot the mo em using the ON/OFF switch on the rear face of the mo em
My Internet page “freezes” Reboot the computer.
When I pick up the telephone, I hear nothing
Please check that your telephone han set is plugge at the back of your mo em through the telephone wire that we have provi e .
If the light
is not lit when you pick up the phone, please reboot your mo em by switching it off for about 20 secon s an then
switching it back on. If it still oes not function, please contact our technical support.
FREE Technical Support Hotline
open Monday-Friday 9am-5pm
by phone: 0805 111 555 (free call
or by e-mail: support@teleconnect.fr
For non-technical issues: 0805 02 4000 (free call


