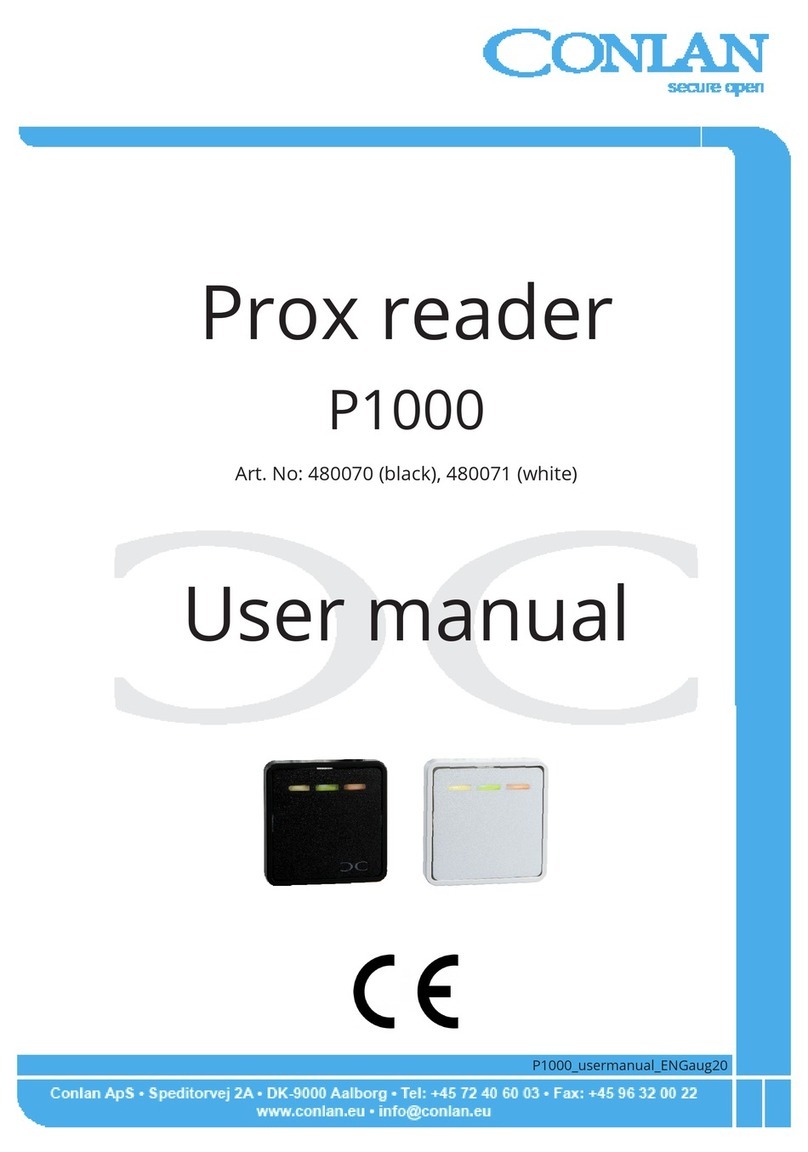
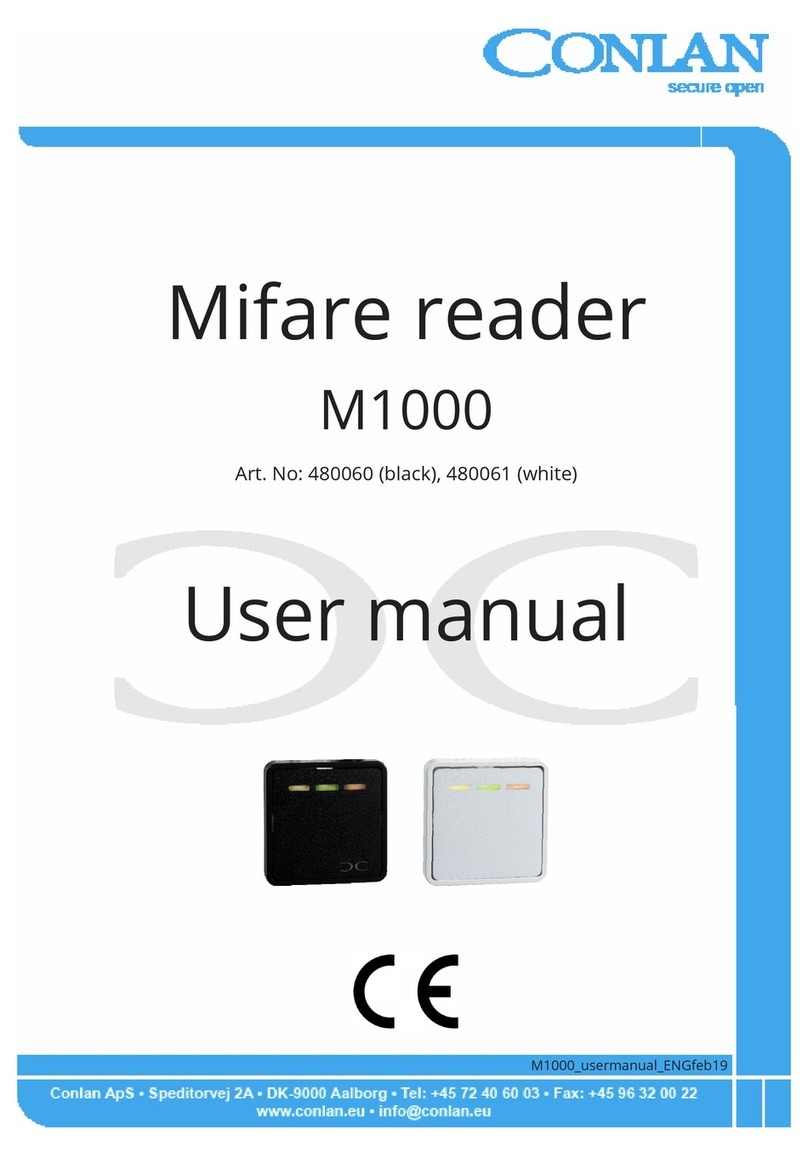
Conlan PR 1000 User manual

Proximity Reader
PR 1000
Art. No.: 460101 & 460108
User's Manual
PR1000v.2 User Man. ENGjun11

Page 2 PR 1000
Introduction
PR 1000 is a flexible proximity reader for a lot of application: At normal work the yellow LED is lit (the left one).Activation by a confirmed
transponder/card, the yellow and the green LED are lighting for the activation time. If not confirmed... the red LED is
lighting shortly. There is a buzzer integrated also for indication, either confirmed/not confirmed transponder/card
(2 different sounds). Additional the buzzer can be activated directly by GND on the brown wire.
The transponders/cards (TR) are stored in positions from 1 to 1000. At delivery all positions
are empty. The first TR shown after power up will be the Master Transponder (MT).
The next shown will be Control Transponder (CT). Now the proximity reader is for
programming(see page 3 for reset the PR 1000) User Transponder (UT).
Transponder(cards for PR 1000
Position:
Transponder:
Name:
Position:
Transponder:
Name:
00
MT
22
0
CT
23
1
UT 1
24
2
UT 2
3
UT 3
4
5
6
7
8
9
10
11
12
13
14
15
16
17
18
19
20
21
1000
Programming the Transponder/cards (TR) im
pulse
:
Show MT 1 time (yellow LED is flashing) (the proximity reader is now in programming mode), show a new TR, will be confirmed by
sound and flashing. Show the next etc. - there is space for 1000 TR. All TR will be stored from position 1 and the following numbers up.
The time up for programming mode is approx. 10 seconds after every programming. The programmed transponder will activate the
output for approx. 5 seconds (impulse).
Programming the Transponder (TR)
toggle
:
Show MT 2 times after each other (MT2) (green LED flashing). Show a new TR, will be confirmed by sound and lighting. The TR
programmed will activate the output as a toggle. The positions can be mixed up for either input/toggle TR's. All TR will be programmed
on the first free space in the positions.
Delete TR:
Show MT 3 times (red LED flashing). Show the TR/TR's you wish to delete. That/those positions are now free..
Delete a TR not present:
Show MT 4 times (green and red LED flashing). Show the transponder programmed just before that TR you want to delete e.g.: TR 12
has to be deleted. MT 4 times - show TR from position 11 and TR 12 is now deleted. Position 12 is now free e.g. 2: Delete TR 13 - MT 4
times - show TR from position 11 etc. NB: All new programmed TR will be stored on the first free space.
Delete TR on position 1:
Show MT 5 times (all LED flashing). TR on position 1 is now deleted.
Installing your new PR 1000 Proximity Reader:
Wire color
Inst - Prox
Function
Description
Red
+12 V DC
Supply, 9 –15 V / 100 mA
Black
0 V, GND
Supply
Yellow
Open collector output, 500 mA.
0V active
Output for door opening, relay, alarm etc.
Green/white
Sabotage loop
Short cut in the reader
Brown
0V active buzzer/Hold
Extern controlling/Hold function
Orange
0V active red LED
Extern controlling
Blue
0 V active, for REX button.
REX-time as for pulse.
Output for door opening, relay, alarm etc.

User's Manual Page 3
Advanced options in the PR 1000 Proximity Reader:
Generally it is the installer who is setting up the parameters/programming of the proximity reader.
Reset the PR 1000
Make a short cut between the yellow and the brown core. Connect the power. Remove the short cut. Now the proximity reader is back in
factory default. No MT, CT or TR is active. All is reset. Yellow LED is flashing. The first TR shown will be the MT. The next TR shown
will be CT. PR 1000 is now ready for programming the User Transponder (transponders up 1000 pcs).
Set up by the Control Transponder (CT):
CT can be used in configuration to the MT and all parameters can be set up as the following:
Configuration of the Proximity Reader:
Description
Indication*
Action
Indication
Action
Programming
New value
Ø O O
CT1
-- Ø Ø
MT
Buzzer on/off, repeat
On = Ø, Off = O
-- Ø Ø
CT2
-- -- --
MT
Shift Locked Indication 1-8,
repeat MT to choose
1 –8, see the LED
indication 1 –8
-- -- --
CT3
-- -- --
MT
Shift Unlocked Indication 1-8,
repeat MT to choose
1 –8, see the LED
indication 1 –8
-- -- --
CT4
-- Ø O
MT
Not in function for PR 1000
-- Ø O
CT5
-- Ø Ø
MT
Toggle open collector 2 polarity ’—’:
Ø = invert, 0 = not invert
-- Ø Ø
CT6
-- O Ø
MT
Not in function for PR 1000
-- O Ø
CT7
-- Ø Ø
MT
Set open collector output time
Time between CT7 and MT is
impulse time. 0 = toggle
-- Ø ø
CT8
Ø Ø Ø
MT
Save and exit
All the chosen parameters will be
saved and in function.
ø ø ø
CT9
Exit without save, same as time up
*: Explanation to the indications: LED indication: (default: Yellow for locked, yellow and green for unlock).
Indication
Yellow LED
Green LED
Red LED
Ø O O
On
Off
Off
-- Ø Ø
Different
On
On
-- Ø O
Different
Flash
Off
Ø Ø Ø
Flash
Flash
Flash
Examples for some settings:
Save new set up: CT8 - MT.
Leave programming without saving: Wait for time up. LED goes back to normal lighting.
Examples:
UT = User Transponder. UT1 = User Transponder 1 etc.
Example 1:
MT1, UT1, UT2, UT3: 3 User Transponders are now programmed (for impulse). Placed in position 1 to 3.
Exaples 2:
MT1, UT1, UT2, MT2, UT3, UT4: 2 User Transponders are now programmed (for impulse) and 2 for toggle.
Example 3:
MT1, MT2, MT3, UT3: User Transponder 3 is deleted.
Example 4:
CT2, MT3: LED lighting for normal use is now changed to no. 3(as shown on the proximity reader) CT4, CT5, CT6, CT7, CT8 and MT -
then the setup is saved in the reader.
Specifications:
Voltage:
+ 9 –15 V DC, 100 mA.
Output (yellow core):
max. 500 mA.
Extern controlling buzzer and red LED
Extern controlling buzzer, Hold and lock
Operating temperature:
-30° C til + 80° C.
Humidity:
100%, IP67.
Color:
Black, optional white.
Dimensions (H x W x D):
130 x 50 x 8 mm.
Cable:
2,5 m, 8 core.

Page 4 PR 1000
Quick Guide to PR 1000:
How to program the Master- and Control Transponder
Present the first TR on
the Prox spot. A beep
sound can be heard
and the first TR is now
programmed as the
Master Transponder.
Now present the second
TR on the Prox spot. The
reader responds with a
beep sound and the
second TR is now
programmed as the
Control Transponder.
After programming the Master
and the Control Transponder
wait approx. 10 seconds and
the reader is back to normal
mode.
How to program a user Transponder (with impulse)
Present your Master
Transponder 1 time on
the Prox spot. The
reader is now ready to
program user
Transponders.
Present a Transponder on the
Prox spot. To add more user
Transponders, repeat this
step.
After programming the user
Transponders wait approx.
10 seconds and the reader is
back to normal mode.
How to program a user Transponder (as toggle)
Present your Master
Transponder 2 times
on the Prox spot. The
reader is now ready to
program user
Transponders.
Present a Transponder on the
Prox spot. To add more user
Transponders, repeat this
step.
After programming the user
Transponders wait approx.
10 seconds and the reader is
back to normal mode.
How to delete a user Transponder
Present your Master
Transponder 3 times
on the Prox spot. The
reader is now ready to
delete user
Transponders.
Present the Transponder
on the Prox spot you want
to delete. To delete more
user Transponders, repeat
this step.
After you have deleted
those user Transponders
you wished to delete wait
approx. 10 seconds and
the reader is back to
normal mode.
How to delete a defect/lost user Transponder
Present your Master
Transponder 4 times
on the Prox spot. The
reader is now ready to
delete a defect or lost
user Transponder.
Present the user
Transponder which is one
position lower than the
lost user Transponder on
the Prox spot (e.g. the
user Transponder on pos.
12 is missing, present
user Transpooinder from
pos. 11).
After you have deleted
those user Transponders
you wished to delete wait
approx. 10 seconds and
the reader is back to
normal mode.
How to delete the Transponder on position 1
Present your Master
Transponder 5 times
on the Prox spot and
the Transponder on
position 1 is now
deleted.
Wait approx 10 seconds
and the reader is back
to normal mode.
Thank you, for choosing Conlan's porducts.
Please contact our support service for further
information whenever needed..
Other Conlan Card Reader manuals
Popular Card Reader manuals by other brands

Access Security Products
Access Security Products KP-KR16 user manual

DigitaLinx
DigitaLinx IPEXCB Quick install guide

Sony
Sony MRW-FC1 operating instructions

CDVI
CDVI DGLPM WLC installation manual

Unisys
Unisys UEC 7000 Series installation guide

UniFlow
UniFlow MiCard MultiTech4 Installation & configuration manual