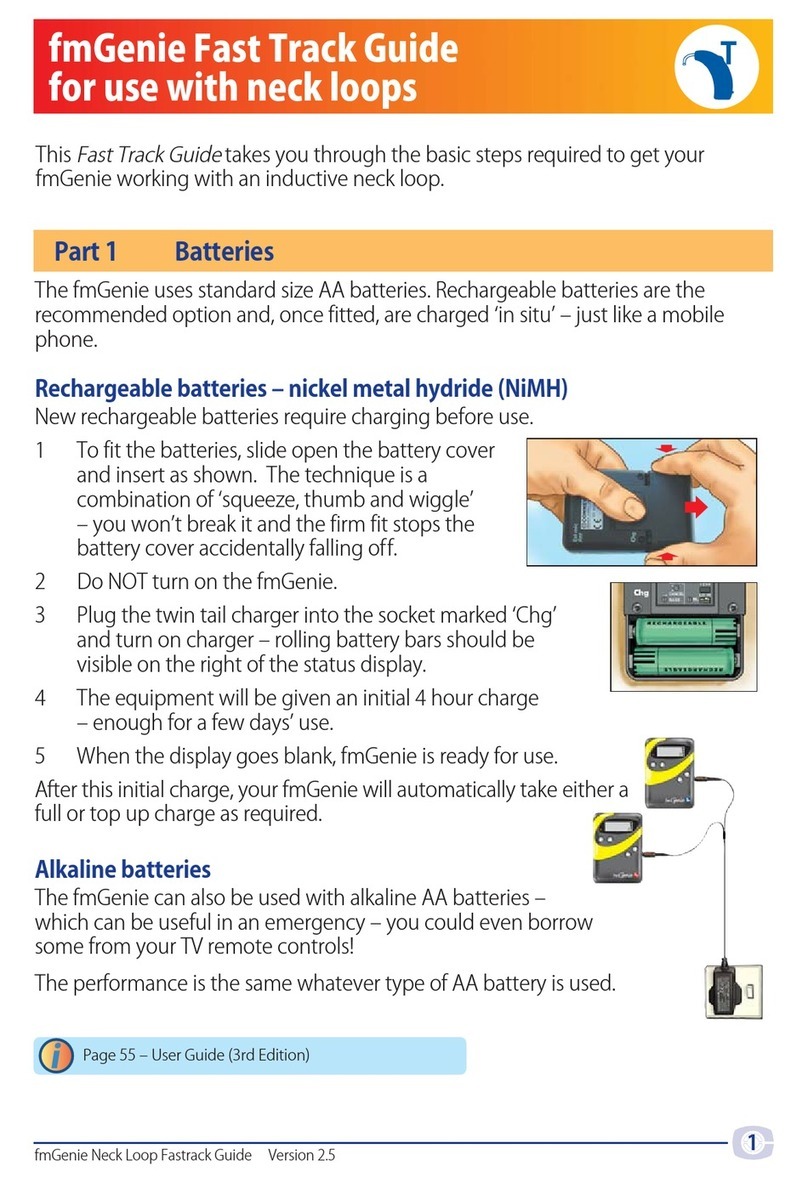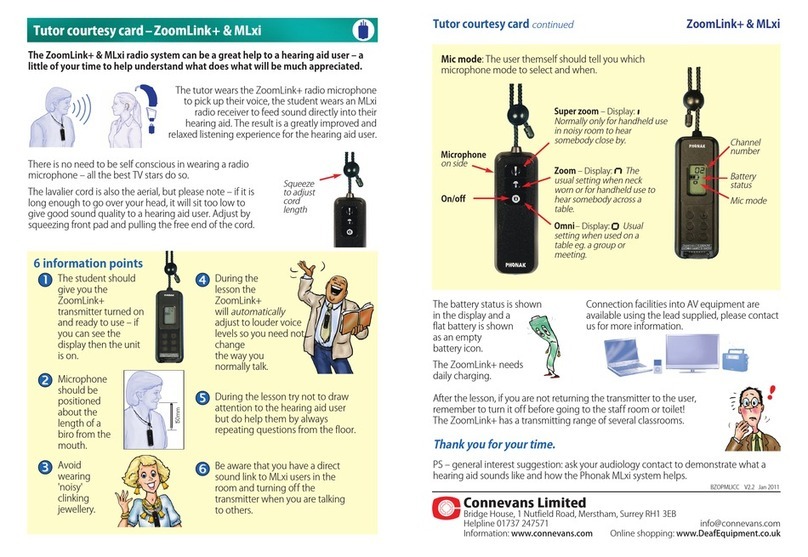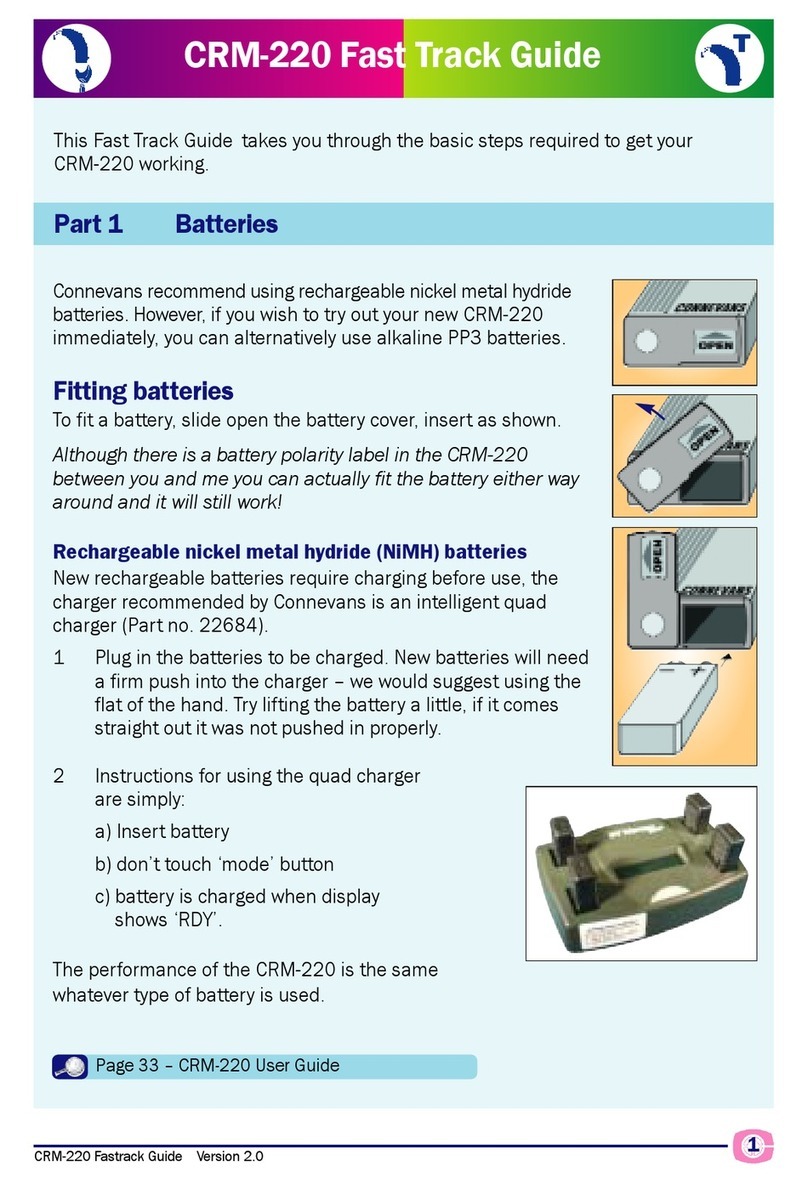
6) Connect the three pin connector of the adaptor cable into
the openings at the bottom of the FM Battery Pack Cover. Be
careful to get the right orientation of the pins. Do not use
excessive force when connecting the cable.
7) Connect the audio phone plug at the other end of the
adaptor cable into the ‘audio out’ socket of the fmGenie
receiver.
8) Turn on the following in this order:
-the transmitter
-the receiver
-the processor
9) The processor will detect the receiver automatically. There
is no need to select a particular program.
10) Turn the processor to the normal volume level.
11) Turn up the Tx volume on the receiver until a comfortable
listening level is reached.
12) Complete a listening check with the listener.
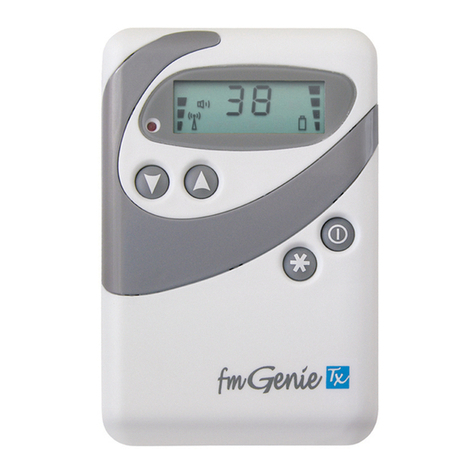
13) It is important to leave the transmitter on during the lesson.
Turning it off will create unpleasant noises for the child. The
teacher should simply use the microphone mute facility (star
button) on the transmitter if the child does not need to listen
to the input for a time. When the teacher wants to speak to
the child again, they simply press the star button again.
14) Turn the receiver off before turning the transmitter off. When
the system is not in use it should be turned off.
Troubleshooting
You can use the accessories tester from Connevans (part number
FMG750) to check the aerial on the Tx and the fmGenie lapel
microphone with its lead. Gently wiggle or bend the leads.
Intermittent connections will cause bad crackling and or interruption
of sound.
Make sure the lead is plugged in correctly at both ends.
