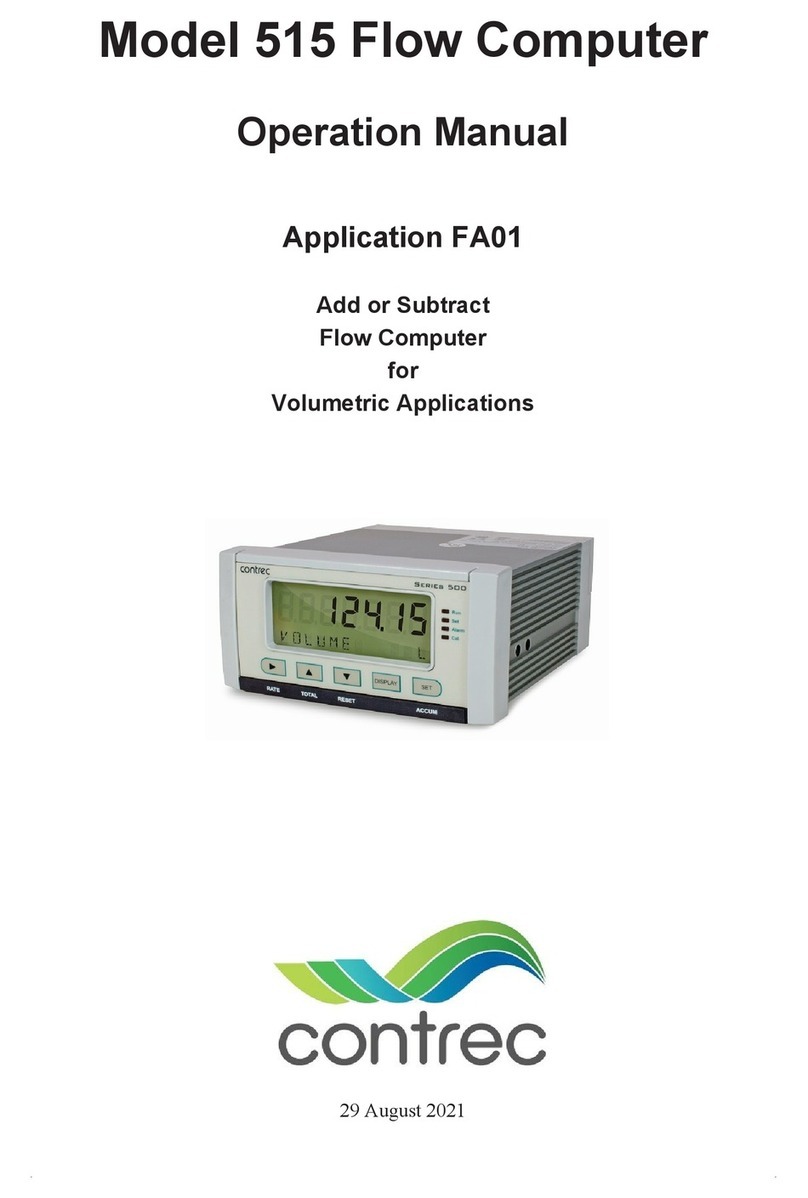
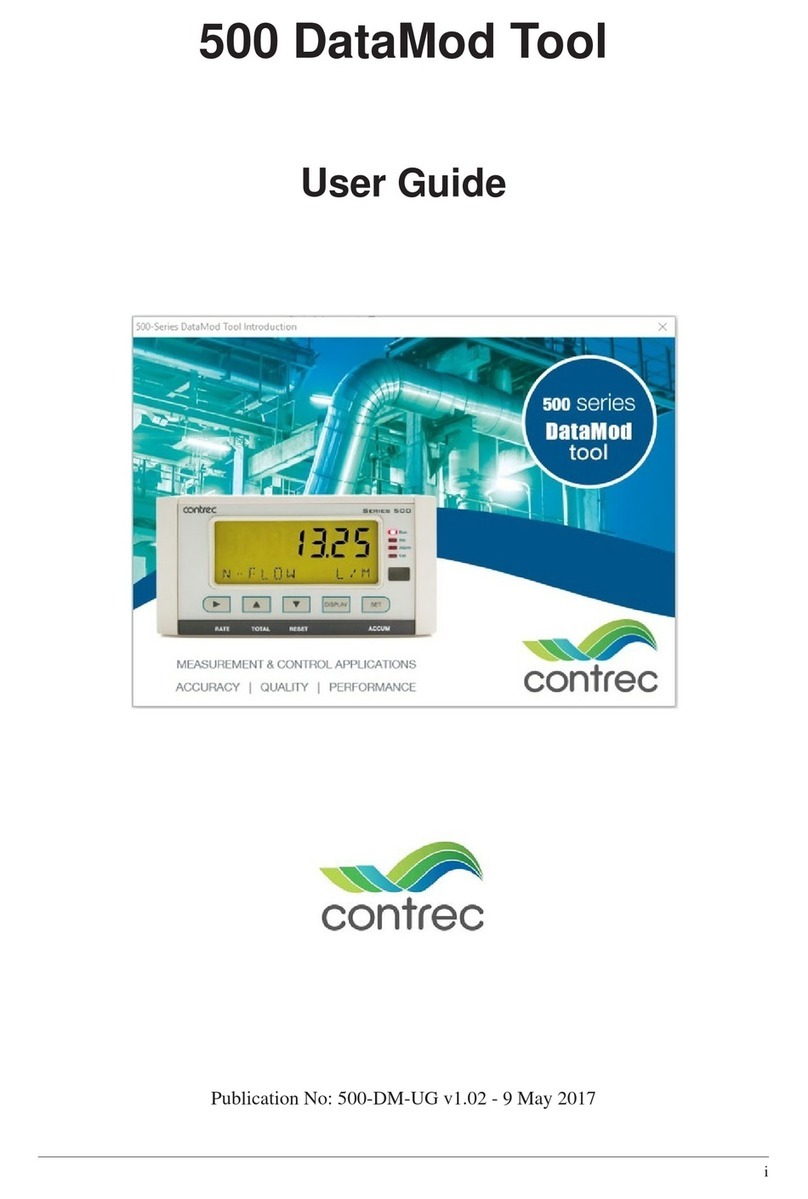
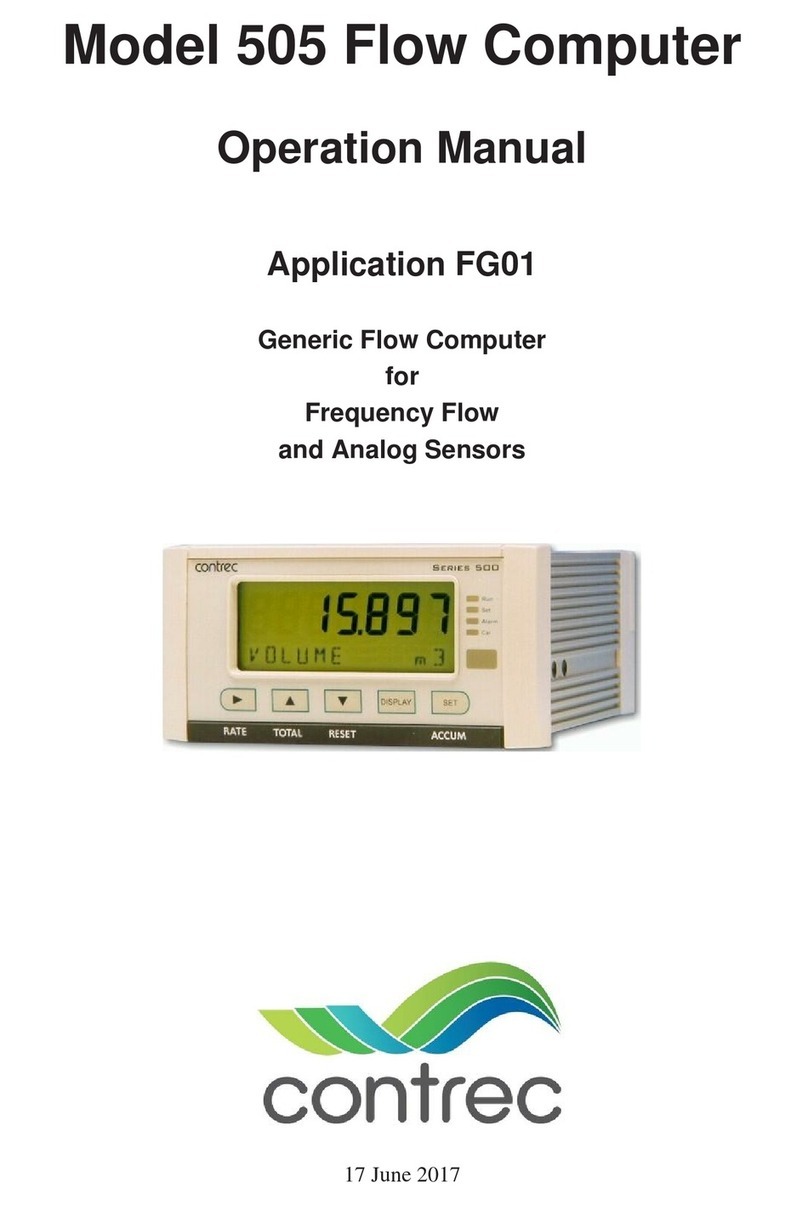
Contrec 500 Series User manual

i
500 DataMod Tool
User Guide
Publication No: 500-DM-UG v2.00 - 21 October 2018

ii
500 DataMod Tool - User Guide
© Contrec Limited 2018
The instructions given herein cover the general description, installation, operation and maintenance of the subject
equipment/software. Contrec Limited reserves the right, without prior notice, to make engineering refinements that
may not be reflected in this manual.
Should any questions arise which cannot be answered specifically by this manual, they should be directed to
Contrec Limited for further detailed information and technical assistance.
Contrec Limited will not accept any liability for either direct or consequential damages resulting from the use or
misapplication of the contents of this manual.
Part of the software embedded in this product is provided by proconX and contributors. Copyright (c) 2003-2010
The software provided by proconX and contributors is ‘as is’ and any express or implied warranties, including, but
not limited to, the implied warranties of merchantability and fitness for a particular purpose are disclaimed. In no
event shall proconX or contributors be liable for any direct, indirect, incidental, special, exemplary, or
consequential damages (including, but not limited to, procurement of substitute goods or services; loss of use, data,
or profits; or business interruption) however caused and on any theory of liability, whether in contract, strict
liability, or tort (including negligence or otherwise) arising in any way out of the use of this software, even if
advised of the possibility of such damage.
Microsoft and Windows are registered trademarks of Microsoft Corporation.
Adobe and Acrobat are registered trademarks of Adobe Systems Incorporated.
Contrec Limited
Riverside, Canal Road, Sowerby Bridge,
West Yorkshire HX6 2AY UNITED KINGDOM
Tel: +44 1422 829 944 Fax: +44 1422 829 945
Email: [email protected]
Website: www.contrec.co.uk
Contrec Systems Pty Ltd
5 Norfolk Avenue Ringwood, Melbourne 3134 AUSTRALIA
Tel: +61 413 505 114
Email: [email protected]
Contrec - USA, LLC
916 Belcher Drive Pelham AL 35124 USA
Tel: (205) 685 3000 Fax: (205) 685 3001
Email: [email protected]
Publication No: 500-DM-UG v2.00 - 21 October 2018

iii
1 Introduction
Welcome to 500-Series DataMod Tool . . . . . . . . . . . . . . . . . . . . . . . . . . 1
System Requirements . . . . . . . . . . . . . . . . . . . . . . . . . . . . . . . . . . . 1
User Licence . . . . . . . . . . . . . . . . . . . . . . . . . . . . . . . . . . . . . . . . 2
Installation . . . . . . . . . . . . . . . . . . . . . . . . . . . . . . . . . . . . . . . . . 2
Hardware Connection . . . . . . . . . . . . . . . . . . . . . . . . . . . . . . . . . . . 3
515 Instrument Connection . . . . . . . . . . . . . . . . . . . . . . . . . . . . . . . 3
Computer Port Connection . . . . . . . . . . . . . . . . . . . . . . . . . . . . . . . 3
DataMod Introduction . . . . . . . . . . . . . . . . . . . . . . . . . . . . . . . . . . . 4
Starting DataMod . . . . . . . . . . . . . . . . . . . . . . . . . . . . . . . . . . . . 4
Menu & Toolbar . . . . . . . . . . . . . . . . . . . . . . . . . . . . . . . . . . . . 6
2 Operation
DataMod Overview - Quick Guide . . . . . . . . . . . . . . . . . . . . . . . . . . . . 9
DataMod Setup . . . . . . . . . . . . . . . . . . . . . . . . . . . . . . . . . . . . . 11
Modbus Connection Settings . . . . . . . . . . . . . . . . . . . . . . . . . . . . . 12
Logging and Data Collection Types . . . . . . . . . . . . . . . . . . . . . . . . . 14
Data Collection Options Setup . . . . . . . . . . . . . . . . . . . . . . . . . . . . 17
DataMod - Establish Connection . . . . . . . . . . . . . . . . . . . . . . . . . . . . 19
Start Connection . . . . . . . . . . . . . . . . . . . . . . . . . . . . . . . . . . . 19
Custom Text and Tags . . . . . . . . . . . . . . . . . . . . . . . . . . . . . . . . . . 22
Set Custom Text and Tags . . . . . . . . . . . . . . . . . . . . . . . . . . . . . . 22
Save Custom Text and Tags . . . . . . . . . . . . . . . . . . . . . . . . . . . . . 23
Load Custom Text and Tags . . . . . . . . . . . . . . . . . . . . . . . . . . . . . 23
Data Collection . . . . . . . . . . . . . . . . . . . . . . . . . . . . . . . . . . . . . 25
Start Collecting Data . . . . . . . . . . . . . . . . . . . . . . . . . . . . . . . . . 25
Data Collection Finished . . . . . . . . . . . . . . . . . . . . . . . . . . . . . . . 26
DataMod Reports . . . . . . . . . . . . . . . . . . . . . . . . . . . . . . . . . . . . 27
Generate Report . . . . . . . . . . . . . . . . . . . . . . . . . . . . . . . . . . . 27
Save Report as CSV . . . . . . . . . . . . . . . . . . . . . . . . . . . . . . . . . 28
Custom Report Templates . . . . . . . . . . . . . . . . . . . . . . . . . . . . . . 29
Load a Custom Report Template . . . . . . . . . . . . . . . . . . . . . . . . . . . 30
Samples of Custom Reports . . . . . . . . . . . . . . . . . . . . . . . . . . . . . 31
Contents

iv

Introduction
500-DM-UG v2.00 1
Chapter 1
Introduction
Welcome to 500-Series DataMod Tool
This User Guide relates to the use of the 500-Series DataMod Tool. The DataMod
program enables you to perform the following functions for a 500-Series based
instrument:1
•Collect live or logged data from 515-Series instruments
•Display collected process data
•Generate PDF reports (with option of auto-save and auto-print of PDF reports)
•Instant access to the last auto report
•Produce data in CSV format commonly used in 3rd party software
•Customisable reports (special custom templates also available)
•Modbus RTU communication via serial port or TCP/IP (IoT solutions)
•Monitor batch or load controllers to Auto Collect delivery data
•Confidence in data integrity
The tool is simple to use and data is easy to collect. The program allows multiple
custom set-ups to be saved for easy re-use, automatically starts with the previous
configuration and allows saved reports to be re-opened. All of this is achieved
without the configuring a single Modbus register!
System Requirements
The 500-Series DataMod Tool has the following system requirements:2
•Windows based Personal Computer
•256MB Memory (or higher), and 10MB available Hard Disk space
•Display Resolution 1024 x 768 minimum
•Serial Communications Port or TCP/IP connection (requires serial to TCP/IP
converter at 515 instrument side)
•Microsoft Windows 7 (or higher), normal DPI setting
•PDF Reader, such as Adobe Acrobat Reader V4.0 or higher (to view/print
generated reports)
•Internet access for periodic software verification
____________________
1. The DataMod tool is compatible with 515 instruments with software versions
starting from 2.9.080 (or 3.0.383 if Load application and auto-collecting is required).
2. It is not possible to have multiple DataMod applications open on the same
device.
500-DM-UG v2.00

Introduction
2 500-DM-UG v2.00
User Licence
The 500-Series DataMod Tool is able to be installed as a time limited fully
operational trial version.
An installation of the trial version of the DataMod software can be changed to a
fully licenced installation with the entry of an activation code.
A single licence allows the DataMod program to run on a single computer. Software
licence will be validated, periodically requiring internet access.
Installation
Use the following procedure to install the software onto a computer:
1. Select and Run the 500-DM-x.x.xxx.exe file from appropriate local drive or
internet link.
2. If necessary, provide authorisation to Run the InstallShield program.
3. The InstallShield Wizard will start with a typical welcome screen.
It is recommended to allow the default installation to take place (the default
location for installation is C:\Contrec\500-DataMod\).
4. Follow the remainder of the instructions of the InstallShield Wizard on the
screen to complete the installation.

Introduction
500-DM-UG v2.00 3
Hardware Connection
The 515 Series instruments use industry standard Modbus RTU protocol. The
DataMod program offers a selection of Modbus transmission modes that can be
used from a Windows based computer. Selections can be: RTU Serial (for direct
local connection), TCP/IP or RTU over TCP/IP (for Internet or Ethernet based
solution for remote access with a serial to TCP/IP converter at the 515 instrument
side). In any case, to use the DataMod program there must be a transparent and
robust serial communication connection between the instrument and the computer
running DataMod. Settings of a Modbus serial-to-TCP converter should match the
serial port settings of 515 instrument, and the selection of transmission mode of
TCP/IP or RTU over TCP/IP in the DataMod program.
515 Instrument Connection
The 515 instrument currently has RS232 and RS485 serial ports (with an Ethernet
port soon to be an available option). Either port can have the Modbus RTU protocol
assigned to it and both ports have the ability to set the baud rate, parity and stop bits
as required. The 515 instrument can also have the Modbus address set as required.
The default factory setting for a 515 instrument is for Modbus RTU protocol to be
assigned to the RS485 port, and the default settings are 19200 baud rate, even parity
and 1 stop bit.
The RS232 port can be used when there is only one 515 instrument to communicate
with over a short distance and there is no need to use the RS232 port for another
protocol or function, such as a local printer output.
The RS485 port is used when there are multiple instruments to communicate with
on the same network, or when there is a significant distance between the 515
instrument and the computer collecting the data.
Computer Port Connection
It is common nowadays for Microsoft Windows based computers not to have a
RS232 or RS485 serial port. Most computers have wireless, USB or Ethernet ports
and rely on serial communication converters to connect to external RS232 or RS485
devices.
Therearemanysuchserialcommunicationconvertersavailable,butthedeviceused
must be robust, have a reliable Windows driver and operate as a transparent serial
port.
TheDataModprogramallowstheusertoselect the appropriate serialportorTCP/IP
connection on the computer. For the serial port, it provides access to set all the
normal serial communication port settings, such as baud rate, parity and stop bits
(these must be set to match the 515 instrument settings). For TCP/IP connections, it
allows entry of the port and host name / IP address.
Introduction
4 500-DM-UG v2.00
DataMod Introduction
Starting DataMod
To start the DataMod software, double click on the
500-Series DataMod icon on the Windows desktop. The program starts with a
typical welcome screen as shown in Figure 1.
Figure 1 500-Series DataMod Welcome Screen
The main screen of the DataMod program is shown in Figure 2. The main Toolbar
is found on the right hand side, the Information and Progress bar is displayed along
the bottom and the two main viewing control tabs (Report Items and Report Data)
are located in the upper left.
Figure 2 500-Series DataMod Main Screen

Introduction
500-DM-UG v2.00 5
The Report Items and the Report Data screens will become populated after some
initial communication connection has been established and data has been collected
from a 500-Series instrument.
Report Items Screen
The Report Items tab displays a screen with the following key features:
•Default and Custom Tags - This section displays the list of the instrument
variables with their default tags (names) and provides the ability to enter Custom
Tags and to choose the variables to be included in the reports. Custom Tags and
variable selections can only be made after the initial communication connection
has been established and the instrument type and main menu list has been
identified.
•Data - This column shows the last set of data collected from the instrument.
•Custom Header Lines - This section allows the user to enter up to 5 lines of
custom header information that will be included in the reports.
•Instrument Info - This section is populated with information collected from the
instrument and DataMod entries including:
- Hardware model information
- Application pack and input usage
- Program Manager software version used to create application
- Custom version number
- Instrument name and serial number.
- Unit Tag
(The above is included in the reports and is used as part of the report file name.)
•Information and Progress Bar - This section provides feedback regarding the
current program status or the previous action carried out. The coloured flashing
‘lamp’ and messages provide clear and helpful information.
Report Data Screen
The Report Data tab displays a screen with the tabulated data collected from the
instrument. There are horizontal and vertical scroll bars to allow all fields of data to
be viewed.
Only the items selected in the variables list on the Report Items screen will be
shown in the table of data.
The default variable tags and units of measurement (as extracted from the
instrument) are listed along the top row of the table and repeated as fixed labels at
the bottom of the table to always remain visible. The Custom Tags (names) are
shown in the yellow shaded row at the top of the table.
The quotation symbol ( “) is used to indicate that no custom tag has been entered
for that variable.

Introduction
6 500-DM-UG v2.00
Menu & Toolbar
Menu Bar
The menus and sub items as listed in Table 1 are found in the menu bar along the
top of the screen. Some functions are also found in the side toolbar. Please refer to
the Toolbar functions below for full description.
Menu Sub Item Function
Report Load Template
Load Custom Text
Save Custom Text
Open Saved Report
Generate Report
Save CSV
Last Auto Report
Exit
Load a custom report template created and supplied by
Contrec (contact your distributor for details).
Open a previously saved DataMod custom text file.
Save DataMod custom text and item selection file.
Open a previously saved report in the Preview screen.
Generate and open report in a Preview window with the
ability to print, save or export as PDF.
Save collected data report to a CSV file.
Open the last automatically generated PDF report.
Exit the DataMod program.
Settings Modbus Open the Modbus Connection Settings dialog box.
Data Clear Data
Start Connection*
Start Collecting*
Stop Collecting
Clear any custom text and any data previously collected.
Open the dialog box to start instrument connection process.
Start the data collection process.
(* Start Collecting replaces the Start Connection menu item after
connection is established.)
Stop collecting data from the instrument.
Web Page If internet connection is available, the Contrec website is
opened using the computer’s default browser.
Help User Guide
About
Open the 500 DataMod Tool User Guide (this document) in
the computer’s default PDF reader.
Display the version details of the DataMod program.
Table 1 500 DataMod Menu

Introduction
500-DM-UG v2.00 7
DataMod Toolbar
The DataMod toolbar buttons (found on the right hand side) provide the functions
as described in Table 2.
Option Toolbar Button Description
Clear Data Clear any previous data that has been collected. Also clears
any custom text and any custom variable selections.
Start
Connection Open the Data Collection Options dialog box to start the
connection process. The instrument will be identified and
the Report Items screen will be populated with the
instrument info and the main menu items.
Start
Collecting Collect data from the instrument. The button text flashes
blue to indicate the DataMod program is connected and
ready to proceed.
Stop
Collecting Allow the data collection process to be stopped. The data
collected prior to stopping the process is retained.
LoadCustom
Text After connection has been established, a previously saved
custom configuration can be loaded to apply preferred
variable selections and custom text.
Save Custom
Text Customsettings that have been applied after connectionhas
been established can be saved for convenient re-use in the
future.
Generate
Report After data has been collected (and any relevant custom
settings have been applied), a report can be generated from
the Report Data. The report will be opened in a Preview
window with the ability to print, save or export as PDF.
Save CSV After data has been collected (and any relevant custom
settings have been applied), the Report Data can be saved
in CSV format for future use with other applications.
Last Auto
Report Open the last automatically generated PDF report in the
computer’s default PDF reader.
Exit Exit the DataMod program.
Table 2 500 DataMod Toolbar Buttons

Introduction
8 500-DM-UG v2.00

Operation
500-DM-UG v2.00 9
Chapter 2
Operation
DataMod Overview - Quick Guide
The tables below briefly outline example procedures for using the DataMod
program to establish communications with a 515 instrument, apply customisations
if required, collect data and generate reports. For a detailed description of each part
of the operation including data collection, communications setup and how to
customise reports, please refer to the appropriate sections.
Quick Guide for Live Time-based Data Collection
This quick guide example shown in Table 3 demonstrates the basic steps required
to collect data and generate a custom report of collected time-based data.
Step Toolbar Button Description
1. Start
Connection Open the Data Collection Options dialog box. Set the type
of instrument and type of data collection required and click
Start to establish connection. The instrument will be
identified and the Report Items screen will be populated
with the instrument info and the main menu items.
2. Load
Custom Text After connection has been established, a previously saved
custom configuration can be loaded to apply preferred
variable selections and custom text.
4. Start
Collecting StartCollecting data from the instrument and viewprogress
on the status bar, each incoming data record on the Report
Item screen or the collected data on the Report Data screen.
5. Stop
Collecting Stop the data collection process. The data collected prior to
stopping the process is retained and can be viewed, printed
and manually exported as PDF or CSV.
6. Generate
Report After data has been collected, a report can be generated
from the Report Data screen. The report will be opened in
a Preview window with the ability to print, save or export
as PDF.
7. Save CSV After data has been collected, the ReportData can be saved
in CSV format for future use with other applications.
Table 3 Quick Guide Example of DataMod Operation for Time-based General Applications
500-DM-UG v2.00

Operation
10 500-DM-UG v2.00
Quick Guide for Load based Auto Collection and Print
One of the key designed uses of DataMod is to provide a simple and efficient way
for single standalone 515 Load controller installations to get a report (delivery
docket) generated and printed automatically to the host computer’s default A4
printer, each time an operator or driver completes a load. It is a significant benefit
to have the load delivery docket already printed and awaiting collection by the time
the operator or driver arrives at the office.
This quick guide example shown in Table 4 demonstrates the minimal steps
required for a control room operator to start the DataMod program ready to
automatically generate and print reports. This example assumes that the Modbus
settings and any custom text file and report template has been saved or loaded
previously and that the Rollover Number has been set to 1 for one load per report.
Step Toolbar Button Description
1. Start
Connection Open the Data Collection Options dialog box. Ensure the
Application Type is set to Load and Auto Collect, Auto
Save Reports and Auto Print Reports have been selected.
Click Start to establish connection. The instrument will be
identified and the Report Items screen will be populated
with the instrument info and the main menu items.
2. Confirm
Start
Collecting
Now
After connection has been established, click Yes to start the
collection process immediately.
At this point the DataMod program monitors the 515 Load controller. When DataMod detects
that a load has just been completed, the delivery data is collected, data is displayed in Report
Items and Report Data screens and a report is generated and printed automatically.
DataMod then continues to monitor the 515 Load controller, ready to detect the completion of
the next delivery.
DataMod can continue to monitor the load controller indefinitely and as the program needs no
interaction automatically generate and print reports, it can be minimised on the computer
screen to run in the background.
3. Last Auto
Report If the printer was off-line at the time of Auto-print or
additional copies of a the last report are required, the Last
Auto Report button can be used to open the Report in the
default PDF reader and printed again.
4. Stop
Collecting When automatic report and print generation is no longer
required or changes to the setup are required, Stop the data
collection process. The reports collected prior to stopping
the process have been saved in the ‘reports’ folder in PDF
and CSV formats.
Table 4 Quick Guide Example of DataMod Operation for Load Applications

Operation
500-DM-UG v2.00 11
DataMod Setup
This section of the 500 DataMod Tool User Guide describes in detail how data can
be collected from a 515 instrument with compatible application software.1
The DataMod program is used to collect data from an instrument and allows custom
tags, custom header text and the selected variables to be displayed as a table of
Report Data. Data can be collected as live or previously logged data and the
collection can be tailored for 515 instruments of a General, Batch or Load type. The
prepared data can then be used to generate a structured report that can be saved,
printed or exported in PDF or CSV format.
The features of Auto Save Reports and Auto Print Reports, in conjunction with a
custom report template allow the DataMod software to be used as a very simple way
for single standalone Load applications to get a professional A4 delivery docket to
be printed automatically on the host computers default office printer without any
operator intervention.
Figure 3 below shows a typical Report Items screen after data has been collected
and some custom header, tags and selections have been made.
Figure 3 Example 500 DataMod Report Items screen
The instructions and information provided below will describe the Modbus
connection settings and how the functions and features of the DataMod program are
used to collect and present important field data as required.
____________________
1. The DataMod tool is compatible with 515 instruments with software versions starting from
2.9.080 (or 3.0.383 if Load application and auto-collecting is required).

Operation
12 500-DM-UG v2.00
Modbus Connection Settings
The Modbus Connection Settings dialog box is used to provide selection of the
Transmission Mode and then RTU Serial Settings or the TCP/IP Settings,
depending on the selection.
The Modbus Connection Settings can be accessed via the Menu Toolbar (under
Settings) or via the Data Collection Options dialog box, which is opened as part of
the Start Connection process.
Please note that the DataMod program initial settings are RTU Serial, with port
configurations that should suit most 515 applications.
Note: As most current computers do not have direct RS232 or RS485 ports, USB
converters are often used. It must be known what COM port is used by the driver
for the USB converter.
An example of the Transmission Mode being set to RTU Serial and the associated
serial settings are shown in Figure 4.
Figure 4 Modbus Connection Settings - RTU Serial Communications
The DataMod program’s default Modbus settings for Receive Timeout and
Maximum Retries should suit most 515 instrument applications. However, these
settings can be changed if required.

Operation
500-DM-UG v2.00 13
An example of the Transmission Mode being set to TCP/IP (or RTU over TCP/IP)
and the associated TCP/IP settings are shown in Figure 5.
Figure 5 Modbus Connection Settings - TCP/IP Communication
To return to the Data Collection Options dialog box, click OK to apply the settings
on return, or click Cancel to return without applying any changes.
Automatic Saving of Modbus Settings
Any changes to the Modbus Connection Settings are automatically saved to be re-
used the next time the DataMod program is started. The DataMod program upon
restart will also automatically re-use any Data Collection Options, Custom Text and
Tags and any Custom Report Template that were previously in use. This feature
greatly simplifies the start-up process and access to data in instruments of a fixed
system.

Operation
14 500-DM-UG v2.00
Logging and Data Collection Types
The DataMod program uses industry standard Modbus RTU communications
protocol to access the data held in the instruments. The 515 instrument can be a
General flow type application (with time based logging) or a Batch or a Load type
application (with delivery or transactions based logging).
As well as extracting the previously logged data, DataMod allows live data to be
collected from the General (flow) type applications at programmable intervals. The
DataModprogram also provides the optionofcontinualmonitoring of the Batchand
Load type applications to Auto Collect the last delivery or transaction data as soon
as a delivery is complete.
When viewing the logged data on the 515 instrument (or retrieving via serial
communication), it is important to understand how the logs are numbered, i.e. log
indexing/numbering always starts from the most recent log and continues towards
the older logs in chronological order. Once the new logging occurs, it becomes
available as the Log Number 1 and so on.1
Time based logging
When an instrument uses time based logging, a log is taken at the rollover of the
time base (i.e. on the hour for hourly logs, etc.).
The most recent log of any particular time base is numbered as Log 001 with older
logs having increasing numbers. For example, a log that was stored 5 time bases ago
(if hourly logs, 5 hours ago) will be numbered as Log 005, etc.
Delivery based logging
When an instrument uses delivery or transaction based logging, a log of the relevant
batch or load information is taken at the end of a delivery.
The most recent delivery log is numbered as Log 00001 with older logs having
increasing numbers. For example, a log that was stored 5 deliveries ago will be
numbered as Log 00005, etc.
A unique delivery number is also assigned to each batch or load and is stored as part
of the logged data. The delivery number increments with each batch or load made
and it is only reset when the instrument logs are cleared.
Typically the logs are collected starting from the most recent one (Starting Number
set to 1), but users can change the logs retrieval Starting Number and Number of
Logs to suit their needs.
____________________
1. Logged data includes snapshot of application’s relevant main menu variables together with the
time/date stamp. In addition, logs of Batch/Load applications also include unique (sequentially
incremented) delivery number.

Operation
500-DM-UG v2.00 15
For example, if the most recent delivery number is 000124, but the desired delivery
numbers to be collected are from 000101 through to 000120 (20 records), then the
‘Log to Retrieve’ Starting Number should be set to 5 and the Number of Logs to
20 (refer to Figure 6).
Live Data Collection (General Application Type)
When data is required to be captured from an instrument on a more frequent or
different time basis than the 515 internally logging, or there is the desire for ongoing
automatically generated reports, then the Live Data Collecting options should be
used. If either of the ‘Live’ LogTypes are selected, the Interval(in seconds) and the
Rollover Number can be entered.
If for example, the Interval is set to 60 (seconds) and the Rollover Number is set to
10, then a snap shot of the live data is collected every minute and, if the Auto Save
Reports option is selected, a report in PDF and CSV format, is automatically saved
every 10 records (in this case, every 10 minutes). The status line indicates the
progress of the collection cycle. The Auto Saved reports in a default installation are
saved in: C:\Contrec\500-DataMod\reports.
If automatic printing of reports is required, refer to Auto Print Reports on page 16.
Auto Collect (Load & Batch Application Types)
When the 515 ApplicationTypeis either Load or Batch, the AutoCollect option can
be used to ensure the DataMod program continually monitors the 515 instrument to
identify when a delivery record is ready to be collected on completion of a batch or
a load. The Rollover Number is used to determine the number of records in the
cycle to be held in the Report Data screen before the oldest is removed from the list
and the new one is added.
If for example, the Rollover Number is set to 10, then the 11th delivery record will
overwrite the 1st record collected in that collection cycle. If the AutoSavedReports
option is selected, a report in PDF and CSV format will be automatically saved
every 10 deliveries. The status line indicates the progress of the collection cycle.
Auto Save Reports
When either ‘Live’ data collection for General applications is selected or Auto
Collect is selected for Batch or Load applications, then the option of Auto Save
Reports becomes available. This option can be used to ensure DataMod
automatically saves a report of the collected data in PDF and CSV format. The
Rollover Number is used to determine the number of records collected in a cycle
before a report is generated.
The auto-saved reports in a default installation are saved in:
C:\Contrec\500-DataMod\reports

Operation
16 500-DM-UG v2.00
Both the PDF and CSV report file names take the format of:
515-xxxx-nnnnnn-yyyymmdd-hhmmss_uuuuuuu
where:
515-xxxx - is the instrument application pack.
nnnnnn - is the instrument serial number.
yyyymmdd - is the year, month, day date stamp when the report was generated.
hhmmss - is the hour, minute, second time stamp when the report was generated.
uuuuuuu - is the Unit Tag as entered in the Data Collection Options dialog box.
An example file name would be:
515-LP01-654321-20180908-134608_BAY-001.pdf
Auto Print Reports
Whenever the Auto Save Reports feature is selected and active, the Auto Print
Reports option becomes available. If enabled, this DataMod feature allows the PDF
report, as it is generated, to be automatically printed to the host computer’s default
office printer using its default settings. It is important to test the printout and adjust
any required settings of the office printer.
After the data is collected and the PDF and CSV reports are automatically generated
and saved, the DataMod program will print the PDF report to office printer and then
continue communication with the 515 instrument to collect data and generate
reports as required.
Auto Print for Load Applications
For Load applications especially, the Auto Print feature is designed to be used as a
simple way for single standalone installations to get an A4 delivery docket to print
automatically without any operator intervention. DataMod will trigger a printout of
the PDF using the computers default printer and its default settings.
Note, in load (or batch) applications where there is the desire to have a delivery
docket or report generated for every load transaction, then the Rollover Number
should be set to 1.
For a professional and tailored report, Contrec can be contacted to arrange for the
purchaseof a custom Report Template designed tosuit such requirements, asshown
in the examples in Samples of Custom Reports on page 31.
Other manuals for 500 Series
2
Table of contents
Other Contrec Measuring Instrument manuals

Contrec
Contrec 212 User manual

Contrec
Contrec 104A User manual

Contrec
Contrec 515 FA01 User manual

Contrec
Contrec 515 User manual

Contrec
Contrec 515 User manual

Contrec
Contrec 202D User manual

Contrec
Contrec 103D User manual

Contrec
Contrec 202A User manual

Contrec
Contrec 515 User manual

Contrec
Contrec 415 User manual