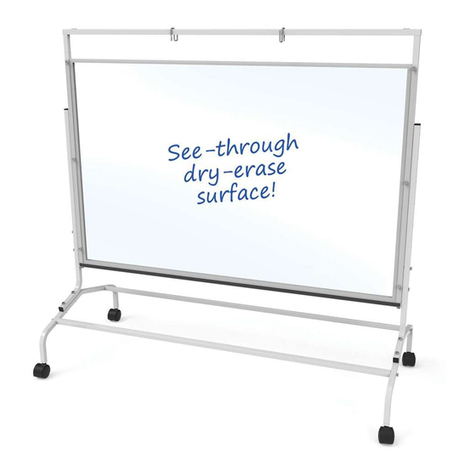
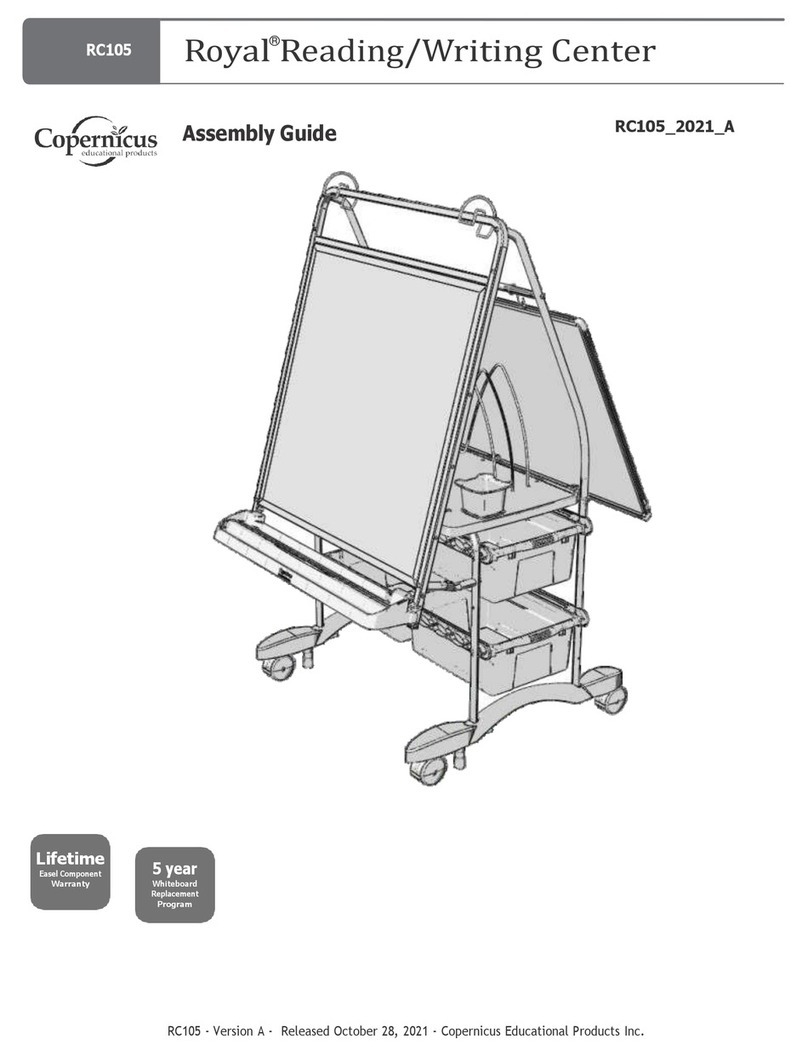
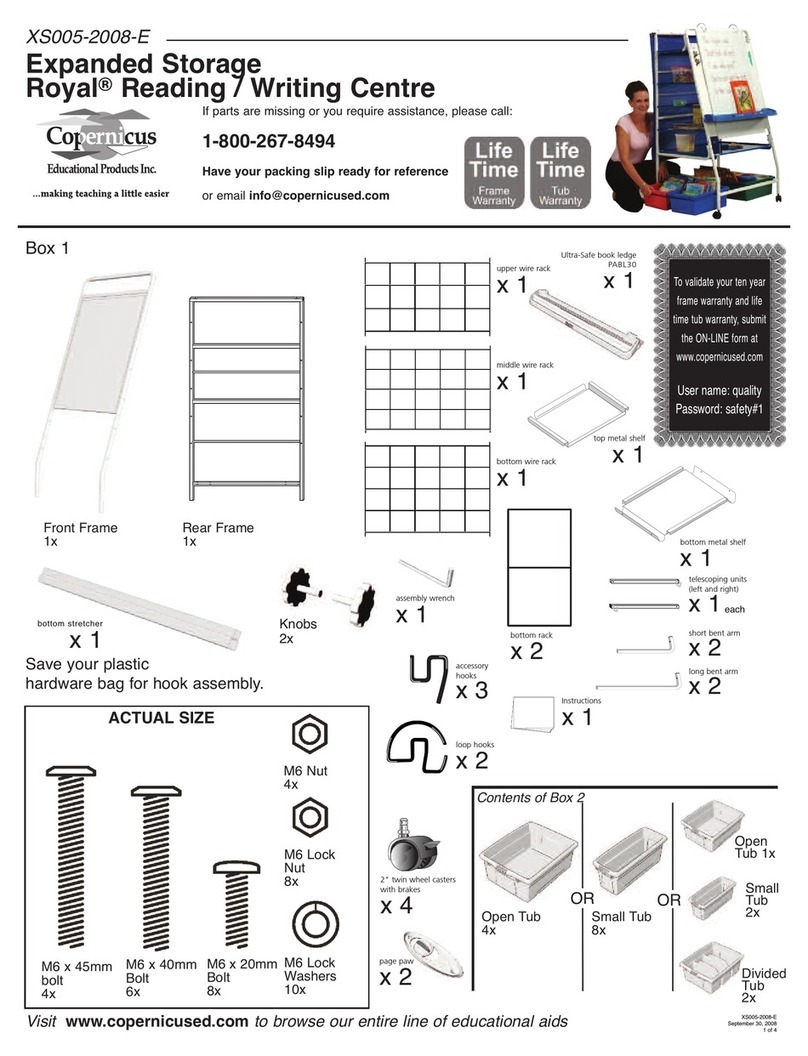
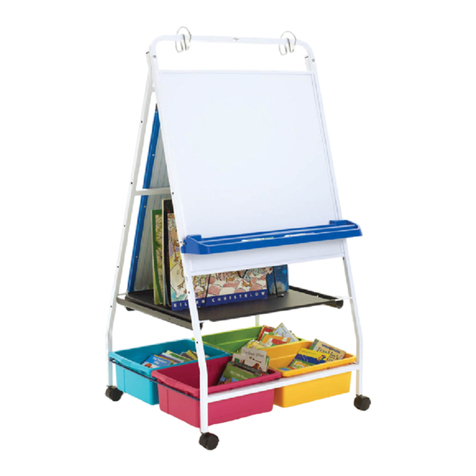
Copernicus RC2IN1 User manual

RC2IN1 - Version C - Released September 30, 2022 - Copernicus Educational Products Inc.
1
2-in-1 Royal Teaching Easel with Portable Whiteboard
RC2IN1
Assembly Guide
Check out our other products online at www.copernicused.com
For assistance, please contact us by telephone at 1-800-267-8494 or email at info@copernicused.com.
Have your packing slip ready for reference.
Please Recycle

RC2IN1 - Version C - Released September 30, 2022 - Copernicus Educational Products Inc.
2
We do not inherit the earth
from our ancestors, we
borrow it from our children.
- NATIVE AMERICAN PROVERB
Change is the end result of all
true learning.
- LEO BUSCAGLIA
What you leave behind is not
what is engraved in stone
monuments, but what is
woven into the lives of others.
- PERICLES
Education is the most
powerful weapon which you
can use to change the world.
- NELSON MANDELA
Need Support?
Have a Question?
Email Customer Service www.copernicused.com
Check out some of our
other great products!
For missing parts and other issues regarding your product:
Please contact Customer Service, where we will be happy to help.
Telephone: 1-800-267-8494, Monday - Friday 8:00am - 4:30 pm EST
Email: info@copernicused.com
Register your Product
Registering your warranty ensures we have all the information we need to make any future warranty claims quick
and easy. Please visit www.copernicused.com/warranty and complete the form within 10 business days from product
assembly. By registering your product, you will be entered into a draw to win Copernicus product.
Make a Warranty Claim
We offer a Lifetime Warranty on almost everything we make. Please call 1-800-267-8494 or email
[email protected]om to start your warranty claim. Proof of purchase will be required upon warranty claim (i.e.
copy of invoice).
Replace your Whiteboard
Have a well-used whiteboard that needs replacing? Our whiteboards carry a five-year warranty and replacement
parts program after the warranty period. Please call 1-800-267-8494 or email [email protected]om to get a new
whiteboard for your Copernicus product!
Lifetime
Frame Warranty
5 Year
Whiteboard
Warranty
Lifetime
All Components
Warranty
Customer Service & Warranty Information
Dear Educator,
Thank you for purchasing the 2-in-1 Royal Teaching Easel with Portable Whiteboard . We hope it meets your expectations
and you and your students enjoy using it at your school.
Every day we see and hear stories of teachers going above and beyond to help students thrive. Thank you so much for all
you do – you are awesome, and you make a difference.
Thank you for inspiring us.
If you have any questions, concerns or ideas on how we can improve please let us know by contacting our Customer
Solutions Ninjas at 1-800-267-8494 or [email protected].
Happy teaching,
Kaylyn Belcourt, President
kaylyn@copernicused.com

RC2IN1 - Version C - Released September 30, 2022 - Copernicus Educational Products Inc.
3
Tips for Assembly
Before You Begin:
ŸLay out and identify all of the included parts.
ŸThe hardware has been packed according to step
ŸRead the assembly guide over once to familiarize yourself with them.
As You Assemble the Unit:
ŸFollow the steps in sequence.
ŸBefore beginning each step, find the part(s) that you need for that step.
ŸThe title of each step states what you will be doing. Review the text and
the pictures as you build the unit.
The symbol denotes a
step needing extra
attention to ensure it is
done correctly.
Watch for These Helpful Symbols:
For safety, please have
someone help you when
working on steps
displaying this symbol.
2-Person Task
Please read the warnings below for important safety information regarding your product. Failure to read these
warnings or to follow the instructions below could result in personal injury or damage to your product that could
void your warranty.
Indoor Use
Only
This product is intended for indoor comercial use only. To reduce the risk of fire or electric
shock, do not expose this product to rain or moisture. The internal components are not
sealed from the environment.
In its unassembled state, this product contains parts that can be hazardous to small children.
This product should be assembled by an adult.
Small Parts
This product is to be used under the supervision of an adult.
Adult
Supervision
Do not climb on, hang from or suspend objects from any components of your product
unless otherwise specified.
Climb
Hazard
Important Information! Warning!
This product does NOT require maintenance. Repairs should only be performed by
authorized personnel. Please contact customer service if repairs are required.
No
Maintenance

RC2IN1 - Version C - Released September 30, 2022 - Copernicus Educational Products Inc.
4
Hardware
Actual Size
RC2IN1-0
Before beginning, you should have:
In Box 1
Parts
PGW01
1x
Big Book Divider
4x
Chart Loop Hooks
2x
Tub Rack
2x
Metal Shelf
1x
Ultra Safe Book Ledge
1x
Additional tools required:
H
J
Tools
(Not to Scale)
A
C
M6 x 40mm Screw
8x
M4 Lock Nut
8x
M4 x 19mm Shoulder Bolt
8x
BM6 x 15mm Screw
2x
D
E
M6 Lock Washer
8x
M6 Lock Nut
8x
G
Allen Key
(for M6 Hardware)
2x
F
Allen Key
(for M4 Hardware)
1x
Fast Lead Screw 37mm
2x
Fast Lead Screw 15mm
8x
K
M6 Barrel Nut
2x
I
M6 x 19mm Screw
8x
C68-4-VB
M8 Lock Washer
2x
2” Twin Wheel
Locking Caster
4x
Whiteboard Brackets
(Left & Right)
2x
Connector 2
2x
Connector 1
2x
Adjustable Wrench 2x Rubber Mallet 1x
OR 7mm Wrench 1x,
10mm Wrench 1x +
Open Tub
4x
10 lbs Weight Limit
Front Frame Top
1x
Tub Rails
2x
Frame Wire
2x
Whiteboard Channel
1x
Back Frame Stretcher
2x
Front Frame Risers
(Left & Right)
2x
Back Frame Risers
(Left & Right)
2x
Back Frame Feet
(Left & Right)
2x
Front Frame Feet
(Left & Right)
2x
Small Wrench
1x

RC2IN1 - Version C - Released September 30, 2022 - Copernicus Educational Products Inc.
5
In case your wedge nut becomes dislodged from the connector, follow these steps to reinstall.
To help keep the wedge nut in place, do not remove the paper cover until you are ready to
assemble the connector.
1 2
Start Building Front Frame
Rubber
Mallet
1x
Front Frame Risers
(Left & Right)
2x
Frame Wire
1x
Make sure both
wedge nuts are
installed and
facing up
!
Whiteboard Channel
1x
B
Actual Size: You will need: (Not to Scale)
1
Allen Key
2x
H
2x
G
2x
2x
Front Frame Top
1x
Use Allen Key
From Step #2
Use Hardware
From Step #9
Hardware Bag
B
B
H
G
H
G
Orientation Tip:
Front face has no holes
!
Orientation Tip:
Make sure these 6 holes
face outward
!
(Front)

RC2IN1 - Version C - Released September 30, 2022 - Copernicus Educational Products Inc.
6
Actual Size:
3
F
2x
Install Connector 1 onto Back Frame
Assemble Back Frame
Frame Wire
1x
Back Frame Stretcher
(with dot label)
2x
4x
I
4x
A
Actual Size: You will need: (Not to Scale)
2Allen Key
1x
Left Riser
1x
Right Riser
(with dot label)
1x
A
Install wire
before tightening
hardware
I
A I
AI
AI
Install wire in
this location
(Left Riser)
(Right Riser)
F
F
Check for wedge
nut inside all
connectors
See page #5 for details
Rubber Mallet
1x
Allen Key
1x
Connector 1
2x
You will need: (Not to Scale)
Use Hardware
From Step #3
Hardware Bag
Use Hardware
From Step #2
Hardware Bag
Match dots with the
front of Connector 1
!
Match dots
for assembly
!

RC2IN1 - Version C - Released September 30, 2022 - Copernicus Educational Products Inc.
7
Attach Front Frame, Whiteboard Bracket and Back Frame
Back Frame
1x
Front Frame
1x
2x
E
Actual Size: You will need: (Not to Scale)
4Allen Key
1x
Whiteboard Bracket
(Left and Right)
2x
Assemble Front Frame Feet
Front Frame Feet
(Left & Right)
2x
Actual Size: You will need: (Not to Scale)
5A Connector 2
2x
Allen Key
1x
F
2x
Rubber Mallet
1x
21
Check for wedge
nut inside all
connectors
See page #5 for details
F
F
Match dot with
metal plate on
same side
(Left) (Right)
(Left)
(Right)
EE
This hole gets
covered by
bracket
!
E
(Back)
(Front)
Leave paper
tape on until
next step

RC2IN1 - Version C - Released September 30, 2022 - Copernicus Educational Products Inc.
8
Front Frame Feet
(Left)
1x
Actual Size: You will need: (Not to Scale)
5B
Allen Key
1x
F
2x
Rubber Mallet
1x
Attach Front and Back Left Feet
Back Frame Feet
(Left)
1x
(Front Foot)
(Back Foot)
F
F
Note screws faces
outside of frame
!
F
Check for wedge
nut inside all
connectors
See page #5 for details
Tip unit on its side for
easier assembly
!
Use Left Foot Use Left Foot

RC2IN1 - Version C - Released September 30, 2022 - Copernicus Educational Products Inc.
9
Front Frame Feet
(Right)
1x
Actual Size: You will need: (Not to Scale)
6
Allen Key
1x
F
2x
Rubber Mallet
1x
Attach Front and Back Right Feet
Back Frame Feet
(Right)
1x
(Front Foot)
(Back Foot)
F
F
Note screws faces
outside of frame
!
F
Check for wedge
nut inside all
connectors
See page #5 for details
Tip unit on its side for
easier assembly
!
Use Right Foot Use Right Foot

RC2IN1 - Version C - Released September 30, 2022 - Copernicus Educational Products Inc.
10
8
Add Casters
Tub Rails
2x
A
Actual Size: You will need: (Not to Scale)
7Allen Key
1x
Twin Wheeled
Locking Caster
4x
Wrench
1x
Mallet
1x
You will need: (Not to Scale)
Install Tub Rails
I
4x
4x
AI
AI
AI
AI
If you cannot push the casters in
by hand, try placing an adjustable
wrench between caster wheels and
then tapping with a rubber mallet.
Make sure the casters are
locked before standing unit up
!
!
Tip unit back
upright
!

RC2IN1 - Version C - Released September 30, 2022 - Copernicus Educational Products Inc.
11
9
Slide Metal Shelf over Frame Wires
Metal Shelf
1x
You will need: (Not to Scale)
Actual Size: You will need: (Not to Scale)
10
Allen Key
1x
Big Book Divider
4x
C
8x
8x
K
Adjustable Wrench
(or 10mm Wrench)
1x
Use Hardware
From Step #11
Hardware Bag
Attached Big Book Dividers to Metal Shelf
C
K
x 8
x 8
NOTE:
The Big Book Dividers
are optional. If you prefer
to leave your shelf open
you can skip this step.

RC2IN1 - Version C - Released September 30, 2022 - Copernicus Educational Products Inc.
12
Install Tub Frames and Tubs
D
J
Tub Rack
2x
Allen Key
(for M4 Hardware)
1x
1
3
Open Tub
4x
2
Use Hardware
From Step #13
Hardware Bag
Actual Size: You will need: (Not to Scale)
11
8x
8x
10 lbs Weight Limit Small Wrench
1x
!Do not over tighten
or Tub Racks will
not slide easily
J
D
D
D
D
D
D
D
D
J
J
J
J
J
J
J

RC2IN1 - Version C - Released September 30, 2022 - Copernicus Educational Products Inc.
13
12 Ultra Safe Book Ledge
1x
Install Book Ledge
There are four (4) positions on the front of the unit
for your convenience. Choose the one that works
best for your classroom.
1) Insert one hook into the appropriate hole on one
side of the Whiteboard Frame
2) Pull out opposite hook & snap into place
Note: The spring tension is designed to discourage
children from unhooking the Book Ledge.
You will need: (Not to Scale)
13
Install Pack and Go Whiteboard
Lift plunger to secure or release
whiteboard from bracket
PGW01
1x
Refer to Page 15 for tips on
how to use the PGW board
You will need: (Not to Scale)

RC2IN1 - Version C - Released September 30, 2022 - Copernicus Educational Products Inc.
14
14
Attach Chart Loop Hooks
Chart Loop Hooks
2x
You will need: (Not to Scale)
16
Final Assembly Checks
Check entire assembly for loose parts; bolts, screws and nuts
Adjustable Wrench
(7mm, 10mm Wrench)
1x
Rubber Mallet
1x +
+
You will need: (Not to Scale)
Allen Key
1x

RC2IN1 - Version C - Released September 30, 2022 - Copernicus Educational Products Inc.
15
How to set up PGW01 on a surface
Pull out bottom of kick stand until
tether is tight and place on surface
How to hang the Pack and Go Whiteboard Easel
The shoulder strap can be use to hang on hooks, tree branches or fence post.
1
3
2How to carry the PGW01
Adjust strap to appropriate length
and carry over shoulder
Using the Pack and Go Whiteboard Easel (PGW01)
PGW01
Other manuals for RC2IN1
1
Table of contents
Other Copernicus Whiteboard manuals

Copernicus
Copernicus iRover2 IFP300 User manual

Copernicus
Copernicus Royal XS005 User manual

Copernicus
Copernicus Premium Royal Inspiration Station User manual

Copernicus
Copernicus Premium Royal Inspiration Station User manual

Copernicus
Copernicus RC105 User manual

Copernicus
Copernicus CS7-CLR-DBL User manual

Copernicus
Copernicus Regal RC107 User manual

Copernicus
Copernicus RC105 User manual

Copernicus
Copernicus CWB1 User manual

Copernicus
Copernicus RC200 User manual