manuals.online logo
Brands
  1. Home
  2. •
  3. Brands
  4. •
  5. Copernicus
  6. •
  7. Whiteboard
  8. •
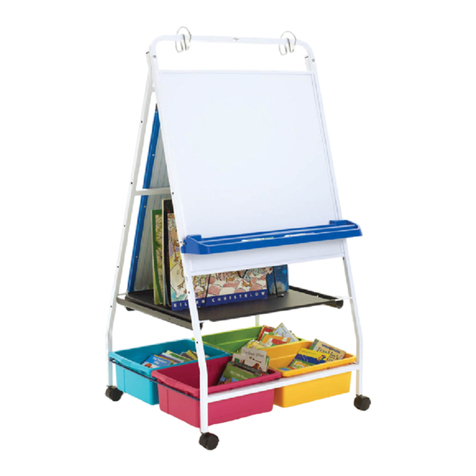
  9. Copernicus Royal XS005 User manual

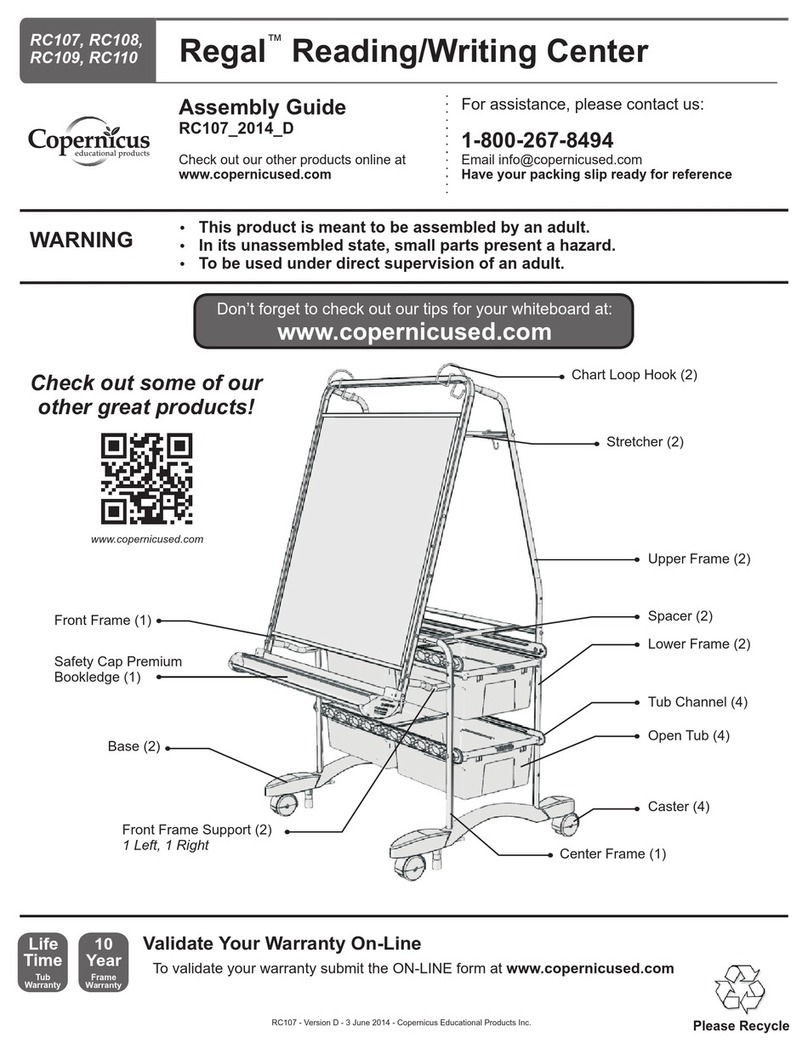
Copernicus Royal XS005 User manual

top metal shelf
x 1
bottom metal shelf
x 1
upper w re rack
x 1
m ddle w re rack
x 1
bottom w re rack
x 1
Box 1
accessory
hooks
x 3
loop hooks
x 2
telescop ng un ts
(left and r ght)
x 1each
short bent arm
x 2
long bent arm
x 2
Save your plastic
hardware bag for hook assembly.
To validate your ten year
frame warranty and life
time tub warranty, submit
the ON-LINE form at
www.copernicused.com
User name: quality
Password: safety#1
Ultra-Safe book ledge
PABL30
x 1
bottom rack
x 2
XS005-2008-E
Exp nded Stor ge
Roy l®Re ding / Writing Centre
If parts are missing or you require assistance, please call:
1-800-267-8494
H ve your p cking slip re dy for reference
or email [email protected]
Visit
www.copernicused.com
to browse our entire line of educational aids
XS005-2008-E
September 30, 2008
1 of 4
nobs
2x
ACTUAL SIZE
M6 Lock
Nut
8x
M6 x 45mm
bolt
4x
M6 Lock
Washers
10x
M6 x 20mm
Bolt
8x
M6 x 40mm
Bolt
6x
assembly wrench
x 1
Instruct ons
x 1
2" tw n wheel casters
w th brakes
x 4
page paw
x 2
M6 Nut
4x
bottom stretcher
x 1
Front Frame
1x
Rear Frame
1x
Open Tub
4x
Contents of Box 2
Small Tub
8x
OR OR Small
Tub
2x
Divided
Tub
2x
Open
Tub 1x
3. Worki g from the top, place
upper, middle a d lower wire
rack pro gs i to the
correspo di g holes.
NOTE: Long bars on racks
are to be on top making
items slide easier.
4. Now attach long be t arms to
both back a d fro t frame as i
step o e a d show i i set.
5. I sert caster stems i to black
caster i serts o frames. Push
casters i by ha d u til they
bottom out agai st lip o caster
stem. If you fi d they are hard to
push i , place a piece of wood or
vice-grips betwee the two
wheels directly over stem a d
tap the wood or vice grips with a
hammer u til caster bottoms out
agai st lip o caster stem.
6. Lock casters. Tur upright by
placi g your foot o caster that
is o the floor a d pivot. Pull the
u it upright by the top legs.
Tools required:
Adjustable wre ch or vice grips.
Assembly:
1a.Turn Front Frame upside down,
remove the packaging material
and carefully slide the
Whiteboard all the way into the
channel at the top of the Front
Frame.
1b.Position the Bottom Stretcher
Angle the Bottom Stretcher into
the bottom of the Whiteboard
and rotate into position to align with
bolt holes Fasten with two
M6 x 40mm Bolts & Lock Washers
2. Place fro t a d back frames o
sides maki g sure holes for wire
racks are to i side. Attach short
be t arms to back frame usi g
M6 x 40mm bolts a d lock
washers. For fro t frame
use M6 x 45mm bolts, lock
washers a d uts as show .
Ha d tighte o ly.
Pull upr ght by p vot ng on bottom locked caster.
3b
3a
2
4
3c
3b
3a
2
4
3c
2 & 4
XS005-2008-E
September 30, 2008
2 of 4
1a. Remove packaging &
slide to top of frame
1b. Rotate into
position
7. Slide bottom racks i to
bottom cha els. Next
drop M6 x 20mm bolt
i to four holes a d
attach M6 lock uts.
These e sure the tubs
do ’t fall out whe
accessi g books. DO NOT
OVER TIGHTEN!
Repeat for
the other
side
8. Positio
top metal
shelf i to
place, ha gi g
it o to be t arms.
9. Slide bottom
metal shelf
i to place
from back,
ha gi g it
o to fro t
a d back
frame bars.
10. Book ledge
ca be used o fro t or back.
Attach (or adjust height)
by pulli g out spri g loaded
hooks a d s appi g i to a y of
the five positio s o the fro t or
back frame.
11. Use the M6 k obs to faste the
telescopi g u its i to top of
back frame.
12. Tighte all bolts.
13. Place tubs i to bottom rack.
14. To ha g chart paper or
accessories use the appropriate
size of hook. To preve t
scratchi g pai t whe s appi g
the hooks o , place your
empty hardware bag o
frame a d s ap hooks o over
it. The simply slide the bag out.
MUST BE SNAPPED ON
Accessory hooks are for
ha gi g o e item o ly. The
loop hooks are for ha gi g
two items such as chart paper
a d removable dry erase
board or chart paper a d
pocket chart. If you have a dry
erase board, it ca also be
used to support art paper,
chart paper, big books etc.
Putting the “snap” back in
your hooks; if hooks o
lo ger s ap i to place apply
pressure to “tail”of the
hook. If vice grips are ’t
available tappi g the tail
with a rubber mallet or
hammer will also work.
Accessory hooks for one tem.
Loop hooks for two or more tems.
To see other school products that may nterest you,
v s t our web s te: www.copernicused.com
Leveled Reading™ Book Spinner
SBC190
Leveled Reading Book Spinner
Store and d splay your leveled books
w th our Leveled Read ng™ Book
Sp nner. Revolves 360° on a center
platform that can be eas ly removed
to prov de a mob le cart.
Accommodates a mult tude of books
and features:
• E ght NEW Royal®D v ded Book
Tubs (patent pend ng) guaranteed
for l fe
• B g book d splay rack on one s de
• Standard s ze book d splay on the
other s de
• Four lock ng casters for stab l ty or
mob l ty
• Ten year frame warranty
Please Note: the spring tension is designed to
discourage children from unhooking the book ledge.
XS005-2008-E
September 30, 2008
3 of 4
XS005-2008-D
September 30, 2008
4 of 4
Important Tips for Your White Board Surfaces
Keep these tips for future reference.
L ned Dry Erase Board (AC350)
Non-Magnet c Dry Erase Board (WB63)
Removable L ned Dry Erase Board (AC455)
If any parts are missing or you experience problems, please call:
1-800-267-8494
H ve your p cking slip re dy for reference
or email [email protected]
Before Use
1. Some boards are shipped with a protective plastic film to
prevent scratches. Be sure to remove this film prior to writing
on the surface.
2. Spray your board with a white board cleaner and wipe with a
soft cloth. Rinse with water and dry with a soft dry cloth.
User Tips
**We highly recommend Expo® brand dry erase markers (“low odor”
markers are best for using around children, but may not erase as
easily as regular “high odor” markers).
DO
• Erase after every use with a clean dry soft cloth or eraser
(eraser should be specifically designed for white boards)
• Use white board cleaner as needed
• Replace your dry erase markers as needed to avoid “ghosting”
DONʼT
• Use abrasive erasers, cleaners, sponges or rags
• Use a chalkboard eraser
• Use a wet eraser
• Use permanent marker – eep them away from your
white boards!
Tips to Remove Perm nent M rker
1. Using a dry erase marker, write over top of permanent marker.
Let dry. Erase. Repeat a few times.
2. Try a Pentel Brand HI-Polymer Pencil eraser.
3. With a very small amount of isopropyl alcohol (rubbing alcohol)
on a soft cloth, clean stained area only. Rinse with water. Dry
with soft cloth. Repeat a few times.
4. SoySafe™ white board Cleaner & Restorer is also perfect for
removing permanent marker stains. Copernicus item # AC405.
Note: Under no circumstances should cleaners which contain paint
remover or thinner be used.
Cleans and restores wh teboards (AC405)

Other Copernicus Whiteboard manuals

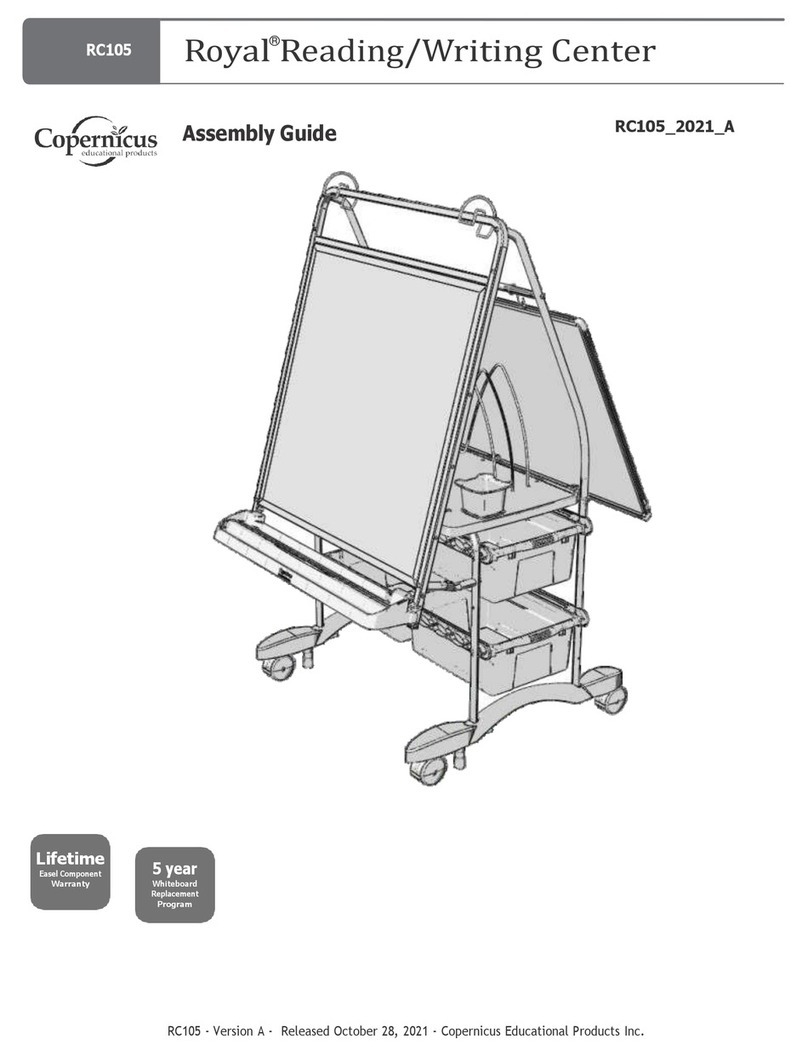
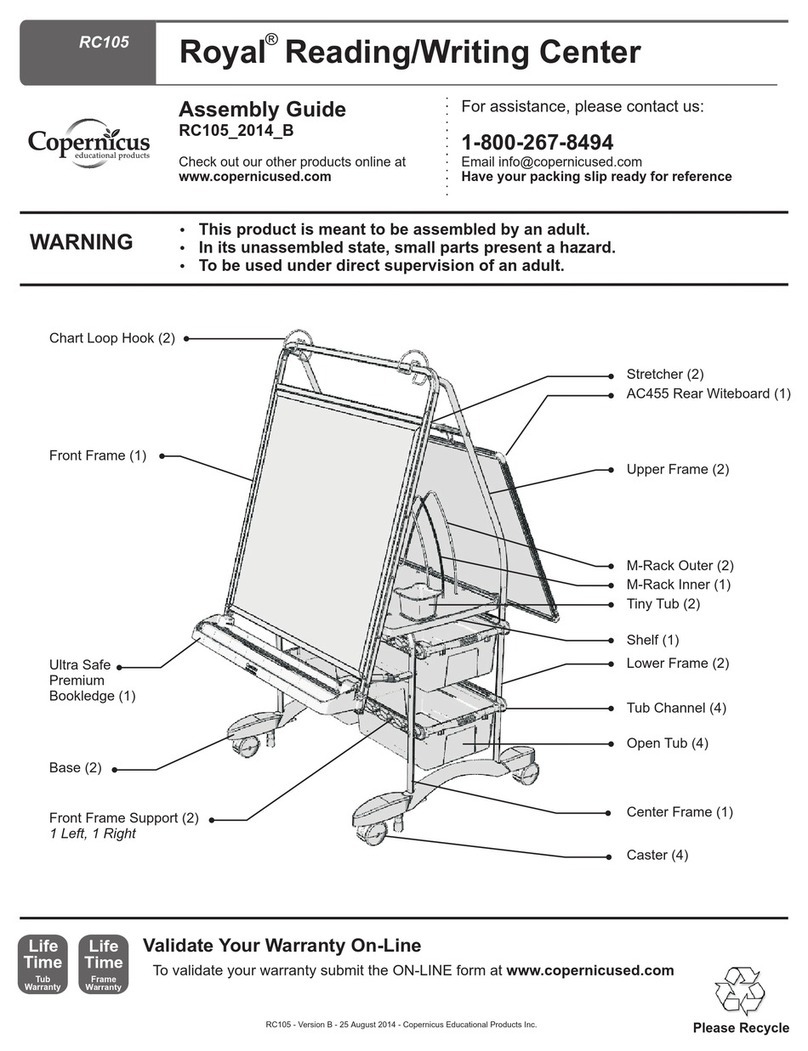
Copernicus RC105 User manual

Copernicus

Copernicus RC105 User manual

Copernicus Premium Royal Inspiration Station User manual

Copernicus

Copernicus Premium Royal Inspiration Station User manual

Copernicus RC105 User manual

Copernicus

Copernicus RC105 User manual

Copernicus Royal RC005 User manual

Copernicus

Copernicus Royal RC005 User manual

Copernicus RC2IN1 User manual

Copernicus

Copernicus RC2IN1 User manual

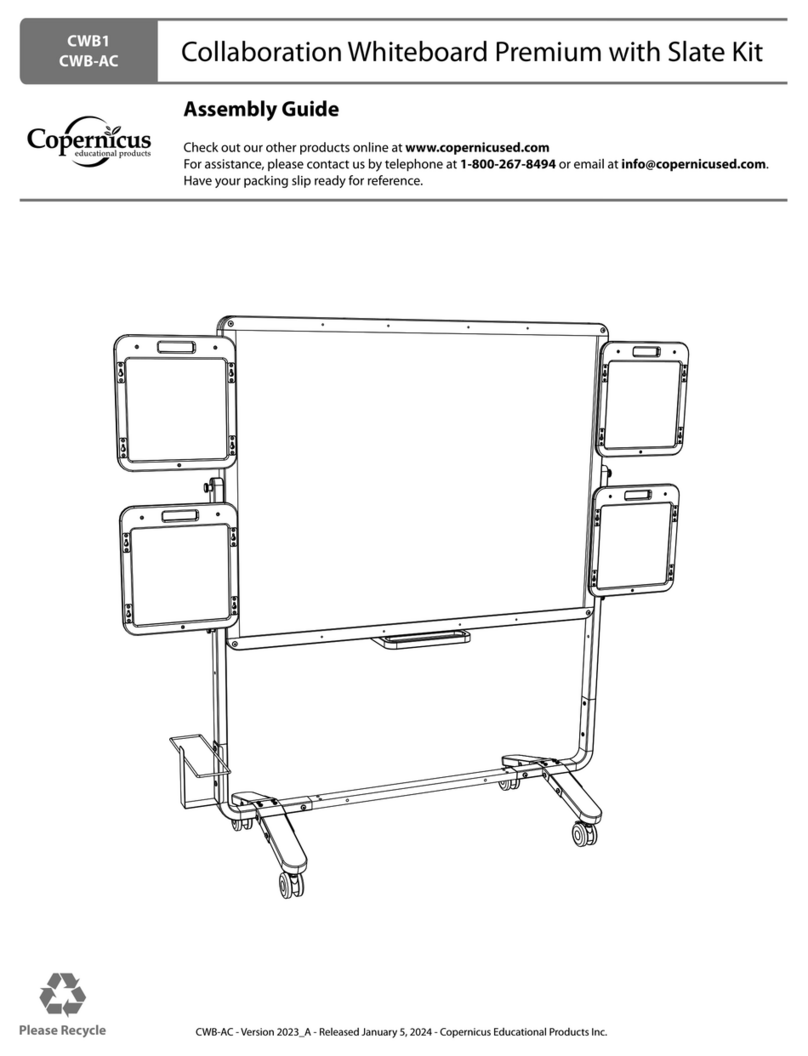
Copernicus CWB1 User manual

Copernicus

Copernicus CWB1 User manual

Copernicus iRover2 IFP300 User manual

Copernicus

Copernicus iRover2 IFP300 User manual

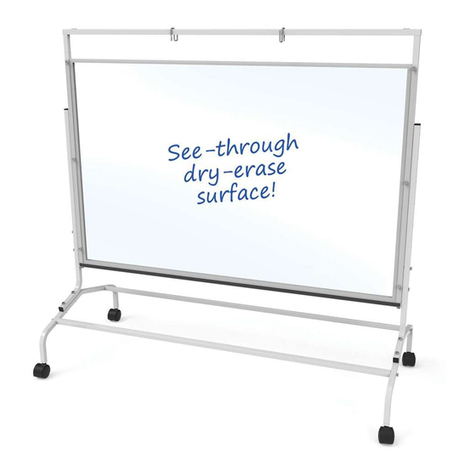
Copernicus CS7-CLR-DBL User manual

Copernicus

Copernicus CS7-CLR-DBL User manual

Copernicus Premium Royal Inspiration Station User manual

Copernicus

Copernicus Premium Royal Inspiration Station User manual

Copernicus Regal RC107 User manual

Copernicus

Copernicus Regal RC107 User manual

Copernicus RC200 User manual

Copernicus

Copernicus RC200 User manual

Popular Whiteboard manuals by other brands

HitachiSoft StarBoard FX-77 user guide

HitachiSoft

HitachiSoft StarBoard FX-77 user guide

Little Partners DELUXE LEARN AND PLAY ART CENTER LP0280 R2 Assembly

Little Partners

Little Partners DELUXE LEARN AND PLAY ART CENTER LP0280 R2 Assembly

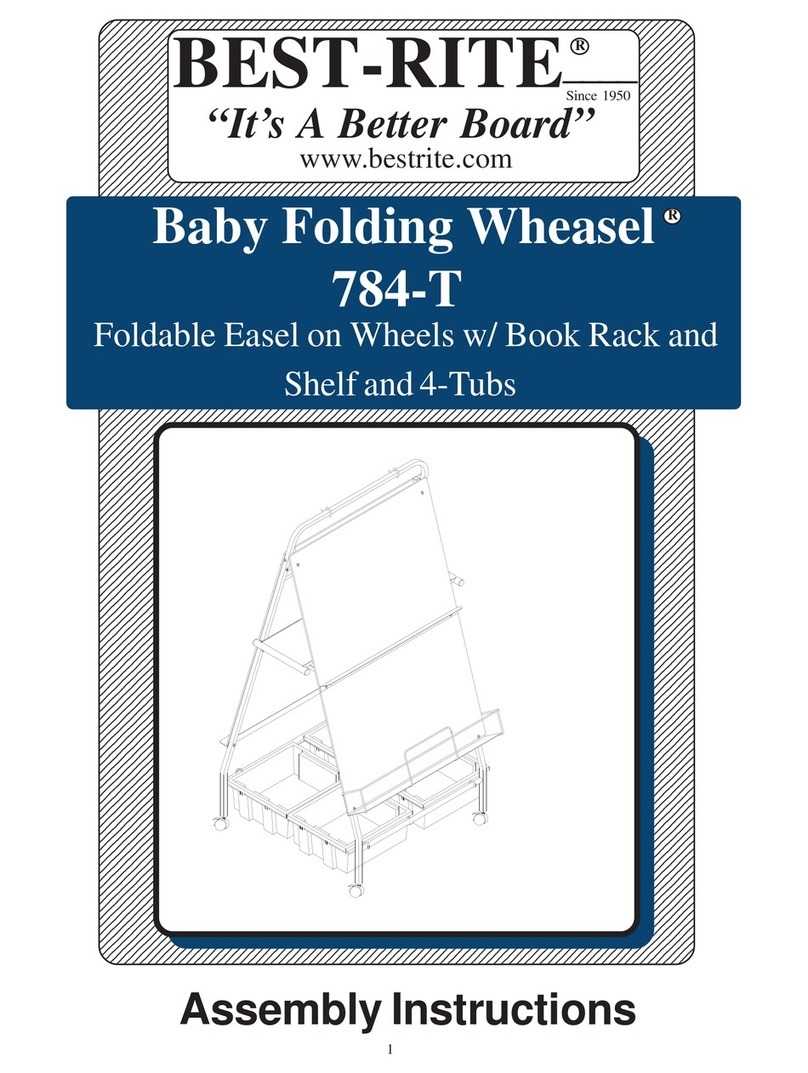
Best-Rite Baby Folding Wheasel 784 Assembly instructions

Best-Rite

Best-Rite Baby Folding Wheasel 784 Assembly instructions

neuland GraphicWall V3 Assembly instruction

neuland

neuland GraphicWall V3 Assembly instruction

LDI Spaces Safco 3909 instructions

LDI Spaces

LDI Spaces Safco 3909 instructions

Mimio MimioBoard Setup guide

Mimio

Mimio MimioBoard Setup guide

BenQ varo VA6501K manual

BenQ

BenQ varo VA6501K manual

Ricoh D7500 operating instructions

Ricoh

Ricoh D7500 operating instructions

Clevertouch Cleverboard 3 installation instructions

Clevertouch

Clevertouch Cleverboard 3 installation instructions

ONfinity CM2 PRO manual

ONfinity

ONfinity CM2 PRO manual

PolyVision ?no user guide

PolyVision

PolyVision ?no user guide

Oway WB3100 user guide

Oway

Oway WB3100 user guide

Smit Visual Chameleon VisuWall Mounting guide

Smit Visual

Smit Visual Chameleon VisuWall Mounting guide

neuland GraphicWall V3 Assembly instruction

neuland

neuland GraphicWall V3 Assembly instruction

Siemens P1CONACPHAL installation instructions

Siemens

Siemens P1CONACPHAL installation instructions

SMART 885ix2 Installation quick reference

SMART

SMART 885ix2 Installation quick reference

Smart Technologies Hawkeye Installation and user guide

Smart Technologies

Smart Technologies Hawkeye Installation and user guide

Ricoh Y406 Field service manual

Ricoh

Ricoh Y406 Field service manual

manuals.online logo
manuals.online logoBrands
  • About & Mission
  • Contact us
  • Privacy Policy
  • Terms and Conditions

Copyright 2025 Manuals.Online. All Rights Reserved.