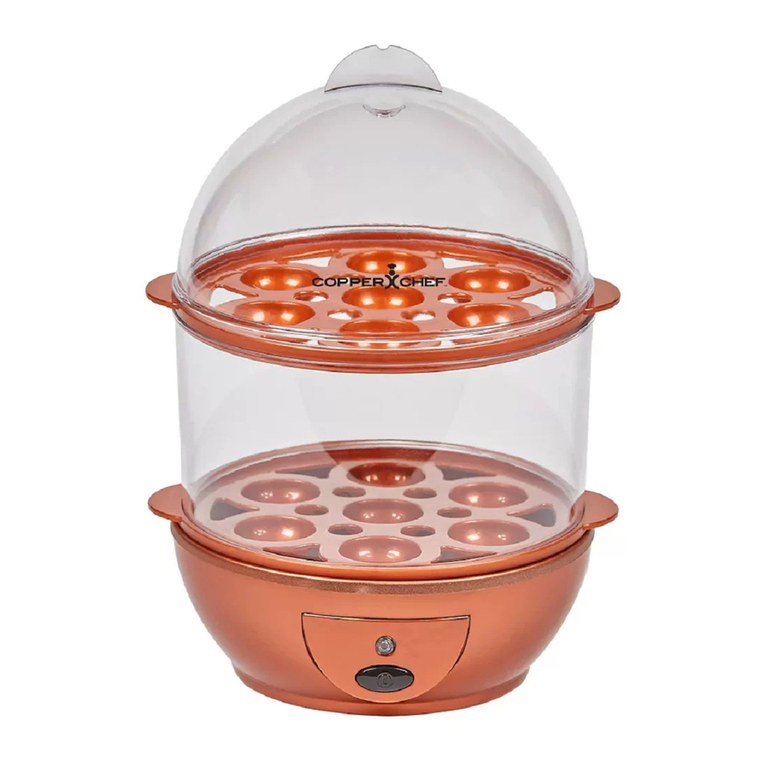
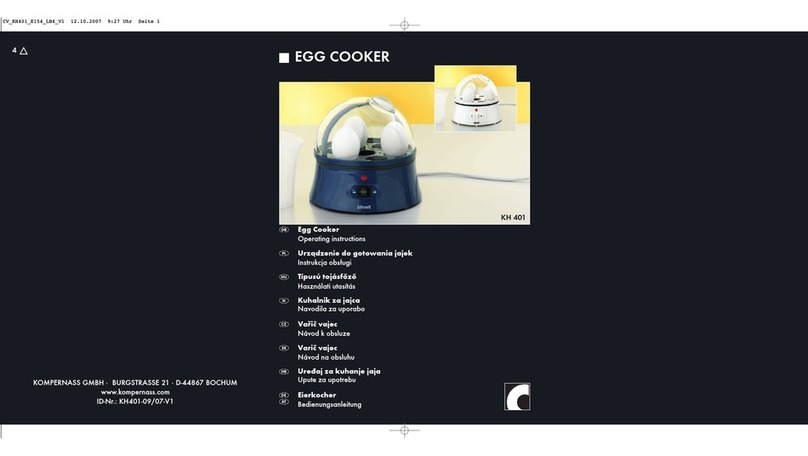
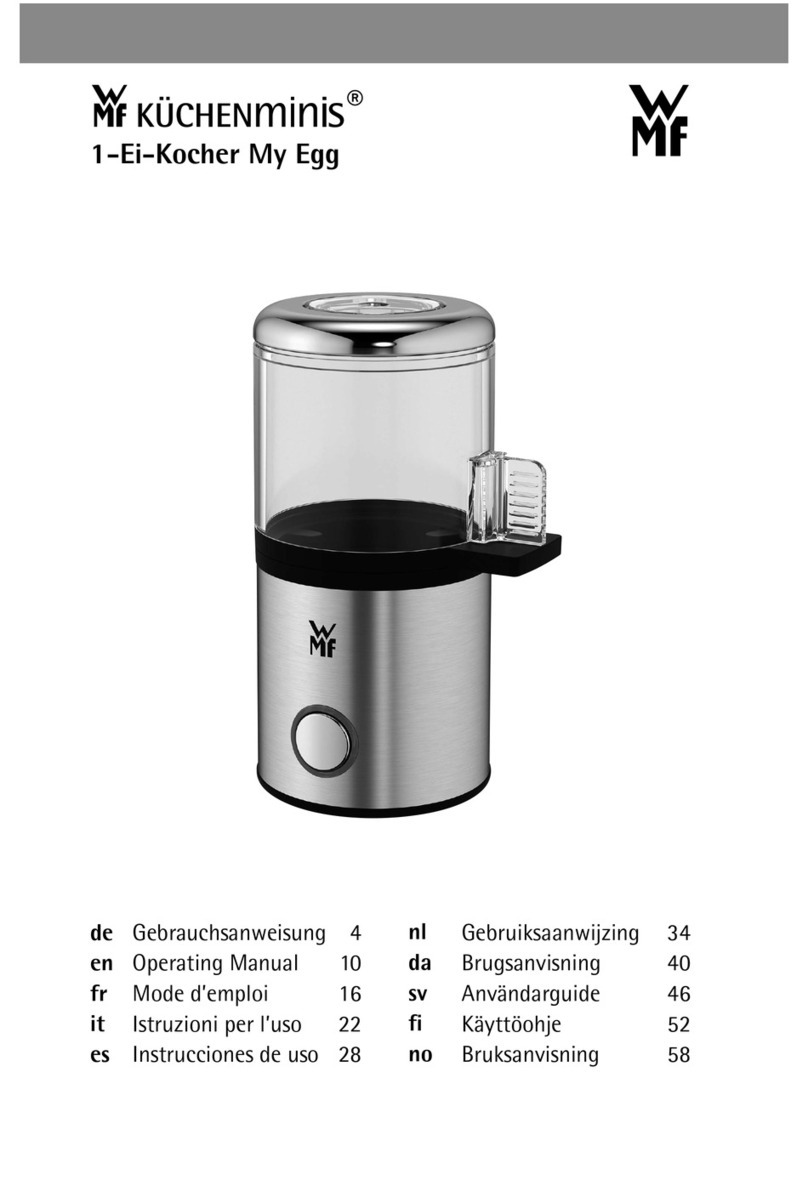
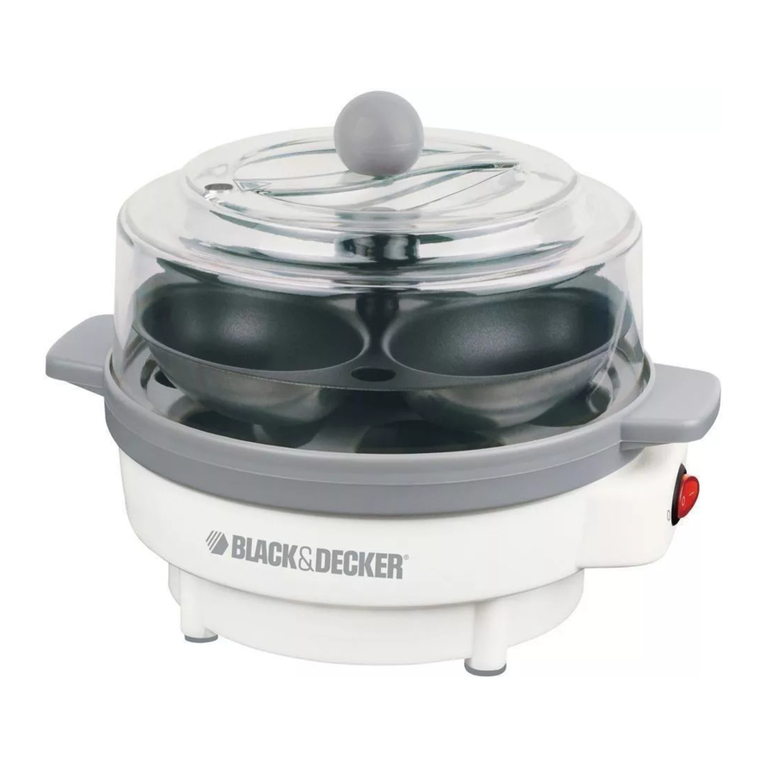
Copper Chef Copper Eggs Quick guide

Copper
Eggs
ERIC THEISS
Chef & Culinary Expert
User Guide Included
Recipe Book

Copper Eggs

Table of Contents
IMPORTANT SAFEGUARDS . . . . . . . . . . . 4
Parts & Accessories . . . . . . . . . . . . . . 5
Care & Cleaning. . . . . . . . . . . . . . . . 5
General Operating Instructions. . . . . . . . . . 6
Warranty. . . . . . . . . . . . . . . . . . . 7
RECIPES
Eggs Benedict . . . . . . . . . . . . . . . . 9
Herbed Egg Omelette . . . . . . . . . . . . . 10
Artichoke & Swiss Omelette . . . . . . . . . . . 11
Chef Salad . . . . . . . . . . . . . . . . . . 13
Deviled Eggs . . . . . . . . . . . . . . . . . 15
Western Omelette . . . . . . . . . . . . . . . 17
Cheesy Omelette . . . . . . . . . . . . . . . 18
Cheesecake . . . . . . . . . . . . . . . . . 19
Crème Brûlée. . . . . . . . . . . . . . . . . 21
Crème Eggs . . . . . . . . . . . . . . . . . 22

IMPORTANT SAFEGUARDS
• NEVER leave your cookware unattended. This helps
to avoid potential injury to children or the risk of fire.
• ALWAYS supervise children who are near cookware when
in use or injury may result.
• DO NOT handle Copper Eggs when hot, especially when
inside the oven.
• Lids ARE NOT oven safe. Use oven mitts because
the Copper Eggs will be very hot.
• DO NOT attempt to repair damaged cookware.
• This product is for home use only. It is NOT INTENDED
for camping or commercial use.
• DO NOT use aerosol cooking sprays. These sprays
will build up on cookware and become difficult
to remove while reducing the nonstick coating release.

Parts & Accessories
LID (x4)
COPPER EGG (x4)
CADDY
Care & Cleaning
Copper Eggs and its accessories are dishwasher safe.
We recommend washing them using a warm, damp cloth,
and a mild cleaning liquid.
NOTE: Do not use scouring pads or harsh cleaners
on Copper Eggs. If necessary, use a nylon bristle brush
or plastic scrubbing pad.

General Operating Instructions
Boiling Eggs with the Caddy
Using Copper Eggs in the Oven
1. Fill about one-third of a stove top pot, such as
the Copper Chef Everyday Pan, with water.
Bring the water to a gentle boil.
2. Crack an egg into a Copper Egg. Repeat to fill up to four
Copper Eggs making sure not to overfill them.
3. Cover each Copper Egg with its Lid. Press the Lid on
to tightly cover each Copper Egg.
4. Place up to four Copper Eggs in the holes in the Caddy.
5. Place the Caddy in the pot with the boiling water.
6. Once the eggs are done boiling: While wearing oven mitts,
remove the Caddy and place it on a heat-resistant surface.
7. Remove the Copper Eggs from the Caddy, remove
the Lids from the Copper Eggs, and slide the eggs out.
In addition to boiled eggs, Copper Eggs can be used
to make treats like cheesecake bites and crème brûlée
in the oven. Simply pour your ingredients into the Copper
Eggs and stand the Copper Eggs on a baking sheet
in the oven without the Caddy or the Lids.
Manufacturer’s 60-Day Limited Warranty
The manufacturer warrants that all parts and components are free
of defects in materials and workmanship for 60 days. This warranty
is valid only in accordance with the conditions set forth below:
1. The warranty extends only to the original consumer purchaser
and is not transferable. In addition, proof of purchase must
be demonstrated.
2. This limited warranty is the only written or express warranty
given by the manufacturer. Any implied warranty
of merchantability or tness for a particular purpose on this
product is limited in duration to the duration of this warranty.
Some states do not allow limitations on how long an implied
warranty lasts, so the above limitation may not apply to you.
3. This warranty gives you specic legal rights, and you may also
have other rights which vary from state to state.
Procedure for Replacement or Return within 60 Days:
To return the product for replacement or refund within the 60 days,
the original purchaser must pack the product securely and send it postage
paid with a description of the reason for replacement or refund, proof
of purchase, and the order number on the package to the following address:
Tristar Products, Inc.
500 Returns Road
Wallingford, CT 06495


Ingredients Directions
1. Crack each egg into a Copper Egg
and cover the Copper Eggs with the Lids.
2. Fill a pot with enough water to cover
the bottom third of the Copper Eggs
when they are placed in the pot. Place
the pot on the stove and bring to a boil.
3. Place the Copper Eggs in the Caddy,
place the Caddy in the pot, and cook
for 6 ½ mins. to poach the eggs.
4. Let sit for 2 mins.
5. Place the bottom of the English mufns
on a serving plate.
6. Place a slice of Canadian bacon and
a poached egg on each mufn bottom.
7. Top each egg with ¼ cup Hollandaise
sauce and the top of the English mufn.
8. Garnish with chopped chive.
4 large eggs
4 English mufns,
sliced & toasted
4 slices Canadian
bacon, pan seared
1 cup Hollandaise
sauce, warm
chopped chives,
for garnish
Serves
2
Eggs Benedict
9

Ingredients Directions
Serves
4
1. Place the egg whites in a bowl; reserve
the whole yolks.
2. Add the remaining egg whites (except the
yolks) to the bowl and stir well.
3. Divide the egg whites evenly into four
Copper Eggs. Add a yolk to each Copper
Egg and cover them with the Lids.
4. Fill a pot with enough water to cover
the bottom third of the Copper Eggs
when they are placed in the pot.
Place the pot on the stove and bring
to a boil.
5. Place the Copper Eggs in the Caddy,
place the Caddy in the pot, and cook
for 8 mins.
6. Let sit for 2 mins. before serving.
4 large eggs,
separated
2 cloves garlic,
grated
2 tsp. parsley,
chopped
¼ tsp. salt
¼ tsp. ground black
pepper
Herbed Egg Omelette
10

Ingredients Directions
Serves
4
1. Whisk the eggs in a bowl.
2. Add the remaining ingredients to the bowl
and stir to combine.
3. Divide the combined ingredients into four
Copper Eggs and cover them with
the Lids.
4. Fill a pot with enough water to cover
the bottom third of the Copper Eggs
when they are placed in the pot. Place
the pot on the stove and bring to a boil.
5. Place the Copper Eggs in the Caddy,
place the Caddy in the pot, and cook
for 10 mins. 6. Let sit for 2 mins. before
serving.
3 large eggs
2 large artichoke
hearts,
nely chopped
1 tbsp. Pecorino
cheese, grated
¼ tsp. ground black
pepper
¼ cup shredded
Swiss cheese
Artichoke & Swiss Omelette
11


Ingredients Directions
Serves
4
Chef Salad
1. Crack each egg into a Copper Egg
and cover them with the Lids.
2. Fill a pot with enough water to cover
the bottom third of the Copper Eggs
when they are placed in the pot. Place
the pot on the stove and bring to a boil.
3. Place the Copper Eggs in the Caddy,
place the Caddy in the pot, and cook
for 8 mins.
4. Let the eggs cool for 20 mins.
in the Copper Eggs.
5. Slice the eggs and set them aside.
6. Toss the rest of the ingredients together
in a bowl.
7. Top the salad with the sliced eggs.
4 large eggs
2 heads romaine
lettuce, chopped
nely
½ cup ham, diced
1 cup provolone,
diced
½ cup carrot,
shredded
½ cup croutons
13


Ingredients Directions
Makes
16
1. Crack each egg into a Copper Egg
and cover the Copper Eggs with the Lids.
2. Fill a pot with enough water to cover
the bottom third of the Copper Eggs
when they are placed in the pot. Place
the pot on the stove and bring to a boil.
3. Place the Copper Eggs in the Caddy,
place the Caddy in the pot, and cook
for 10 mins.
4. Let the eggs cool completely.
5. Cut the eggs in half, longways. Remove
the yolk.
6. Combine the yolk, mayonnaise, mustard,
salt, ground black pepper, and chives
in a bowl and mix to form a paste.
7. Pipe the paste into the egg cavities
and sprinkle with smoked paprika.
8 large eggs
¼ cup mayonnaise
1 tsp. Dijon mustard
¼ tsp. salt
¼ tsp. ground black
pepper
1 tbsp. chives,
chopped nely
smoked paprika,
for serving
Deviled Eggs
15


Ingredients Directions
Serves
4
1. Place all the ingredients in a bowl
and stir well.
2. Divide the ingredients evenly into four
Copper Eggs and cover them with
the Lids.
3. Fill a pot with enough water to cover
the bottom third of the Copper Eggs
when they are placed in the pot. Place
the pot on the stove and bring to a boil.
4. Place the Copper Eggs in the Caddy,
place the Caddy in the pot, and cook
for 8 mins.
5. Let sit for 2 mins. before serving.
5 large eggs
2 ½ oz ham, diced
2 tbsp. red bell
pepper, diced small
2 tbsp. white onion,
diced small
1 clove garlic, grated
2 button mushrooms,
diced small
½ tsp. salt
½ tsp. ground black
pepper
Western Omelette
17

Ingredients Directions
Makes
4
1. Whisk the eggs in a bowl.
2. Add the remaining ingredients to the bowl
and stir to combine.
3. Divide the combined ingredients into four
Copper Eggs and cover them with
the Lids.
4. Place a pot of water on the stove
and bring to a boil.
5. Place the Copper Eggs in the Caddy,
place the Caddy in the pot, and cook
for 10 mins.
6. Let sit for 2 mins. before serving.
3 large eggs
¼ tsp. salt
¼ tsp. ground black
pepper
1/3cup shredded
mozzarella cheese
2 tbsp. ricotta
cheese
Cheesy Omelette
18

Ingredients Directions
Makes
4
1. Preheat the oven to 350° F.
2. Beat the cream cheese and sour cream
together in a bowl.
3. Stir the sugar into the bowl.
4. Add the remaining ingredients to the bowl
and mix until creamy.
5. Divide the batter evenly into four Copper
Eggs and cover them with the Lids.
6. Place the Copper Eggs in a pot.
Add water to the pot, covering
the bottom third of the Copper Eggs.
Place the pot in the oven and bake
at 350° F until slightly jiggling when
shaking (about 25 mins.).
7. Refrigerate the cheesecake for 2 hrs.
8. Serve with cherry pie lling.
4 oz cream cheese,
softened
2 tbsp. sour cream
¼ cup sugar
1 large egg
1 tsp. vanilla extract
1 pinch salt
Cheesecake
19

Table of contents
Other Copper Chef Egg Cooker manuals