Pag. 10 di 15
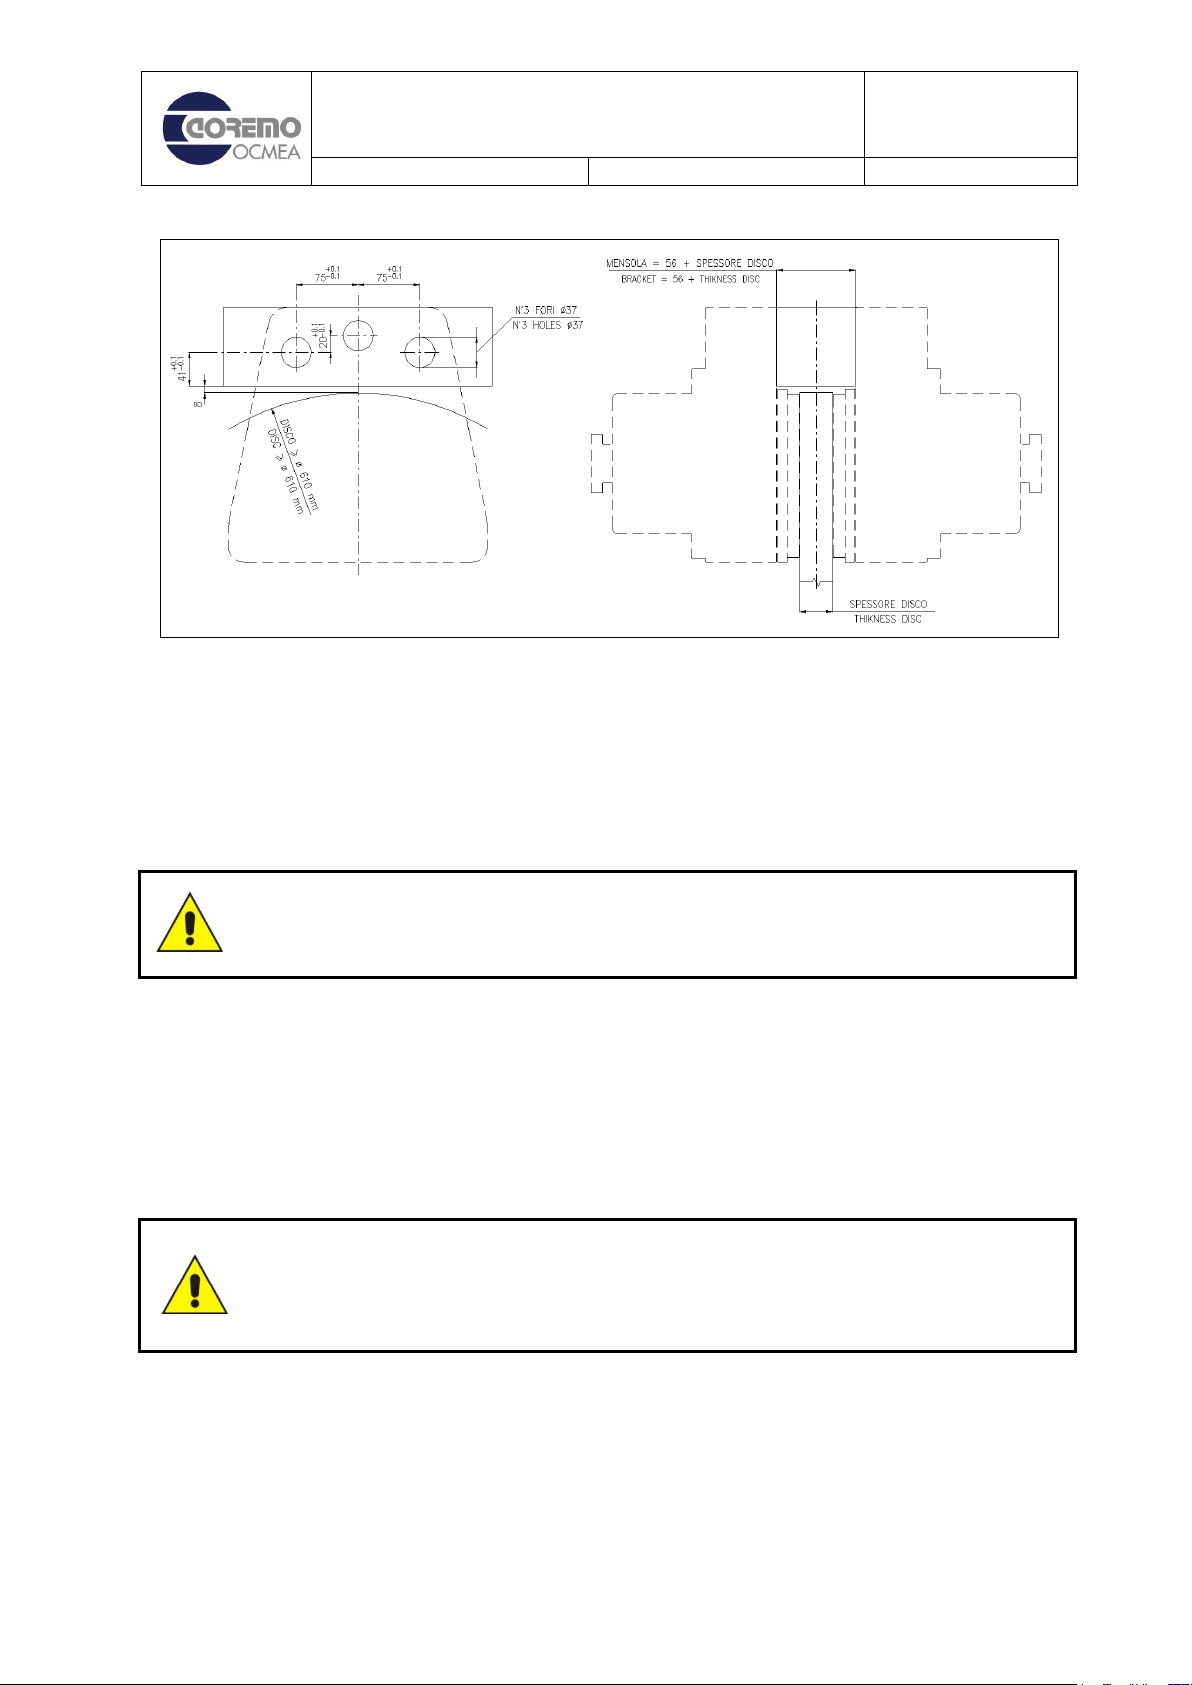
protrudes from the cover (seat of the safety hook); see also assembly drawings A4025/A4027
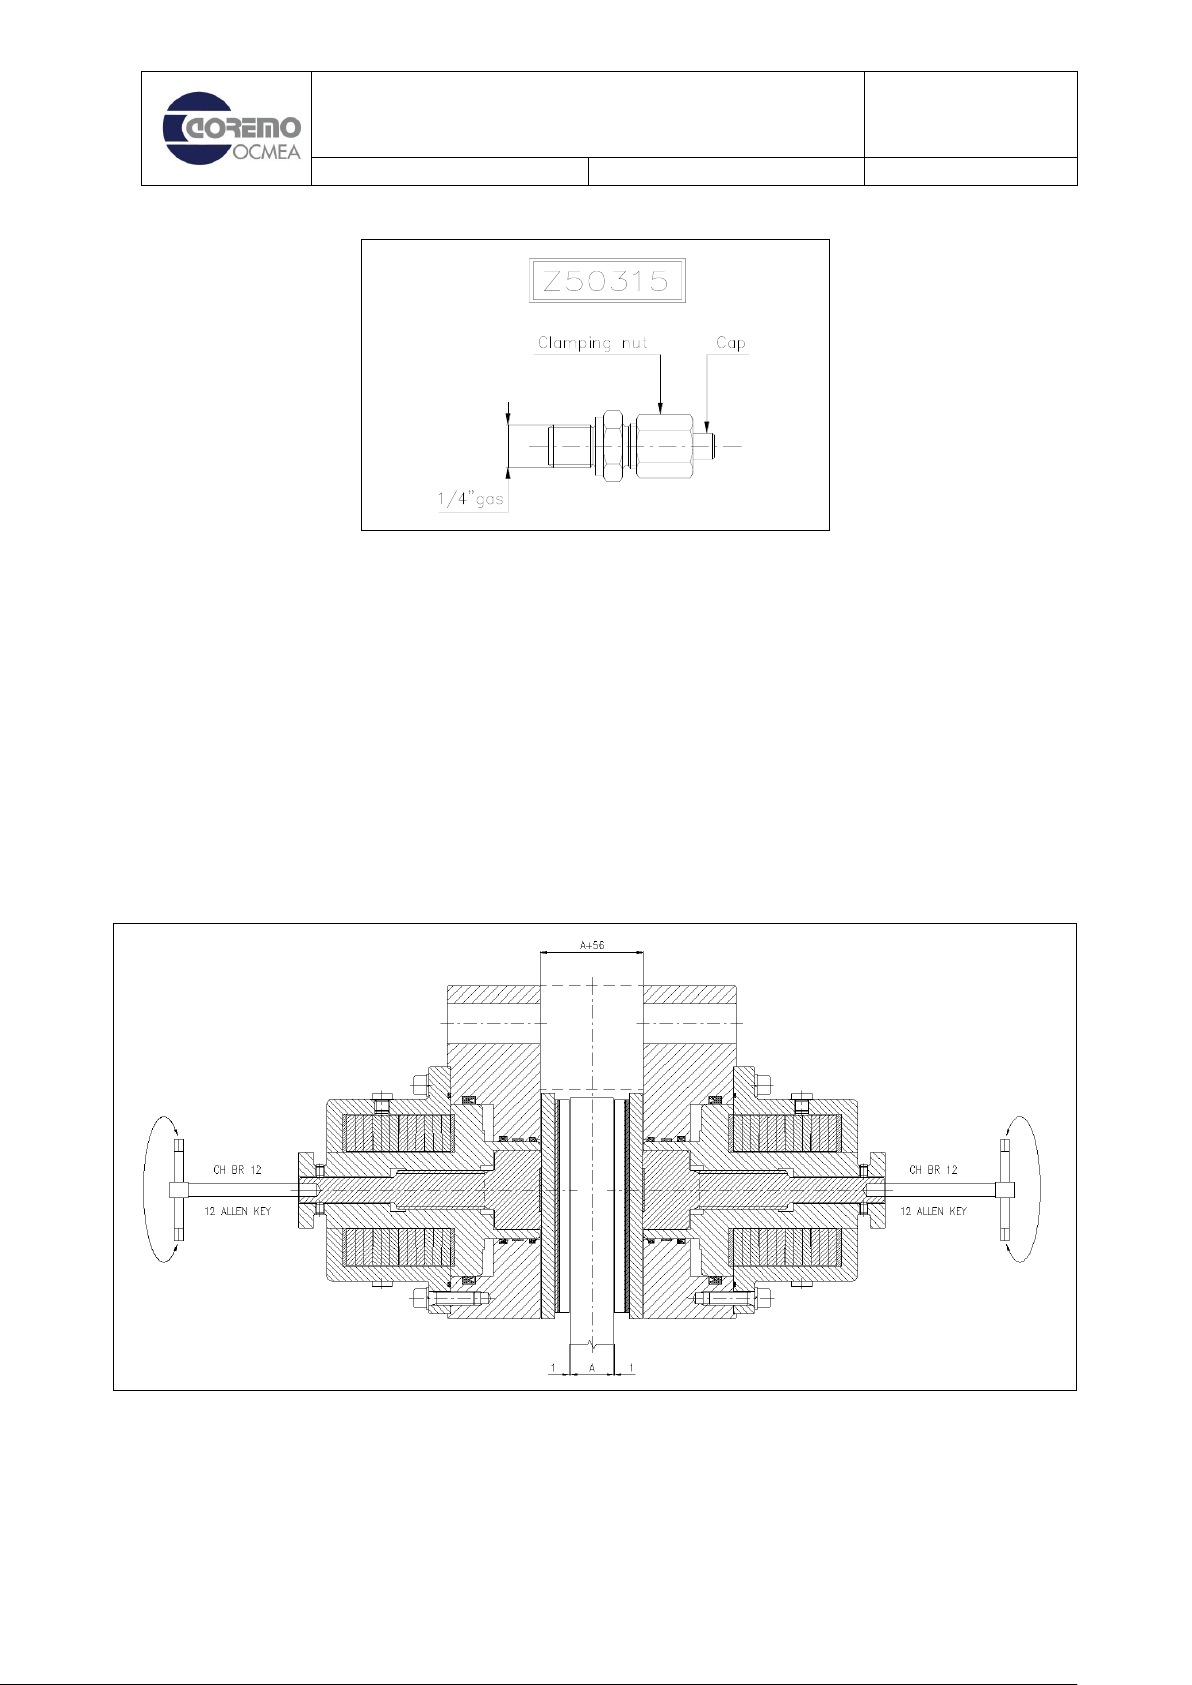
to find the positions of the grub screws. To lock and/or unlock the adjuster, tighten and/or
loosen the grub screws using a CH BR 4; when doing this, with the brake in operation or during
maintenance, the safety hook (C62379) must not be inserted in the seat of the thruster
(D71315) otherwise the operation cannot be carried out.
Warning: The brake is supplied with the wear adjuster NOT locked.
8. BEDDING-IN: The initial braking torque may vary from 30% to 50% less than the rated value
until the lining has bedded into the disc.
8. Operation
8.1. Power feed of the safety component
The control pressure of the hydraulic brake must not exceed 220 bar, while the minimum
opening pressure must not drop below 180 bar. The brake must also be powered exclusively
using mineral oil hydraulic fluid.
In case the minimum opening pressure of the brake results lower than the one
indicated, stop immediately the machine and change the cup springs. This check is
necessary to avoid compromising any safety aspect.
The technical department of COREMO OCMEA can provide information, suggestions and
assistance for correct application and use of the product.
To check the minimum opening pressure it is possible to use a hydraulic hand pump by
performing the following step:
1. Connect the brake to a manual hydraulic pump.
2. Power up the brake with the hand pump.
3. Check that the pressure indicated by the manometer of the pump at the opening of
the brake is the same as the one previously indicated.
4. In case the minimum opening pressure of the brake results lower than the one
indicated, stop immediately the machine and change the cup springs.
8.2. Improper use
The products considered here must be used exclusively as described in chapter 5 of this
manual. Any other use is to be considered improper. The manufacturer declines all
responsibility for damage caused by improper or unreasonable use of the product.