Model: COROS OMNI
C.P.S.C.16 CFR Part 1203
United States Federal Safety Standard for Bicycle Helmets
(Consumer Product Safety Commission)
CE, EN1078 (Europe Safety Standard)
FCC ID: 2AEHH-OMNI
FCC Part 15B,Part 15C
CE R&TTE Directive 1999/5/EC
AS/NZS 2063:2008 (Australia/New Zealand Bicycle Helmet
Safety Standard)
Safety Certifications
15 16
is authorized to assume liability on behalf of COROS™ in
connection with the sale or use of this product. This warranty
program covers all parts of your COROS™ product and
applies to all types of defects or failure, except for loss. If your
COROS™ helmet is found to be defective in materials or
workmanship within one year(US & CA & AU)/two years(EU)
from the date of purchase, COROS™ or the country distributor
will at its sole option either repair or replace the helmet free of
charge.
Instructions for use and care
No helmet can protect the wearer against all possible
impacts.
The helmet is designed to be retained by a trap under the
lower jaw.
To be effective, a helmet must fit and be worn correctly.
To check for correct fit, place helmet on head and make
any adjustments indicated. Securely fasten retention
system. Grasp the helmet and try to rotate it to the front
and rear. A correctly fitted helmet should be comfortable
and should not move forward to obscure vision or
rearward to expose the forehead.
No attachments should be made to the helmet except
those recommended by the helmet manufacturer.
The helmet is designed to absorb shock by partial
destruction of the shell and liner. This damage may not be
visible. Therefore, if subjected to a severe blow, the
helmet should be destroyed and replaced even if it
appears undamaged.
The helmet may be damaged and rendered ineffective by
petroleum and petroleum products, cleaning agents,
paints, adhesives and the like, without the damage being
visible to the user.
A helmet has a limited lifespan in use and should be
replaced when it shows obvious signs of wear.
This helmet should not be used by children while climbing
or doing other activities where there is a risk of hanging
or strangulation if the child gets trapped whilst wearing
the helmet.
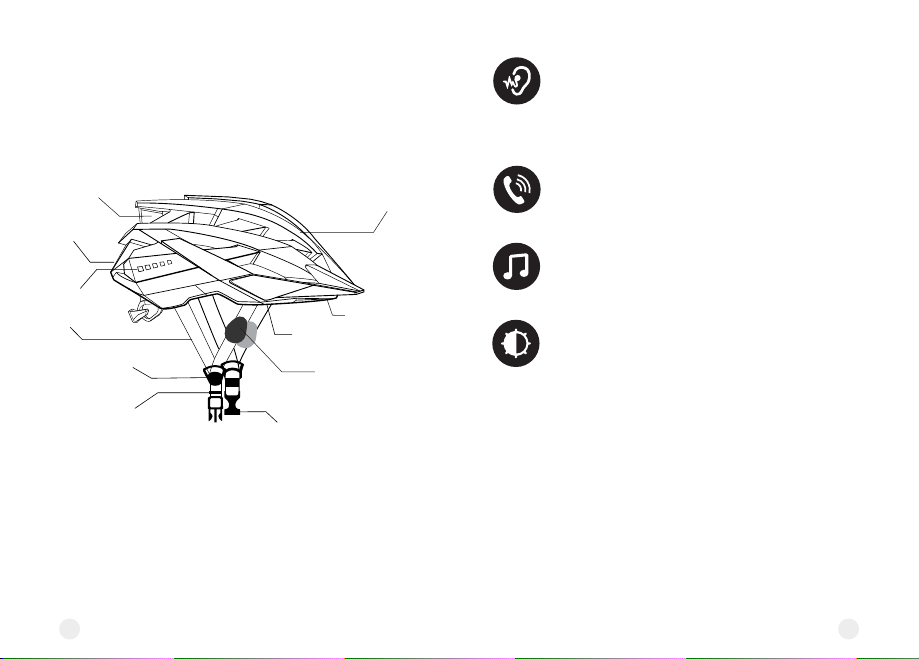
(a)
(b)
(c)
(d)
(e)
(f)
(g)
(h)