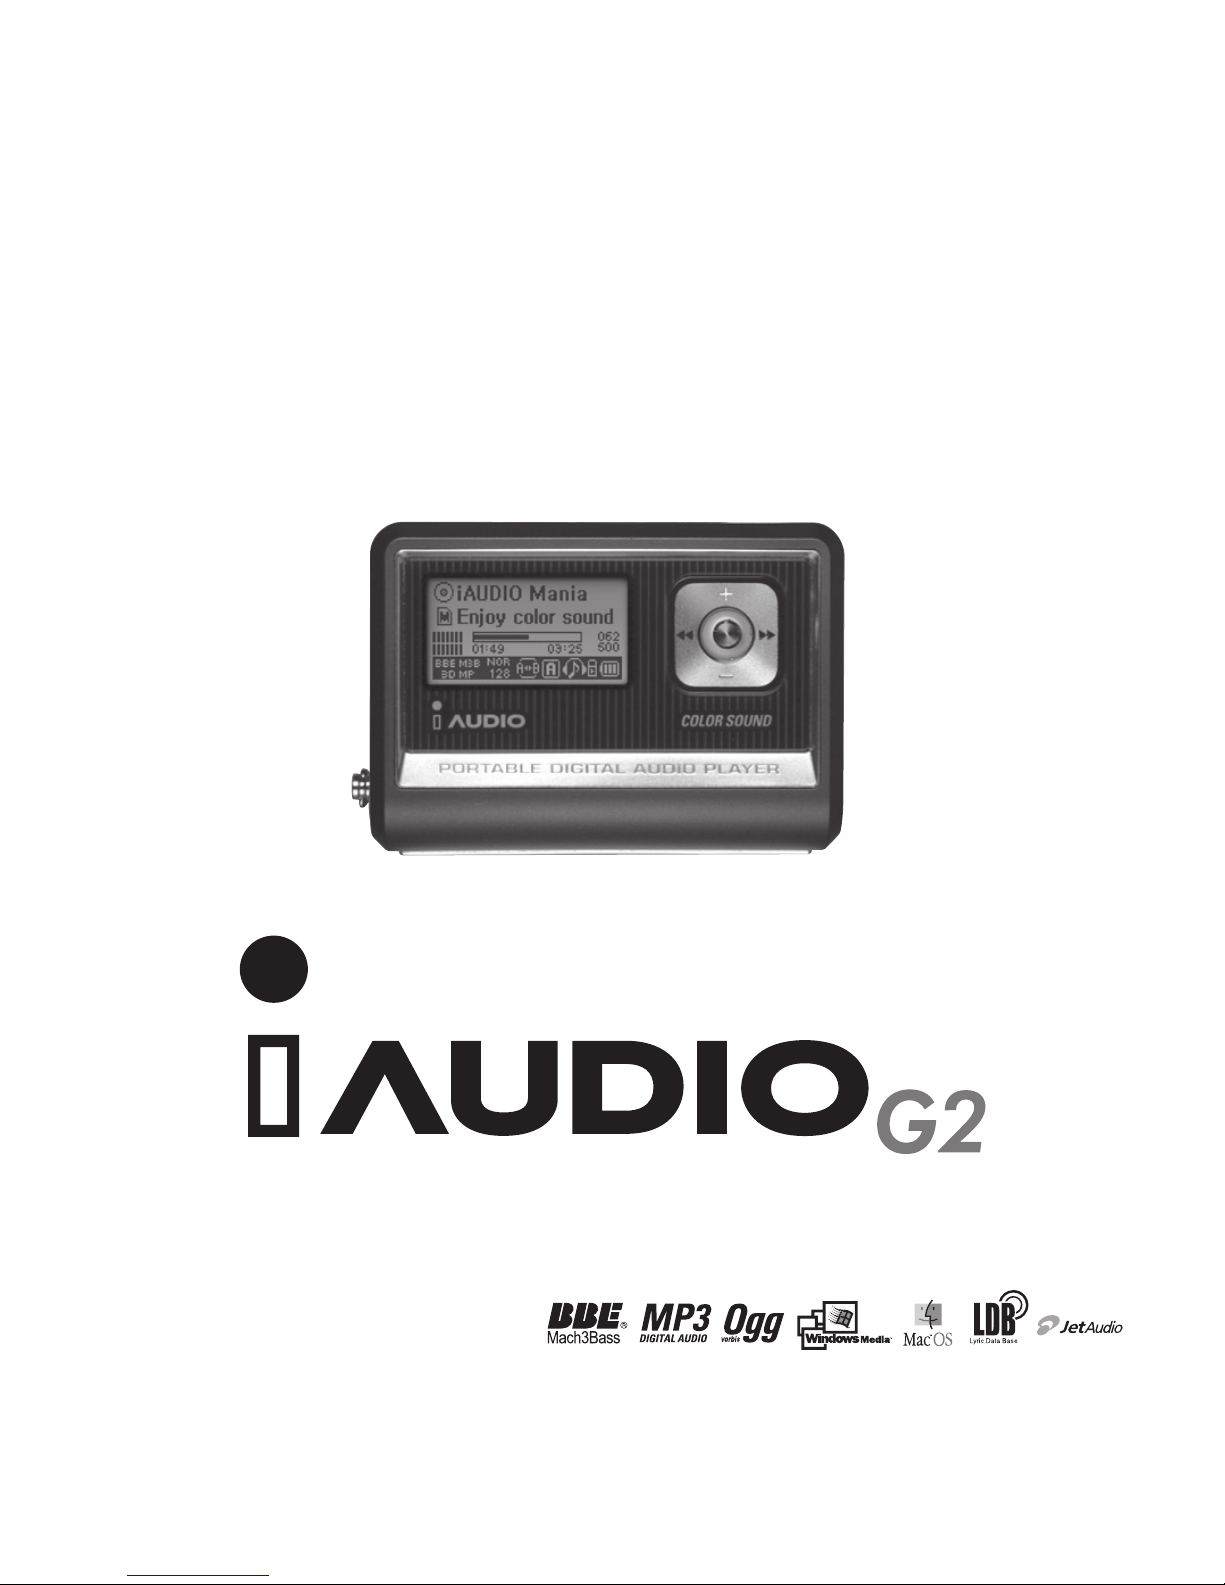
Cowon iAUDIO G2 1GB User manual

USER GUIDE
ver.
2.0
E

iAUDIO G2
2COPYRIGHT NOTICE
General
•
iAUDIO is the registered trademark of COWON SYSTEMS, Inc.
• This product is for home use only and cannot be used for business purposes.
• COWON SYSTEMS, Inc. has the exclusive copyright for this User Guide. It is prohibited to distribute this User
Guide in part or in whole without permission.
•
COWON SYSTEMS, Inc. has the copyrights for JetShell and JetAudio. It is prohibited to distribute or
commercially use them without written permission from COWON SYSTEMS, Inc.
• The MP3 fi les created with the MP3 conversion feature of JetShell and JetAudio can be used for personal use only
and not for commercial or service purposes. Violating this regulation is in confl ict with domestic copyright laws.
• COWON SYSTEMS, Inc. complies with the laws and regulations related to records/videos/games
. Complying with
all any other codifi ed laws is the responsibility of the actual users.
• In order for customers who purchased the product to receive specialized iAUDIO services, we recommend that they
accomplish customer registration at http://www.iAUDIO.com. Various specialized benefi ts are only provided for
members who have completed a lawful customer registration.
• The various examples, drawings and pictures included in this User Guide are subject to change without prior notice
when new product enhancemen
ts become available.
when new product enhancements become available. when new product enhancemen
•
The product’s feature and specifi cation included in this User Guide are subject to change without prior notifi cation
BBE Related
• BBE is produced by the license of BBE Sound, Inc.
• BBE Sound, Inc. has the license rights for BBE under USP4638258, 5510752 and 5736897.
• BBE and the BBE symbol are the registered trademarks of BBE Sound, Inc.
All rights reserved by COWON SYSTEMS, Inc. 200
5


iAUDIO G2
4
Precautions for Using iAUDIO
Do not use iAUDIO for
purposes other than specifi ed
here in the User’s Guide.
Be careful not to cut your
hands when unpacking
the box, User’s Guide, or
accessories.
There are no user serviceable
parts in the unit, and any
attempt to open, disassemble
or reconstruct the product will
void any warranty, disqualify
it for free service, and the unit
may be permanently disquali-
fi ed from any after service.
Pay attention to the directions when
connecting the USB cable to your
iAUDIO or a PC.
Connecting the unit or PC incor-
rectly with the USB cable may
damage them.
Do not bend the USB cable exces-
sively or leave it pressed by heavy
objects.
If you smell iAUDIO burning or
it becomes overheated, remove the
battery and contact our Customer
Support Team or a Cowon
Systems after-service center.
Do not let the unit get wet
or leave it in a damp place
for prolonged periods.
If the product is damaged from
moisture as described above,
product failure is then classifi ed as
failure by submersion, and no longer
covered by warranty. Moreover,
it may not be even be possible to
repair the unit with charged for
service, and you may no longer be
able to use the product.
※
If expose the product to extreme heat or cold for a prolonged period, its exterior may
become deformed, its interior damaged, or the LCD may cease to function.

iAUDIO G2
5
Precautions for Using iAUDIO
Touching iAUDIO with wet
hands may damage the unit
and cause malfunctions.
Using iAUDIO in places with
high occurrences of static elec-
tricity may cause malfunctions.
Always use the USB cable
supplied by Cowon Systems.
※
When transferring data to and from a PC, and the LCD displays Read or Write, do not unplug the USB cable.
During data transfer, such as reading or writing fi les, even if Windows Explorer reports that the transfer is done,
the cache may be still working internally.
Always backup important fi les.
All data stored in iAUDIO may
become deleted when being
serviced. Our after-service center
does not backup fi les in iAUDIO
units.
Please note that Cowon Systems is
not responsible for any data loss from
products entrusted to us for service.
Listening to iAUDIO at
high volumes for extended
periods may harm your
hearing.
This product uses 1.2 – 1.5V
batteries. Always use AA
batteries, and pay attention to
the polarity when replacing bat-
teries. Never reuse batteries that
have been found leaking.

iAUDIO G2
6Components in the Package
Fashionable Neck strap
Install CD (JetShell, JetAudio)
User’s Guide
USB Cable AA Battery
iAUDIO (MP3 Player Main Body)

iAUDIO G2
7
Features
MP3, MP2, OGG,WMA, ASF, and WAV (48khz, Stereo) Playback, Voice Recording, FM Radio Receiver
and Recording, Direct ADPCM Encoding, Removable Disk
Basic Flash Memory Embedded (256MB)
4 Line Graphic LCD
USB 1.1 Interface
Long Play Time: Up to 40 hours of continuous play (Based on Cowon Systems tests with AA alkaline battery)
Multi language support (Embedded common fonts that can display 40,000 characters from various languages)
Enhanced Integrated Navigator
Play/Pause/Intro Play, Stop/Power Off, Recording
Next Track/Previous Track, Fast Forward/Fast Rewind
Infi nite Loop
Search Speed and Skip Speed Settings
40 Digital Volume Levels
Various EQ and Sound Field Effects
• User-Adjustable 5-Band EQ
• Normal, Rock, Pop, Jazz, Classic, Vocal, User
• Supports BBE, Mach3Bass, MP Enhance, and 3D Surround.
Resume Feature, Auto Power OFF.
Hold Feature
Backlight On Dim Control and Scroll Speed Adjustment
Firmware and logo download
Supports ID3V2, ID3V1, and Filename
Device Information (fi rmware version, memory usage)
Software
• JetShell (File transfer, MP3/WMA/WAV/AUDIO CD play, MP3 encoding)
• JetAudio (Integrated multimedia player software)

iAUDIO G2
8Specifi cations
All ranges of MPEG 1/2/2.5 layer 3 (8kbps ~ 320kbps) (8kHz~48kHz) and VBR All
ranges of WMA7 WMA (20kbps~ 192kbps) (8kHz~48khz)
WMA9 CBR (5Kbps Mono ~ 320kbps Stereo) VBR (Average 48kbps to 256kbps)*
WAV (Up to 48KHz Stereo), OGG
256MB
USB 1.1
1 AA Battery
Max. 6Mbps
Up to 40 hours, based on our company’s test environment.
8 Buttons (Play, REC, MODE, Menu, FF, REW, VOL +, VOL
–
)
–)–
1 Switch (Hold)
128 x 64 full graphic LCD
95 dB
16 Ohm Earphone : 13mW+13mW
20Hz ~ 20KHz
64.0 x 45.0 x 17.1 mm (Width x Height x Depth)
36 g (Excluding Battery)
Supported Files
Memory
PC Interface
Battery
File Transfer Speed
Power Supply
Buttons
Switch
Display
SNR
Output
Frequency Range
Size
Weight
* WMA9 Professional, Lossless Codec, and Voice Codec are not supported

iAUDIO G2
9
Names of Parts
Right
Front
Top
Back
Left
Earphone Jack
REC/A B
button
REC/A B
REC/A B
REC/A B
REC/A B
REC/A B
LCD
Display
USB
MIC
◀
◀ (REW)
◀◀ (REW)◀
Previous Title, Rewind
+ (VOL +)
Volume Up, Cursor Up,
Setting Value Up
- (VOL -)
Volume Down,
Cursor Down, Set-
ting Value Down
▶
▶ (FF)
▶▶ (FF)▶
Next Title, Fast
Forward
Lever (Menu/Navigation)
Enter Menu/Navigation
HOLD Switch
PLAY/STOP
button
Power On/Off
Battery
Line-in Jack
MODE

iAUDIO G2
10 Replacing Batteries / Connecting the USB Cable
Connecting the USB Cable
When you open the USB cover on the left of iAU-
DIO, there is a built-in USB port. Connect iAUDIO
to the PC while paying attention to the direction of
the USB port.
For Windows XP, you may pull out the USB cable
after the transfer window is closed.
For Windows
2000, however, you should fi rst run “Safely
Remove Hardware” before pulling out the cable.
After downloading fi les, be sure to check that the
iAUDIO LCD display is changed to READY before
pulling out the cable.
Inserting Batteries
1. Push down the cover on the
back of iAUDIO.
2. Flip over and open the cover.
3. Insert the – terminal of the AA
size battery to the right where the
spring is, and then push in the +
terminal to the left.

iAUDIO G2
11
LCD Display
The Battery Charge Indicator icon indicates the remaining time for use. Fewer bars are
displayed as the battery charge decreases. For some dry or rechargeable batteries, the
bars of the battery charger indicator may become unstable while the charge is being
measured, but this is normal.
When the battery is exhausted, the battery charge indicator starts to blink, and then after
about 30 minutes of operation, the power goes off automatically.
The disc shape is used when ID3V2 and ID3V1, and Artist + Album information is dis-
played. However, when the display setting is Filename, or the ID3 tag does not contain
artist information, the folder shape is used and the folder name is displayed. When the
music fi le is stored in the root folder, iAUDIO is displayed as the folder name.
Progress Bar
Current Track / All Tracks
Album Name
Song Title
Left and Right
Output
Graphics
JetEffect (BBE, M3B,
3D, MP)
5 Band EQ
BIT RATE Loop Play
Sequence
Battery Charge Indicator
Hold
Mode

iAUDIO G2
12
Basic Operations
1. Power On/Off
• When you press and hold the PLAY button, the iAUDIO logo appears and iAUDIO turns on.
• When you press and hold the PLAY button again, iAUDIO turns off. (You cannot power off
iAUDIO while recording or in USB mode.)
• You can turn off iAUDIO automatically by setting Auto Off or Sleep Timer.
2. Connecting USB
■
Connecting USB
iAUDIO enters USB mode when you connect the USB cable while iAUDIO is turned on or in use.
(When you connect the USB cable while recording, the recording stops automatically and iAUDIO
enters USB mode.)
When the USB
cable is connected, iAUDIO does not use the battery but is powered through the USB
cable.
■
Disconnecting USB
Disconnect the device from the Windows tray bar and pull out the USB cable.
Basic Operations
Power On/Off / Connecting USB
Push the PLAY button iAUDIO powers on and the iAUDIO logo appreas. To turn iAUDIO off, press and hold the PLAY button.
Display when USB is connected. splay when iAUDIO is reading data. Display when iAUDIO is writing data.

iAUDIO G2
13
3. Basic Operations for Mode Change There are three modes:
Digital Audio, Voice Recorder, and Line-in Recorder
Basic Operations
Basic Operations for Mode Change
Digital Audio Mode
•
To change to another mode, press the MODE button to enter Mode menu.
• 3 modes are displayed for you to select from.
• Press
◀◀
or
◀◀
or
◀◀
▶▶
to move to the desired mode.
▶▶
to move to the desired mode.
▶▶
• After navigating to the desired mode using menu, press the lever or PLAY button to select the mode.
• The selected mode screen is displayed and the mode change is complete.
• If you wish to cancel mode change and return to the previous mode, press the REC button.
• The selected mode screen is displayed and the mode change is cancelled.

iAUDIO G2
14 Basic Operations
Basic Operations for Using Menu
Example: Changing the JetEffect EQ from NOR (Normal) to ROC (Rock).
Menu
JetEffect
PlayMode
Digital Audio Mode
Menu
JetEffect
PlayMode
4. Basic Operations for Using Menu
To enter the menu screen, press the lever briefl y.
• To move up and down the menu, press + or –.
• To enter submenus, press the lever or push
▶
▶
▶▶▶
.
• To move up the menu, push
◀
◀
◀ ◀◀
. (When it is at the top menu, the menu screen is closed and the previous
mode screen returns.)
• To return to the previous mode screen after setting, press the PLAY button.
• When it is the last fi eld, the setting screen for the fi eld appears.
• Press + or
–
to change to the desired values.
– to change to the desired values. –
• To select an item, press the lever. The changed value is immediately applied.
• To return to the previous mode screen after setting, press the PLAY button.
Menu
JetEffect
PlayMode
5. Basic Operations for Using Navigator
•
To enter the Navig
ator screen, press and hold the lever.
•
To move up and
down the Navigator menu, press + or –.
To move up and down the Navigator menu, press + or –. To move up and
•
To move to a lower level folder, press the PLAY button or push
▶
▶
▶▶▶
.
•
To go to a higher level folder, press
◀
◀
◀◀◀
. (When the present folder is the root folder, the Navigator screen is
closed and the pr
evious mode screen returns.
•
To play a
fi le, select it and press the PLAY button or press
▶
▶
▶▶▶
. (When you press
▶
▶
▶▶▶
and the fi le plays,
iAUDIO stays in Navigator Mode.)
•
To go to a folder, select it and press the PLAY button or press
▶
▶
▶▶▶
.

iAUDIO G2
15
Basic Operations
Basic Operations for Using Navigator
•
Navigator Popup
Window
•
When y
ou press the lever, an appropriate popup window appears according to the folder, fi le, or Dynamic
PlayList fi le
•
Press + or – to select a popup item.
•
Press the PLAY button or press
▶
▶
▶▶▶
select a popup item.
• When you press the REC button, the popup window is canceled and closed.
• Popup Items for Files: Play now, Add to List, Intro, Delete
• Popup Items for Folders: Expand, Play now, Add to List
• Popup Items for Dynamic Playlist fi les: Play now, Intro, Remove
• When you press the REC button, the Navigator window is closed and the previous screen appears.
Entering Navigation Mode
You can enter Navigation Mode by pressing and holding the MODE button in Navigator status.
Music Files:
You can browse MP3 and WMA fi les according to the folder structure.
Dynamic PlayList:
The playlist generated with the “Add to List” feature is displayed. You can delete items from
the list as well.
Bookmarks:
The Bookmark feature is used to save the locations of specifi c s
ong titles to listen to them directly
from the saved locations.
This is very useful when using language study fi les or audio books that have a long
playing time. You can bookmark up to 20 song titl
es, and play them from the bookmarked location. Press and
hold the REC button to bookmark
music fi les while they are being played.
■
Entering Bookmarks
Play now:
The bookmarked fi le is played.
Remove:
The bookmark for the fi le is deleted.
Remove All:
Delete all bookmarks.
Bookmarks
(Add Current)
Bookmarks
I Lay my
(Add Current)
Play now
Remove
Remove all
When you press the lever when (Add Current) is
selected, the current location of the song title being
played is bookmarked. To play a bookmarked fi le,
select it and press the PLAY button or move it to
▶
▶
▶▶▶
direction.

iAUDIO G2
16
MP3 Player Mode
1. Power On and Play
• When you press and hold the PLAY button, the iAUDIO logo appears and
iAUDIO powers on.
• When iAUDIO powers on, it starts playing automatically if Autoplay is set.
• When the Resume feature is set, iAUDIO saves the last played track and position,
and playback begins from there.
• When you want to go to MP3 Player mode and listen to music, turn iAUDIO
power on and press the MODE button. Then select MP3 Player from the Mode
menu. Press
◀
◀
◀◀◀
or
▶
▶
▶▶▶
to select MP3 Player and then press the PLAY button to
enter MP3 Player Mode.
2. Power Off and Stop
• Press and hold the PLAY button when iAUDIO is stopped to power off iAUDIO.
• When you press and hold the PLAY button briefl y in the PC Play status, iAUDIO
stops playing.
• You can automatically turn off iAUDIO when you set the Auto Off or Sleep
feature.
• iAUDIO does not power off when your PC and iAUDIO are connected by USB
cable.
3. Adjust Volume
• To adjust Volume while playing, press + or –.
• Press briefl y to adjust by 1 volume unit, or press and hold to adjust rapidly.
• Volume can be adjusted between 00 (mute) and 40.
Simple Operations by Mode
MP3 Player Mode

iAUDIO G2
17
4. Setting Loop:
Use the REC (A B) button while playing tracks in MP3 Player mode. Press the
button to set the loop start point. The (A ) icons appears at the bottom middle
of the LCD. Press the button again to set the loop end point. The icon changes to
(A B). This audio block starts to play repeatedly. When you wish to release this
feature, press the REC button again.
5. HOLD:
Push the HOLD switch to the left. Now all iAUDIO button are locked and do not
work.
Simple Operations by Mode
MP3 Player Mode
Use the REC (A B) button while playing tracks in MP3 Player mode. Press the
button to set the loop start point. The (A ) icons appears at the bottom middle
(A B). This audio block starts to play repeatedly. When you wish to release this

iAUDIO G2
18
Voice Recorder (Recording Voice with Built-In Mic)
When iAUDIO is not in Voice Recorder, press the lever to enter the Mode menu
and select Voice Recorder from the menu.
Press the REC button to start recording.
The sound is recorded in a pre-defi ned recording quality, and the fi le is saved as
V***.wav in the
『
VOICE
』
folder under the
『
RECORDS
』
folder. (“***”
represents a 3-digit consecutive number.)
To fi nish recording, press the REC button again.
When the recording is fi nished, press the lever to enter Navigator for more
convenient features.
• Play Now: Plays the track immediately.
• Add to List: Adds the track to the playlist.
• Intro: Listen to only the intro part of the track.
• Delete: Completely remove the track from Flash memory.
Simple Operations by Mode
Voice Recorder Mode
Line-in Recorder (Direct Encoding)
We will describe the example of direct encoding between CDP and iAUDIO.
When iAUDIO is not in LINE-IN Recorder Mode, press the lever briefl y to enter
Mode menu, and select LINE-IN Recorder. Press + or - or press the PLAY button
to select Line-in Recorder. iAUDIO enters Line-in Recorder mode.
To play recorded fi les more conveniently using Fast Forward and Fast Rewind
features, change to MP3 Player mode, and select V***.wav fi les to play in the
『
VOICE
』
folder under the
『
RECORDS
』
folder.

iAUDIO G2
19
Press the REC button to switch iAUDIO to recording standby status.
iAUDIO automatically monitors the LINE-IN jack and pauses recording until
audio signals are received.
When you press the PLAY button of CDP, iAUDIO detects signals coming in
through the LINE-IN jack and starts recording.
The fi le is recorded as L***.wav in the
『
LINE IN
』
folder under the
『
RECORDS
』
. (“***” represents a 3-digit consecutive number.)
To fi nish recording, press the REC button again.
After recording, you can press and hold the lever to enter Navigator mode for
more convenient features.
• Play Now: Plays the track immediately.
• Add to List: Adds the track to Playlist.
• Intro: Plays only the intro part of the tracks.
• Delete: Completely removes the track from Flash memory.
Simple Operations by Mode
Line-in Recorder Mode
To play recorded fi les more conveniently using Fast Forward and Fast Rewind
features, change to MP3 Player mode, and select L***.wav fi les to play in the
『
Linein
』
folder under the
『
Records
』
folder.
Connect the headphone jack of CDP with the Line-In jack of iAUDIO with a
bi-directional stereo jack cable.

iAUDIO G2
20
Symptom
Action
Description
iAUDIO does not
power on.
Check if the HOLD button is in
the locked position.
Try again after pushing the HOLD
button to OFF.
When the HOLD button is in locked
status, iAUDIO buttons do not work.
Check if the battery is loaded in
the right direction.
Replace the battery with a new
one.
Remove the battery and insert
it again.
iAUDIO does not work if the polarity of
the battery is reversed.
iAUDIO does not work when the battery
is exhausted.
Check if there are any foreign objects
obstructing contact with the battery and
remove them if there are any.
There is no sound.
Check if there are any MP3 fi les
in memory.
iAUDIO does not work when there are no
saved fi les in it.
Check if the HOLD button is in
locked position.
Try again after setting the HOLD
button OFF.
iAUDIO buttons do not work when the
HOLD button is in locked status.
Characters in LCD
are distorted.
Set the language of iAUDIO to English and ID3 tag to Filename, and retry. If
the problem persists, check the product with our service center. However, if the
same symptom occurs in other iAUDIO products of the same model, it may be
because iAUDIO was developed on Korean Windows and some special fonts or
characters may be distorted.
Troubleshooting
This manual suits for next models
1
Table of contents
Other Cowon MP3 Player manuals

Cowon
Cowon IAUDIO7 User manual

Cowon
Cowon IAUDIO U3 User manual

Cowon
Cowon iAUDIO M3 20GB User manual

Cowon
Cowon O2PMP User manual

Cowon
Cowon iAUDIO U5 4GB User manual

Cowon
Cowon iAudio 9 User manual

Cowon
Cowon PLENUE 2 User manual

Cowon
Cowon PLENUE R2 User manual

Cowon
Cowon iAudio9+ User manual

Cowon
Cowon iAUDIO G3 User manual

Cowon
Cowon iAUDIO F1 1GB User manual

Cowon
Cowon iAUDIO T2 2GB User manual

Cowon
Cowon PLENUE V User manual

Cowon
Cowon iAUDIO iAUDIO 7 4GB User manual

Cowon
Cowon PLENUE M User manual

Cowon
Cowon PLENUE J User manual

Cowon
Cowon J3 User manual

Cowon
Cowon iAUDIO M5 20GB User manual

Cowon
Cowon iAUDIO F2 4GB User manual

Cowon
Cowon iAUDIO E2 User manual