CQR SO/PICCOLO/**/G3/S5 User manual

41
CQR Security. 125, Pasture Road, Moreton, Wirral. CH46 4TH, United Kingdom
Tel: +44 (0) 151 606 9595 Support: +44 (0) 151 606 6311 email: info@cqr.co.uk Web http://www.cqr.co.uk
Environmental Advice.
This product is covered by current WEEE regulations. Please consider the eect on the
environment when disposing of it. Do not put in a domestic waste bin. Only dispose of
at an appointed recycling centre.
Description
Operating and Installation
Instructions
RoHS compliant. SO/PICCOLO/G3 Issue 05
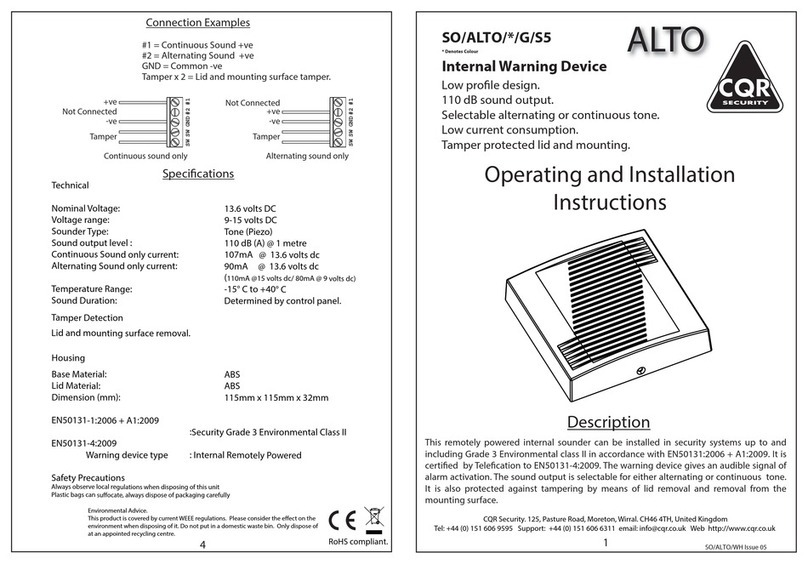
Technical
Nominal Voltage: 12 volts DC
Voltage range: 9-15 volts DC
Sounder Type: Tone (Piezo)
Sound output level : 112 dB (A) @ 1 metre
Sound only Current: 84mA @ 12volts dc
Sound duration: Determined by control panel.
Flash only current: 17mA @ 12volts dc
Sound and ash: 100mA @ 12volts dc
System Status Current: 4mA @ 12volts dc
Temperature Range: -15° C to +40° C
Tamper Detection
Lid and mounting surface removal.
Housing
Base Material: Polycarbonate
Lid Material: ABS
Dimension (mm): 125mm x 85mm x 37.5mm
Specications
SO/PICCOLO/**/G3/S5
12 volt Internal Sounder
** denotes lens and lid colour
Low profile design.
112dB sound output.
Selectable alternating or continuous tone.
Flashing alarm indication.
System status indicator
Low current consumption.
Tamper protected lid and mounting.
Tamper
CFS
Tamper
Linked Sound & Flash
Tamper
CFS
Tamper
Flash only
Tamper
CFS
Tamper
Sound only
Tamper
CFS
Tamper
Independent Sound & Flash
-ve -ve
+ve
+ve
Not Connected
Not Connected
-ve
+ve
+ve sound
+ve ash
-ve common
Link
S = Sound +ve
F = Flashing LED’s +ve
C = Common -ve
Tamper x 2 = Lid and mounting surface tamper.
System status indication x 2
Connection Examples
FIRE & SECURITY
-ve supply
+ve supply
System status indication. (Permanently illuminates LED’s at lower intensity.)
EN50131-1:2006 + A1:2009
:Security Grade 3 Environmental Class II
EN50131-4:2009
Warning device type : Internal Remotely Powered
Safety Precautions
Always observe local regulations when disposing of this unit
Plastic bags can suocate, always dispose of packaging carefully
This remotely powered internal sounder can be installed in security systems up to and
including Grade 3 Environmental class II in accordance with EN50131:2006 + A1:2009. It is
certied by Telecation to EN50131-4:2009. The warning device gives an audible and visual
signal of alarm activation. The LED’s can also be wired independantly to indicate the system
status. The sound output is selectable for either alternating or continuous tone. It is also
protected against tampering by means of lid removal and removal from the mounting
surface.

3
2
Features Mounting Instructions
Piezo Sounder
Twin LED’s
Wiring Terminals
Front Back
Sound Louvres
Mounting Holes use No 8 panhead screws.
Cable Entry
Tamper Switch
Sound Select
S1= Alternating Tone
S2= Continuous Tone (see note below)
Wiring Options
Identify a suitable mounting location for the sounder on a at wall. To remove the lid, use a
cross point screw driver to unscrew the lid retaining screw enough turns so that the lid is
released. Grip both sides or by pressure to the lid top, push the lid away from the screw as
shown in the diagram. The lid can now be removed completely Using the sounder as a
template, mark the xing points on the surface of the selected location. Drill 3 x 5mm holes
for the enclosed wall plugs, insert the wall plugs into the holes, feed the cable through the
cable entry point on the sounder and using No8 panhead screws, x the sounder to the
selected location. Please note in order for the sounder’s tamper protection to detect unau-
thorised removal from the mounting surface, which is a requirement for grade 3, the bottom
xing hole must be used. Do not overtighten this screw as this is a one time operation and if
broken or damaged the sounder will need to be replaced.
There are ve terminals for the connection of wires as shown above. To activate either the
sounder or the ashing LED’s, connect a negative to the common negative terminal
(C-ve) and connect a positive to the appropriate positive terminal ( S+ve or F+ve). To stop the
sound or ashing LED’s, remove the positive. Terminate the wires into the appropriate termi-
nals. The sound and ash can be wired independently or together, see wiring diagrams over.
The default setting for the tone is alternating, to change this to continuous, move the switch
from position S1 to S2. Please note that continuous tone does not comply with EN50131-4
In addition to the ve main terminals there are also two extra terminals which can be wired
independantly to a 12 volt supply from the control panel, this continously powers the two
main LED’s at a lower intensity and can be used to indicate the system status i.e. set/unset.
Once the unit is wired up, replace the lid by reversing the instructions overleaf. Secure the lid
with the screw and nally t the screw hole plug supplied.
+ve
-ve
System Status
Indication Terminals
System Status
Indication Terminals
Screw Hole Plug
Cover Screw
Lid Removal
12
3
4
Tamper
-ve
+ve
SFC
S1
S2
Tamper
-ve
+ve
SFC
+ve
-ve
S1
S2

3
2
Features Mounting Instructions
Piezo Sounder
Twin LED’s
Wiring Terminals
Front Back
Sound Louvres
Mounting Holes use No 8 panhead screws.
Cable Entry
Tamper Switch
Sound Select
S1= Alternating Tone
S2= Continuous Tone (see note below)
Wiring Options
Identify a suitable mounting location for the sounder on a at wall. To remove the lid, use a
cross point screw driver to unscrew the lid retaining screw enough turns so that the lid is
released. Grip both sides or by pressure to the lid top, push the lid away from the screw as
shown in the diagram. The lid can now be removed completely Using the sounder as a
template, mark the xing points on the surface of the selected location. Drill 3 x 5mm holes
for the enclosed wall plugs, insert the wall plugs into the holes, feed the cable through the
cable entry point on the sounder and using No8 panhead screws, x the sounder to the
selected location. Please note in order for the sounder’s tamper protection to detect unau-
thorised removal from the mounting surface, which is a requirement for grade 3, the bottom
xing hole must be used. Do not overtighten this screw as this is a one time operation and if
broken or damaged the sounder will need to be replaced.
There are ve terminals for the connection of wires as shown above. To activate either the
sounder or the ashing LED’s, connect a negative to the common negative terminal
(C-ve) and connect a positive to the appropriate positive terminal ( S+ve or F+ve). To stop the
sound or ashing LED’s, remove the positive. Terminate the wires into the appropriate termi-
nals. The sound and ash can be wired independently or together, see wiring diagrams over.
The default setting for the tone is alternating, to change this to continuous, move the switch
from position S1 to S2. Please note that continuous tone does not comply with EN50131-4
In addition to the ve main terminals there are also two extra terminals which can be wired
independantly to a 12 volt supply from the control panel, this continously powers the two
main LED’s at a lower intensity and can be used to indicate the system status i.e. set/unset.
Once the unit is wired up, replace the lid by reversing the instructions overleaf. Secure the lid
with the screw and nally t the screw hole plug supplied.
+ve
-ve
System Status
Indication Terminals
System Status
Indication Terminals
Screw Hole Plug
Cover Screw
Lid Removal
12
3
4
Tamper
-ve
+ve
SFC
S1
S2
Tamper
-ve
+ve
SFC
+ve
-ve
S1
S2

41
CQR Security. 125, Pasture Road, Moreton, Wirral. CH46 4TH, United Kingdom
Tel: +44 (0) 151 606 9595 Support: +44 (0) 151 606 6311 email: info@cqr.co.uk Web http://www.cqr.co.uk
Environmental Advice.
This product is covered by current WEEE regulations. Please consider the eect on the
environment when disposing of it. Do not put in a domestic waste bin. Only dispose of
at an appointed recycling centre.
Description
Operating and Installation
Instructions
RoHS compliant. SO/PICCOLO/G3 Issue 05
Technical
Nominal Voltage: 12 volts DC
Voltage range: 9-15 volts DC
Sounder Type: Tone (Piezo)
Sound output level : 112 dB (A) @ 1 metre
Sound only Current: 84mA @ 12volts dc
Sound duration: Determined by control panel.
Flash only current: 17mA @ 12volts dc
Sound and ash: 100mA @ 12volts dc
System Status Current: 4mA @ 12volts dc
Temperature Range: -15° C to +40° C
Tamper Detection
Lid and mounting surface removal.
Housing
Base Material: Polycarbonate
Lid Material: ABS
Dimension (mm): 125mm x 85mm x 37.5mm
Specications
SO/PICCOLO/**/G3/S5
12 volt Internal Sounder
** denotes lens and lid colour
Low profile design.
112dB sound output.
Selectable alternating or continuous tone.
Flashing alarm indication.
System status indicator
Low current consumption.
Tamper protected lid and mounting.
Tamper
CFS
Tamper
Linked Sound & Flash
Tamper
CFS
Tamper
Flash only
Tamper
CFS
Tamper
Sound only
Tamper
CFS
Tamper
Independent Sound & Flash
-ve -ve
+ve
+ve
Not Connected
Not Connected
-ve
+ve
+ve sound
+ve ash
-ve common
Link
S = Sound +ve
F = Flashing LED’s +ve
C = Common -ve
Tamper x 2 = Lid and mounting surface tamper.
System status indication x 2
Connection Examples
FIRE & SECURITY
-ve supply
+ve supply
System status indication. (Permanently illuminates LED’s at lower intensity.)
EN50131-1:2006 + A1:2009
:Security Grade 3 Environmental Class II
EN50131-4:2009
Warning device type : Internal Remotely Powered
Safety Precautions
Always observe local regulations when disposing of this unit
Plastic bags can suocate, always dispose of packaging carefully
This remotely powered internal sounder can be installed in security systems up to and
including Grade 3 Environmental class II in accordance with EN50131:2006 + A1:2009. It is
certied by Telecation to EN50131-4:2009. The warning device gives an audible and visual
signal of alarm activation. The LED’s can also be wired independantly to indicate the system
status. The sound output is selectable for either alternating or continuous tone. It is also
protected against tampering by means of lid removal and removal from the mounting
surface.
Other manuals for SO/PICCOLO/**/G3/S5
1
Table of contents
Other CQR Marine Equipment manuals
Popular Marine Equipment manuals by other brands
ComNav
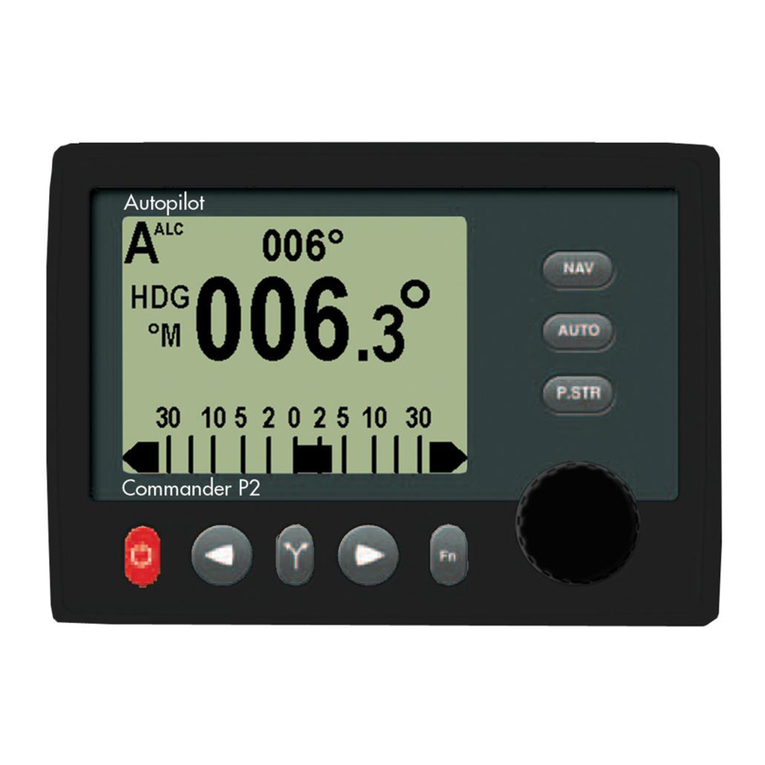
ComNav Commander P2 Installation & operation manual
Carillon Lumineux
Carillon Lumineux Melodys Flash Instruction and operation manual
Simrad
Simrad IS42J quick guide
GUIDANCE MARINE
GUIDANCE MARINE CyScan Installer's guide

Lone Star Marine
Lone Star Marine HAULMASTER 1500 quick start guide
Blue Sea Systems
Blue Sea Systems M2 OLED instructions
