manuals.online logo
Brands
  1. Home
  2. •
  3. Brands
  4. •
  5. Create Room
  6. •
  7. Indoor Furnishing
  8. •
  9. Create Room oh happy day DREAMBOX 2 User manual

Create Room oh happy day DREAMBOX 2 User manual

oh happy day
YOU’VE RECEIVED THE DREAMBOX 2!
CUSTOMERSERVICECREATEROOM.COM
WWW.CREATEROOM.COM
USA  CANADA: 8012262686 MF 9AM5PM MST
UKEU: +49 40 69632955 OR +44 7759 335868
It’s already time for your first project.
The DreamBox 2 assembly instructions are easy to follow. All of the hardware you will need
can be found in one box.
If you have questions at any point of the assembly process, our friendly furniture experts will
be happy to help you.
We are excited for you to enjoy your inspiring new workspace and can’t wait to see pictures!
Share your photos on Facebook and Instagram and don’t forget to tag @createroomco.
Happy crafting!
0823B
DreamBox 2 Assembly Instructions
(Proprietary patented product and instructions. Do not copy or distribute.)
REVIEW SAFETY INSTRUCTIONS
BEFORE PROCEEDING
Instruction Video
!
Dear Creator,
The safety of you and your loved ones is our number one priority. Please take a moment to review the following
safety instructions before you begin assembling your DreamBox. Failure to follow these procedures could
results in serious or fatal injuries.
• Keep kids and pets out of the building zone and away from the DreamBox until the box is filled and the Safety
Brackets have been attached to the wall.
• Keep the DreamBox in the Enclosed Shape (indicated in instructions) and the table closed during the assem-
bly and move in process.
• Add Stabilizers to Center Box and Side Boxes as indicated in the instructions to provide stability support.
Stabilizers can be removed, if desired, once the Safety Brackets have been attached to the wall.
• Be aware of weight distribution. Add heavy items to the bottom of the Center Box and Side Boxes first.
• Ensure all DreamBox wheels are in the forward facing position when stationary.
• Follow DreamBox table weight limit of 50 lbs.
• Do not add weight to the front of your Deluxe Crown.
• Use the included Safety Kit with Safety Brackets to properly attach the DreamBox to your wall.
Thank you for your attention. Please do not hesitate to reach out with any questions or concerns.
Sincerely,
The Create Room Team
customerservice@createroom.com
801-226-2686
x1
Center Box Lid
(CB Lid)
(If crown was not purchased)
center box
HARDWARE YOU’LL NEED:
x18
Posts
x4
Wheels
x18
Cams
x2
Angle Bracket
x4
Stabilizers
x4
Base
Pins
x14
Confirmant
Screws
x16
Wheel Nut
x16
Connecting
Bolts
x2
L/R Table
Lifter
x1
Light strip
x1
Light Plug
x2
L/R Channel
x24
Back Screws
PARTS INCLUDE:
TOOLS YOU’LL NEED:
Phillips Screwdriver
(not included)
Mallet
(not included)
A Friend
(not included)
Our furniture is designed
to be built with two people.
Please do not try to build
alone.
Electric Drill with
socket extensions
or 10mm wrench.
(NOT included)
x1
Center Box Base
(CB Base)
x2
Center Box Sides 1 & 2
(CB1 and CB2)
x1
Center Box Shelf 1
(CB Shelf 1)
x1
Table
x1
Center Box Middle Back
(CB Middle Back)
x1
Center Box Upper Back
(CB Upper Back)
x1
Center Box Lower Back
(CB Lower Back)
x12
Dowels
x1
Center Box Lower Divider
(Lower Divider)
x2
Upper Long or Upper
Short Divider
x1
Center Box Shelf 2
(CB Shelf 2)
x16
Wheel Bolt
x2
5 mm Hole
Plug
x22
13mm Euro
Screws
3
1Install wheels in the corresponding holes. Secure with 10mm wrench.
2
CB Base
(Bottom View)
x4
Wheels
x16
Wheel
Bolts
x16
Wheel
Nuts
Finished Edge
Install Cams with arrow pointing towards the edge of the wood.
Hammer in Dowels until secure into the side of CB Base.
CB Base
(Bottom View)
x6
Cams
x4
Dowels
Arrow
Finished Edge
10mm Wrench
(not included)
TIPS:
Build DreamBox2 on a large blanket to protect wood from damages.
Tap in Dowels lightly with hammer.
4
3Install Posts, Connecting Bolts, Base Pins, Dowels, and Cams into corresponding holes.
CB2
Top
Finished Edge
x12
Posts
x4
Base Pins
x6
Locking
Cams
x4
Connecting
Bolts
CB1
Top
x4
Dowels
Finished Edge
TIPS:
1. Install connecting bolts in 7th hole from gap if using Long Dividers.
If purchased short dividers install on the 14th hole.
2. Install Dowels in inner most holes.
5
5
4Install Dowels and Cams to the corresponding holes on the CB Shelf 1.
CB Shelf 1
(Bottom View)
CB Lid
(Bottom View)
x6
Cams
x4
Dowels
x6
Posts
Finished Edge
Finished Edge
Insert Posts into corresponding holes on the CB Lid.
TIP:
Tap in Dowels lightly with hammer.
6
6
7
Attach CB base to CB2. Tighten Cams to secure.
CB Base
CB Base
CB Shelf 1
CB2
CB2
Attach CB Shelf 1 to CB2. Secure by tightening Cams.
Finished Edge
Finished Edge
Finished Edge
TIP:
Over tightening Cams can damage wood.
7
9
8Attach CB1 onto CB Shelf and Base. Secure by tightening 6 Cams.
Install Angle Brackets using Euro Screws.
CB2
CB Shelf 1
x8
Euro
Screws
x2
Angle
Bracket
CB Base
Attach CB Lid to CB1 and 2. Secure by tightening 6 Cams.
CB1
CB2
CB Shelf 1
CB Base
CB1
CB Lid
This step requires 2 people.
CAUTION:
8
11
10 Slide CB Upper, Middle, Lower Back onto grooves located on CB 1 and CB2.
CB Lower
Back
CB Middle Back
CB Upper
Back
CB1
Install Back Screws into corresponding holes manually with screwdriver.
x13
Back Screws
CB Lower
Back
CB Middle Back
CB Upper
Back
CB1
TIPS:
1. To speed up build manually tighten all back screws
about half way then use drill to tighten all the way.
2. May be slight gap in between back panels
9
11
1212 Install CB shelf 2. Tighten White Cams at 45 degree angle.
CB Base
CB Shelf 1
CB Shelf 2
CB Lid
This step requires 2 people. Stand up CB onto wheels.
CAUTION:
Long divider: Hole 7
Short divider: Hole 14
45° angle
TIP:
1. Build against desired wall.
2. Lower divider may be installed on the right side if you want tote storage on the right side.
10
11
1313
This step requires 2 people. Stand up CB onto wheels. Insert 4 Connecting Bolts to CB shelf 2 and CB Lid. Insert 2 Connecting Bolts to CB Shelf 1 and
CB Base.
x12
Connecting
Bolts
11
CB Shelf 1
CB Lid
Slide CB Dividers in one at a time (Finished edge in front) and
secure by pushing into installed white cams until tight.
CB Short
Upper
Divider
Lower
Divider
Upper
Divider
UPPER SHORT DIVIDERS:
(Does not come with DreamBox, purchase separately).
TIP:
Lower divider can be installed on the left or right side.
UPPER LONG DIVIDERS:
(The upper long dividers that come with the DreamBox).
11
1414
12
Install 11 Back Screws to the corresponding holes. If installing Short Dividers install 9 Back Screws.
x9
Back Screws
x11
Back Screws
Right side
tote storage
Left side
tote storage
x2
5 mm Hole Plugs
(Insert 5 mm hole plugs into the two open
holes from the INSIDE of the box).
11
1515
Do NOT install bottom Back
Screws if using Short Dividers.
SHORT DIVIDERS:
LONG DIVIDERS:
13
Install 2 stabilizers.
11
1616
x2
Stabilizers
left and right side boxes
HARDWARE YOU’LL NEED:
x56
Posts
x56
Locking
Cams
x4
Angle
Bracket
x6
Fixed
Hinges
PARTS INCLUDE:
TOOLS YOU’LL NEED:
Phillips Screwdriver
(not included)
A Friend
(not included) Our furniture is designed to be
built with two people. Please
do not try to build alone.
Electric Drill with
socket extensions
or 10mm wrench.
(not included)
x2
Door Handles
(screws included)
x8
Base
Support
Pins
x1
Right Side 1
(RS1)
(Right Box hole on
back for magnet catch)
x1
Left Box Side 1
(LS1)
x1
Right Box Side 2
(RS2)
x2
Shelf
x2
Door
x2
Right/Left Upper Divider
(R/L Upper Divider)
x2
Right/Left Lower Divider
(R/L Lower Divider)
x2
Right/Left Box Lid
(R/L Lid)
x2
Right/Left Box Base
(R/L Base)
x16
Connecting
Bolts
x52
13mm Euro
Screws
x24
Dowels
x1
Left Box Side 2
(LS2)
(Left Box hole on
back for magnet catch)
x8
Wheels
x32
Wheel Nut
x32
Wheel Bolt
x2
5 mm Hole
Plugs
15
2
1
Install Dowels and Cams in corresponding holes.
x6
Locking
Cams
x4
Dowels
L/R Base
Finished Edge
Arrow
TIP:
Tap in Dowels lightly with hammer.
LEFT BOX BASE SHOWN. (Repeat steps for Right Base).
Install Wheels in the corresponding holes. Secure with 10mm wrench.
L/R Base
x4
Wheels
x16
Wheel Bolts
x16
Wheel Nuts
10mm Wrench
(not included)
3
Install Posts, Cams and Base Pins into LB1 and LB2.
x18
Posts
LB2
LB1
x10
Locking
Cams
x4
Base Support
Pins
Base Pins
Base Pins
16
4
Install Dowels and Cams to the corresponding holes.
LB Lid
(Top View)
LB Shelf
(Bottom view)
x12
Locking
Cams
x8
Dowels
Finished Edge
Finished Edge
19
TIP:
Tap in Dowels lightly with hammer.
Attach LB Base, LB Shelf, and LB Lid. Secure by tightening 9 Cams.
LB Shelf
LB Lid
LB Base
Unfinished
Edges
LB1
Finished Edge
Finished Edge
Finished Edge
Unfinished
Edges
Unfinished
Edges
18
11
55
Attach LB2 to LB base, LB Shelf, LB Lid. Secure by tightening 9 Cams.
Install 2 Angle Brackets using 8 Euro Screws.
LB2
LB1
LB Lid
LB Shelf
x2
Angle Bracket
x8
Euro Screws
21
11
66
TOP of LB lid
CAUTION: This step requires two people.

Other manuals for oh happy day DREAMBOX 2

1

Other Create Room Indoor Furnishing manuals
Create Room DREAMBOX User manual

Create Room

Create Room DREAMBOX User manual

Create Room Sew Station User manual

Create Room

Create Room Sew Station User manual

Create Room Cubby User manual

Create Room

Create Room Cubby User manual
Create Room DREAMBOX User manual

Create Room

Create Room DREAMBOX User manual

Create Room oh happy day DREAMBOX 2 User manual

Create Room

Create Room oh happy day DREAMBOX 2 User manual

Create Room DREAMCART User manual

Create Room

Create Room DREAMCART User manual

Create Room deluxe crown User manual

Create Room

Create Room deluxe crown User manual

Create Room Cubby User manual

Create Room

Create Room Cubby User manual
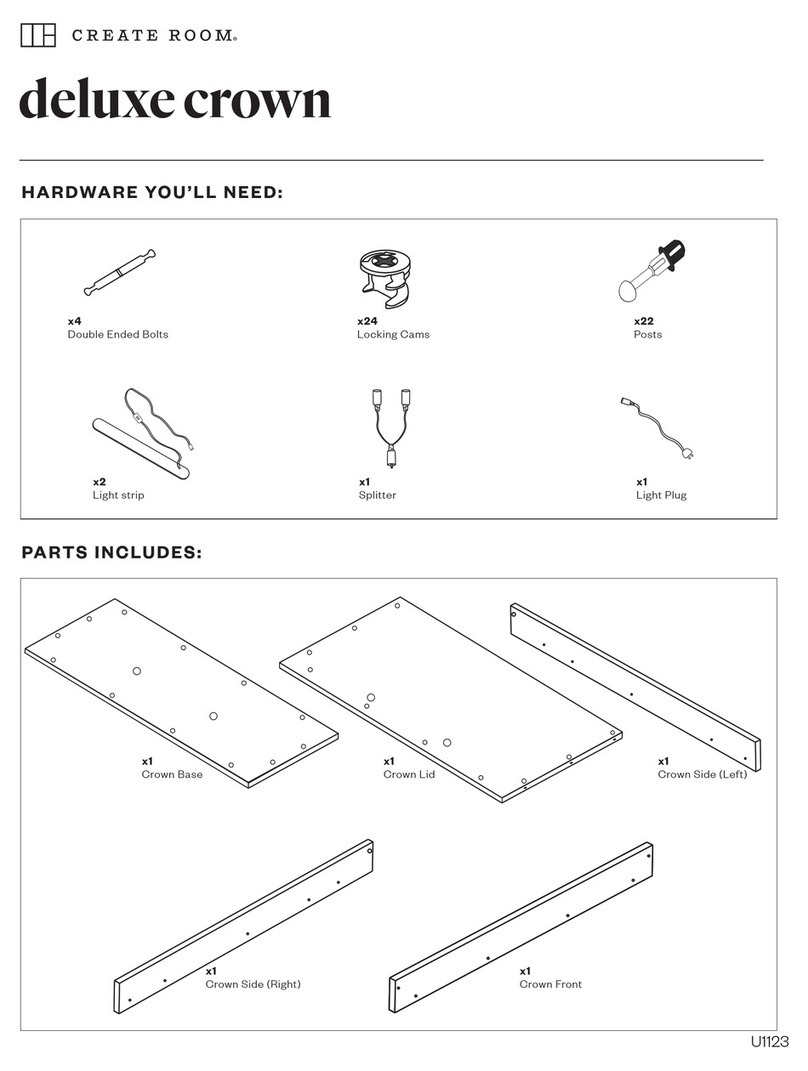
Create Room oh happy day User manual

Create Room

Create Room oh happy day User manual
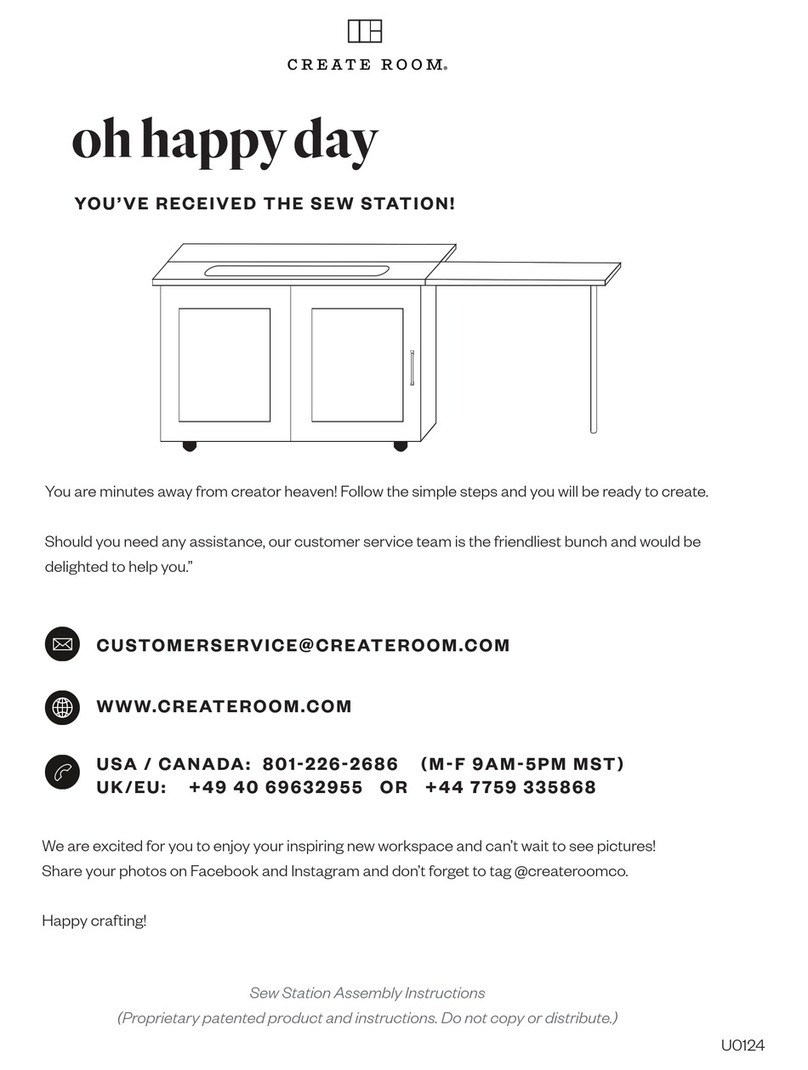
Create Room DREAMCART User manual

Create Room

Create Room DREAMCART User manual

Popular Indoor Furnishing manuals by other brands
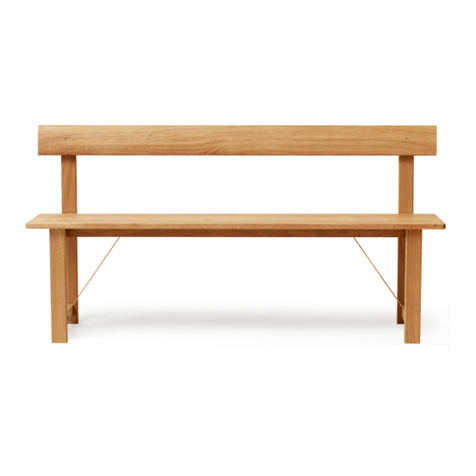
modway EEI-3403 quick start guide

modway

modway EEI-3403 quick start guide

Triarch Indoor Lighting 31021 Assembly instructions

Triarch

Triarch Indoor Lighting 31021 Assembly instructions

Birlea Santiago 6 Drawer Chest Assembly instructions

Birlea

Birlea Santiago 6 Drawer Chest Assembly instructions

Courtyard Creations KTS127W-WM Assembly instructions

Courtyard Creations

Courtyard Creations KTS127W-WM Assembly instructions

Furniture of America Alma CM5903-TV-60 Assembly instructions

Furniture of America

Furniture of America Alma CM5903-TV-60 Assembly instructions

Plymold Cebra Wall Style installation manual

Plymold

Plymold Cebra Wall Style installation manual

Article Mara Assembly instructions

Article

Article Mara Assembly instructions

Coaster 753537 Assembly instructions

Coaster

Coaster 753537 Assembly instructions

Enclume PR33 instructions

Enclume

Enclume PR33 instructions

Germania Inside 3182 Assembly instruction

Germania

Germania Inside 3182 Assembly instruction

RST Benson OP-AWCLBOTTO-BEN Assembly instructions

RST

RST Benson OP-AWCLBOTTO-BEN Assembly instructions

Furniture of America Winn Park CM7008EK Assembly instructions

Furniture of America

Furniture of America Winn Park CM7008EK Assembly instructions

Forte ENJV811 Assembling Instruction

Forte

Forte ENJV811 Assembling Instruction

Ercol Shalstone 80311508 manual

Ercol

Ercol Shalstone 80311508 manual

Monarch I 3045 Assembly instructions

Monarch

Monarch I 3045 Assembly instructions

Home Styles Laguna 88 5600 80 Important notes

Home Styles

Home Styles Laguna 88 5600 80 Important notes

Knape&Vogt Simply Put SP-MUBSC-11-FN installation instructions

Knape&Vogt

Knape&Vogt Simply Put SP-MUBSC-11-FN installation instructions

LS Bedding Group Comfort Lift Assembly instructions

LS Bedding Group

LS Bedding Group Comfort Lift Assembly instructions

manuals.online logo
manuals.online logoBrands
  • About & Mission
  • Contact us
  • Privacy Policy
  • Terms and Conditions

Copyright 2025 Manuals.Online. All Rights Reserved.