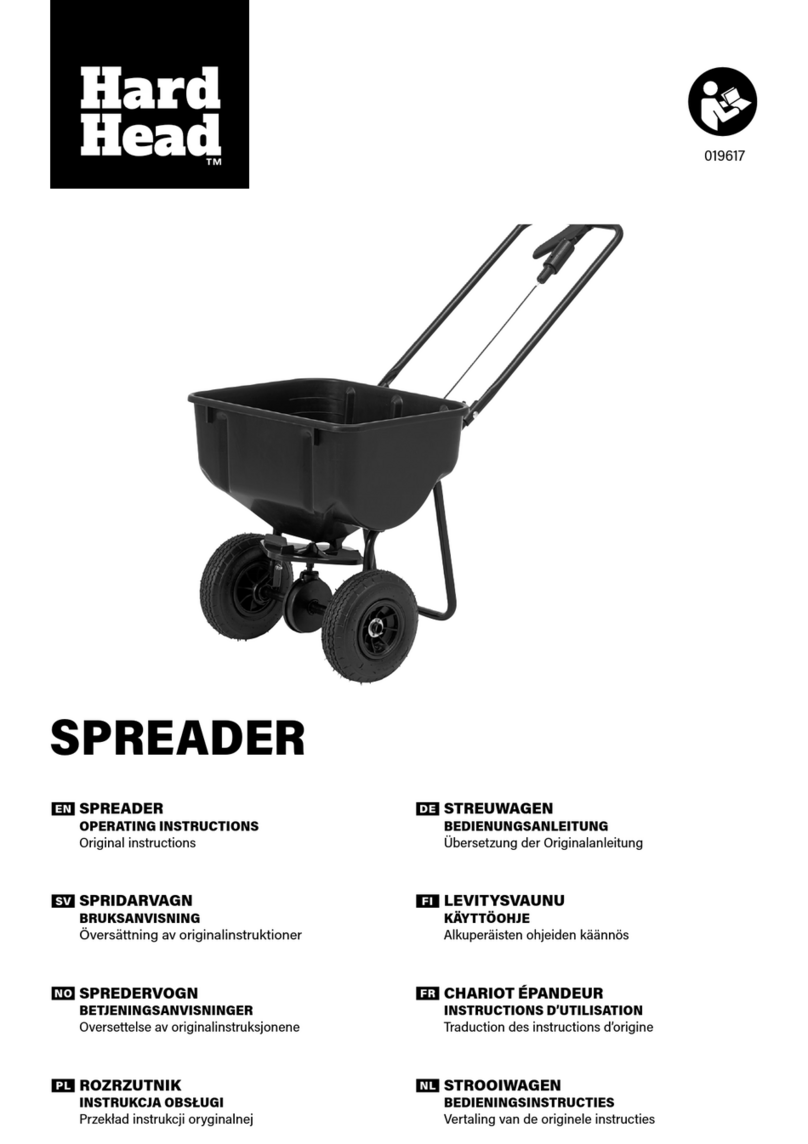
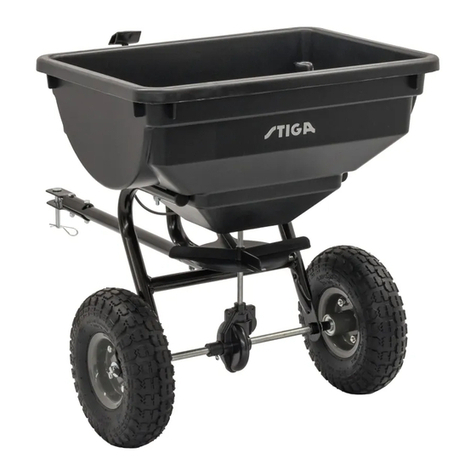
Cresco 25SW User manual

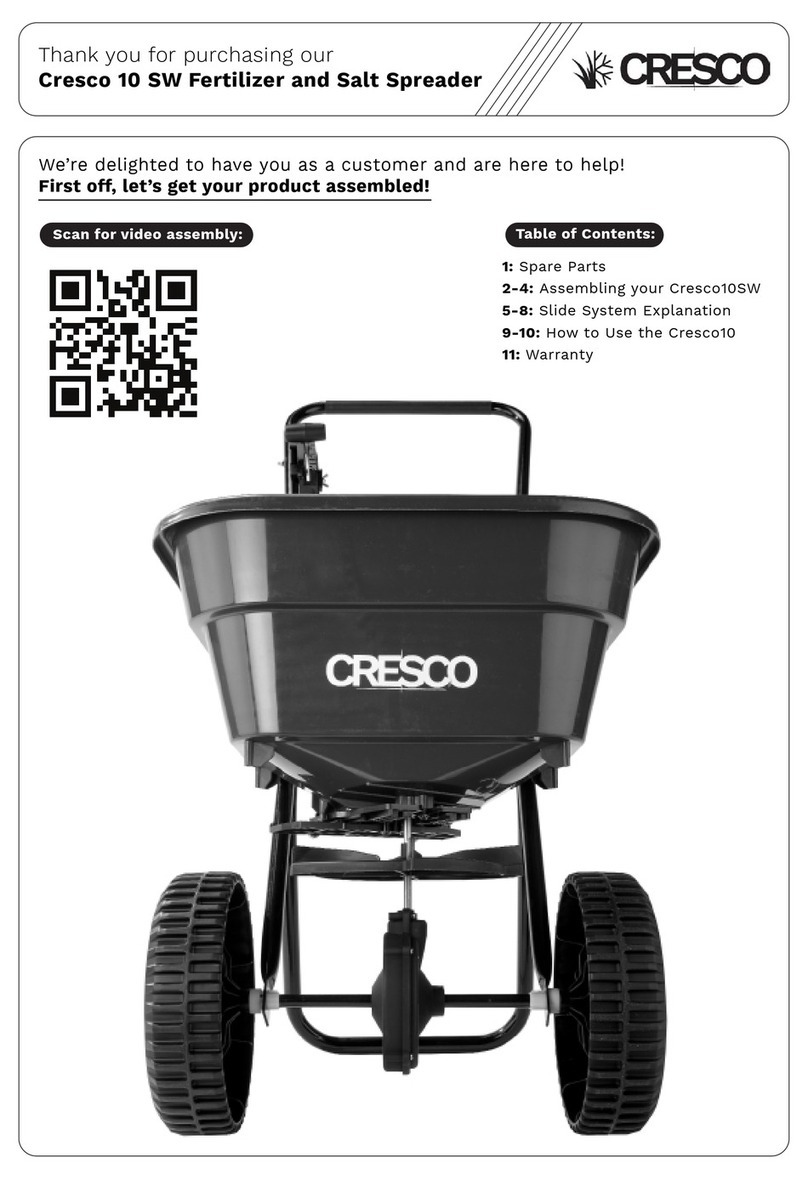
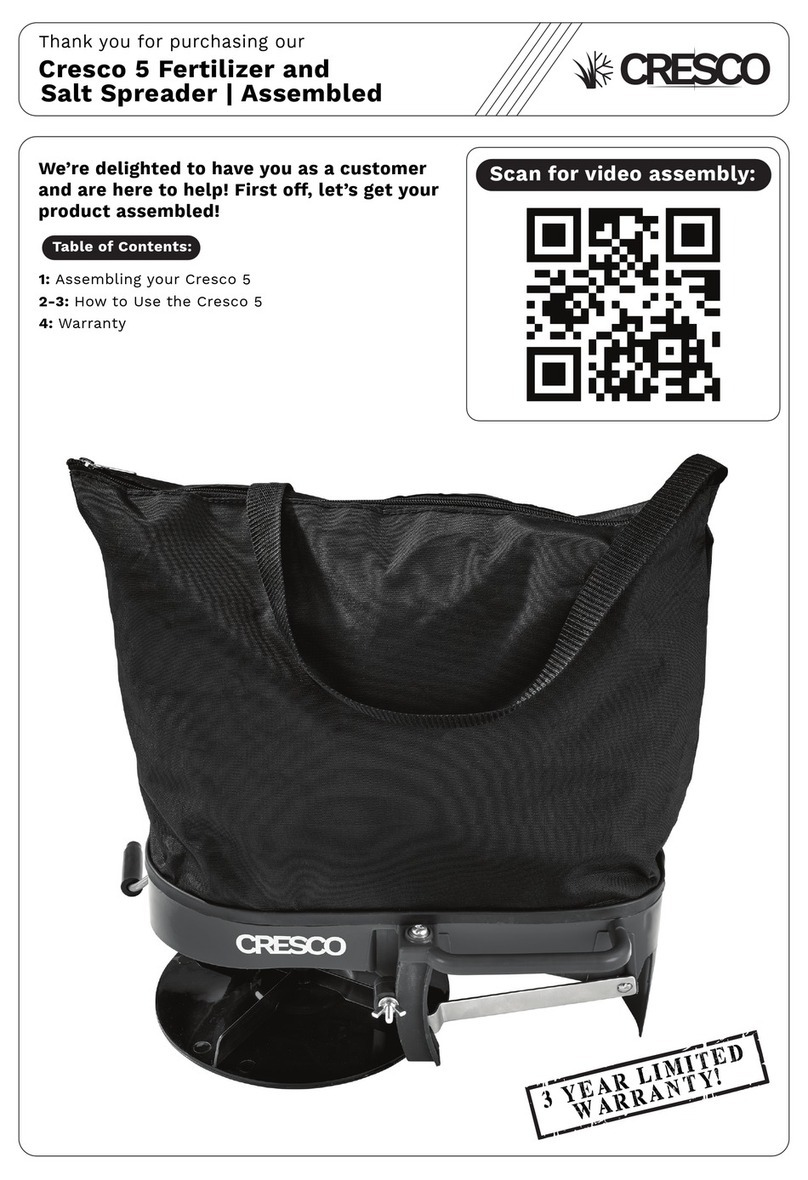
Thank you for purchasing our
Cresco 25SW Fertilizer and
Salt Spreader | Assembled
Scan for video assembly:
We’re delighted to have you as a customer
and are here to help! First off, let’s get your
product assembled!
https://crescospreaders.com/spreaders/spreads-professional/
Table of Contents:
1: Spare Parts
2: Slide System Explanation
3-5: Assembling your Cresco 25SW
6-8: Slide System Explanation
9-12: How to Use the Cresco 25SW
13: Application guide for fertilisers
14: Warranty
3 YEAR
WARRANTY!

1
Spare Parts
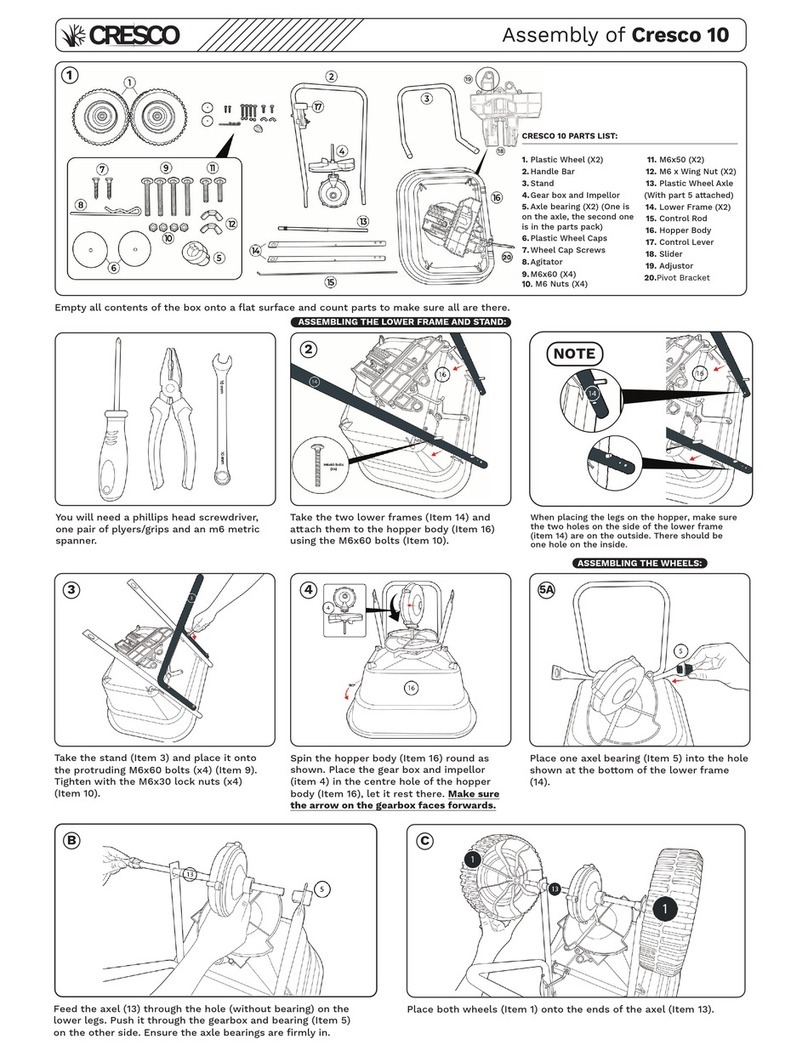
Empty all contents of the box onto a flat surface and count parts to make sure all are there.
1. Hopper Body & Frame
2. Pneumatic Wheels
3. Control Rod
4. Handle Bar
5. Back Stand
6. 4 x M6 x 45 Bolts
7. 8 x M6 Lock Nuts
8. Small Cotter Pin
9. Large Cotter Pin
10. Privot Bracket
11. 4 x M6 x 65 Bolts
12. Large Agitator
13. Small Agitator
CR25 PARTS LIST:

2
Slide System Explanation *** VERY IMPORTANT ***
Your Cresco spreader comes with two different application sliders.
One is for winter and the other is for summer!
Please locate and choose your slider.
Summer SliderWinter Slider
DO NOT SPREAD FERTILIZER
WITH THE WINTER SLIDER

3
Assembling your Cresco 25
Place the Hopper body (1) on the table so that the
gearbox is pointing upwards. Take the bolts out of
the main frame (1) - you will use these to attach
the backstand to the hopper body and main frame
(1). Remove the nuts from the bolt ends.
1
Take the backstand (5) and align it with the
holes on the main frame (1). Place the four bolts
through the holes available.
2
Take the pneumatic wheels (2) and slide them
over the axles on each side of the main frame
(1). You will also need the two cotter pins (8 & 9)
that sit inside the parts bag.
4
Use a spanner to tighten the lock nuts. The
backstand (5) should now be securely attached
to the hopper body and frame. (1).
3
Align the hole on the inside of the pneumatic
wheel (2) with the hole on the axle. Take the
large cotterpin (9) and thread it through the two
holes.
5
After threading the cotter pin (9) through the two
holes, use a pair of plyers to pull apart the two
ends of the cotter pin (9). The wheel will then be
secured in place.
6

4
Thread the four remaining bolts (6) through the
holes on the handle bar (4) and the back stand
(5).
11
Align the holes on the handle bar and on the
back stand (5).
10
Turn the hopper body and main frame (1) over
so that the spreader sits on its wheels and
backstand. Take the handle bar and slide it down
the two ends of the backstand.
9
Once in position, use the same plyers to split the
ends of the cotter pin (8) to hold the wheel in
place.
8
Take the small cotterpin (8) and place it through
the hole on the outside of the other wheel.
7
Take the bent end of the control rod (3) and
thread it through the hole at the back of the
pivot bracket. It should lock into place.
12
Assembling your Cresco 25

5
If the application hole is fully open and the lever
is set at 20, tighten the screw so that the control
rod (3) is secure.
Take the other end of the control rod (3) and
align it with the hole on the on/o mechanism of
the handle bar (4). Push the on/o lever all the
way to 20 and then hand tighten the screw.
15
13
Make sure the slider at the bottom of the hopper is
fully open. You should see the entirety of the holes
or hole on the slide system. Insert both agitators,
with the smaller one going under the larger.
14
Assembling your Cresco 25

6
Ice Melts
Winter
For spread width 6 meters. Pavement setting (2 meters).
Slide System Explanation

7
Border Control
To protect your borders simply slide the border control into position to cut o
the left hand side of the spread pattern.
Summer
The summer slide system comes with 20 dierent settings and a border
control. This slider provides control over the accuracy of your spreading.
Large/Heavy Materials Small/Light Materials
Slide System Explanation Guide Only

88
Slide System Explanation

9
How to Apply Fertilizer to your lawn like a pro in four steps!
Step 1: Understanding the application rate and settings
Step 2: Preparing the Spreader
Step 3: Walking Patterns for the optimum application
Step 4: Cleaning & Maintenance
Step 1: Understand the application rate and
settings
Application Rate Settings
Check the back of the fertilizer bag
to nd out the recommended G/m²
and spreader application setting.
If the spreader setting is not on the back
of the bag, please get in touch with your
fertilizer bag provider.
Set the handle to the correct setting.
If you are unable to nd the required Cresco volume setting, please visit,
www.crescospreaders.com
How to use the Cresco 25

10
Spread Pattern Settings
Once you have the correct application rate, you will need to check that the
spread of material is even on both sides of the spread pattern.
To balance the spread pattern for your material, check online or with your
fertilizer or seed provider.
For a quick reference, please refer to our guide on the previous page.
Step 2: Preparing the Spreader
Check the material to be applied is dry and free owing to ensure it will ow
freely through the hopper. Make sure your application rate and spread pattern
settings are correct, close the application hole fully and then pour in your
material.
How to use the Cresco 25

11
WARNING **Do not pour material in the hopper when the application holes are
open as it can lead to spillages or leaks that can damage the area. Do not open
the gauge until you are over the area you want to spread and are moving at a
brisk walk***
Step 3: Walking Patterns for the optimum
application (For Fertilizer Only)
There are two methods of eective spreading, longitudinal fertilizer spreading
and cross sectional fertilizer spreading.
When applying fertilizer please make sure you walk at 3mph and keep the
hopper in a stable, upright position.
Your outlet hole should look like this
before you pour in any material.
How to use the Cresco 25

12
Single Pass Fertilizer Spreading
Use ½ the application rate suggested
on the back of your fertilizer bag
Cover the area as shown by passing
over it in an up and down track
as shown, taking into account the
spread width of the material being
applied.
Cross Sectional Fertilizer Spreading
Use ½ the application rate suggested
on the back of your fertilizer bag
Cover the area as shown. Repeating
by a second pass in the same
manner going across the area as
shown in the diagram.
Step 4: Cleaning and Maintenance
How to use the Cresco 25

13
Application Guide for Fertilisers
Speed
Calibration Setting Guide
Mph 3
Kph 4.828
Metres p/
Sec 1.34
Product 05mm - 1mm 1mm - 2mm 3mm - 5mm
Width Metres 3.5 3.5 3.5 4.0 4.0 4.0 4.5 4.5 4.5
Application
Rate Grams /Sq
M20 35 50 20 35 50 20 35 50
Run Time Secs 10 10 10 10 10 10 10 10 10
Distance metres 13.4 13.4 13.4 13.4 13.4 13.4 13.4 13.4 13.4
Area Sq Metres 47 47 47 54 54 54 60 60 60
Target
Weight Grams 938 1,876 3,015 938 1,876 3,015 938 1,876 3,015
Setting 8.5 11 14 11 13.5 19.5 13 18 16 (X2)
Slider Position ------7 Clicks
LHS 7 Clicks
LHS 7 Clicks
LHS
LHS (Left hand slider adjuster)
is recommended to be engaged
when spreading large sized
granular materials to provide a
more uniform distribution on the
left and right side of the spread
pattern. Conversely with very
light materials (e.g. grass seed)
engaging the RHS (Right hand
slider adjuster) will be similarly
benecial.
Left hand
slider
adjuster
The manufacturer cannot
be held responsible for
any variations in sq. metre
application volumes, or spread
width dierences, due to
possible variations in materials,
application conditions at the
time and dierent operator
application techniques.
*Do not spread Fertiliser or seed materials with the winter slider*
This chart should be used as a guide only.
Right hand
slider
adjuster

14
DMMP Ltd. warrants this product free of defects in original workmanship and
materials for a period of 3 Years to the end user with the original dated purchase
receipt.
If a manufacturing non-conformance is found, DMMP Ltd. will repair or replace
the part(s) or product at it’s discretion at no charge provided the failure is not
the result of incorrect installation, mishandling, misuse, tampering, or normal
wear and tear as determined by DMMP ltd.
DMMP Ltd. at its discretion may require that the part(s) or product be returned
along with the original purchase receipt at owners’ expense for examination and
compliance with the terms of this warranty.
Do not return any product without rst receiving authorization
from DMMP Ltd. To seek remedy under this warranty, contact
DMMP Ltd. at +44 (0)1455 825 400 or email us at info@
dmmp.co.uk and describe the nature of the manufacturing
defect.
SPECIFIC LIMITATIONS:
This warranty covers only the
part(s) or product; any labour
charges associated with repair or
replacement of nonconformances
are specically excluded.
Due to the corrosive nature of most fertilizers
and ice melt products, DMMP Ltd makes no warranty
against and specically excludes part(s) or product
degradation or failure due to corrosion or its eects.
To negate the eects of corrosive materials on
your product, clean and dry your spreader or seeder
thoroughly after each use. As a further preventative
measure, coat all metal parts with a light oil or silicon
spray.
3-Year Limited Warranty

Other Cresco Products
Cresco 10SW
Code: CR10SW
Cresco 20SW
Code: CR20SW
Cresco SRS
Code: CRSRS
Heavy Duty Snow
Shovel
Code: H464P
Cresco 1
Code: CR001
Cresco 5
Code: CR005
Wide Snow Clearer
Code: H611
3 in 1 Foldable
Snow Shovel
Code: HZS212
Cresco Snow
Blaster
Code: H595
Polar Tough
Snow Plough
Code: YH74900
Helps manage snow
accumulation
Reduces labour
costs compared to
a shovel
Two grip design
makes snow
removal easy and
minimises
lifting and stooping
Wave ribbed design
reinforces blade
strength
Ergonomic
arm-rest handle for
easy holding
New heavy duty
gearbox
Cushioned on/o
lever with solid rod
linkage
A lightweight and ip
back- stand allows
it to be shipped fully
assembled
Cushioned on/o
lever with solid rod
linkage
Pneumatic Wheels
Large moulded
wheels
Pneumatic wheels
allow a consistent
impellor speed and
a smooth drive
Easy to use on/o
system
Large 2Kg Hopper
Seed Plate Bag
Included with 11
Seed Plates
Strong row marker
mounting
Powder coated
steel tubed handle
Large comfortable
ergonomic grip
Steel blade Steel edge to
increase cutting
power and longevity
Anodised
aluminimum head
Teloscopic
anodised
aluminimum handle
Product / Season Unique Selling Points
Cresco 15SW
Code: CR15SW
Large 46Kg Warranty
Fertilizer Hopper
Capacity
Strong, durable
frame
Cresco 25SW
Code: CR25SW
This manual suits for next models
1
Table of contents
Other Cresco Spreader manuals
