manuals.online logo
Brands
  1. Home
  2. •
  3. Brands
  4. •
  5. Cresco
  6. •
  7. Spreader
  8. •
  9. Cresco 10 User manual

Cresco 10 User manual

18
19
You will need a phillips head screwdriver,
one pair of plyers/grips and an m6 metric
spanner.
Empty all contents of the box onto a flat surface and count parts to make sure all are there.
Take the two lower frames (Item 14)and
aach them to the hopper body (Item 16)
using the M6x60 bolts (Item 10).
Take the stand (Item 3) and place it onto
the protruding M6x60 bolts (x4) (Item Ǖ).
Tighten with the M6x30 lock nuts (x4)
(Item 1nj).
Spin the hopper body (Item 1ǒ) round as
shown. Place the gear box and impellor
(item 4) in the centre hole of the hopper
body (Item 1ǒ), let it rest there. Make sure
the arrow on the gearbox faces forwards.
2
ASSEMBLING THE LOWER FRAME AND STAND:
3
ASSEMBLING THE WHEELS:
Place one axel bearing (Item 5) into the hole
shown at the boom of the lower frame
(1ǐ).
Place both wheels (Item 1) onto the ends of the axel (Item Ǎ3).
1
CRESCO 10 PARTS LIST:
Ǐȹ Plastic Wheel (X2)
ǐȹ Handle Bar
Ǒȹ Stand
ǒȹ Gear box and Impellor
Ǔȹ Axle bearing (X2) (One is
on the axle, the ýÉÁíéÅʅíéÉ
ÖýʅÖéʅĂÕÉʅ÷µúĂýʅ÷µÁâɔ
ǔȹ Plastic Wheel Caps
Ǖȹ Wheel Cap Screws
ǖȹ Agitator
Ǘȹ M6x60 (X4)
Ǎnjȷ
M6 Nuts (X4)
ǏǏȹ M6x50 (X2)
Ǐǐȹ M6 x Wing Nut (X2)
ǏǑȹ Plastic Wheel Axleʅ
(With part 5 aached)
Ǐǒȹ Lower Frame (X2)
ǏǓȹ Control Rod
Ǐǔȹ Hopper Body
ǏǕȹ Control Lever
Ǐǖȹ Slider
ǏǗȹ Adjustor
ǐǎȹAÖĖíĂʀúµÁâÉĂ
45A
Feed the axel (ǍǏ) through the hole (without bearing) on the
lower legs. Push it through the gearbox and bearing (Item 5)
on the other side.ʅéýĄúÉʅĂÕÉʅµĜãÉʅÀɵúÖéÓýʅµúÉʅÒÖúèãĝʅÖéȷ
BC
Assembly of Cresco 10
When placing the legs on the hopper, make sure
the two holes on the side of the lower frame
(item 1ǐ) are on the outside. There should be
one hole on the inside.
NOTE
Push the plastic end cap into the centre hole of the axle. Use
screwdriver and wheel cap screw to tighten. Complete on both
sides.
Flip the spreader onto its wheels andʅ
ensure they work correctly. Align the holes
at the bottom of the handle bar (item 2)
with the holes at the top of the ãíėÉúʅ
frameȷʅɓǍǐɔʅMýÉʅĂÕÉʅ2ǒ x 50(11)ʅėÖéÓéĄĂýʅĂíʅ
ĂÖÓÕĂÉéȷʅDÉ÷ɵĂʅíéʅÀíĂÕʅýÖÅÉýȷʅ
Protruding from the back of the hopper
body (item 16) is a V-shaped metal called a
pivot bracket pictured above. Clip the L
shaped end of the control rod (item 1Ǒ)
into the hole on the pivot bracket.(item 20)
ÉÉÅʅĂÕÉʅíĂÕÉúʅÉéÅʅíÒʅĂÕÉʅÁíéĂúíãʅúíÅʅ
ɓÖĂÉèʅǍǑɔʅĂÕúíĄÓÕʅĂÕÉʅÕíãÉʅµĂʅĂÕÉʅÀµÁâʅ
íÒʅĂÕÉʅÁíéĂúíãʅãÉĖÉúʅɓǍǓɔʅ2µâÉʅýĄúÉʅĝíĄʅ
÷ĄýÕʅĂÕÉʅãÉĖÉúʅµããʅĂÕÉʅėµĝʅĂíʅĂÕÉʅ
ÀíĂĂíèȷʅíʅéíĂʅĂÖÓÕĂÉéʅÖéĂíʅ÷ãµÁÉȷ
Before tightening the control rod. Make sure
the application holes in the hopper are fully
open and the control lever is set at 20.
WÖĂÕʅĂÕÉʅÕí÷÷Éúʅµ÷÷ÉúĂĄúÉʅÒĄããĝʅ
í÷ÉéʅɓµýʅÖéʅÒÖÓĄúÉʅǍnjɔʅµéÅʅĂÕÉʅÓµĄÓÉʅ
ãÉĖÉúʅýÉĂʅµĂʅǎnjʅĂÖÓÕĂÉéʅĂÕÉʅýÁúÉėʅ
ÒÖúèãĝʅĂíʅýÉÁĄúÉʅĂÕÉʅÁíéĂúíãʅúíÅȷ
Affix the agitator pin (item 8)through the
impeller shaft inside the hopper.
www.crescospreaders.com
D
9
10
ASSEMBLING THE HANDLE BAR AND CONTROL ROD:
7
Flip the spreader onto its wheels and ensure they work correctly.
Align the holes at the boom of the handle bar (item 2) with the
holes at the top of the lower frame (item 1ǐ). You may need to
pull the ends apart slightly to place in position.
6
8
11 12
Assembly of Cresco 10
IMPORTANT
FINAL TOUCHES
This manual suits for next models

2

Other Cresco Spreader manuals

Cresco 20 SW User manual

Cresco

Cresco 20 SW User manual

Cresco 10SW User manual

Cresco

Cresco 10SW User manual

Cresco 20 SW User manual

Cresco

Cresco 20 SW User manual

Cresco 25SW User manual

Cresco

Cresco 25SW User manual

Popular Spreader manuals by other brands

Earth Way EV-N-Spred C22HD Assembly and operating instructions

Earth Way

Earth Way EV-N-Spred C22HD Assembly and operating instructions

Tube-Line NITRO 950 Operator's manual

Tube-Line

Tube-Line NITRO 950 Operator's manual

EGAmaster 57508 operating instructions

EGAmaster

EGAmaster 57508 operating instructions

Kompernass KH 4032 quick start guide

Kompernass

Kompernass KH 4032 quick start guide

SaMASZ SAHARA 100 Operator's manual

SaMASZ

SaMASZ SAHARA 100 Operator's manual

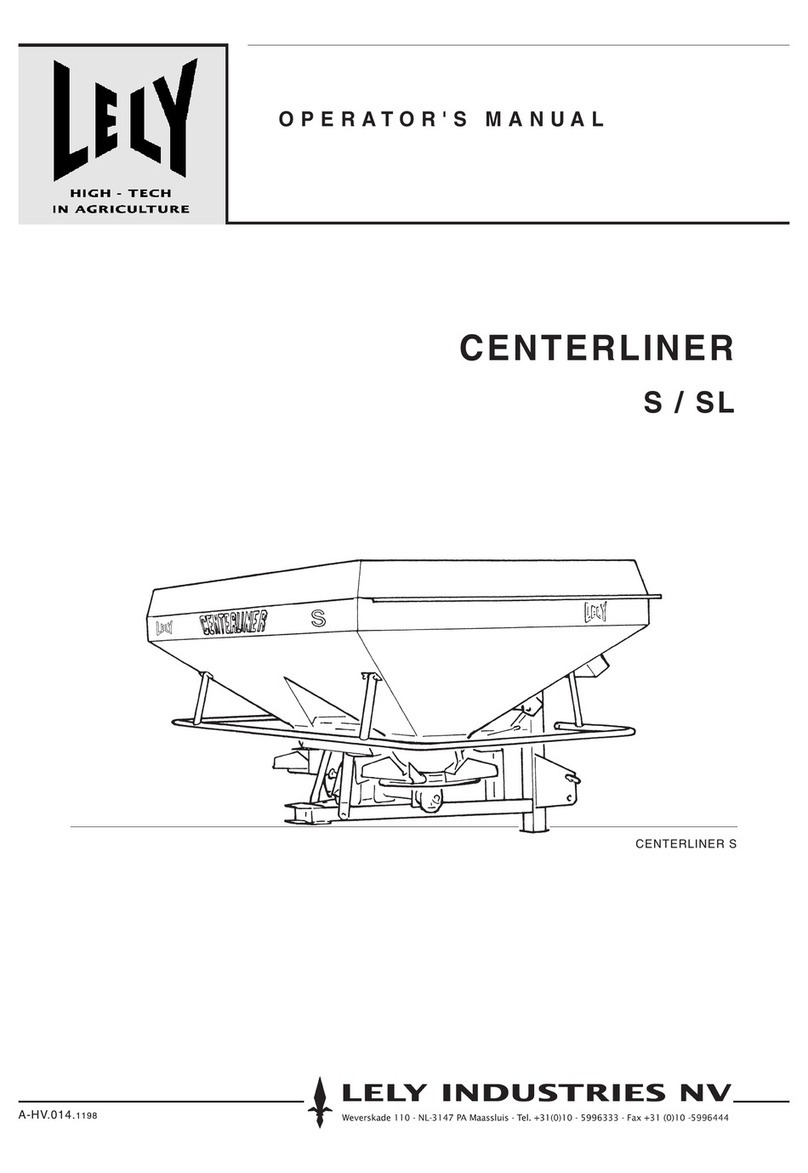
LELY CENTERLINER S Operator's manual

LELY

LELY CENTERLINER S Operator's manual

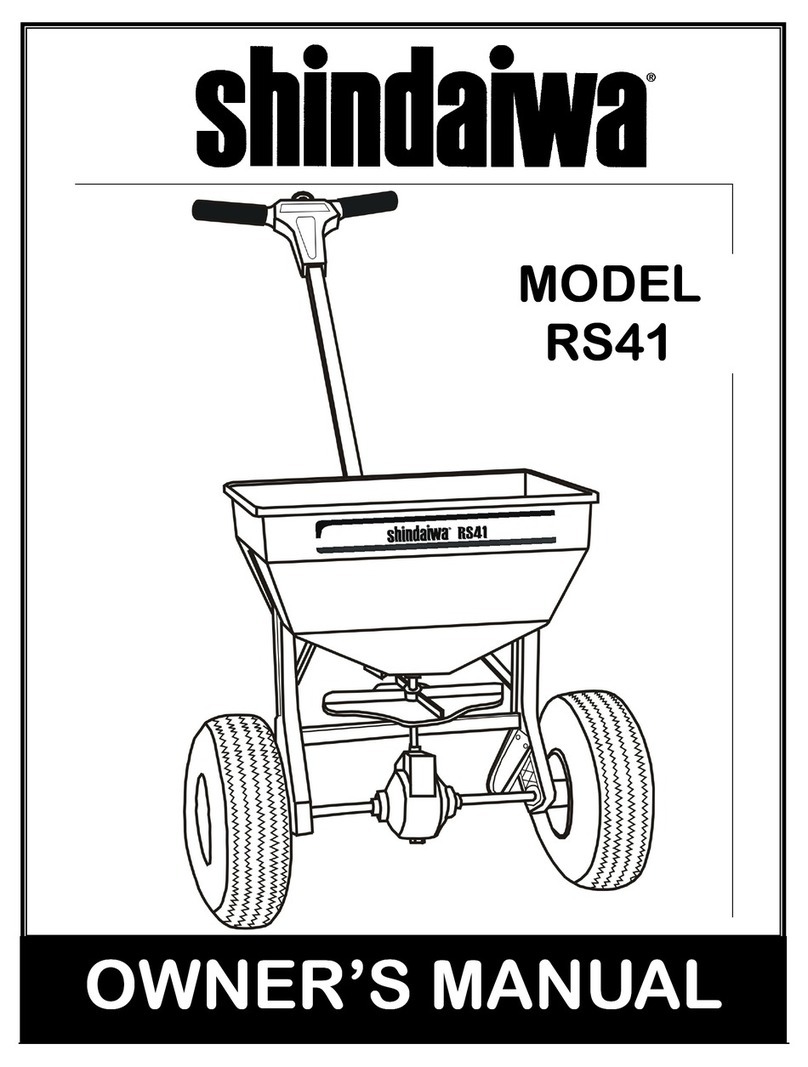
Shindaiwa RS41 parts catalog

Shindaiwa

Shindaiwa RS41 parts catalog

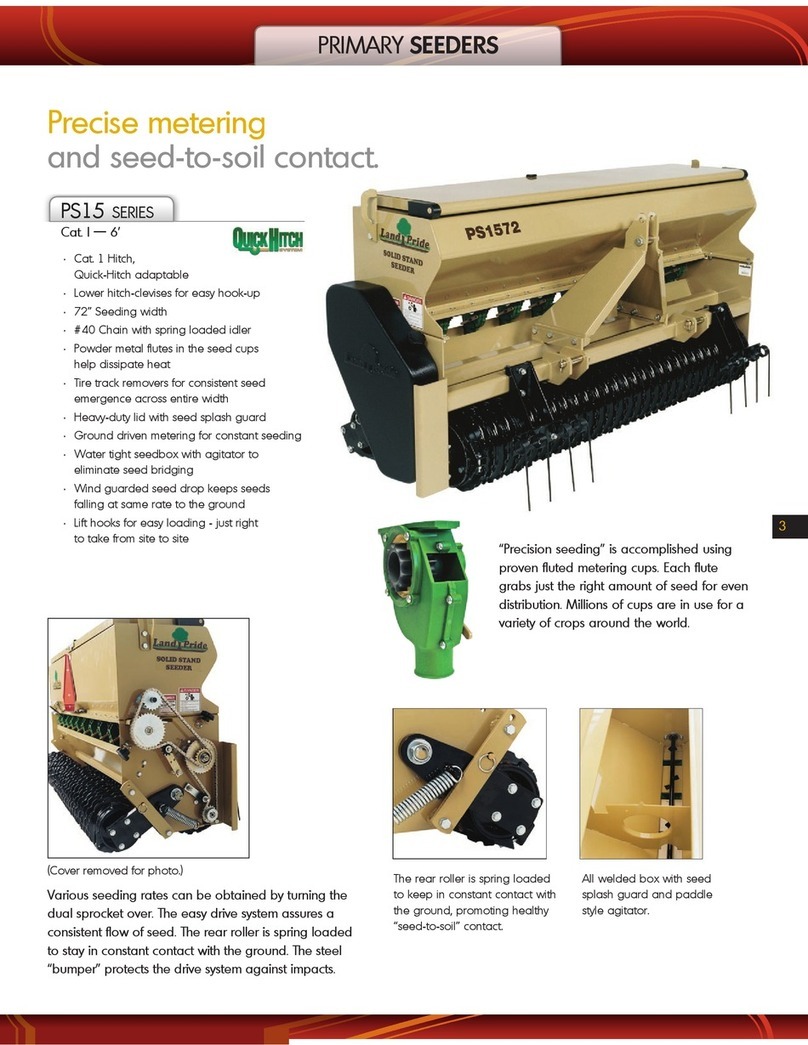
Land Pride Quick-Hitch PS15 Series brochure

Land Pride

Land Pride Quick-Hitch PS15 Series brochure

PANDROL 02800A Operation and maintenance manual

PANDROL

PANDROL 02800A Operation and maintenance manual

PermaGreen Supreme Triumph A1A Operator's manual

PermaGreen Supreme

PermaGreen Supreme Triumph A1A Operator's manual

Fisher WB-100B Owner's manual and installation instructions

Fisher

Fisher WB-100B Owner's manual and installation instructions

Chapin 82088B Assembly instructions

Chapin

Chapin 82088B Assembly instructions

YARD Commander SP31574 Instruction & assembly manual

YARD Commander

YARD Commander SP31574 Instruction & assembly manual

Chapin 8000A Assembly / operation instructions / parts

Chapin

Chapin 8000A Assembly / operation instructions / parts

Ferris Pathfinder Series Operator's manual

Ferris

Ferris Pathfinder Series Operator's manual

SIP ORION 60 Instruction for work

SIP

SIP ORION 60 Instruction for work

Buyers ATVS15A installation instructions

Buyers

Buyers ATVS15A installation instructions

Land Pride PFS4000 Operator's manual

Land Pride

Land Pride PFS4000 Operator's manual

manuals.online logo
manuals.online logoBrands
  • About & Mission
  • Contact us
  • Privacy Policy
  • Terms and Conditions

Copyright 2025 Manuals.Online. All Rights Reserved.