manuals.online logo
Brands
  1. Home
  2. •
  3. Brands
  4. •
  5. CRL
  6. •
  7. Door Opening System
  8. •
  9. CRL H100E10 Assembly instructions

CRL H100E10 Assembly instructions

CRL PATCH FITTING
HYDRAULIC DOOR HINGE
For more information Freephone UK and Ireland on 00 800 0421 6144 | Fax free on 00 800 0262 3299
Instructions of assembly
and technical details
-10 °C
+50 °C
0°-80°
1000mm 100kg
8÷13,52
mm
Adjustments
(V)
(S)
Glass processing for pivoting applications
7min
54
60
3
60 101
161
R10
3,50
R10
R4
20
18min
(60)
5
12
7 min
3
86
8÷13.52
30
37
167
25
10
56
*DISTANCE FROM THE FLOOR
EN 1154 : 2006 4 8 3
5014
7min
60
101
156
For more information Freephone UK and Ireland on 00 800 0421 6144 | Fax free on 00 800 0262 3299
CRL Patch Fitting Hydraulic Door Hinge
CAUTION For installations in particular environments or climate (ex.wet, acid saline) consult sales office first
Hydraulic hinge, including brake and closing speed adjustment and the end
click of the leaf. Combinable with all patch fittings of the Maxima series.
Useful also for pivoting applications, Stop at 0° +90° -90°.
The closing automatism starts to function within
70° and 80°. The closing is soft for the first 20° and
adjustable with control starting from 60° till
completed closing.
Classification according to the law
End click speed
Alignment
Glass Cut Out (Std 7mm clearence)
Opt. 1 Corner Mount Opt. 2 Inset Mount
E9
CRL Patch Fitting Hydraulic Door Hinge
Installation and adjustment instructions
22.5
45
22.5
60
156
TECHNICAL SPECIFICATIONS
Place the base plate and mark the location of the hole
shown in figure
Turn the plate in order to drill the hole using a
Ø10mm bit to a 40mm depth
Insert the wall anchors and tighten all the screws so as
to block the plate
Insert the wall anchors and tighten all the screws
without blocking the plate
Aline the plate and drill using a Ø 8mm bit to
a 40mm depth
Make a hole using a Ø 25mm corer at a depth of 25mm Insert the hinge
BASE PLATE
For standard applications place the plate to the
wall (1)
1000 mm
Max
100 kg
- 15°C
+40°C
0°÷80°
8 mm
÷
13,52 mm
Drill using a Ø 8mm bit to a 40mm depth
Then drill the hole using Ø 10mm bit on 40mm depth.
For more information Freephone UK and Ireland on 00 800 0421 6144 | Fax free on 00 800 0262 3299
E9
CRL Unica hydraulic hinge 100E10
For more information Freephone UK and Ireland on 00 800 0421 6144 | Fax free on 00 800 0262 3299
Enter the door, possibly sloping for easier insertion.
Then place the notch in the hinge seat.
Slide the cover on the hinge body.
Act on the four lower grains to adjust the alignment of the door (± 30mm with a
1000mm reach). Once aligned block the screws
Use the gasket supplied to compensate for different thicknesses of
glass (1) and tighten the 4 screws with (Ch3) key (2). See table.
Secure the covers by unscrewing the eight screws on
the body.
Cover with screw-cover plates. FUNCTIONING RANGE
Area wich is
controlled from the
hydraulic system
Area of closing speed adjustment
Area wich is
controlled from the
hydraulic system
Area wich is not controlled
from the hydraulic system
STARTING RANGE
STARTING RANGE
Area wich is not controlled
from the hydraulic system
For Glass
SIDE OF GLASS BLOCKING PLATE
1 gasket 0,5mm
BODY’S SIDE
1 shaped gasket
For Glass
SIDE OF GLASS BLOCKING PLATE
1 gasket 0,5mm + 1 gasket 1mm
BODY’S SIDE
1 shaped gasket + 1 gasket 1mm
For Glass
SIDE OF GLASS BLOCKING PLATE
1 gasket 0,5mm
BODY’S SIDE
1 shaped gasket + 2 gasket 1mm
Installation and adjustment instructions
CRL Patch Fitting Hydraulic Door Hinge
Adjust the final click strength with (Ch3) key acting on the
nozzle denoted by the letter “S” with the door open to 45
degrees. Turn clockwise to decrease the force and
counter-clockwise to increase it.
Adjust the closing speed with (Ch3) key acting on the
nozzle denoted by the letter “V” with the door open to 45
degrees. Turn clockwise to reduce speed and
counterclockwise to increase it.

Other CRL Door Opening System manuals

CRL JACKSON 300 Series User manual

CRL

CRL JACKSON 300 Series User manual

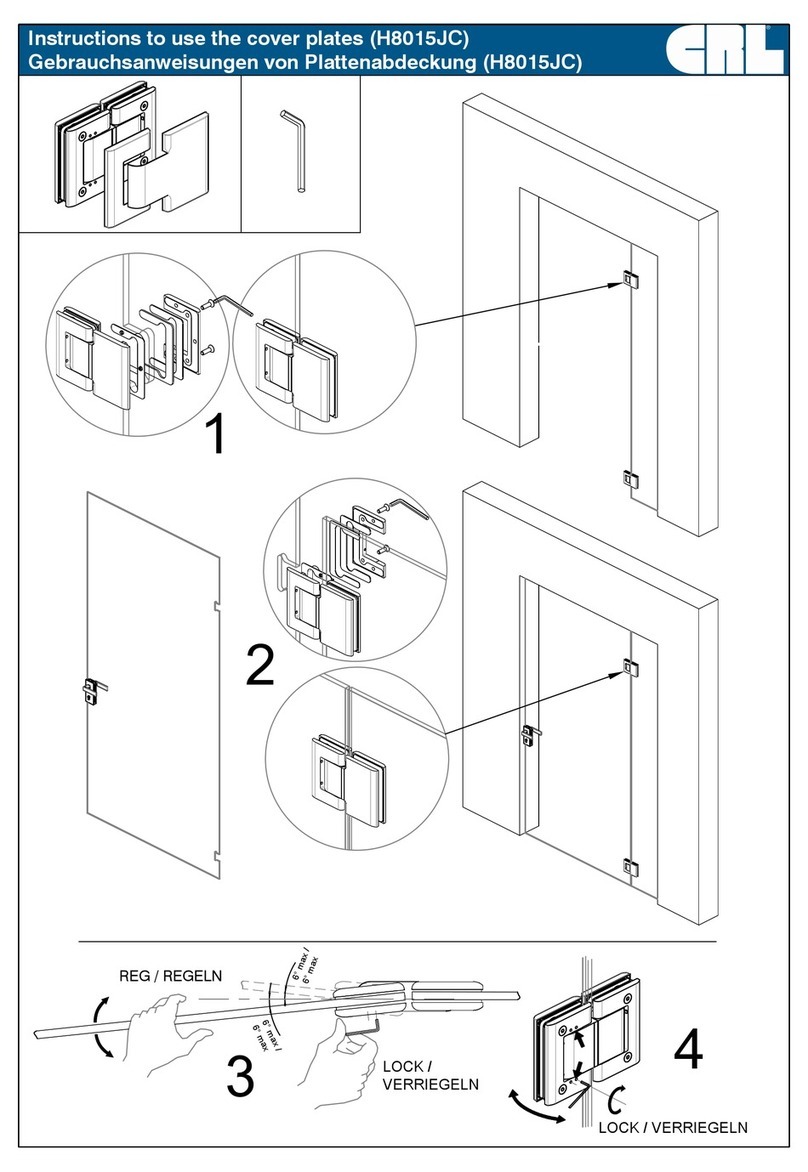
CRL H8015JC User manual

CRL

CRL H8015JC User manual

CRL SENIOR PRIMA User manual

CRL

CRL SENIOR PRIMA User manual

CRL LLPA User manual

CRL

CRL LLPA User manual

Popular Door Opening System manuals by other brands

ECO Schulte ECO EF Assembly instruction

ECO Schulte

ECO Schulte ECO EF Assembly instruction

Perko Power R104 manual

Perko Power

Perko Power R104 manual

Fireco Dorgard X2 Fitting and Operating Guide

Fireco

Fireco Dorgard X2 Fitting and Operating Guide

BEA IXIO-ST user guide

BEA

BEA IXIO-ST user guide

Eco TS-50 Assembly instruction

Eco

Eco TS-50 Assembly instruction

GEZE TSA 160 NT Series Wiring diagram

GEZE

GEZE TSA 160 NT Series Wiring diagram

hager 5300 Series installation instructions

hager

hager 5300 Series installation instructions

Dorma AS 350 installation manual

Dorma

Dorma AS 350 installation manual

Assa Abloy SARGENT 281 Series installation instructions

Assa Abloy

Assa Abloy SARGENT 281 Series installation instructions

Mepla Alfit Soft-close manual

Mepla Alfit

Mepla Alfit Soft-close manual

SIMONSWERK Anselmi AN 172 3D quick start guide

SIMONSWERK

SIMONSWERK Anselmi AN 172 3D quick start guide

Dor-O-Matic 95239-900 installation instructions

Dor-O-Matic

Dor-O-Matic 95239-900 installation instructions

Assa Abloy Norton 6300 Series installation instructions

Assa Abloy

Assa Abloy Norton 6300 Series installation instructions

Bohle Madrid instruction manual

Bohle

Bohle Madrid instruction manual

D+H ZA 35-HS instructions

D+H

D+H ZA 35-HS instructions

International Door Closers 854 installation instructions

International Door Closers

International Door Closers 854 installation instructions

PDQ 6300 Installation instruction

PDQ

PDQ 6300 Installation instruction

Ribind VERTIGO 8 manual

Ribind

Ribind VERTIGO 8 manual

manuals.online logo
manuals.online logoBrands
  • About & Mission
  • Contact us
  • Privacy Policy
  • Terms and Conditions

Copyright 2025 Manuals.Online. All Rights Reserved.