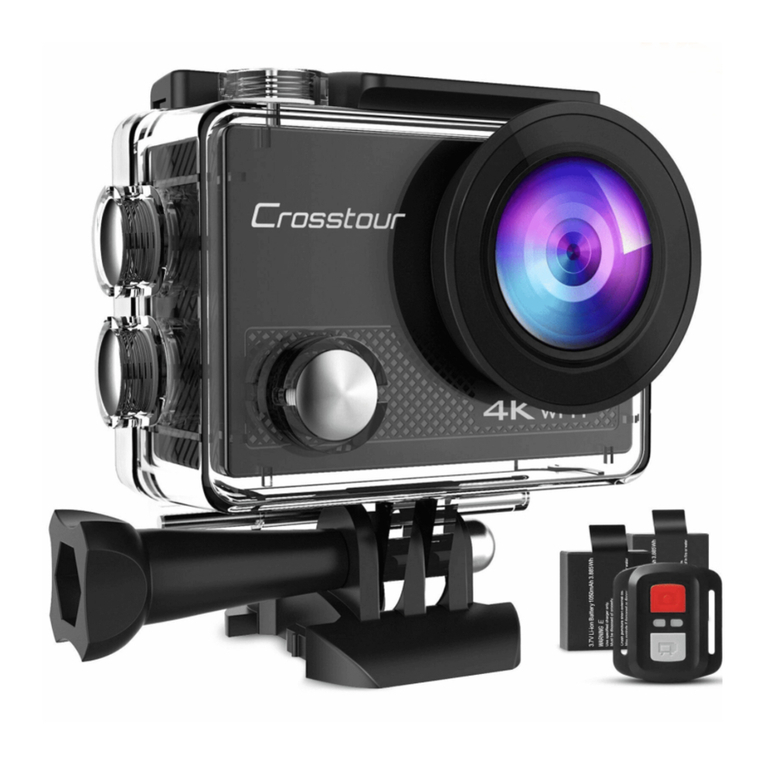
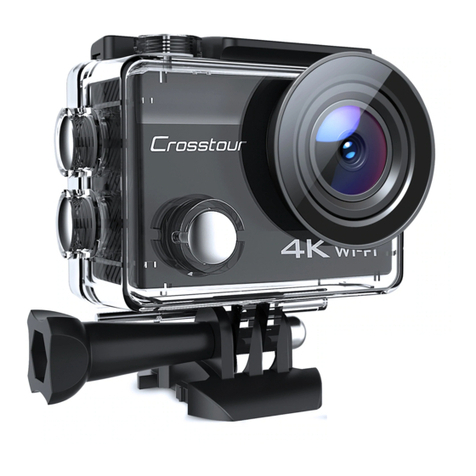
Crosstour CT9500 User manual

User Manual
Action Camera
CT9500

English
Deutsch
Français
Italiano
Español
日本語
1
21
40
59
78
20
39
58
77
96
97 115
Contents

Thank you for purchasing product from Crosstour. Please read and follow this user manual
carefully and keep it in a safe place for future reference.
Crosstour consistently attaches great importance to product quality and high customer
satisfaction. We sincerely hope you can make a few suggestions during your use to help us
improve our products. Your precious suggestions will help us shape our business to perfectly fit
your standards. We'll soon introduce series of new products for our valued customers, please
share this with your friends.
Just let us know if you encounter any problem during your use. Our support team will provide
you our best solution without any delay. And all items purchased from Crosstour are covered by
1 year warranty.
You can find our contact information below:
Look forward to bringing you more great products in the future.
Kind regards,
Crosstour Support Team

Notes
1
This product is a precision electronic device. Drops or gravitational impacts may damage the
camera.
Do not expose the camera to direct sunlight or high temperature.
During charging, if overheating, smoke or strange odor occurs, unplug it immediately and stop
charging to avoid a fire.
While charging, do not allow children to touch. The power cord may cause suffocation or
electric shock hazard.
Please use a qualified 8-64GB Class U3 or above Micro SD Card.
Before use, please format the memory card on the camera.
Do not remove or insert the SD card while the camera is on, in order to avoid file damage.
.
.
.
.
.
.
.
英语

2
Parts List
1x Battery Charger
1x Waterproof
Case / Mount
1x Arc Helmet
Mount
1x Flat Adhesive Pads
with Screw
2x Adhesive
Pads 1x 360° rotating
Backpack Clip 3x Release
Buckles 1x Insurance
Tether Strap 1x Lens
Cloth
1x Flat
Adhesive Pads 1x Extension
Mount 1x Long
Thumbscrew 1x Short
Thumbscrew
1x 360°
rotating Screw 2x Wrist Strap 1x Bicycle Mount 1x J-hook Mount
1x Dust-proof
Cover 2x 1350mAh
Batteries 1x USB Cable

7
8
9
10
11
12
13
14
15 16
3
Host Device Introduction (buttons, interfaces, indicator lights)
1
1 2
2
311
4
5
6
7
8
9
10
12
13
14
15
16
OK button / shoot button
Power button / mode switch button HDMI interface
Video light
Wi-Fi button / up button / rewind button
Speakers
Downbutton/fastforwardbutton/audiorecordingbutton
Microphone
Micro USB interface
Micro SD Card slot
Lens
Screen
Wi-Fi indicator light
Power indicator
Battery cover
Battery cover switch
3
4
5
6

4
Product installation
Use of waterproof case
Press and hold the switch to the right.
Pull up the buckle of the waterproof case.
Open the waterproof case back cover.
Open the waterproof case
Close the waterproof case
.
.
.
Cover the waterproof case back cover.
Snap the cover to a good location.
Press the buckle forward.
.
.
.
12
3
1
2
3

5
Install the battery and switch machine operation
Push the battery cover switch in the direction of the arrow and the battery cover will pop up
automatically.
Insert the battery into the battery compartment in the direction of the electrode. Close the battery
cover after making sure the battery is fully inserted.
After installing the battery, press the power button to boot, long press the power button to shut
down.
.
.
.
1
2
34

6
You can use Micro USB cable to connect the 5V/2A power adapter, car charger, computer or other
USB power supply to charge the device.
During the charging process, the power indicator light is on, and the power indicator light turns
off when it is fully charged.
Use Micro USB cable to connect the camera to computer, you can charge the device, and you can
also directly select the mass storage mode and PC camera mode, you need to press the OK
button on the device to switch.
Press the “OK” button
to switch to PC camera mode Press the “OK” button
to switch to mass storage mode
Charge your device and connect your computer
.
.
.

7
Install the memory card
The device only supports Micro SD Card with Class U3 or above of 8-64GB capacity, and Micro SD
Card with Class lower than Class U3 may not be able to use it.
Please turn off the power before inserting the card, then open the dust cover, insert the memory
card as shown.
After the memory card is installed correctly, boot into the setting menu and format the memory
card (the original file will be deleted from the memory card), and you are ready to use it.
.
.
.
1
2
3

8
Accessories installation and use
Fix the waterproof case on the Mount Then install the Mount on
the Arc Helmet Mount
12
1
2
3

9
Operating Guide
Operation interface
Working mode
Recording time
Loop recording
Microphone
Battery power
1
2
3
4
5
Exposure value
Sensitivity
Video or photo specifications
White balance
Scene mode
6
7
8
9
10
1 3 4 5
6 7 89 10
2

10
Mode introduction
The device only supports Micro SD Card with Class U3 or above of 8-64GB capacity, and Micro SD
Card with Class lower than Class U3 may not be able to use it.
Please turn off the power before inserting the card, then open the dust cover, insert the memory
card as shown.
After the memory card is installed correctly, boot into the setting menu and format the memory
card (the original file will be deleted from the memory card), and you are ready to use it.
The camera automatically enter video mode after boot, press the shooting button to shoot videos.
At this moment, the recording icon on the screen and the recording indicator light on the machine
flash, then press the shooting button to stop and save the recording.
Press the UP(Wi-Fi) button to turn on the Wi-Fi connection, and you can use your mobile device
for Wi-Fi connection.
Press the DOWN(Audio recording)buttontoselectwhethertoturnthe microphoneonor off.When
the microphone is on, the icon on the screen is displayed. During the recording, the audio will
berecorded.Whenthemicrophoneisoff,theicon onthe screenisdisplayed.Andtheaudio will
not be recorded during video recording.
Press the mode button to switch video mode, photo mode, playback mode and setting mode.
You can select different recording resolution, exposure compensation and scene mode in setting
mode, or switch video modes such as loop recording, time-lapse and slow recording.
Video mode
.
.
.
.
.
Video mode Video (indicator
blinks) Time-lapse
recording
setting mode Microphone on Microphone off
Battery power Loop recording Playback mode
No memory card Photo mode Timer shooting
Burst photo

11
Photo mode
Playback mode
Setting mode
Press once Mode button after boot to enter photo mode, press the shooting button to take
pictures.
You can select different photo pixels, exposure compensation, and scene modes in setting mode,
or switch photo modes such as burst photo and timer shooting.
.
.
Press twice Mode button after boot to enter playback mode, press the up and down buttons to
browse files.
Press the OK button to play or pause the video file.
During video playback, press the up and down buttons to select fast forward or rewind the video.
In setting mode, You can select to delete the file you currently playback under playback mode or
all the file on the memory card.
Press three times Mode button after boot to enter the setting mode, press the up and down
buttons to switch the options, press the OK button to enter the menu and select options, press
again the Mode button to exit.
.
.
.
.

12
Set up the form
Video Resolution
Image Size
Time-lapse
Loop Recording
Anti-shake
Lens Angle
Shooting Timer
4K@30fps 3840*2160
4K@50fps 3840*2160
2.7K@30fps 2704*1520
1440P@30fps / @60fps 1920*1440
1080P@30fps / @60fps 1920*1080
720P@60fps / @120fps / @240fps 1280*720
20MP 5120X3840 / 16MP 4608X3456
12MP 4000*3000/8MP 3840*2160
5MP 2560*1920
3MP 2048*1536
OFF
1S / 2S / 5S
10S / 30S / 60S
OFF
3 mins / 5 mins
10 mins / 15 mins
OFF / ON
Wide / Medium / Narrow
OFF
1s / 3s / 5s / 10s

13
OFF
3 / 5 / 10 / 15 Photos
OFF
ON
+2.0 / +1.5 / +1.0 / +0.5
0
-0.5 / -1.0 / -1.5 / -2.0
AUTO
100 / 200 / 400 / 800 / 1600
AUTO
Daylight / Cloudy / Tungsten Lamp / Fluorescent
AUTO
Person / Scenery / Underwater / Defogging
OFF
ON
50HZ/60HZ
English / Français / Deutsch / Español / Italiano
日本语 / 简体中文 / 繁体中文 / Portugues /
Pyccknn / polski / polski
2050 / 11 / 20 16:14:30 YY / MM / DD
Burst
Mic
ISO
White Balance
Exposure
compensation
Scene
Rotate
Light Frequency
Language
Date / Time

14
OFF
ON
Date Stamp
SSID: CT9500_Password: 12345678
OFF / 1 min / 3 mins / 5 mins
OFF / 1 min / 3 mins / 5 mins
“Delete current file Delete it? Yes No"
“Delete all files Delete all? Yes No OK"
Format SD card, all data will be deleted
OK Cancel
“Reset all settings to defaults OK Cancel"
Wi-Fi SSID
Screen Saver
Auto shut off
Delete
Format
Default Setting

15
.
.Install "YUTUPRO" APP on your mobile device.
Smartphone or pad with system IOS and Android can search for "YUTUPRO" in APP store or
Google Play to download and install, or download and install by scanning QR code.
.
.
After turning on the camera, you can press the UP (Wi-Fi) button shortly to turn on Wi-Fi. The
camera's screen will display the Wi-Fi SSID name and connection password.
Open the WI-FI function on the phone or pad. In the settings, search and connect the WI-FI name
displayed on the camera page. The initial password is 12345678;
Aftertheconnectionis successful,opentheAPP"YUTUPRO" on the mobile phone or pad, andthe
corresponding operation can be performed, the image and video can also be downloaded and
shared.
Download and install APP
Connect APP
APP operation guide
.

16
.Start page
APP interface operation introduction
Settings
Connected device (click to enter the device's operation page)
Files
Album
CT9500_12f147
1
2
3
1
2
3

17
Operation page
·
Memory card capacity
Settings(For video and photo specifications and operation settings)
Video or photo resolution
Screen
Files
Shoot
Mode switch(video recording, photo taking)
4K30
0.5G/15.3G
4
5
6
7
8
9
10
4
5
6
7
8
9
10
This manual suits for next models
1
Table of contents
Languages:
Other Crosstour Action Camera manuals
