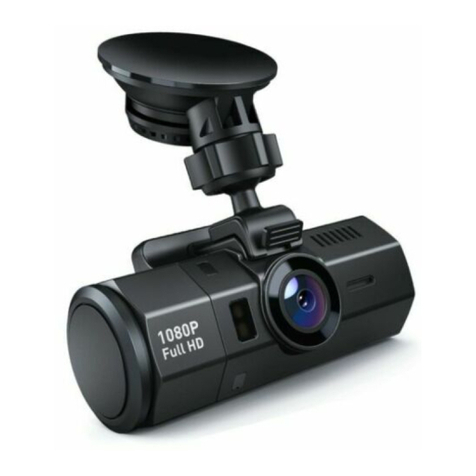
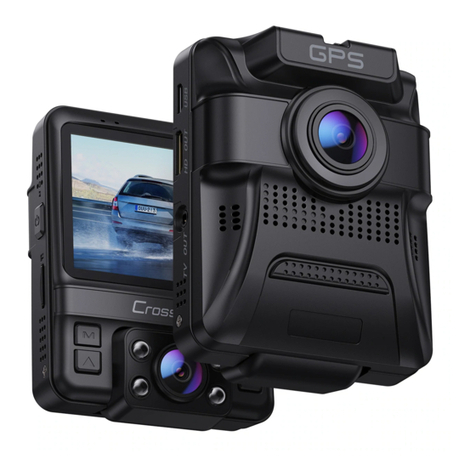
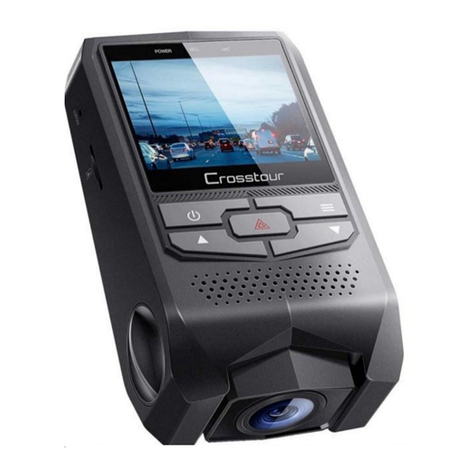
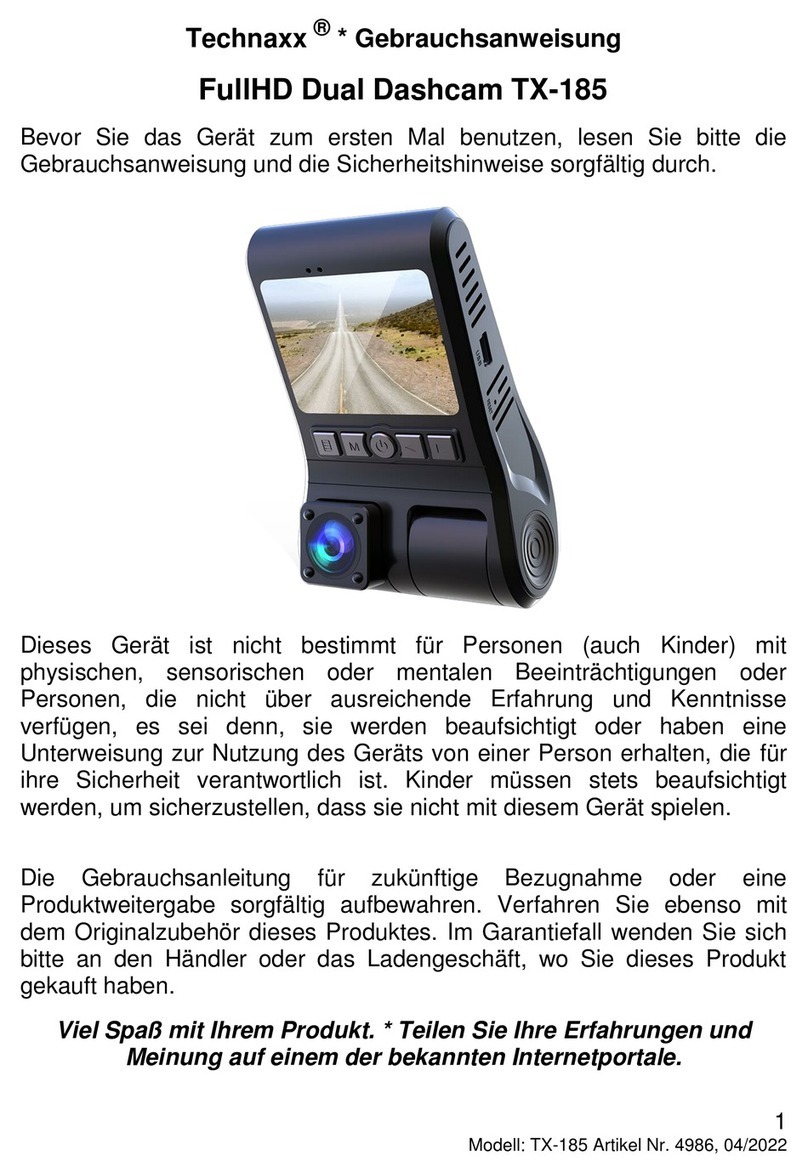
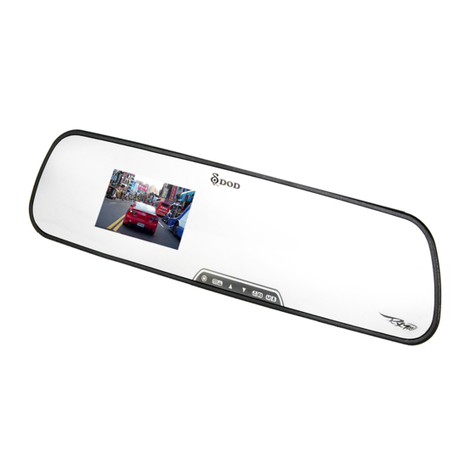
Crosstour CR750 User manual

1
Car Recorder

2
Thank you for purchasing product from Crosstour. Please read and follow this user
manual carefully and keep it in a safe place for future reference.
Crosstour consistently attaches great importance to product quality and high
customer satisfaction. We sincerely hope you can make a few suggestions during
your use to help us improve our products. Your precious suggestions will help us
shape our business to perfectly fit your standards. We'll soon introduce series of
new products for our valued customers, please share this with your friends.
Just let us know if you encounter any problem during your use. Our support team
will provide you our best solution without any delay. And all items purchased from
Crosstour are covered by 1 year warranty.
You can find our contact information below:
Look forward to bringing you more great products in the future.
Kind regards,
Crosstour Support Team

Contents
1
Structure diagram 2
Button and interface description 3
Charging / Startup 5
Basic operation instructions for video recording /photographing / playback 6
Instructions for menu setting 7
Product specifications 11
Installation and use of GPS software 12
Frequently asked questions and solutions 13

Structure diagram
2
⑱
⑳ ⑲ ⑩
⑰
⑨
⑭
⑬⑧⑯
⑫⑦⑮
⑪ ③
①④
②
⑤ ⑥
1.
Menu /Mode Button
2.
Up Button
3.
Ok Button
4.
Down Button
5.
IR LED
6.
Rear lens
7.
TV OUT
8.
HDMI interface
9.
USB interface
10.
Holder mount
11.
MIC
12.
TF card slot
13.
Power Button
14.
Reset Button
15.
Speaker
16.
Front HD lens
17.
GPS position
18.
Display
19.
Power indicator
20.
Charge indicator

Button and interface description
3
Button name
Button function
Instructions
Power Button
Power on/power off
1.
Power on: Short press Power
Button unitl Power indicator lights on
2.
Power off: Long press Power
Button unitl Power indicator lights off
Reset Button
Reset function
Short press this Button to restart the
machine under abnormal conditions
Ok Button
Start/stop video
recording/ Confirm/
photographing /
playback
1.
Video mode: Short press to start
video recording, short press again to
stop video recording
2.
Menu mode: Confirm settings
3.
Photo mode: Short press to start
photographing
4.
Playback mode: Short press to
playback files;
Menu /Mode
Button (M Button)
Long press: to switch
video / photo /
playback mode
Short press: to switch
different functions
settings
1.
Video mode: Short press toswitch
to video recording settings;
2.
Photo mode: Short press to switch
to photographing settings;
3.
Playback mode: Short press to
switch to replay settings;
4.
Short press M Button to lockvideo
during video recording
Up Button
Select upward/
Turn on /off audio
record / turn on /
off infrared light
1.
Menu mode: Short press to select
upward
2.
Playback mode: Select a file upward
3.
Video mode: Short press
to turn on /off audio record
4.
Photo mode: Short press to zoom in
5.
Video and photo mode: Long press
to turn on /off infrared light

4
Down Button
Selet downward /
switch beween front
and rear lens display
1.
Menu mode: Select downward
2.
Playback mode: Select afile
downward
3.
Photo mode: Zoom out
4.
Video mode: Short press to switch
between four screen display:
front and rear, front, rear, rear and front
TF card slot
Storage card slot
Insert TF card as shown on the machine
HDMI
HD output
Connect HD TV with the HDMI cable to
watch video and photo on TV
Holder mount
For install the holder
Used to install the holder
USB interface
Car charging interface/
storage interface /
charging interface
1.
Connect a computer with USB cable
to enter the storage, so you can view
video and photo /charge /use it as a PC
camera.
2.
Connect with the car charging cable
for auto power on and charging
TV OUT
TV OUT
Connect TV with AV cable to watch
video /photo

Charging /Startup
5
Charging method
Connect the cam to cigarette lighter to charge it via USB cable the cam comes
with.
Use USB cable to connect to computer for charging
The red indicator lights is on during charging. The whole charging time is about
120 minutes. After the battery is fully charged, this indicator light goes out.
Instructions of the recorder installed on the car
Auto power on/off: It automatically powers on and starts recording when the car is
on. And stops recording, saves the video and power off when the car is off.
Instructions for manual operation when no car charger is inserted
Manually switching on and off:
Short press Power Button, the Power indicator lights on to enter video mode;
Long press Power Button again, the Power indicator lights off;
Note:
The recorder will automatically shut down after sending a message “too low
voltage” if the battery voltage is low.
Connect car cigarette lighter with the car charging cable
The recorder is mainly used while charging. The built-in battery fully charged can
be used for about 15 minutes. To use it for a long time, it is necessary to connect
the power source to charge.

Basic operation instructions for video recording /
6
photographing / playback
Video mode: After being powered on, it enters the video mode and automatically
starts recording. The video recording icon is displayed in the upper left corner of
the screen. The red dot at the top of the screen flashes, indicating that a video is
being recorded. Short press OK Button to stop recording.
Photo mode: After being powered on, it enters the video mode and automatically
starts recording. Short press OK Button to stop recording. Long press M Button to
switch to photo mode. The photographing icon is displayed in the upper left corner
of the screen. Short press OK Button to take a photo. The screen flashes one time
when photographing (with two crack sounds), indicating that a photo has been
taken.
Video / photo playback
After being powered on, it enters the video mode and automatically starts record-
ing. Short press OK Button to stop recording. Long press M Button twice to switch
to playback mode and the playback icon is displayed in the upper left corner of the
screen.
In playback mode, press Up/ Down Button to switch photo / video
In playback mode, short press M Button to select operation on current file (delete /
protect / slid play
In playback mode, short press OK Button to play current video file;
Note:
If in video mode, please stop video recording first, and then long press M Button
twice to switch to playback mode.

Instructions for menusetup
7
Video recording settings
After being powered on, it enters the video mode and automatically starts recording.
Short press OK Button to stop recording. Short press M Button again to switch to
video recording settings. The screen displays the settings such as: resolution,
dual-lens recording, loop recording, time-lapse recording; page down: WDR, GPS
Stamp, speed unit, exposure; page down: motion detection, audio on/off, date
stamp, G-sensor; page down: parking guard. Short press Up/Down Button to switch
to a setting option. Short press OK Button to select the option. Short press Up/Down
Button to modify the option. Short press the OK Button to confirm the option.
Resolution
Dual video: 1080P 1440x1080 /720P 1280x720
Single video: 1080 FHD 1920x1080/720P 1280x720/WVGA 848x480/ VGA 640x480
Dual-lens Recording: When the function is turned on, the camera will record both
the front and rear cameras at the same time. On/off, default value: on.
Loop Recording: The cam will cyclically record new videos under the time interval
you set. off / one minute / three minutes / five minutes, default value: three
minutes
Time-lapse Recording: off /100ms/200ms/500ms, default value: off
WDR: on/off, default value: off.
GPS stamp: on/off, default value: off.
Speed unit: KM/H/MPH, default value: KM/H.
Exposure:"+2.0","+5/3","+4/3","+1.0","+2/3","+1/3","+0.0","-1/3","-2/3","-1.0",
"-4/3","-5/3","-2.0" (default exposure value is 0.0)
Motion detection: on/off, default value: off. It starts recording once there is a
change in the frame, otherwise it stops recording. It automatically stops recording
10s after no dynamic picture appears.
Audio on/off: Choose to record audio or not in the video. on/off, default value: on.

8
Date stamp: on/off, default value: on.
G-sensor: off /high / moderation / low, default value: moderation.
Parking Monitor: on/off, default value: off.
After the car is parked and the engine is off, when the car vibrates under the
action of an external force and the vibration is large enough to trigger the moni-
toring, it will automatically start video recording. After 60-second recording, it will
automatically power off and save the current video and ensure that the current
video will not be covered. PS: This function requires an external power supply.
System settings
After being powered on, it enters the video mode and automatically starts record-
ing. Short press OK Button to stop recording. Short press M Button again to switch
to video recording settings. Short press M Button again to switch to system
setting. The screen displays the settings such as: date and time, auto power-off,
Beep sound, language; page down: screen saver, IR LED, timezone setting, TV
mode; page down: Frequency, mirror image, storage space,car license plate; page
down: format, default setting, version.
Operation:
Short press Up/ Down Button to switch to setting option.
Short press Ok Button to select and shor press Up /Down Button to modify.
After modification, press Ok Button to save or press Menu Button to exit.
Date and time: You can set the display order of date and time, such as Y/M/D.
Press OK to enter, press OK to select, press Up or Down to change. After changing
each time, press OK to switch to the next item. After all items are changed, press
M Button to save and exit. (After restoring the factory settings, the date becomes
the factory date)
Auto power-off: off/ three minutes / five minutes / ten minutes. The default value
is off. After the function is enabled, it will automatically power off within the set
time in case of no Button operation.
Beep sound: Turn on / off sound of operation on the camera. on /off, default value:
off.
Language: English / simplified Chinese/ French / Spanish, etc

9
Screen saver: off /1 minute /three minutes / five minutes. Default value: off. After
the function is enabled, the screen automatically off within the set time while it
does not affect normalrecording.
IR LED: Day mode/ night mode/ auto, default value: auto.
Time zone setting: Eastern time zone 1 to 12 / Eastern time zone 0/ Western time
zone 1 to 12, default value: UTC/GMT + 8:00
Frequency: 50HZ/60HZ, default value: 50HZ
TV mode: Connect TV with AV cable to watch video /photo
Mirror image: Default value: off. For the rear lens, after it is enabled, the image
captured by the rear lens is mirrored and corrected.
Storage space: Total / free / Event (locked file)/ Movie (video file) / photo file /other.
Car License Plate : Used to set the license plate number of your car. Press Ok
Button to enter, press Ok Button to select, press Up /Down Button to change. After
changing each time, press OK to switch to the next item. After all items are
changed, press M Button to save and exit.
Format: When you press OK button, all the files on the card will be deleted.
“Cancel” or “Ok” may be selected. Select “Ok” to delete all files on the card, other-
wise please select “cancel”
Default setting: “Cancel” or “Ok” may be selected. Select “Ok” to restore factory
settings, otherwise please select “cancel”
Version: You can view version information.
Photo settings
After being powered on, it enters the video mode and automatically starts record-
ing. Short press OK Button to stop recording. Long press M Button once to switch
to photo mode. The photographing icon is displayed in the upper left corner of the
screen. Short press M Button to set. The screen displays the settings such as:
Capture mode, resolution, burst photo, quality, white balance, color, exposure,
date stamp. Short press Up / Down Button to switch to setting option, short press
Ok Button to set, short press Up /Down Button to change settings, short press Ok
Button to conform.

10
Capture mode: single / 2S timer / 5S timer /10S timer, default value: single
Resolution: 1.3M 1280x960/VGA 640x480/ / 2MHD (1920x1080 ) /3M (2048x1536)
/5M (2592x1944) /8M (3264x2448)/10M(3648x2736)/12M(4032x3024), default value:
5M
Burst Photo: on/off, default value: off.
Quality: Fine / Normal / Commonly
White balance: auto/ daylight / cloudy / tungsten / fluorescent
Color: color /black and white/ sepia
Exposure: "+2.0","+5/3","+4/3","+1.0","+2/3","+1/3","+0.0","-1/3","-2/3","-1.0",
"-4/3","-5/3","-2.0" (default value +0.0)
Date stamp: off/ date / date / time, default value: date / time
Playback settings
After being powered on, it enters the video mode and automatically starts record-
ing. Short press OK Button to stop recording. Long press M Button twice to switch
to playback mode. The playback icon is displayed in the upper left corner of the
screen. Short press M Button again to set. The screen displays the settings such
as: delete, protect, slide show
Delete: Delete current / all files, default value: delete current file
Protect: Lock current file / unlock current file / lock all files / unlock all files

Product specifications
11
Product features
Dual video, built-in GPS
G-sensor
Built-in (emergent save in case of an accident,
the file saved will not be covered)
Size of LCD
2.4 inch LCD
Lens
Front: 170 degree A+ HD bugeye lens/ Rear:
130 degree wide-angle lens
Pixel of photo
VGA/1.3M/2MHD/3M/5M/8M/10M/12M
Pixel of video
Front: 1080P/ Rear: 720P
Aperture
Front: F=1.8/ Rear: F=2.6
Language
English, Chinese (Simplified), etc
Resolution of video
Dual video: front: 1080P 1440x1080 /
720P 1280x720, rear:720P
Single video: 1080 FHD 1920x1080/
720P 1280x720/WVGA 848x480/ VGA 640x480
Video compression format
H.264 encoding, MOV storage format
Motion detection
Support
Image format
JPG
Storage card
TF card (Class 10 or above, up to 32G)
Microphone
Support
Built-in speaker
Support
Power interface
5V 1.5A
Battery
Built-in polymer battery
Parking monitoring
Support
Normal working
temperature range
-20 to 60 °C

Installation and use of GPS software (for the machine
12
with GPS)
It is necessary to install professional player to view GPS information (please
Install the designated player:
Copy the designated folder to you computer and install it.
Use the player
In case of the first use, open the file and install the player.
Click File –Open to select the file to be opened, directly open and enter in the play
mode, as shown in the figure below.
W
E
Fic Vicw Help
00:00:07/00:04:52
play stop
+2G
+1G
0G
-1G
-2G
100 120
80 140
N
60
160
40
180
Lat:22582137
Lng:113.967378
20
200
0
220
S

Troubleshooting
Please refer to the following to solve the problems occurred during normal opera-
tion:
Fail to record a photo or video
Check whether the space of TF card is enough or whether TF card is locked.
Format TF card on the machine.
It automatically stops during recording
Due to the huge data of HD video, please use high-speed Class10 TF card support-
ed by the machine. High-speed TF card has a C10 mark.
A message
“
file error” occurs during playback photo and video
The file is incomplete when an error occurs during data storage with TF card,
please use the “formating” function to format TF card.
The images are blurry.
Please check whether there is dirt, fingerprint at the lens; please wipe the lens
with lens paper before shooting
There are cross stripes in the image
When a wrong “frequency” is set, it may occur. Please set it as “50Hz” or “60Hz”
based on local power frequency.
Important note: A file can be saved by the machine only during normal recording
condition.
However, the file may be damaged or lost in the following situations
TF card is pulled out during recording. In this case, the last video may be damaged
or lost.
It is power off anormally during recording. In this case, the last video may be
damaged or lost.
It surffers a destructive collision during recording. In this case, the last video may
be damaged or lost.
It suffers such a large collision during recording that the storage card is loosened.
In this case, the current file may be damaged or lost.

19
Other manuals for CR750
1
Table of contents
Other Crosstour Dashcam manuals
