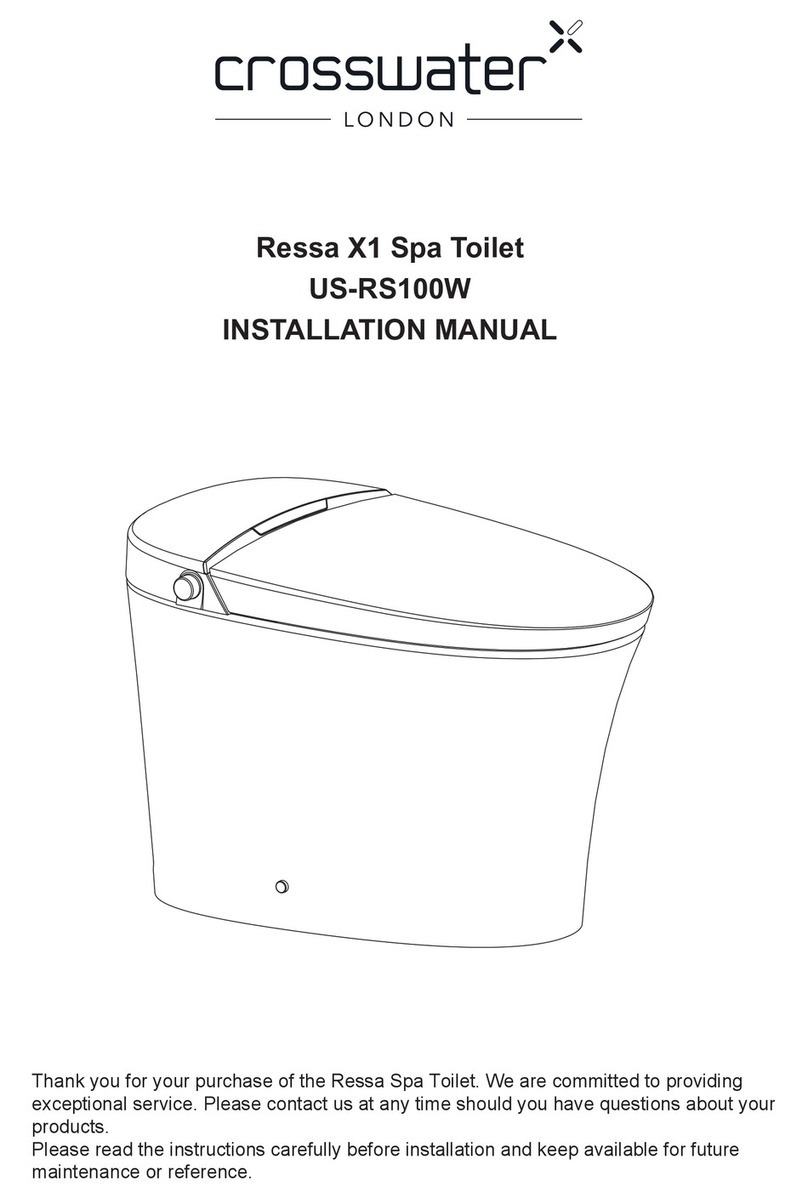
Crosswater Ressa X1 US-RS100W User manual

Thank you for your purchase of the Ressa Spa Toilet. We are committed to providing
exceptional service. Please contact us at any time should you have questions about your
products.
Please read the instructions carefully before installation and keep available for future
maintenance or reference.
Ressa Spa Toilet
US-RS100W
INSTALLATION MANUAL

Content
Maintenance Other
Safety instructions
Technical specification
List of materials
Technical drawing
Parts identification
Installation of ceramic toilet
Preparation
01
04
05
06
07
08
11
aintenance
Main unit care and maintena ce
Spray nozzle maintenance
12
13
Troubleshooting
14
15
Description of the knob function
Remote control illustration
uide 17
Installation
5. Replacing the deodorant box

IMPORTANT SAFEGUARDS
READ ALL INSTRUCTIONS BEFORE USING
When using electrical products, especially when children are present, basic safety
precautions should always be followed, including the following:
The appliance is not to be used by persons (including children) with reduced physical,
sensory or mental capabilities, or lack of experience and knowledge, unless they have
been given supervision or instruction.
This appliance can be used by children aged from 8 years and above and persons with
reduced physical, sensory or mental capabilities or lack of experience and knowledge if
they have been given supervision or instruction concerning use of the appliance in a safe
way and understand the hazards involved.
Children shall not play with the appliance.
Cleaning and user maintenance shall not be made by children without supervision.
DANGER –To reduce the risk of electrocution:
WARNING –To reduce the risk of burns, electrocution, fire, or injury to persons:
Use this product only for its intended use as described in this manual. Do not use
attachments not recommended by the manufacturer.
Never operate this product if it has a damaged cord or plug, if it is not working properly, if
it has been dropped or damaged, or dropped into water. Return the product to a service
center for examination and repair.
Keep the cord away from heated surfaces.
Never use while sleeping or drowsy.
Never drop or insert any object into any opening or hose.
Do not use outdoors or operate where aerosol (spray) products are being used or where
oxygen is being administered.
Connect this product to a properly grounded outlet only. See Grounding Instructions.
It is prohibited to use other electric appliances in the same socket.
It is forbidden to use a power extension or unstable loose outlet.
1. Do not use while bathing.
2. Do not place or store product where it can fall or be pulled into a tub or sink.
3. Do not place in or drop into water or other liquid.
4. Do not reach for a product that has fallen into water. Unplug immediately.
5. Do not wash the main unit or electrical plug with water or detergent.
6. Do not handle the electrical plug with wet hands.
7. Do not put a hand or other maerial over the outlet of the air dryer or block the outlet of air
dryer.
8. Never disassemble, repair or modify this product.
9. During installation and repair and maintenance of the product, the power plug must be
switched off and the water supply be shut off.
01

IMPORTANT SAFETY INSTRUCTIONS
Do not install or use the product in wet places as steam room etc.
It is recommended to use a waterproof electrical outlet which should benstalled in a place
where is not wet.
This product should be used with 110V-120V,50/60Hz electrical current only,load current
is at least 15A. Power plug must be equipped with ground fault circuit interrupter or ground
fault electrical leakage protector or similar high sensitive, rapid type leakage switch
(Rated sensitive current under 6mA).
When it thunders, it is strongly recommended to pull out the power plug.
Do not stand on ceramic toilet.
Ceramic toilet must install floor fixing bolts.
Do not stand on product unit, seat and cover.
Do not lean against the seat cover when using the product to damage.
This product is equipped with soft-closing seal cover. Heavy pressing or pushing may
damage the soft-closing damper.
Do not use lacquer thinner, petrol, liquid medicine, detergent, insecticide, toilet cleanser
or scrubbing brush to clean the product.
Exposure to direct sunlight is prohibited.
Only use tap water or potable water as it may cause chafing.
Do not connect water supply to heater outlet. Make sure inlet water temperature is at
When the room temperature is under zero degree , please
dr the water tank to avoid freezing.
Raise room temperature to prevent the toilet from damage due to freezing.
When mov the product from cold or wet environment into normal room temperature,wait
for 2 hours until the condensation water is fully volatilized. Doing so can prevent the product
from electrical short-circuit.
When not using the product over three (3) days, drain the water out of the and pull the
electrical plug from the wall outlet.
Stop using the product and shut off the power product malfunction
CAUTION –Indicates that failure to follow the instruction may cause bod y injury or
property damage.
GROUNDING INSTRUCTIONS
This product should be grounded. In the event of an electrical short circuit, grounding reduces
the risk of electric shock by providing an escape wire for the electric current. This product is
equipped with a cord having a grounding wire with a grounding plug. The plug must be plugged
into an outlet that is properly installed and grounded.
DANGER –Improper use of the grounding plug can result in a risk of electric shock.
If repair or replacement of the cord or plug is necessary, do not connect the grounding wire to
either flat blade terminal. The wire with insulation having an outer surface that is green with or
without yellow stripes is the grounding wire.
This product is factory equipped with a specific electric cord and plug to permit connection to a
proper electric circuit. Make sure that the product is connected to an outlet having the same
configuration as the plug. No adapter should be used with this product. Do not modify the plug
provided — if it will not fit the outlet, have the proper outlet installed by a qualified electrician. If
the product must be reconnected for use on a different type of electric circuit, the reconnection
should be made by qualified service personnel.
SAVE THESE INSTRUCTIONS
3~35℃.
/37.4~95 F
。
02

03

Technical Specifications
Model US-RS100W
Rated power
Main Unit
Toilet
Rated voltage
Electrical wire
Flush volume
Flushing mode
Rough-in distance
Heating power
Water temperature
Water volume
Cleansing mode Rear cleaning / Oscillating
Front cleaning / Oscillating
Over 0.2m /min
3
250W
Spray cleansing position
Warm air volume
Warm air temperature
Heating power
Cleaning
device
Drying
device
Overall unit Waterproof
Water pressure range
Heating mode
Siphonic jet
3
1400W
12"
1200-1400W
110V-120V,50/60Hz
IPX4
1.28G 4.8L
0.18MPA - 0.8MPA (static pressure)
Instant
Heated seat
Features
Surface temperature
Heating power
Open and close device
Night light assembly
User ID setting
Automatic flushing
50W
Quiet
Intelligent
Self-cleaning Deodorizer
Two kinds of User ID settings
04
Toilet will automatically flush as user
walks away from bowl

List of materials
Main Unit Remote control components
Wax Sealing Flange
Warranty card
Hose
Installation Manual
Floor fixing kit x 2
SPA TOILET WARRANTY
Exclusive No rth American
distributor fo r Crosswater London
ForteBrands
393 Fortune Blvd , Milford, MA, 01 757 USA
1.844.99 2.8371
fortebrands.com
05
Angle Valve
Thank you for your purchase of the Ressa Spa Toilet. We are committed to providing
exceptional service. Please contact us at any time should you have questions about your
products.
Please read the instructions carefully before installation and keep available for future
maintenance or reference.
Ressa Spa Toilet
US-RS100W
INSTALLATIONMANUAL

Technical drawings
1. Recommended power outlet location
2. Recommended water supply location
06
161
8"(410mm)
163
4"(425mm)
271
8"(690mm)
183
4"(476mm)
151
2"(395mm)
16 3
8"(417mm)
12"(305mm)
recommended power
outlet location
12"(305mm)
12"(305mm)
Rough in
12"
(305±10mm)
9
78
"
6-7/8"
(175±10mm)
2-3/8"
(60±10mm)
9
78"
(250±10mm)
Water supply
12
"-14 NPT
For water supply from the wall
Water supply
12
"-14 NPT
For water supply from the floor
(250±10mm)

Left side
Right side
Parts identification
Bumper
Seat
Ceramic toilet
Lid
Sensor
Drying
shield
Rear
cleaning
Spray
nozzle
Knob
Front
cleaning
07

Installation of ceramic toilet
Angle valve
Precaution before installing
Minimum static working water pressure:
0.18MPa (5.81Gal(22.0L)/min), failure to
meet this pressure will not achieve the best
flushing function.
Remark: Apply the methods below if you
don’t have a water pressure testing device.
Hose
Water storage
barrel
Open the angle valve to check the water
volume. If the water volume after 10
seconds is greater than 0.97gal (3.7L), then
it is OK to proceed installation.
Draw drain outlet centerline on the floor
Install angle valve at proper
position on wall according to
dimension of toilet.
1. Installation of angle valve
Line
Drain outlet
angle valve
2. Hose
Connect the water inlet and angle valve of the
toilet with the matching hose and tighten it
Nut
Bolt
3. Mounting bracket installation
Assemble the mounting bracket with bolts
and then install them to the pre-installed
flange plate on the ground and lock tight
with nuts.
Mounting bracket
Washer
08
Angle valve connector
Inlet connector
Flexible hose

Important:
Two people are required to carry the toilet.
Toilet drain outlet
Sealing flange
4. Ceramic toilet installtion
Fixing sleeve
Screw
Decorative cap
5. Screw installation
09

6. Remote control installation
Step 3: Put remote control into the holder.
Step 2: Insert 2 x AAA batteries (not
supplied) into the remote control.
Notice:Do not install and use the product in damp places such as a shower room.
Do not place the product in a place where it is easily exposed to water.
Step 1: Fix the holder onto the wall by using screws or tape as shown in below diagrams.
10
Don't install and use the product in damp places such as shower room.

1. Turn on the angle valve
Preparation
Angle valve
3. Self-inspection
1. Once power is connected, the seat beeps. The knob lights up in white, and the
self-inspection starts.
2. The seat beeps again, then the self-inspection completes.
3. The product is ready to use.
Tips:
Press electric leakage test button prior to
usage, the reset switch pops up indicating
that the leakage protection function is normal.
Press the TEST button (then RESET button)
every month to assure proper operation.
Electric leakage
test button
Reset switch
Indicator light
Don't install and use the product in damp places such as shower room.
11

aintenance
Main unit care and maintenace
1. Shut off power supply before
doing maintenance.
2. Wipe with a soft damp cloth. Use
warm water only.
3. Safety self- inspection
After cleaning, re-connect the power plug.
Spray nozzle
1. Nozzle self-cleaning
2. Spray nozzle disassemble
When the nozzle moves forward, the
nozzle
To start the manual cleaning function,
when not seated, rotate the knob clockwise.
The nozzle will automatically extend out.
head can be to clean.
3. Use soft cloth to clean
Do not pull or push the wand, to avoid
damage.
4. Nozzle retraction
Put the nozzle head back on and press
the “Stop” button on the remote control to
automatically retract the nozzle.
12

Filter Cleaning
Turn off power and the angle valve
2. Unscrew angle valve nut
3. Remove filter net
Use brush to clean filter net
inse under flowing water.
Re install filter and angle valve
nut urn on the angle valve and
connect power.
13
When the product is left unused for a
long time
1.
2.
3. Disconnect the hose from angle valve,
drain the water and reconnect.
4. If needed, seek assistance from a professional
plumber for anti-freezing process.
Replacing the deodorant box
Remove the seat from the toilet. The deodorant
box is at the bottom of the seat base. Follow
below steps to replace with a new deodorant
box.
1. Loosenthe screw and remove the
deodorizer from the seat.
2. Replace with a new deodorizer, and tighten
the screw.
3. Re-install the seat.
deodorant box
screw

Description of the knob function
Knob operation instructions
Tips:Below shows the indicator light status:
Light off
Flickering
White light
Standby mode
Energy saving mode
Normal function mode
When seated, the knob rotates clockwise to start rear cleaning function, and
rotates counterclockwise to start front cleaning function ear and front cleaning
function will automatically enter into the drying function after completion.
(Note: default water pressure, water temperature, air temperature, seat temperature,
rod position are intermediate)
After starting the drying function, clockwise rotation increase air temperature
and counterclockwise rotation decrease air temperature.
Under normal working mode, press the button at any time to flush the toilet.
14

Remote control illustration
Rear cleaning /
Oscillating
Water increasing
Front cleaning /
Oscillating
Water reducing
Drying
Auto mode 1
Indicator light
(only visible when
the light is on)
Dryer temperature
Water temperature
Night light
Nozzle moving forward
Nozzle moving backward
Auto mode 2
Stop/Energy saver
Seat temperature
Flush
15

Oscillating cleaning 30s
Once the desired configuration is set, for instance, water volume and nozzle position, one can
press the Auto mode 1 or mode 2 button to store the settings. (Mode 1 is for rear cleaning and
Mode 2 is for front cleaning )
When pressing the Auto Mode button, the system will automatically switch to the settings
stored previously, and follow the below procedures for a complete cleaning process. Press any
button in between to abort the process.
Auto mode
The system can store 2 individual settings.
Automatic stop
Auto rear cleaning Rear cleaning 20s
Dry 180sRear cleaning 40s
Auto front cleaning Front cleaning 20s
Front cleaning 40s Dry 180s Automatic stop
16

Troubleshooting Guide
Problem Cause
Poor flushing
Not flushing
Auto flushing does not
work
Auto pre-wetting does
not work
Low water temperature
Low seat temperature
Low air temperature
Water supply hose is kinked.
Angle valve is not fully turned
on.
Filter is dirty.
Angle valve is shut off.
power outage occurred.
water failure occurred.
Previous cycle not finished.
"Auto flushing" set to "OFF".
The seat switch will not turn
on unless eat
properly.
Solution
Straighten the hose to remove
the kink.
Turn on the angle valve fully.
Clean the filter efer to page 13.
Use a bucket to manually flush.
Turn on the angle valve.
Use a bucket to manually flush.
Reset the air temperature.
Stand up from the seat and
then again.
Switch to functional mode
and wait for 5+ minutes
efer to page 15.
Reset the seat temperature.
Switch to functional mode
and wait for 5+ minutes
efer to page 14.
Wait the previous
cycle finishes then flush.
Set to "ON" efer to page 16.
Sit back on the toilet seat.
Adjust the water temperature.
Sit back on the toilet seat.
"Auto pre-wetting" set to OFF.
The seat switch will not turn
on unless
properly.
The water temperature is not
set properly.
When the temperature of the water supply or the bathroom is
low, the water temperature may be low when first sprayed.
The seat temperature is not
set properly.
In energy saving mode.
In standby mode.
When seated, after 10
minutes, the temperature
begins to decrease. Then after
5 minutes, the toilet seat
heater turns to level 1 and
stays.
The air temperature is not
set properly.
17

Problem Cause
Spray rod does not
operate or water
pressure is low
Waste material does
not flush down
completely
Water is leaking from
the plumbing
connections
There are black
stainson or around
the bowl unit
There is black or pink
slime on the toilet bowl
surface
There is residue on the
bowl unit surface
No air out In standby mode.
Power off.
The seat switch will not turn
on unless the user is seated
properly.
Stuck due to impurities.
Water failure has occurred.
Angle valve is shut off.
Filter is dirty.
Water supply set to a
low pressure.
Angle valve is not fully open.
Solution
Switch to function mode to use
dry function. Refer to page 14.
Turn on the power.
Sit back on the toilet seat.
Press the "STOP" button on the
remote control and wait until
water service is restored.
Remove impurities.
Turn on the angle valve.
Clean with a (non-abrasive)
neutral toilet detergent.
Clean with a (non-abrasive)
neutral toilet detergent.
Close the angle valve and
consult service provider.
Firmly tighten the nuts.
If urine has splashed on the
bowl unit or floor, wipe it up
immediately.
Clean the filter. Refer to page 13.
Set the water pressure to
required range. See page 4.
Clean the filter. Refer to page 13.
Cease using other fixtures and
then flush toilet
Install the original angle valve
which has a filter included.
Flush the toilet again. If the
bowl unit is not cleansed with
flushing, remove the stains with
a brush or similar instrument.
Turn on the angle valve fully.
Water filter is clogged.
The water supply to the toilet
is disrupted by other running
water fixtures.
The original supplied angle
valve was not installed.
Flushing may be difficult
depending the consistency of
the waste material.
Inspect to see if any nuts in
the connection are loose.
Water leak does not stop.
Ammonia in urine may cause
black stains.
This is a result of growth of
airborne fungal spores or
bacteria that feed on waste
residue on the toilet bowl.
Oil and other hard-to-see
grime may stick to the bowl
unit surface.
18
This manual suits for next models
2
Table of contents
Other Crosswater Toilet manuals