manuals.online logo
Brands
  1. Home
  2. •
  3. Brands
  4. •
  5. Croydex
  6. •
  7. Personal Care Product
  8. •
  9. Croydex Danby Beauty Station White User manual

Croydex Danby Beauty Station White User manual

1
Danby Beauty Station
Thank you for purchasing this Croydex product. Please follow the xing and care instructions to ensure
your beauty station is tted safely and retains its high quality nish.
Please retain this leaet for future reference.
This installation guide applies to the following cabinets:
WC010422 - Danby Beauty Station White
WC010431 - Danby Beauty Station Grey
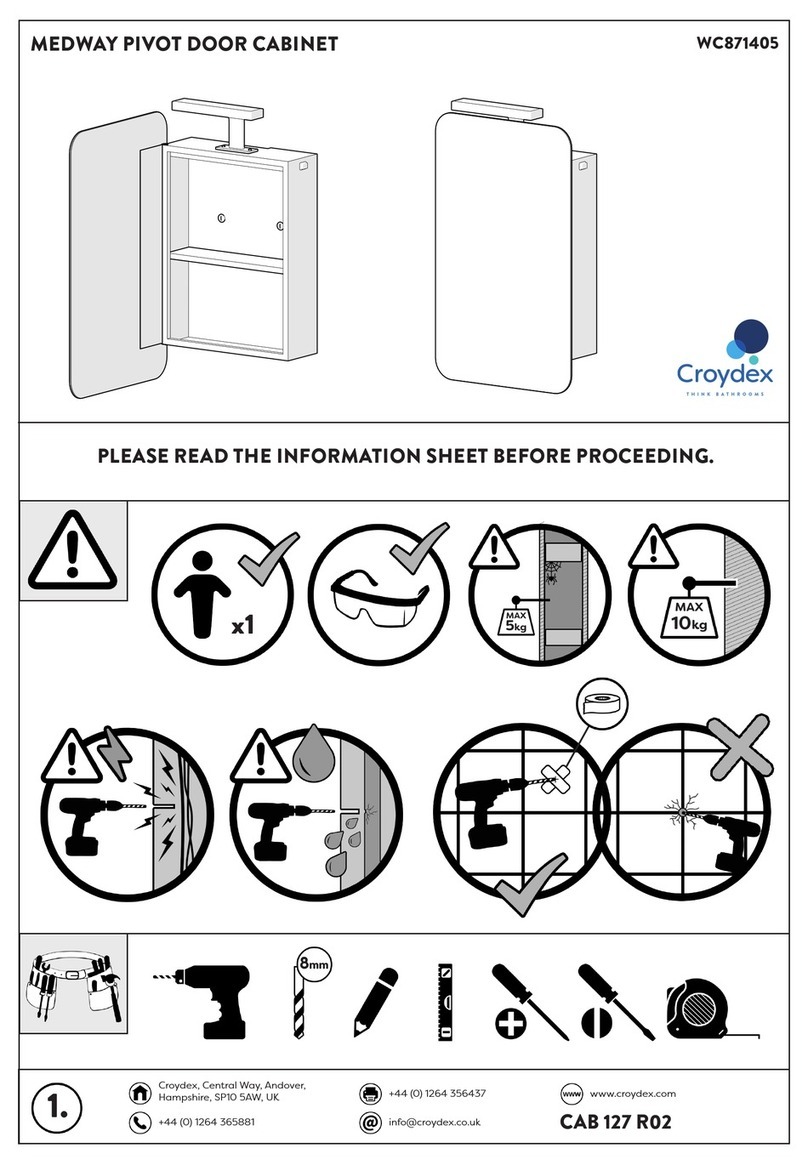
Tools required - not supplied
Pencil;Tape Measure; Philips Screwdriver; Flat Head Screwdriver; Drill; 8mm Drill Bit (Ceramic drill bit
optional).
KEEP DIY TOOLS OUT OF THE REACH OF CHILDREN
Home Safety Advice
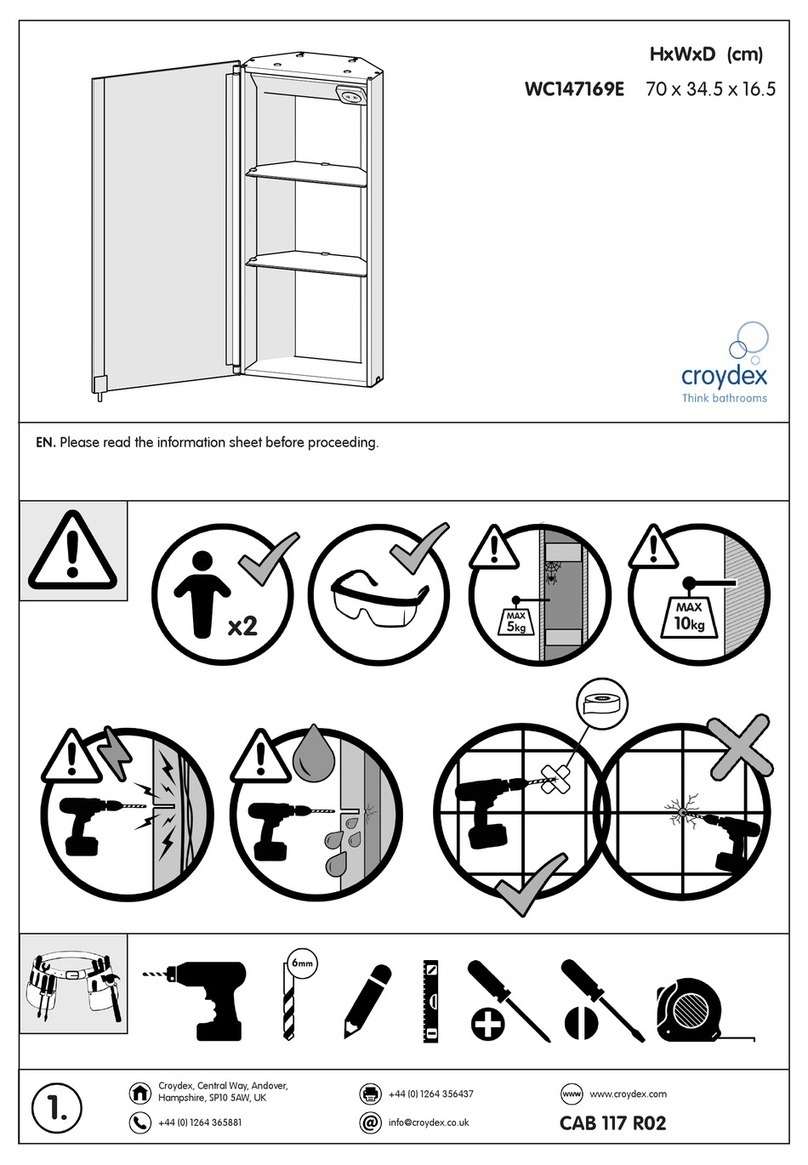
- It is recommended that two people t this product to ensure that it is tted safely.
- Always take care when using power tools, particularly in the bathroom.
- Always check for hidden cables and pipework before drilling and take extreme care if there is any
water in the working area.
- It is advisable to use a residual current circuit breaker (RCCB).
- Always wear suitable eye protection when drilling.
- If the product is to be tted on a ceramic tiled wall, a ceramic drill bit should be used.
- Always ensure that the drill hole passes through the central tiled area rather than through the grouted
area. To prevent damage to the tile, mask the area around the hole with tape before drilling.
- Do not strike the product with hard or sharp objects.
Product Care
To retain the best quality nish, clean product regularly with a soft damp cloth.
Do not use abrasive or chemical cleaners as these will damage the product.
Do not overload the cabinet. Maximum safe working load is 10kg evenly distributed if mounted on to a solid
wall. If mounted on to a cavity wall reduce the load to 5kg evenly distributed.
CAB 091 R01
A. Hang ‘N’ Lock Bracket x 1 C. Hang ‘N’ Lock Cam x 2
G. Wall Plugs x 2E. Countersink Fixing Screws x 2
(Optional)
F. Fixing Screws x 2 (Optional)
D. Hang ‘N’ Lock Locking Stud x 2
B. Hang ‘N’ Lock Bracket x 1
4 screws are supplied within this xing pack.
Only 2 x screws are required to install the Hang ‘N’ Lock bracket.
Please use either the countersink or dome head xing screws supplied.
CAB 091 R01
2
Assemble the Hang ‘N’ Lock bracket sections making sure all parts are slotted together tightly.
Place the Hang ‘N’ Lock bracket onto the hanging baton at the back of the cabinet and measure the
dimension ‘A’ – See g.1.
Determine the desired location of the cabinet and mark a point at the top edge of the cabinet on the wall
surface. Using dimension ‘A’ draw a horizontal reference line below the top mark to determine the
position of the bottom edge of the Hang ‘N’ Lock bracket.
Image for reference only.
Once the bracket is assembled hold it
against the wall surface where you intend
to hang the product. Using a pencil, mark
the screw hole positions in each cam
recess. Remove the Hang ‘N’ Lock bracket
from the wall surface prior to drilling.
Marked Screw Position
2Drill the marked holes to a depth of 45mm.
Insert the wall plugs level with the surface of
the wall. (Note: if you are tting the product to
a tiled surface, insert the wall plugs below the
surface of the tile to avoid cracking the tile)
Insert 2 x screws through the Hang ‘N’ Lock
cams and loosely secure the Hang ‘N’ Lock
bracket to the wall.
With the Hang ‘N’ Lock bracket loosely
attached to the wall, adjust for height
and level by rotating the cams with
a at head screwdriver aligning the
bottom edge of the HNL bracket with
thereference line, then fully tighten the
mounting screws using a philips
screwdriver, to securely x the bracket
into position. Adjust for level if required.
3
4
1
5
Hang the cabinet onto the Hang ‘N’ Lock bracket.
Do not lock the cabinet into position until the
support bracket is tted.
Bottom edge of Hang ‘N’ Lock bracket
Top edge of cabinet
‘A’
Re-hang the cabinet onto the Hang ‘N’
Lock bracket. Aligning the holes in the
cabinet with the corresponding slots on
the Hang ‘N’ Lock bracket. Secure in
position by inserting the two locking studs
through the holes inside the cabinet.
Rotate the studs 90 degrees clockwise to
lock into position.
8
CAB 091 R01
3
Slide the support bracket between the cabinet
and the wall surface. With a pencil mark the
bottom edge of the bracket to determine the
ideal location.
Remove the cabinet from the wall surface prior to
securing the support bracket in position.
Using an 8mm drill bit, drill the
marked hole position and insert the
wall plug. Secure the support bracket
into position.
7
6
For details of the other items in the Croydex range
please visit our website: www.croydex.com
Croydex Ltd, Central Way, Andover, Hants, SP10 5AW,
UK
Tel: +44 (0) 1264 365881
Fax: +44 (0) 1264 356437
Email: [email protected]
UNLOCKED LOCKED
9
Ø8
Secure the support bracket to the
cabinet to prevent the cabinet from
twisting. Use a philips screwdriver to
secure the bracket in position.

This manual suits for next models

3

Other Croydex Personal Care Product manuals

Croydex Houston WC147169E User manual

Croydex

Croydex Houston WC147169E User manual

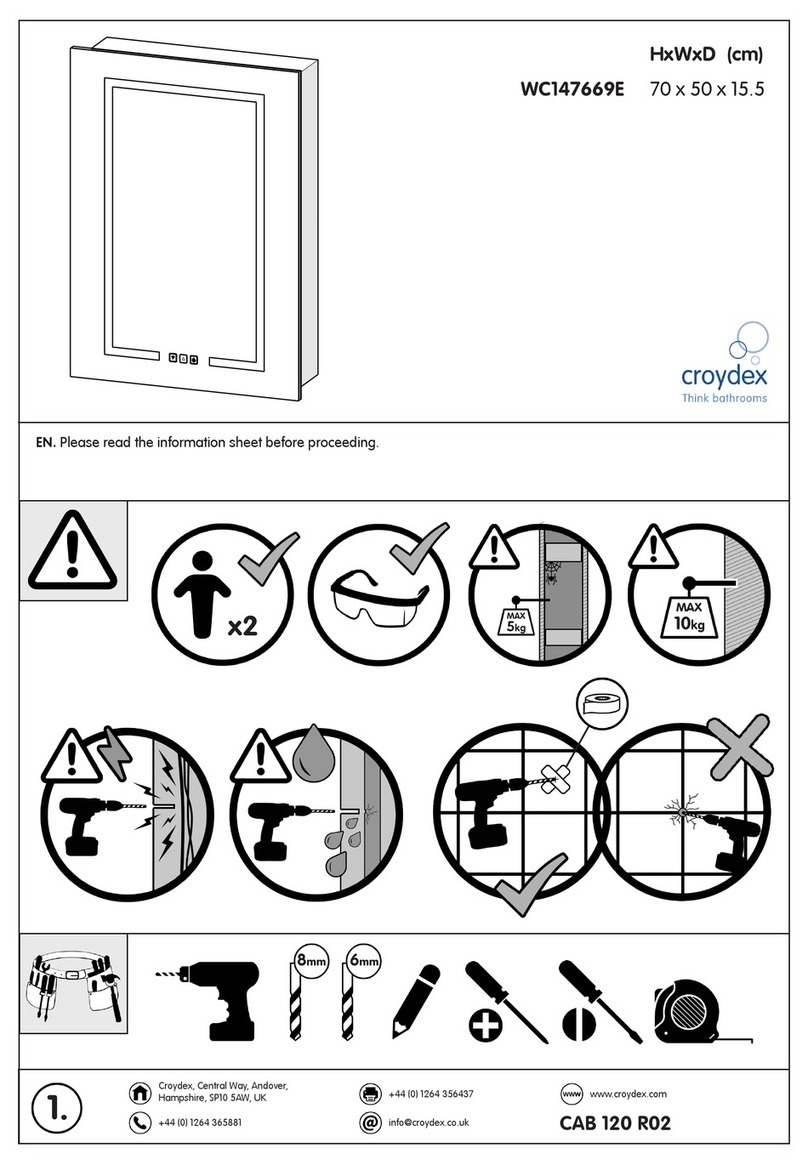
Croydex FLEXI-FIX WC147669E User manual

Croydex

Croydex FLEXI-FIX WC147669E User manual

Croydex HANG 'N' LOCK MADISON WC147369E User manual

Croydex

Croydex HANG 'N' LOCK MADISON WC147369E User manual

Croydex CHAUMONT MM8301 E Series User manual

Croydex

Croydex CHAUMONT MM8301 E Series User manual

Croydex Halington MM720500E User manual

Croydex

Croydex Halington MM720500E User manual

Croydex HENDERSON MM8300 E Series Manual

Croydex

Croydex HENDERSON MM8300 E Series Manual

Croydex Carra WC450622 User manual

Croydex

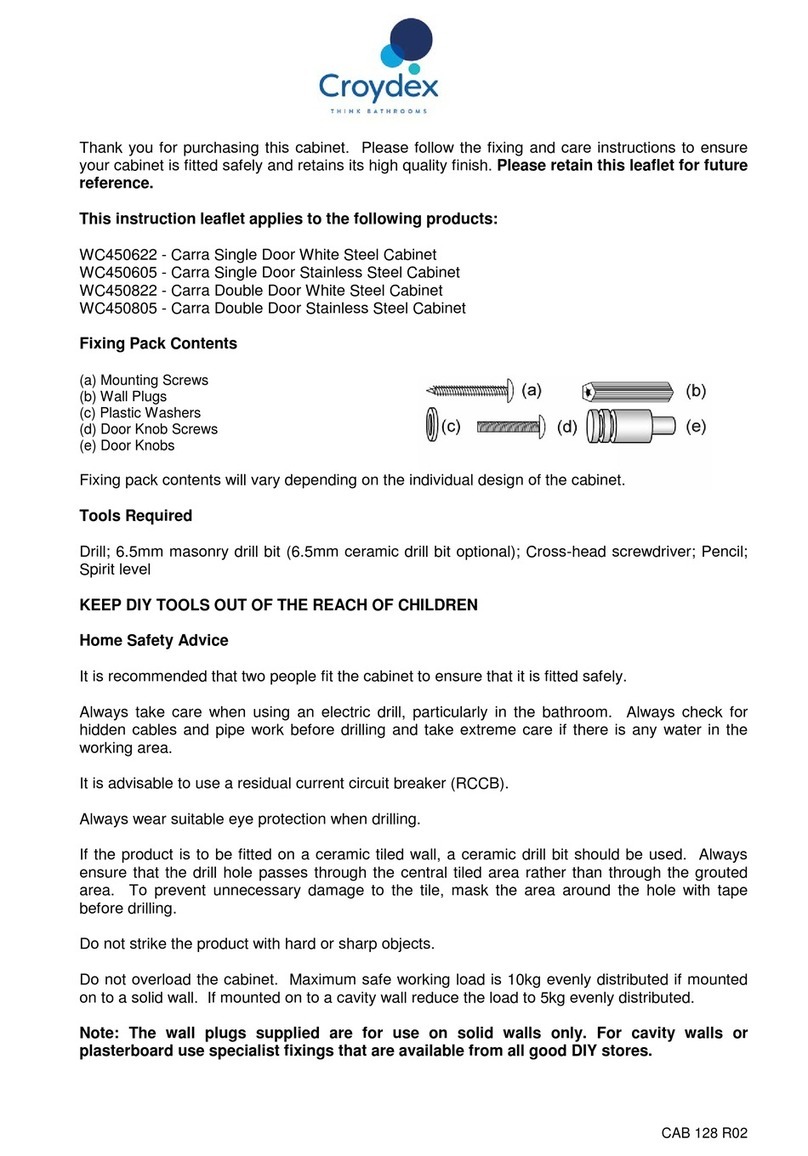
Croydex Carra WC450622 User manual

Croydex MEDWAY WC871405 User manual

Croydex

Croydex MEDWAY WC871405 User manual

Popular Personal Care Product manuals by other brands

DC-Connex DCX-L201 user manual

DC-Connex

DC-Connex DCX-L201 user manual

MPVTruma MicroDrop CalimeroJet instruction manual

MPVTruma

MPVTruma MicroDrop CalimeroJet instruction manual

Bosch PHA230 instruction manual

Bosch

Bosch PHA230 instruction manual

Beautify 4000001 care guide

Beautify

Beautify 4000001 care guide

MEIYATI Pro Spa quick start guide

MEIYATI

MEIYATI Pro Spa quick start guide

Blossom LED M3 R24 installation guide

Blossom

Blossom LED M3 R24 installation guide

Philips HB875/01 user manual

Philips

Philips HB875/01 user manual

Orliman SITLIVE OSL3120 INSTRUCTIONS FOR USE AND PRESERVATION

Orliman

Orliman SITLIVE OSL3120 INSTRUCTIONS FOR USE AND PRESERVATION

GE T8 Basic service manual

GE

GE T8 Basic service manual

Pretika ST102 Instructions for use & warranty information

Pretika

Pretika ST102 Instructions for use & warranty information

Beurer FC 76 Instructions for use

Beurer

Beurer FC 76 Instructions for use

Pebble Grey 500.40.70-75 manual

Pebble Grey

Pebble Grey 500.40.70-75 manual

PUSH ortho quick start guide

PUSH

PUSH ortho quick start guide

Dermlite DL3N instructions

Dermlite

Dermlite DL3N instructions

DERMAPEN SEMI user manual

DERMAPEN

DERMAPEN SEMI user manual

Carex SunLite user guide

Carex

Carex SunLite user guide

Roper Rhodes Intense Installation & Aftercare Instructions

Roper Rhodes

Roper Rhodes Intense Installation & Aftercare Instructions

Interacoustics Titan IMP440 Setup & installation

Interacoustics

Interacoustics Titan IMP440 Setup & installation

manuals.online logo
manuals.online logoBrands
  • About & Mission
  • Contact us
  • Privacy Policy
  • Terms and Conditions

Copyright 2025 Manuals.Online. All Rights Reserved.