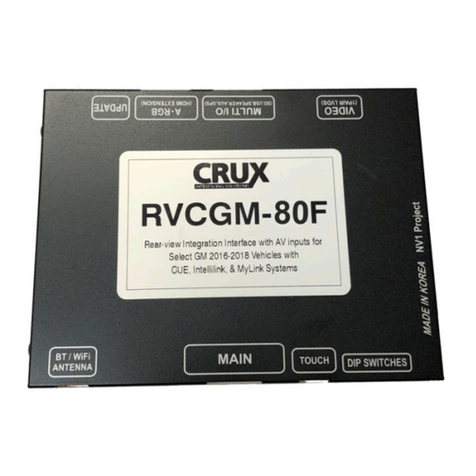
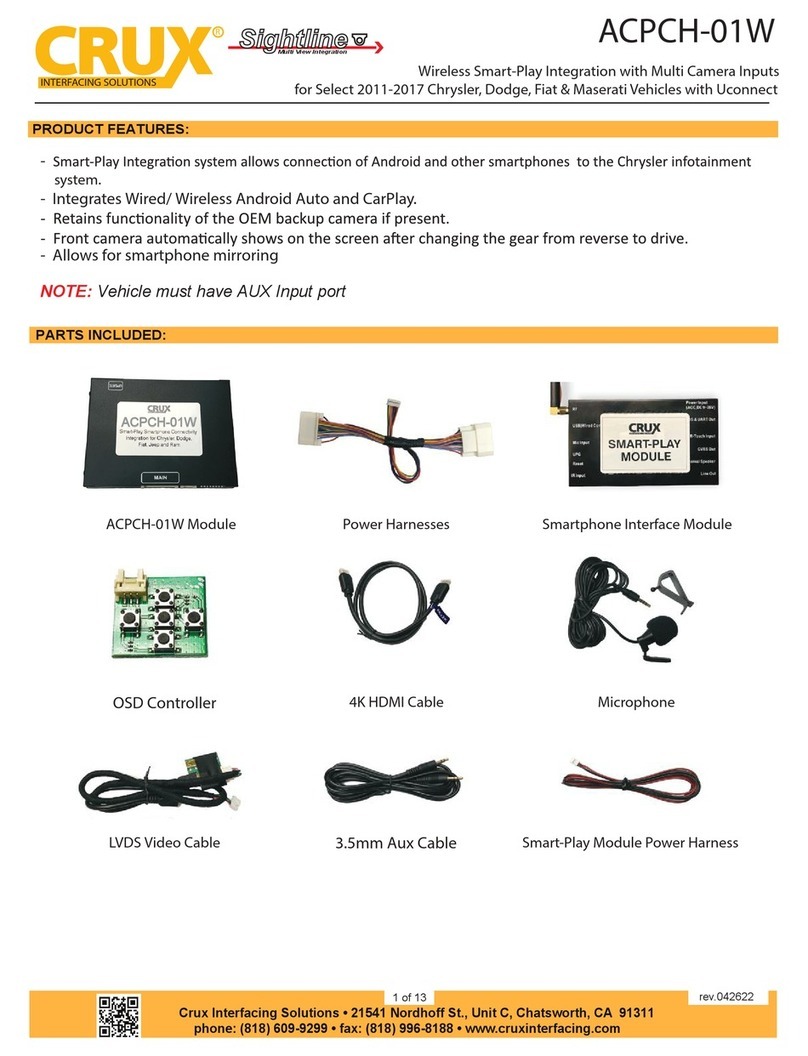
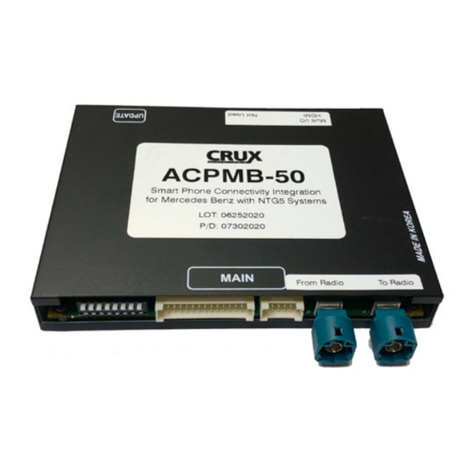
Crux ACPGM-80V User manual

-The ACPGM-80V has a built in Dual-Link module that allows connection of Android and other devices with
two-way mirroring control.
-Adds a reverse camera input with active parking guidelines.
-Adds 2 Audio/Video inputs.
-Compatible with Cadillac CUE, GM MyLink (iO3, iO5 & iO6) Infotainment Systems with 4.3” and 8” screens.
ACPGM-80V MODULE
CAN BOX
CUE Harness
MyLink Harness
MICROPHONE
VIDEO CABLE
PUSH BUTTON SWITCH
USB CABLE
3.5 AUX CABLE
Audio Cable
rev.030518
1 / 8

rev.030518
2 / 8

Below is an example of how to remove the radio of a Cadillac for reference. Other models may have a
different way of removing the radio.
1. Remove radio to gain access to the rear connectors. Be careful not to break the mounting clips on the radio trim
bezel. Please see pictures above for reference.
2. Unplug the radio connector, USB and mini USB from radio.
3. Plug the male power connector to the harness provided in this kit. Please note that the CUE system will have a
16-pin connector and the MyLink System will have a 10-pin connector. A harness for each system is included in
the ACPGM-80V kit.
4. Plug the 6-pin Molex connector of the harness being used to the CAN box included in the kit.
5. Plug male mini USB connector from the vehicle into the female mini USB port of the LVDS cable provided.
6. Plug the male mini USB of the LVDS cable to the radio.
7. Reconnect the USB and any other connector that was unplugged during removal of the radio.
8. Plug the audio 3.5mm Aux Cable into the interface and route to the vehicle’s OE Aux input jack.
9. Install the camera (not included) to the rear of the vehicle and run the cable towards the interface location.
10. Plug the camera RCA connector to the red RCA of the video harness.
11. Use the green wire from the CAN Box power harness to power the camera.
12. Use the two extra video inputs and audio cable to connect other AV sources.
13. Test the system for functionality before reinstalling the radio. Put the vehicle in reverse and verify that the
camera image is seen on the screen. For touch screen radios, press and hold anywhere on the screen for 3
seconds to toggle between the AV inputs. For non-touch screen radios, press the MENU button to toggle
between AV inputs.
14. Reverse the order of installation to put back the radio and all the trim.

DIP
DOWN (ON)
UP (OFF)
1
RGBS INPUT ENABLED
RGBS INPUT DISABLED
2
AV1ON
AV1 OFF
3
AV2ON
AV2 OFF
4
When using the RGB port and need a
high definition input.
When using CVBS (RCA) camera video input.
5
When using an aftermarket camera.
When using the OEM camera.
6
Set to OFF
7, 8
Both DOWN = 4.3” screen
Both UP = 8” Screen
To toggle to Smartphone Connectivity mode (i.e. Android Auto), press the MENU button on the radio.
1. SCREEN CALIBRATION
The screen needs to be calibrated to the ACPGM-80V after it is installed for the first time. Please see
calibration steps below:
1. Click 5 times on the screen to
activate screen adjustment.
2. Adjust the screen position using the
arrows until the green edges can be
seen on all sided. Click OK when
finished.
3. Click on the cross that will show up
around the screen to complete the
touch calibration.
rev.030518
3 / 8

2. ANDROID SMARTPHONE CONNECTION
To use Android Auto and dual controlled Android Mirroring, please follow the steps below:
1. Go to “Settings” and then
go to “About device”.
2. Go to “Software info” and
click “Build Number” 5 times
to activate “Developer Mode”.
3. Go to “Developer
options” and then
enable “USB debugging”.
4. You will need to install
two apps: “Android Auto”
and “DualLinkUnlocked”.
5. Scan QR code to
download
“DualLinkUnlocked” App:
6. Go to the Playstore to download the “Android Auto”
app.
1. Connect the original USB cable to
the interface’s USB extension cable and
to the phone. Android Auto will
automatically be launched. User may
use the OE touch screen to control all
the functions. If connection failed or
2. Once Android Auto is launched, users
may use the original features of Android
Auto such as Google Maps, Music, Radio,
Call, etc. In case the phone has no
onscreen “HOME” or “BACK” button,
user can download onscreen navigation
3. Press the HOME key or BACK button to
exit Android Auto. Once the phone exits
the app, full phone screen mirroring will
be shown. User can then use the apps of
the phone such as Waze and Videos. OE
touch screen will be used to control the
rev.030518
4 / 8

lost message appears on the screen,
check USB connection and try again.
buttons from Playstore.
apps. The Screen orientation will depend
if the app supports it.
AUDIO:
To get the audio from the Android device, pair the phone to the vehicle’s Bluetooth or connect the
phone’s AUX output to the vehicle’s AUX input for sound to come from the OE speakers.
NOTE:
When using full phone mirroring two-way control feature, make sure to enable “Onscreen Navigation”
(HOME and BACK) keys in case they are not active.
3. SIDE BUTTONS ON THE MODULE
The 3 buttons on the side of the interface is used to fine tune the picture display (MENU, +, -). When
the MENU button is pressed, the OSD strings will pop up on the screen. Pressing the +/- will change
the settings.
CONTRAST Adjust contrast of Navigation screen
BRIGHTNESS Adjust brightness of Navigation screen
SATURATION Adjust color saturation
POSITION H Adjust horizontal position
POSITION V Adjust vertical position
IR. AV1 Set IR code for AV1 (if applicable)
IR. AV2 Set IR code for AV2 (if applicable)
Guide-L No Function
Guide-R No Function
Guide-Control Set to OFF
H-Size Adjust screen horizontal size
V-Size Adjust screen vertical size
To toggle the Smartphone Connectivity function, press the MENU button on the radio or use the
supplied Remote Pushbutton Switch.
The ACPGM-80V works on the 8” CUE and on the 8” and 4.3” (RPO iO3, iO5 & iO6) MyLink systems. To
find the RPO Codes, please check the label in the glove box or under the spare tire location. The label
would look like this:
rev.030518
5 / 8

CADILLAC
SYSTEM / SCREEN SIZE
2014 –2017
2014 –2017
2014 –2017
2016 –2017
ATS
CTS
XTS
Escalade
CUE iO5/iO6 with 8” Screen
2016 –2017
XT5
CUE with 8” Screen
CHEVROLET
2014 –2015
2014 –2015
2015 –2015
2015 –2015
Impala
Silverado
Suburban
Tahoe
iO3 4" Screen
2014 –2018
Corvette
MyLink iO5/iO6 8” Screen
2016 –2017
Cruze
MyLink iO5/iO6 with 8”
Screen
6 / 8
rev.030518

2016 –2017
2016 –2017
Volt (high end)
Equinox
2014 –2017
Impala
MyLink iO5/iO6 with 8”
Screen
2014 –2017
2014 –2017
2014 –2017
Silverado
Suburban
Tahoe
MyLink iO5/iO6 with 8”
Screen
GMC
2014 –2015
2014 - 2015
Sierra
Yukon
iO3 4” Screen
2016 –2017
2015
2014 –2017
2014 –2017
Acadia
Canyon
Sierra
Yukon
IntelliLink iO5/iO6 with 8”
Screen
rev.030518

rev.112817
8 / 8
rev.030518
8 / 8
Table of contents
Other Crux Control Unit manuals
Popular Control Unit manuals by other brands

Texas Instruments
Texas Instruments CDCM9102EVM user guide

Inorea
Inorea PB6014 quick start guide

MOGAS
MOGAS ISOLATOR 2.0 Installation, operation and maintenance manual

Baker Hughes
Baker Hughes Masoneilan LincolnLog 78400/18400 Series instruction manual

Price
Price PP1 manual

iDataLink
iDataLink maestro SW quick start guide