1
Full-duplex audio
:KHQWKHYLVLWRUSXVKHVWKHGRRUEHOOEXWWRQ\RXZLOOJHWDFDOO<RXFDQ
WKHQDQVZHUWKHFDOOWRVHHDQGKHDUWKHYLVLWRUYLDWKH$SS
PIR
When the doorbell detects PRWLRQ, it ZLOOsenG an QRWLILFDWLRQto your phone
WRDOHUW\RX.
Low battery alarm
You can set a low-battery alarm threshold on your App. The threshold is set to
a minimum of 10% and a maximum of 50%. When the battery power UHDFKHV
WKHset threshold, the App will VHQG\RXa reminder.
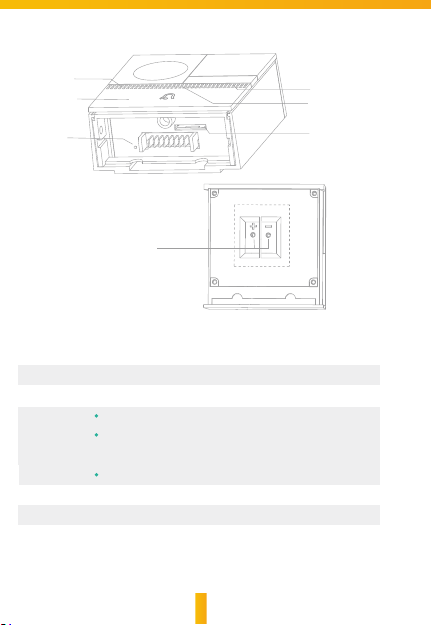
Battery Lock
$IWHUEDWWHU\ER[LVFRQQHFWHGLWZLOOEHORFNHGLPPHGLDWHO\7RUHPRYHWKH
EDWWHU\ER[WKHXVHUZLOOKDYHWRXQORFNWKLVYLDWKH$SSVHWWLQJVSDJH\RXZLOO
RQO\KDYHVHFRQGVWRGRVR
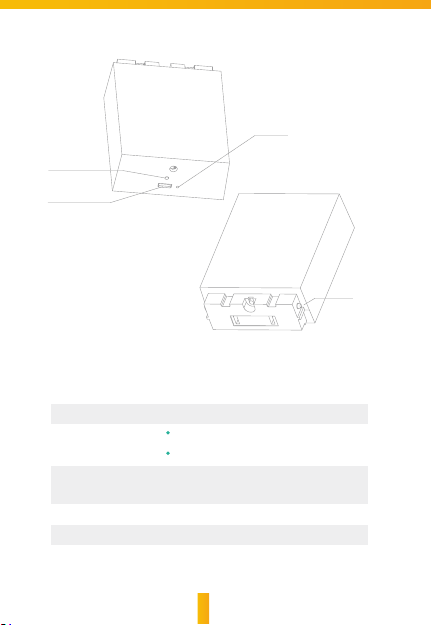
功能介绍Functions
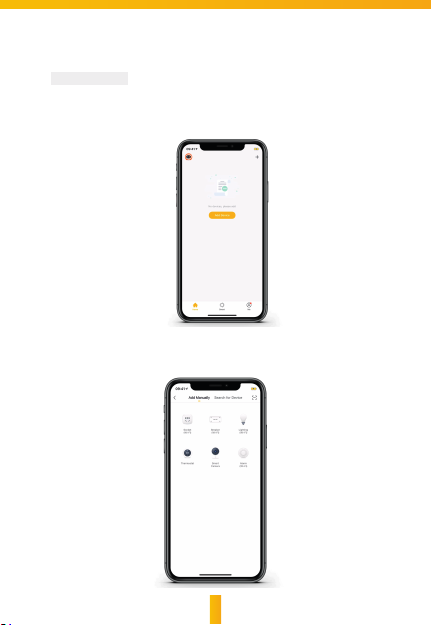
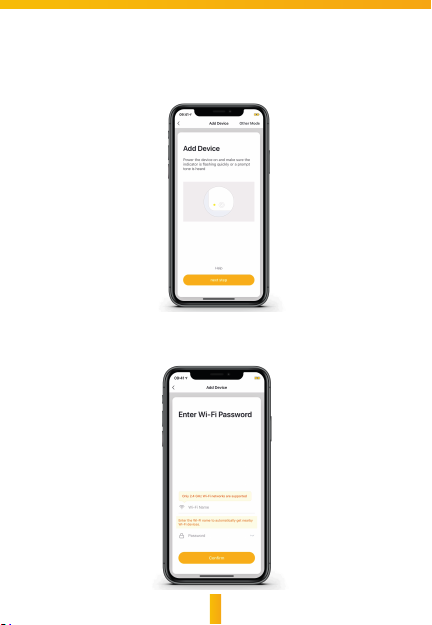
Remote wake-up
The doorbell will be LQDVOHHSmode to save power you ZLOOKDYHa preview
in WKHApp and have a remote wake-up to monitor after 3-4 Seconds.
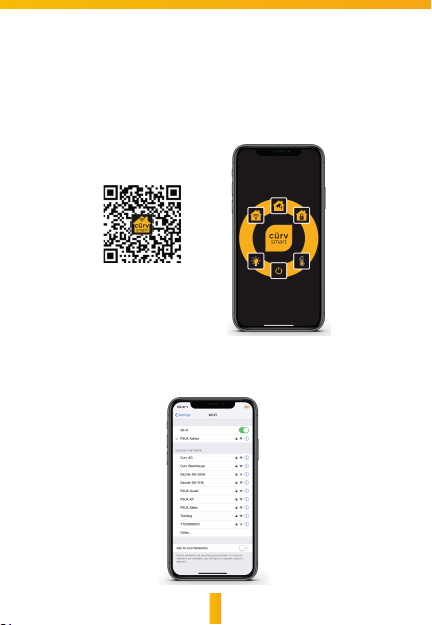
Shared device
7KHGRRUEHOOGHYLFHFDQEHVKDUHGZLWKIULHQGVDQGIDPLO\WKH\ZLOOEHDEOHWR
SUHYLHZWKLVRQOLQH7KHUHLVQROLPLWWRWKHQXPEHUGHYLFHV\RXFDQVKDUHEXW
RQO\DFFRXQWVDUHVXSSRUWHGIRURQOLQHSUHYLHZDWWKHVDPHWLPH