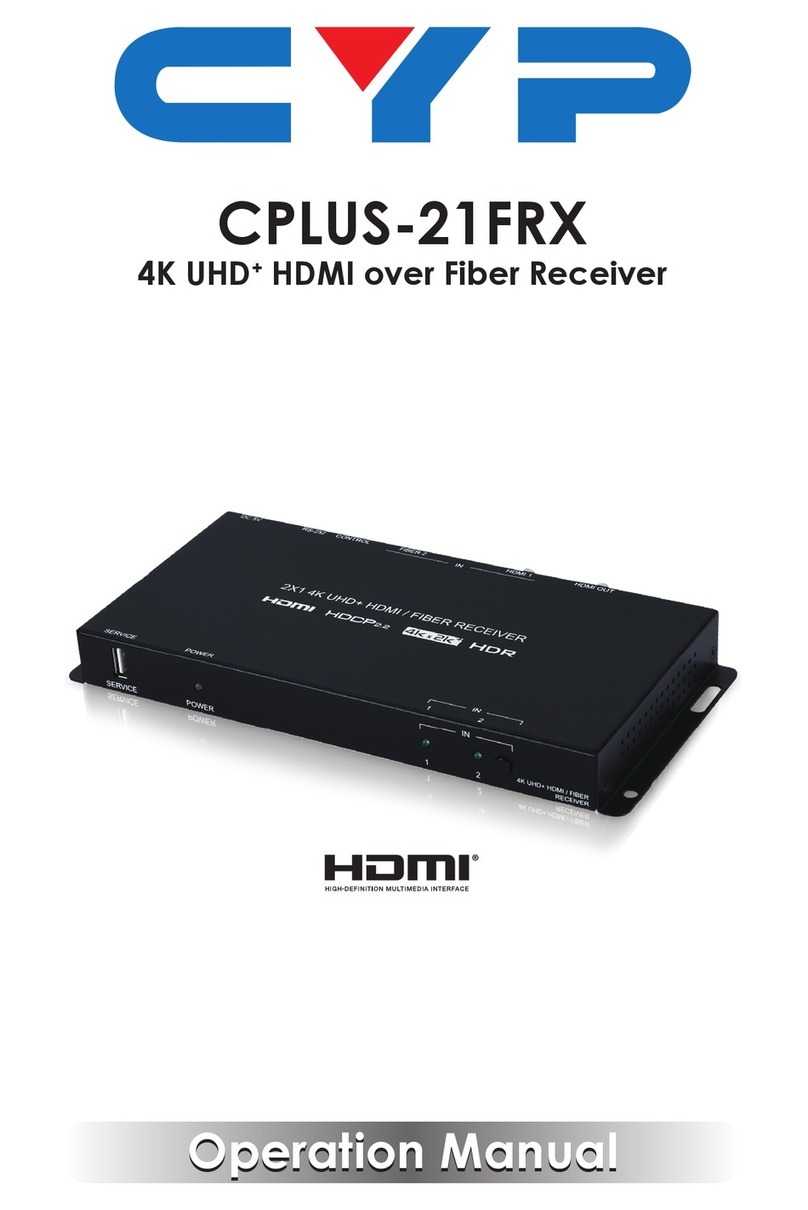
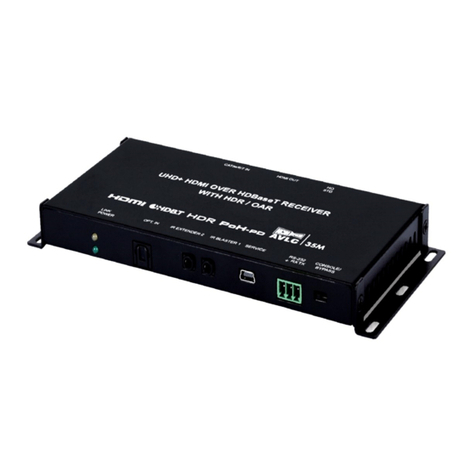
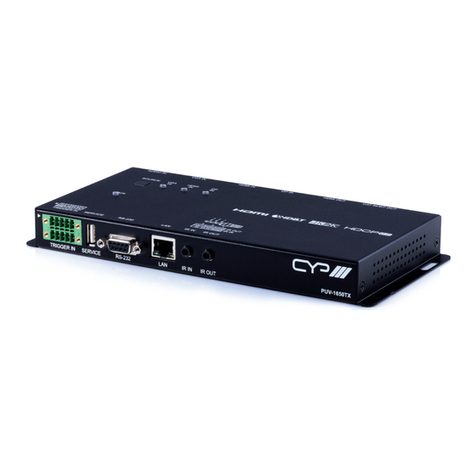
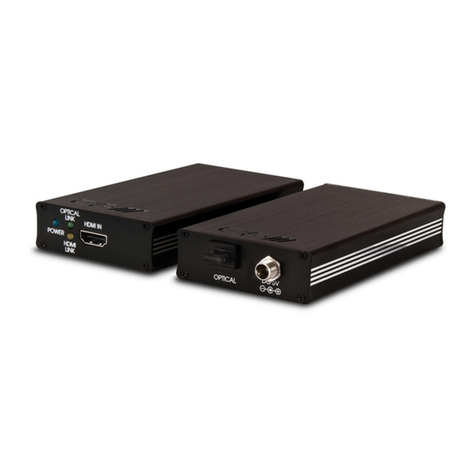
CYP AVIP-P5104R-B1C User manual

Operation Manual
Operation Manual
UHD+HDMI AV over IP Receiver
AVIP-P5104R-B1C


DISCLAIMERS
The information in this manual has been carefully checked and is believed
to be accurate. Cypress Technology assumes no responsibility for any
infringements of patents or other rights of third parties which may result from
its use.
Cypress Technology assumes no responsibility for any inaccuracies that
may be contained in this document. Cypress also makes no commitment to
update or to keep current the information contained in this document.
Cypress Technology reserves the right to make improvements to this
document and/or product at any time and without notice.
COPYRIGHT NOTICE
No part of this document may be reproduced, transmitted, transcribed,
stored in a retrieval system, or any of its part translated into any language
or computer le, in any form or by any means—electronic, mechanical,
magnetic, optical, chemical, manual, or otherwise—without express written
permission and consent from Cypress Technology.
© Copyright 2018 by Cypress Technology.
All Rights Reserved.
TRADEMARK ACKNOWLEDGMENTS
All products or service names mentioned in this document are trademarks of
the companies with which they are associated.

SAFETY PRECAUTIONS
Please read all instructions before attempting to unpack, install or operate
this equipment and before connecting the power supply. Please keep the
following in mind as you unpack and install this equipment:
• Always follow basic safety precautions to reduce the risk of re,
electrical shock and injury to persons.
• To prevent re or shock hazard, do not expose the unit to rain, moisture
or install this product near water.
• Never spill liquid of any kind on or into this product.
• Never push an object of any kind into this product through any openings
or empty slots in the unit, as you may damage parts inside the unit.
• Do not attach the power supply cabling to building surfaces.
• Use only the supplied power supply unit (PSU). Do not use the PSU if it
is damaged.
• Do not allow anything to rest on the power cabling or allow any weight to
be placed upon it or any person walk on it.
• To protect the unit from overheating, do not block any vents or openings
in the unit housing that provide ventilation and allow for sucient space
for air to circulate around the unit.
• Please completely disconnect the power when the unit is not in use to
avoid wasting electricity.
VERSION HISTORY
REV. DATE SUMMARY OF CHANGE
RDV1 2022/01/06 Preliminary release

CONTENTS
1. Introduction...................................................... 1
3. Package Contents ........................................... 2
4. System Requirements..................................... 2
5. Features............................................................ 3
6. Operation Controls and Functions ................ 4
6.1 Front Panel.................................................. 4
6.2 Rear Panel................................................... 5
6.3 IR Cable Pinouts.......................................... 7
6.4 RS-232 Pinout and Defaults........................ 7
6.5 OSD Menu................................................... 8
6.6 Basic AV Extension.................................... 12
6.6.1 Point-to-Point (One Way) ................. 12
6.7 Advanced AV Extension............................. 13
6.7.1 IP Master Controller ......................... 13
6.7.2 Conguration Examples ................... 14
7. Connection Diagram ..................................... 16
8. Specications ................................................ 17
8.1 Technical Specications ............................ 17
8.2 Video Specications .................................. 18
8.3 Audio Specications .................................. 20
8.3.1 Digital Audio ..................................... 20
8.3.2 Analog Audio .................................... 20
8.4 Cable Specications.................................. 21
9. Acronyms ....................................................... 22

1
1. INTRODUCTION
This AV over IP Receiver is designed for high-quality, IP routable, AV
extension with minimum latency. By using a sophisticated ultra-light
compression scheme (lossless for most content) it’s a great solution for
extending 4K audio/video streams and data. Advanced HDMI content such
as HDR (High Dynamic Range), 10-bit color and multi-channel HD Bitstream
audio can be transmitted in pass-through mode.
The use of high quality 10 Gigabit Ethernet ports and Cat.6A or better cable
allows for point-to-point transmission of the video signal up to 100m. Multiple
control and data signals may also be transmitted along with the audio and
video, including IR, RS-232, USB 2.0, and Ethernet.
When combined with the optional IP Master Controller or control software,
the functionality of the receiver expands exponentially. Multiple transmitters
and receivers may be combined with one or more 10 Gigabit Ethernet
switches and the units can be used together to form a distributed video
matrix, a multiviewer system, or a video wall system adding to their exibility
in large event installations.
The integrated USB hub of each receiver can function as a simple point to
point KVM extension or freely routed between any two endpoints. This type
of USB KVM routing exibility enables a wide range of multi-user, control
room, or on-demand installation scenarios.
The built-in EDID and HDCP management functionality enables the unit to t
into every situation. Basic conguration of the unit can be achieved via front
panel buttons with an OSD (On-Screen Display). Advanced control requires
the optional IP Master Controller, or control software, and a LAN connection.
2
2. APPLICATIONS
• Video, Audio, LAN, IR, and USB 2.0 over Cat.6A extension
• Point-to-Point Secure Video Conferencing
• Hotel or convention center display
• Multi-monitor broadcast
• Distributed video matrix system
• Distributed video wall system
• Remote KVM system control
3. PACKAGE CONTENTS
• 1× UHD+ HDMI AV over IP Receiver
• 1× 12V/3A DC Power Adapter
• 1× Power Cord
• 1× Operation Manual
4. SYSTEM REQUIREMENTS
• HDMI receiving equipment such as an HDTV, monitor, or audio amplier
• Analog audio receiving equipment such as headphones, an audio
amplier, or powered speakers
• The use of Premium High Speed HDMI cables, and industry standard
Cat.6A, or Cat.7 Ethernet cable is required.
• A 10 Gigabit Ethernet network switch with jumbo frame and IGMP
snooping support is required for distributed video systems (Optional,
required for multi-transmitter/receiver systems)
• IP Master Controller or PC control software to congure distributed matrix,
video wall, or multi-view systems (Optional)

3
5. FEATURES
• HDMI 2.0 and DVI 1.0 compatible
• HDCP 2.2 and HDCP 1.x compliant
• 1 Cat.6A input
• 1 HDMI output
• 1 analog stereo input & 1 analog stereo output
• 2 USB 2.0 (Type-A) ports and 1 USB 2.0 (Mini-B) port
• IP routable with minimum latency (requires optional IP Master Controller or
control software)
• Ultra-light compression, lossless for most content
• Extension up to 100m in Point-to-Point mode (with Cat.6A cable)
• Supports independent breakaway A/V matrix switching with minimum
latency, video wall generation, and multi-view compositing (requires
optional IP Master Controller/control software)
• Supports pass-through of 10/12-bit HDR sources (Point-to-Point and
Bypass modes only)
• Supports pass-through of audio formats including LPCM (up to 8
channels), Bitstream and HD Bitstream from HDMI or DP sources
• Analog stereo audio extension, insertion and extraction (insertion and
extraction requires optional IP Master Controller/control software)
• Unit can be powered directly by PoE when connected to a 10 Gigabit
Ethernet (10GbE) switch that provides PoE (802.3at)
• Basic conguration via front panel buttons with an OSD
• Supports the use of an external control center (IP Master Controller) or
control software to provide expanded functionality (Contact your authorized
dealer for more information)

4
6. OPERATION CONTROLS AND FUNCTIONS
6.1 Front Panel
GbE VIDEO LINK USBLINK USB
USB 2.0 MENU + ENTER
INFO
-
POWER
1 2 3 4 5 6 7
1POWER LED: This LED will illuminate to indicate the unit is on and
receiving power.
2USB 2.0 (Type-A) Ports: Connect directly to standard USB devices such
as a mouse, keyboard or ash drive to extend their USB functionality to
the currently active/routed USB Device Mode transmitter.
3STATUS LED BLOCK:
GbE LED: This LED will illuminate and blink to indicate a live and
active connection on the local gigabit Ethernet port.
VIDEO LED: This LED indicates video streaming activity over the
Cat.6A port. It will illuminate green when a video signal is being
transmitted. When no video is active the LED will remain o, even if
the streaming connection is valid.
LINK LED: This LED will illuminate and blink to indicate data
transmission activity across the Cat.6A streaming connection.
USB LED: This LED will illuminate when the unit’s USB ports have
successfully paired with the USB ports on another unit. This LED will
remain o if the unit’s USB ports are not currently paired and in stand-
by mode.
4MENU Button: Press to enter the OSD menu, or to back out from menu
items.
5 − (MINUS) Button: Press to move down or adjust selections within OSD
menus.
6+ (PLUS) Button: Press to move up or adjust selections within OSD
menus.
7ENTER/INFO Button: When inside an OSD menu, press to conrm a
selection or to go deeper into a menu item. When not in a menu, press to
activate the Information OSD.

5
6.2 Rear Panel
USB/SERVICELANRS-232IN
IR
OUTINOUTCAT6A/7 INHDMI OUT
DC 12V
AUDIO
TX RX
12 3 4 5 6 78
1HDMI OUT Port: Connect to an HDMI TV, monitor, or amplier for digital
video and audio output.
2CAT6A/7 Port: Connect directly to a compatible transmitter for Point-
to-Point extension, or to a 10 Gigabit Ethernet switch for distributed
matrixing (requires IP Master Controller or control software), with a single
Cat.6A/7 cable for extension of all data signals.
Note: If the connected network switch supports the IEEE 802.3at-2009
PoE (Power over Ethernet) standard, this unit can optionally be powered
directly via this Ethernet port.
3AUDIO PORTS:
OUT Port: Connect to powered speakers or an amplier for stereo
analog audio output.
IN Port: Connect to the stereo analog output of a device such as a CD
player or PC.
Note: When units are connected directly in a Point-to-Point
conguration, audio is routed directly from the IN Ports to the opposite
end’s OUT Ports. Free routing can only be congured by use of the
optional IP Master Controller or control software.
4IR PORTS:
OUT Port: Connect to an IR Blaster to broadcast IR signals from
a connected receiver to devices within direct line-of sight of the IR
Blaster.
IN Port: Connect to an IR Extender to receive IR control signals and
extend them to devices connected to a connected transmitter. Ensure
that the remote being used is within direct line-of-sight of the IR
Extender.
Note: Currently, only 38KHz IR signal extension is supported.
5RS-232 3-pin Terminal Block: Connect directly to a PC, laptop or serial
controllable device with a 3-pin adapter cable to extend the RS-232
signal between units.

6
6LAN Port: Connect to an Ethernet supporting device or to your local
network as appropriate to extend the network between units.
7USB/SERVICE (Mini-B) Port: Connect directly to a standard USB host
such as a PC or laptop to extend their USB functionality to all currently
connected/routed USB devices.
Note: This port is only active when “USB Control Mode” is set to “Device”.
In a Point-to-Point extension conguration, only one of the two units
should be set as a USB Device to avoid conicts.
8DC 12V Port: Plug the 12V DC power adapter into this port and connect
it to an AC wall outlet for power.
Note: Optional, not required if the unit is powered via PoE.

7
6.3 IR Cable Pinouts
IR Blaster
Cable
1
2
3
Infrared
Power
Not Used
IR Extender
Cable
1
2
3
Infrared
Power
Ground
6.4 RS-232 Pinout and Defaults
Serial Port Default Settings
Baud Rate 57600
Data Bits 8
Parity Bits None
Stop Bits 1
Flow Control None
1
2
3
RxD
GND
TxD
3-pin
Terminal Block
Note: The default Serial Port baud rate can only be changed by use of the
optional IP Master Controller or control software.

8
6.5 OSD Menu
All functions of this unit can be controlled by using the OSD (On Screen
Display) which is activated by pressing the MENU button on the front of the
unit. Use the + (PLUS), − (MINUS), and ENTER buttons to navigate the OSD
menu. Press the MENU button to back out from any menu item and then
press it again to close the menu.
MAIN MENU
OSD
Device Setting
Information
USB Information
Factory Setting
The individual functions of the OSD will be introduced in the following
section. Items marked in BOLD are the factory default settings.

9
OSD
2ND LEVEL 3RD LEVEL
Display Information ON
O
Information Timeout O
10~40 Sec (10 Sec)
Menu Timeout O
10~40 Sec (10 Sec)
Menu H Position 0~100 (90)
Menu V Position 0~100 (10)
1) Display Information: Enable or disable the Information OSD.
2) Information Timeout: Set the display timeout for the Information OSD.
3) Menu Timeout: Set the display timeout for the OSD Menu.
4) Menu H Position: Set the horizontal position of the OSD Menu.
5) Menu V Position: Set the horizontal position of the OSD Menu.

10
DEVICE SETTING
2ND LEVEL 3RD LEVEL
USB Control Mode HOST
Device
USB Virtual Hub
(USB Device Mode only)
OFF
On
1) USB Control Mode: Enable or disable the USB 2.0 (Mini-B) port for
connection to USB host devices such as a PC or laptop. Selecting
“Device” enables the USB 2.0 (Mini-B) port. Selecting “Host” disables the
USB 2.0 (Mini-B) port.
Note: In a Point-to-Point extension conguration, only one of the two
units should be set to “Device” to avoid conicts.
2) USB Virtual Hub: Enables or disables the “simultaneous connection”
USB mode which allows the PC/Laptop connected to this unit to be
paired with the USB devices on up to 7 “Host” mode units.
Note: Only available when USB Control Mode is set to “Device”. USB
routing can only be congured by use of the optional IP Master Controller
or control software and is not valid in Point-to-Point congurations.
INFORMATION
2ND LEVEL 3RD LEVEL
Resolution [Current Output Resolution]
Status RECEIVER
FW Version [Current Firmware Version]
IP [Current IP Address]
MAC [Unit’s MAC Address]
SN [Unit’s Serial Number]
1) Information: Shows details of the unit’s current status including output
resolution, streaming direction status, rmware version, IP address, MAC
address, and serial number.

11
USB INFORMATION
2ND LEVEL 3RD LEVEL
IP Mode [Unit’s USB IP Mode]
IP [Unit’s USB IP Address]
MAC [Unit’s USB MAC Address]
Pair MAC 1~7 [USB Mac Addresses of
Connected USB Devices]
1) USB Information: Shows status details of the unit’s USB mode and
current USB connections.
FACTORY SETTING
2ND LEVEL 3RD LEVEL
Are you sure? NO
Yes
1) Factory Setting: Selecting YES will reset the unit’s settings back to their
factory defaults.

12
6.6 Basic AV Extension
6.6.1 Point-to-Point (One Way)
The most basic extension conguration available is a point-to-point system
with a single transmitter connected directly to a single receiver. In this
conguration the HDMI/DP input on the transmitter side is transmitted to the
connected receiver side without modication to the audio or video format.
The analog stereo audio input on the transmitter transfers audio directly
to the analog stereo audio output on the receiver. The LAN, RS-232 and
IR ports form direct connections between transmitter and receiver as well.
This conguration is ideal for basic video extension as well as remote KVM
applications.
TX RX
CAT6A Cable
Note: This conguration does not use or require an external control center
such as the IP Master Controller to function. No audio insertion/extraction is
performed in this conguration.

13
6.7 Advanced AV Extension
6.7.1 IP Master Controller
The IP Master Controller is a hardware solution designed to provide a unied
and easy method to access and control all of the transmitters and receivers
in a system. It provides a user-friendly, and operating system agnostic, web-
based interface allowing easy control over all of the most critical functions
within a distribution system.
The IP Master Controller hardware is an optional component and is not
included with individual transmitter, receiver, or transceiver units. Please
contact your authorized dealer for more information.
Note: Interface images are for example only and may dier from the
delivered product. Full operational documentation can be found within the IP
Master Controller’s manual.

14
6.7.2 Conguration Examples
When combined with the IP Master Controller, and a 10 Gigabit Ethernet
switch, this extension system gains a large number of additional conguration
options including: multi-in/multi-out matrix switching with breakaway audio,
video wall creation, and a multiview output mode. Audio extraction and
embedding is fully controllable. Additionally, audio, USB, IR, and RS-232
routing can be fully controlled.
(1) Matrix Conguration
10Gb
Network Switch
(2) Video Wall Conguration
10Gb
Network Switch

15
(3) Multiview (PiP/PoP/Quad/Etc.) Conguration
10Gb
Network Switch
(4) KVM Switch Conguration
10Gb
Network Switch
Table of contents
Other CYP Receiver manuals

CYP
CYP CH-517RXHS User manual

CYP
CYP CH-1507TX User manual

CYP
CYP AU-A300-HBT User manual

CYP
CYP CH-1106TX & RX User manual

CYP
CYP AVX-101F-RX User manual

CYP
CYP CH-2603RX User manual

CYP
CYP 5-Play HDBaseT PU-507WPRX User manual

CYP
CYP VEX-E4501T User manual

CYP
CYP CH-331H-RX User manual

CYP
CYP CA-HDMI250R User manual

CYP
CYP HDBaseT 5Play PUV-1510RX User manual

CYP
CYP PUV-1810RX-AVLC User manual

CYP
CYP CH-507TXWPBD User manual

CYP
CYP CWHDI-TX1 User manual

CYP
CYP PU-607BD-RX User manual

CYP
CYP CA-HDMI150R User manual

CYP
CYP 5-Play HDBaseT PU-507WPRX User manual

CYP
CYP CRS-232 User manual

CYP
CYP CH-2540RX User manual

CYP
CYP IP-A750RX User manual