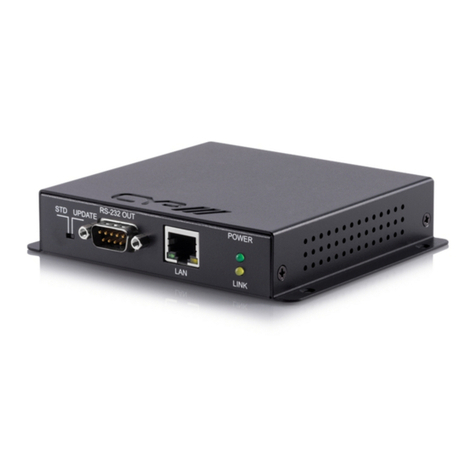
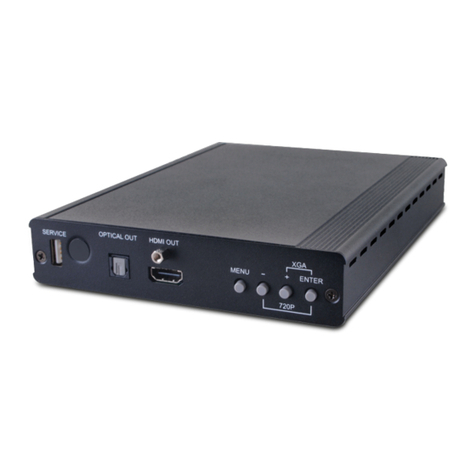
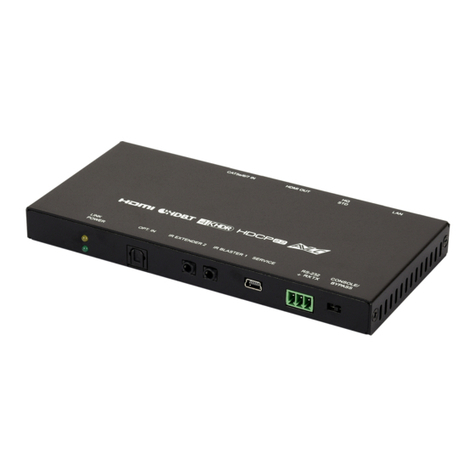
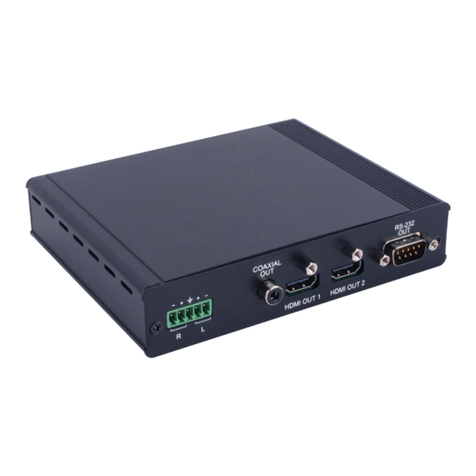
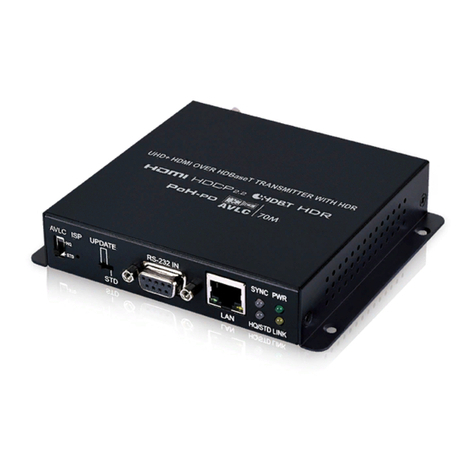
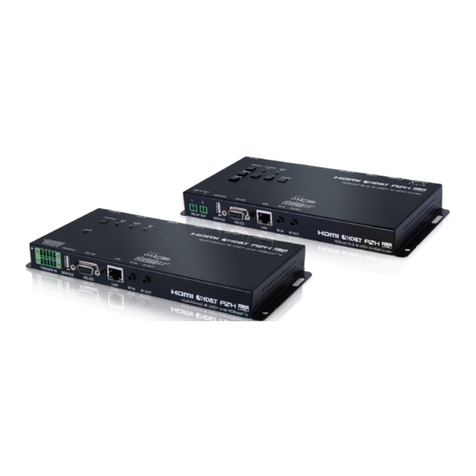
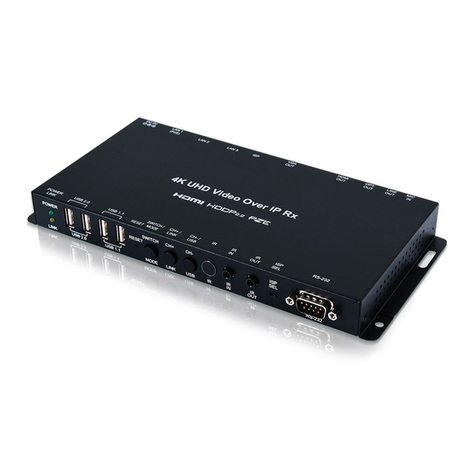
CYP VEX-E4501T User manual

Operation Manual
Operation Manual
UHD+HDMI over HDBaseT
Transmitter & Receiver with USB KVM
VEX-E4501T & VEX-E4501R


DISCLAIMERS
The information in this manual has been carefully checked and is believed
to be accurate. Cypress Technology assumes no responsibility for any
infringements of patents or other rights of third parties which may result from
its use.
Cypress Technology assumes no responsibility for any inaccuracies that
may be contained in this document. Cypress also makes no commitment to
update or to keep current the information contained in this document.
Cypress Technology reserves the right to make improvements to this
document and/or product at any time and without notice.
COPYRIGHT NOTICE
No part of this document may be reproduced, transmitted, transcribed,
stored in a retrieval system, or any of its part translated into any language
or computer le, in any form or by any means—electronic, mechanical,
magnetic, optical, chemical, manual, or otherwise—without express written
permission and consent from Cypress Technology.
© Copyright 2018 by Cypress Technology.
All Rights Reserved.
TRADEMARK ACKNOWLEDGMENTS
All products or service names mentioned in this document are trademarks of
the companies with which they are associated.

SAFETY PRECAUTIONS
Please read all instructions before attempting to unpack, install or operate
this equipment and before connecting the power supply. Please keep the
following in mind as you unpack and install this equipment:
• Always follow basic safety precautions to reduce the risk of re,
electrical shock and injury to persons.
• To prevent re or shock hazard, do not expose the unit to rain, moisture
or install this product near water.
• Never spill liquid of any kind on or into this product.
• Never push an object of any kind into this product through any openings
or empty slots in the unit, as you may damage parts inside the unit.
• Do not attach the power supply cabling to building surfaces.
• Use only the supplied power supply unit (PSU). Do not use the PSU if it
is damaged.
• Do not allow anything to rest on the power cabling or allow any weight to
be placed upon it or any person walk on it.
• To protect the unit from overheating, do not block any vents or openings
in the unit housing that provide ventilation and allow for sucient space
for air to circulate around the unit.
• Please completely disconnect the power when the unit is not in use to
avoid wasting electricity.
VERSION HISTORY
REV. DATE SUMMARY OF CHANGE
RDV1 2021/06/18 Preliminary release

CONTENTS
1. Introduction...................................................... 1
2. Applications ..................................................... 1
3. Package Contents ........................................... 1
3.1 Single Unit (Transmitter or Receiver) .......... 1
3.2 Dual Unit Set ............................................... 1
4. System Requirements..................................... 2
5. Features............................................................ 2
6. Operation Controls and Functions ................ 3
6.1 Front Panel (Transmitter) ............................ 3
6.2 Rear Panel (Transmitter) ............................. 4
6.3 Front Panel (Receiver) ................................ 5
6.4 Rear Panel (Receiver)................................. 6
6.5 RS-232 Pinout ............................................. 7
6.6 IR Pinout...................................................... 7
6.7 Audio Pinout ................................................ 7
7. Connection Diagram ....................................... 8
8. Specications .................................................. 9
8.1 Technical Specications (Transmitter)......... 9
8.2 Technical Specications (Receiver)........... 10
8.3 Video Specications .................................. 11
8.4 Audio Specications .................................. 13
8.4.1 Digital Audio ..................................... 13
8.4.2 Analog Audio .................................... 13
8.5 Cable Specications.................................. 14
8.6 HDBaseT Features.................................... 15
9. Acronyms ....................................................... 16

1
1. INTRODUCTION
This 4K UHD+HDMI over HDBaseT transmitter and receiver pair uses
HDBaseT 3.0, the newest generation of HDBaseT technology, and is the
perfect solution for extending full bandwidth (18Gbps) HDMI 2.0, 4K@60Hz
(4:4:4, 8-bit) video with HD audio via a single run of Cat.6A/7 cable over
distances of up to 100 meters. Multiple control and data signals may also be
transmitted along with the audio and video, including bi-directional IR, RS-
232, USB 2.0, and Gigabit Ethernet.
When the transmitter and receiver are used together, 2 micro USB host
connections are available (1 on the transmitter, 1 on the receiver) for
connecting a single USB host (such as a laptop or PC) to devices on up to
4 USB 2.0 (Type-A) ports (2 on the transmitter, 2 on the receiver) forming
a highly exible KVM extension conguration. This transmitter and receiver
pair is ideal for use in any video extension scenario, but they excel when
latency-free, uncompressed, high resolution video is critical, such as medical
installations, live conferences, and education.
2. APPLICATIONS
• Household entertainment sharing and control
• Lecture hall/classroom display and control
• Meeting room presentation and control
3. PACKAGE CONTENTS
3.1 Single Unit (Transmitter or Receiver)
• 1× UHD+HDMI over HDBaseT Transmitter or Receiver with USB KVM
• 1× 24V/2.7A DC Power Adapter (Transmitter only)
• 2× 3-pin Terminal Block
• 1× 8-pin Terminal Block
• 1× Operation Manual
3.2 Dual Unit Set
• 1× UHD+HDMI over HDBaseT Transmitter with USB KVM
• 1× UHD+HDMI over HDBaseT Receiver with USB KVM
• 1× 24V/2.7A DC Power Adapter
• 4× 3-pin Terminal Block
• 2× 8-pin Terminal Block
• 1× Operation Manual

2
4. SYSTEM REQUIREMENTS
• HDMI source equipment such a media player, video game console, or
set-top box.
• HDMI receiving equipment such as an HDTV, monitor, or audio amplier.
• The use of Premium High Speed HDMI cables, and industry standard
Cat.6A or Cat.7 Ethernet cable is highly recommended.
5. FEATURES
• HDMI 2.0 and DVI 1.0 compatible
• HDCP 2.2 and HDCP 1.x compliant
• HDBaseT 3.0 compliant (Backwards compatible with HDBaseT 2.0/1.0)
• 1 HDMI input, 1 HDMI output, and 1 HDBaseT output (Transmitter)
• 1 HDMI input, 1 HDMI output, and 1 HDBaseT input (Receiver)
• Supports up to 4K UHD+ (18Gbps, 4K@60Hz 4:4:4, 8-bit) video input and
output over both HDMI and HDBaseT
• Supports Deep Color input and output up to 12-bit
• Supports 10-bit and 12-bit HDR (High Dynamic Range) input/output
• Supports CEC bypass
• HDBaseT extends video, audio and data over a single Cat.6A/7 cable and
can reach distances up to 100m/328ft
• HDBaseT feature support: HD Video and Audio, Gigabit Ethernet, PoH (Tx
to Rx), Bi-directional audio (analog), and Control (bi-directional USB/IR/
RS-232 pass-through)
• 2 USB 2.0 Type-A device ports and 1 Micro USB host port
• Selectable HDMI audio extraction/analog audio bypass functionality
Note: HDMI audio extraction is only available with LPCM 2.0 sources.
• HDMI output functions as a local monitor (Transmitter only)
• Transmitter can supply PoH to the connected receiver
• Receiver is powered directly via PoH from the connected transmitter
Note: A compatible PSE transmitter providing PoH is required to power
this receiver. Transmitters from other brands may not be compatible.

3
6. OPERATION CONTROLS AND FUNCTIONS
6.1 Front Panel (Transmitter)
LAN AUDIO IR
IN
OUT LR R PWRT
AUDIO
BYPASS
EXTRACT LINK
1 3 6 7 108
2
5
4 9
1LAN Port: Connect to Ethernet supporting devices or to your local
network, as appropriate, to extend the network to both ends of the
HDBaseT connection.
2AUDIO IN 3-pin Terminal Block: Connect to the analog audio output
of a device such as a media player or game console using a 3-pin
adapter cable. Audio is sent to the analog audio output on the connected
compatible receiver.
3AUDIO OUT 3-pin Terminal Block: Connect to powered speakers or
an amplier for analog audio output using a 3-pin adapter cable. Audio
is sourced from the analog audio input on the connected compatible
receiver.
4RS-232 4-pin Terminal Block: Connect to a PC, laptop, or serial
controllable device with a 4-pin adapter cable for the extension of
RS-232 signals between both ends of the HDBaseT connection.
5IR 4-pin Terminal Block (In/Out): Connect to both an IR Blaster and
Extender using a 4-pin Y-adapter cable to transmit and receive IR control
signals and extend them to devices connected to the other end of the
HDBaseT connection.
6USB 2.0 Ports (Type-A): Connect directly to a standard USB device
such as a mouse, keyboard, or ash drive to extend their USB
functionality to the currently active Micro-USB host port.
7AUDIO Button: Press this button to toggle the transmitter’s analog audio
stream source between the analog audio input (bypass) and the HDMI
input’s audio (extract).
Note: HDMI audio extraction is only available with LPCM 2.0 sources.
Pressing this button will also change the setting on the receiver.

4
8BYPASS & EXTRACT LEDs: These LEDs will illuminate to indicate if
the unit is in audio bypass or extract mode.
9POWER LED: This LED will illuminate to indicate the unit is on and
receiving power.
10 LINK LED: This LED will illuminate solidly when a live connection with a
compatible receiver is active.
6.2 Rear Panel (Transmitter)
DC24V 2.7A USB HDMI OUTHDMI INCAT6A/7 OUT
1 2 4 53
1DC 24V Port: Plug the 24V DC power adapter into this port and connect
it to an AC wall outlet for power.
2USB 2.0 Port (Micro-B): Connect directly to a standard USB host
such as a PC or laptop to extend their USB functionality to all currently
connected USB devices on both ends of the HDBaseT connection.
Note: If USB hosts are connected to both the transmitter and receiver at
the same time, only the most recently connected host will be active.
3CAT6A/7 OUT Port: Connect to a compatible HDBaseT receiver with a
single Cat.6A/7 cable for extension of all data signals. PoH will also be
supplied to a connected compatible PD receiver.
Note: The PoH function is designed for powering compatible receiver
units only. Non-PoH receivers will need their own power supply.
Receivers from other brands may not be compatible.
4HDMI IN Port: Connect to HDMI source equipment such as a media
player, game console, or set-top box.
5HDMI OUT port: Connect to an HDMI TV, monitor, or amplier for digital
video and audio output.

5
6.3 Front Panel (Receiver)
LAN AUDIO IR
IN
OUT LR R PWRT
AUDIO
BYPASS
EXTRACT LINK
1 3 6 7 108
2
5
4 9
1LAN Port: Connect to Ethernet supporting devices or to your local
network, as appropriate, to extend the network to both ends of the
HDBaseT connection.
2AUDIO IN 3-pin Terminal Block: Connect to the analog audio output
of a device such as a media player or game console using a 3-pin
adapter cable. Audio is sent to the analog audio output on the connected
compatible receiver.
3AUDIO OUT 3-pin Terminal Block: Connect to powered speakers or
an amplier for analog audio output using a 3-pin adapter cable. Audio
is sourced from the analog audio input on the connected compatible
receiver.
4RS-232 4-pin Terminal Block: Connect to a PC, laptop, or serial
controllable device with a 4-pin adapter cable for the extension of
RS-232 signals between both ends of the HDBaseT connection.
5IR 4-pin Terminal Block (In/Out): Connect to both an IR Blaster and
Extender using a 4-pin Y-adapter cable to transmit and receive IR control
signals and extend them to devices connected to the other end of the
HDBaseT connection.
6USB 2.0 Ports (Type-A): Connect directly to a standard USB device
such as a mouse, keyboard, or ash drive to extend their USB
functionality to the currently active Micro-USB host port.
7AUDIO Button: Press this button to toggle the transmitter’s analog audio
stream source between the analog audio input (bypass) and the HDMI
input’s audio (extract).
Note: HDMI audio extraction is only available with LPCM 2.0 sources.
Pressing this button will also change the setting on the transmitter.
8BYPASS & EXTRACT LEDs: These LEDs will illuminate to indicate if
the unit is in audio bypass or extract mode.

6
9POWER LED: This LED will illuminate to indicate the unit is on and
receiving power.
10 LINK LED: This LED will illuminate solidly when a live connection with a
compatible receiver is active.
6.4 Rear Panel (Receiver)
USB HDMI OUTHDMI INCAT6A/7 IN
1 2 43
1USB 2.0 Port (Micro-B): Connect directly to a standard USB host
such as a PC or laptop to extend their USB functionality to all currently
connected USB devices on both ends of the HDBaseT connection.
Note: If USB hosts are connected to both the transmitter and receiver at
the same time, only the most recently connected host will be active.
2CAT6A/7 IN Port: Connect to a compatible HDBaseT transmitter with
a single Cat.6A/7 cable for extension of all data signals. Power via PoH
will also be supplied to this unit when connected to a compatible PSE
transmitter.
Note: A compatible PoH (PSE) transmitter is REQUIRED to power this
receiver.
3HDMI IN Port: Connect to HDMI source equipment such as a media
player, game console, or set-top box.
Note: If this HDMI input is connected, its video will automatically be
output over the local HDMI output, overriding any current HDBaseT video
source.
4HDMI OUT port: Connect to an HDMI TV, monitor, or amplier for digital
video and audio output.

7
6.5 RS-232 Pinout
1
2
3
4
GND
NC
TxD
RxD
4-pin
Terminal Block
6.6 IR Pinout
1
2
3
4
RxD
3.3V
TxD
GND
4-pin
Terminal Block
6.7 Audio Pinout
Stereo Audio Input Stereo Audio Output
1
2
3
GND
RIGHT
LEFT
3-pin Terminal Block
1
2
3
GND
RIGHT
LEFT
3-pin Terminal Block

8
7. CONNECTION DIAGRAM
LAN AUDIO IR
IN
OUT LR R PWRT
AUDIO
BYPASS
EXTRACT LINK
LAN AUDIO IR
IN
OUT LR R PWRT
AUDIO
BYPASS
EXTRACT LINK
DC24V 2.7A USB HDMI OUTHDMI INCAT6A/7 OUT
USB HDMI OUTHDMI INCAT6A/7 IN
7m3m 3m
60°
1.5m
60°
1.5m
60°
7m3m 3m
60°
Smart TV
Local Monitor
Serial Controlled
Device
Tower PCRouter
Power
Supply
Cat 6A/7
Cable
IR Input &
Output
IR Input &
Output
HDMI
Output
HDMI
Input
HDMI
Output Keyboard &
Mouse
LAN
LAN
RS-232
RS-232
USB
USB
USB
USB

9
8. SPECIFICATIONS
8.1 Technical Specications (Transmitter)
HDMI Bandwidth 18Gbps
HDBaseT Bandwidth 18Gbps
Input Ports 1×HDMI (Type-A)
1×Analog Stereo (3-pin Terminal Block)
Output Ports 1×HDBaseT (RJ-45)
1×HDMI (Type-A)
1×Analog Stereo (3-pin Terminal Block)
Pass-through Ports 1×IR In/Out (4-pin Terminal Block)
1×RS-232 (4-pin Terminal Block)
2×USB 2.0 (Type-A)
1×LAN (RJ-45)
Pass-through/Service Port 1×USB 2.0 (Micro-B)
IR Frequency 30 ~ 50kHz
(30 ~ 60kHz under ideal conditions)
Baud Rate Up to 115200
Power Supply 24V/2.7A DC
(US/EU standards, CE/FCC/UL certied)
ESD Protection (HBM) ±8kV (Air Discharge)
±4kV (Contact Discharge)
Dimensions (W×H×D) 128mm×25mm×108mm [Case Only]
128mm×25mm×112.5mm [All Inclusive]
Weight 400g
Chassis Material Metal (Steel)
Chassis Color Black
Operating Temperature 0˚C – 50˚C/32˚F – 122˚F
Storage Temperature -20˚C – 60˚C/-4˚F – 140˚F
Relative Humidity 20 – 90% RH (Non-condensing)
Power Consumption 12W

10
8.2 Technical Specications (Receiver)
HDMI Bandwidth 18Gbps
HDBaseT Bandwidth 18Gbps
Input Ports 1×HDBaseT (RJ-45)
1×HDMI (Type-A)
1×Analog Stereo (3-pin Terminal Block)
Output Ports 1×HDMI (Type-A)
1×Analog Stereo (3-pin Terminal Block)
Pass-through Ports 1×IR In/Out (4-pin Terminal Block)
1×RS-232 (4-pin Terminal Block)
2×USB 2.0 (Type-A)
1×LAN (RJ-45)
Pass-through/Service Port 1×USB 2.0 (Micro-B)
IR Frequency 30 ~ 50kHz
(30 ~ 60kHz under ideal conditions)
Baud Rate Up to 115200
Power Supply PoH (from Tx)
ESD Protection (HBM) ±8kV (Air Discharge)
±4kV (Contact Discharge)
Dimensions (W×H×D) 128mm×25mm×108mm [Case Only]
128mm×25mm×112.5mm [All Inclusive]
Weight 390g
Chassis Material Metal (Steel)
Chassis Color Black
Operating Temperature 0˚C – 50˚C/32˚F – 122˚F
Storage Temperature -20˚C – 60˚C/-4˚F – 140˚F
Relative Humidity 20 – 90% RH (Non-condensing)
Power Consumption 14W

11
8.3 Video Specications
Supported Resolutions (Hz)
Input Output
HDMI HDBT HDMI HDBT
720×400p@70/85
640×480p@60/72/75/85
720×480i@60
720×480p@60
720×576i@50
720×576p@50
800×600p@56/60/72/75/85
848×480p@60
1024×768p@60/70/75/85
1152×864p@75
1280×720p@50/60
1280×768p@60/75/85
1280×800p@60/75/85
1280×960p@60/85
1280×1024p@60/75/85
1360×768p@60
1366×768p@60
1400×1050p@60
1440×900p@60/75
1600×900p@60RB
1600×1200p@60
1680×1050p@60
1920×1080i@50/60
1920×1080p@24/25/30
1920×1080p@50/60
1920×1200p@60RB

12
Supported Resolutions (Hz)
Input Output
HDMI HDBT HDMI HDBT
2560×1440p@60RB
2560×1600p@60RB
2048×1080p@24/25/30
2048×1080p@50/60
3840×2160p@24/25/30
3840×2160p@50/60 (4:2:0)
3840×2160p@24, HDR10
3840×2160p@50/60 (4:2:0),HDR10
3840×2160p@50/60
4096×2160p@24/25/30
4096×2160p@50/60 (4:2:0)
4096×2160p@24, HDR10
4096×2160p@50/60 (4:2:0),HDR10
4096×2160p@50/60

13
8.4 Audio Specications
8.4.1 Digital Audio
HDMI & HDBaseT Input / Output
LPCM
Max Channels 8 Channels
Sampling Rate (kHz) 32, 44.1, 48, 88.2, 96, 176.4, 192
Bitstream
Supported Formats Standard & High-Denition
8.4.2 Analog Audio
Analog Input
Max Audio Level 2Vrms
Impedance 10kΩ
Type Unbalanced
Analog Output
Max Audio Level 2Vrms
THD+N < −80dB@0dBFS 1kHz (A-wt)
SNR > 93dB@0dBFS
Frequency Response < ±0.5dB@20Hz~20kHz
Crosstalk < −71dB@10kHz
Impedance 500Ω
Type Unbalanced

14
8.5 Cable Specications
Cable Length
1080p 4K30 4K60
8-bit 12-bit
(4:4:4)
8-bit
(4:4:4)
8-bit
High Speed HDMI Cable
HDMI Input 10m 10m 5m 3m
HDMI Output 10m 10m 5m 3m
Ethernet Cable
Cat.5e/6 40m
Cat.6A/7 100m
Bandwidth Category Examples:
• 1080p (FHD Video)
- Up to 1080p@60Hz, 12-bit color
- Data rates lower than 5.3Gbps or below 225MHz TMDS clock
• 4K30 (4K UHD Video)
- 4K@24/25/30Hz & 4K@50/60Hz (4:2:0), 8-bit color
- Data rates higher than 5.3Gbps or above 225MHz TMDS clock but
below 10.2Gbps
• 4K60 (4K UHD+Video)
- 4K@50/60Hz (4:4:4, 8-bit)
- 4K@50/60Hz (4:2:0, 10-bit HDR)
- Data rates higher than 10.2Gbps

15
8.6 HDBaseT Features
HDBaseT Feature Set Transmitter
Video & Audio Extension Supported
LAN Extension Supported
Send power to Receiver Supported (PoH)
Accept power from Receiver Unsupported
IR Extension Supported
RS-232 Extension Supported
USB 2.0 Extension Supported
HDBaseT Feature Set Receiver
Video & Audio Extension Supported
LAN Extension Supported
Send power to Transmitter Unsupported
Accept power from Transmitter Supported (PoH)
IR Extension Supported
RS-232 Extension Supported
USB 2.0 Extension Supported
This manual suits for next models
1
Table of contents
Other CYP Receiver manuals

CYP
CYP PU-515PL-WPRX User manual

CYP
CYP CH-2535TX User manual

CYP
CYP PU-DVI1109TX User manual

CYP
CYP CH-107 RX User manual

CYP
CYP CH-103Rx User manual

CYP
CYP PUV-1650TX User manual

CYP
CYP CH-1106TX & RX User manual

CYP
CYP PUV-1830RX-AVLC User manual

CYP
CYP CA-HDMI250R User manual

CYP
CYP PU-606PLBD-TX User manual