ТеперьвключитесветодиоднуювспышкудлявидеосъемкиLED170Videolightспомощьюпереключателявкл./выкл.Кнопкадля
приглушениямощностипозволяетприглушитьмощностьсветодиодовдожелаемогоуровня.Привключениивспышки,пожалуйста,
учтите, что светодиодам потребуется несколько секунд, чтобы достичь своей полной мощности.
Примечания:
• Пожалуйста,всегдаиспользуйтебатареипитанияодноготипа,брендаимощности.
• Неиспользуйтеодновременнонеперезаряжаемыебатареипитанияиаккумуляторы.
• Есливынесобираетесьиспользоватьсветодиоднуювспышкудлявидеосъемки
Ultra 170 LED Video light в течение длительного времени, извлеките батареи питания.
4. Время работы с батареями питания / Проверка уровня заряда батарей питания
Прииспользованиис6новыми,качественнымибатареямипитанияразмераAA(например,отPanasonic),светодиоднаявспышка
Ultra126LEDбудетработатьнаполнуюмощностьпримерно4часа,азатемещепримерно2часасболеенизкоймощностью.При
использованиилитий-ионныхаккумулятороввремяработыбудетотличатьсянезначительно.Уровеньзарядабатарейпитания
можнопроверитьнажатиемкнопкитеста.Есливсе4светодиодагорят,батареиновыеиможноработатьсосветодиодами,
используяихнаполнуюмощность.Когдазагораются1,2или3светодиода,светодиоднаявспышкаможетработатьпри
пониженноймощности.Есливамтребуетсяосвещениенаполнуюмощность,заменитебатареипитанияилииспользуемыйлитий-
ионный аккумулятор.
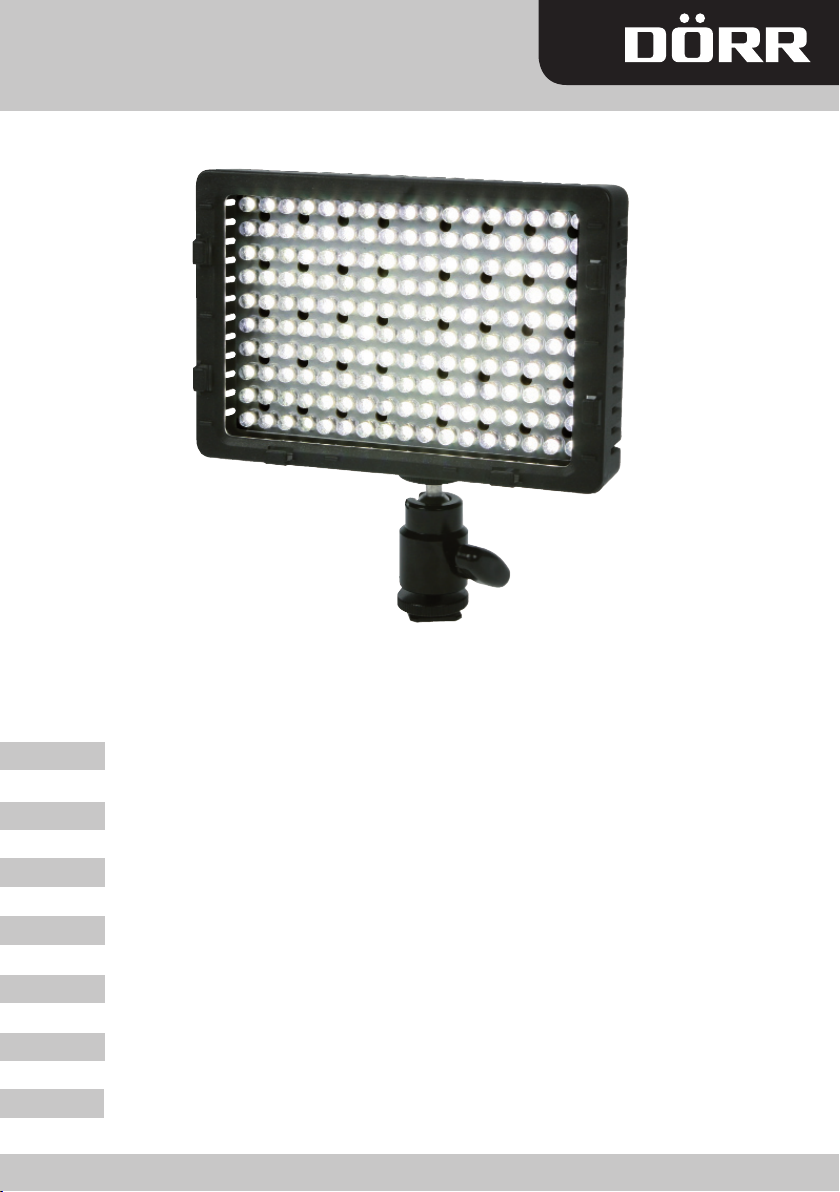
5. Установка светодиодной вспышки LED 170 на камеру или камкордер
Продвиньтепяткусветодиоднойпанелинагорячийбашмакдлявспышкинавашейкамереиликамкордере.Кактольковспышка
будетпрочноустановлена,выможетеотрегулироватьуголнаклонасвета,смещаяШароваяголовкавнужноеположение.Теперь
включитевашукамеру/камкордеривключитесветодиоднуювспышку.Выможетеначинатьфотоиливидеосъемку.
7. Технические характеристики
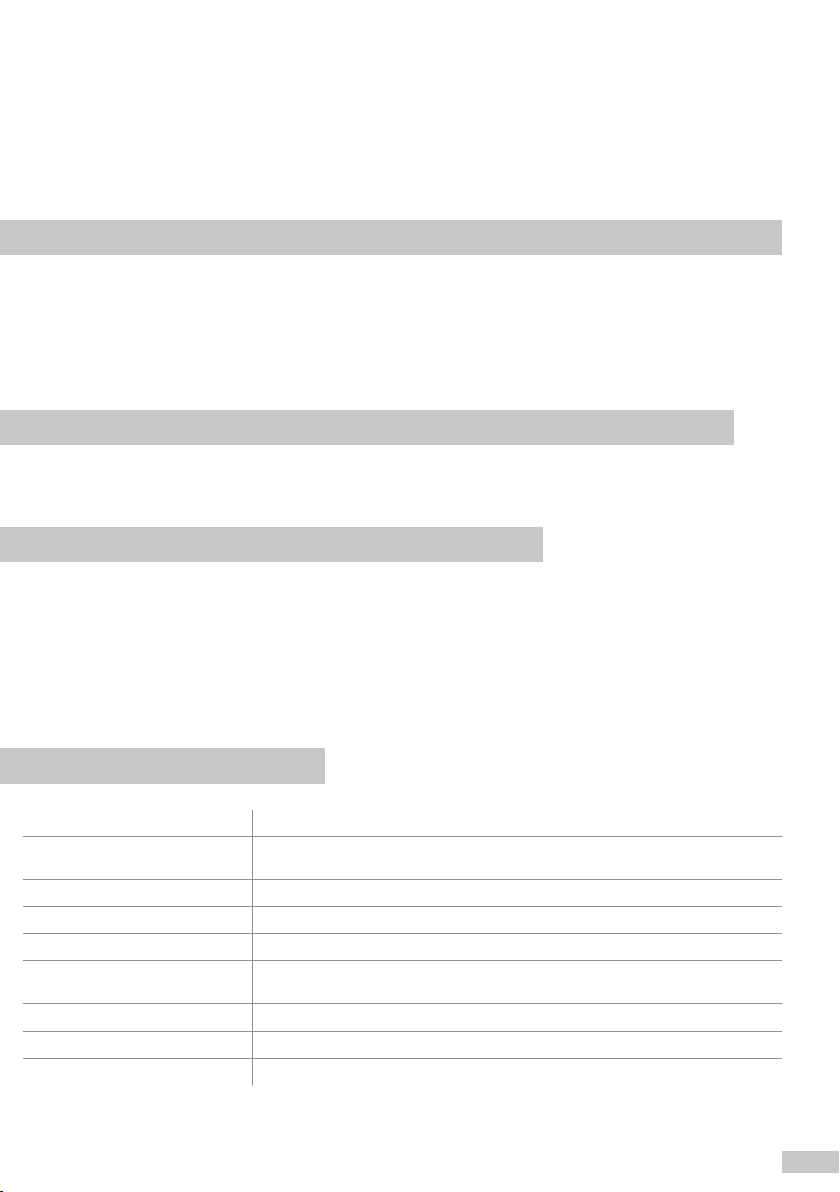
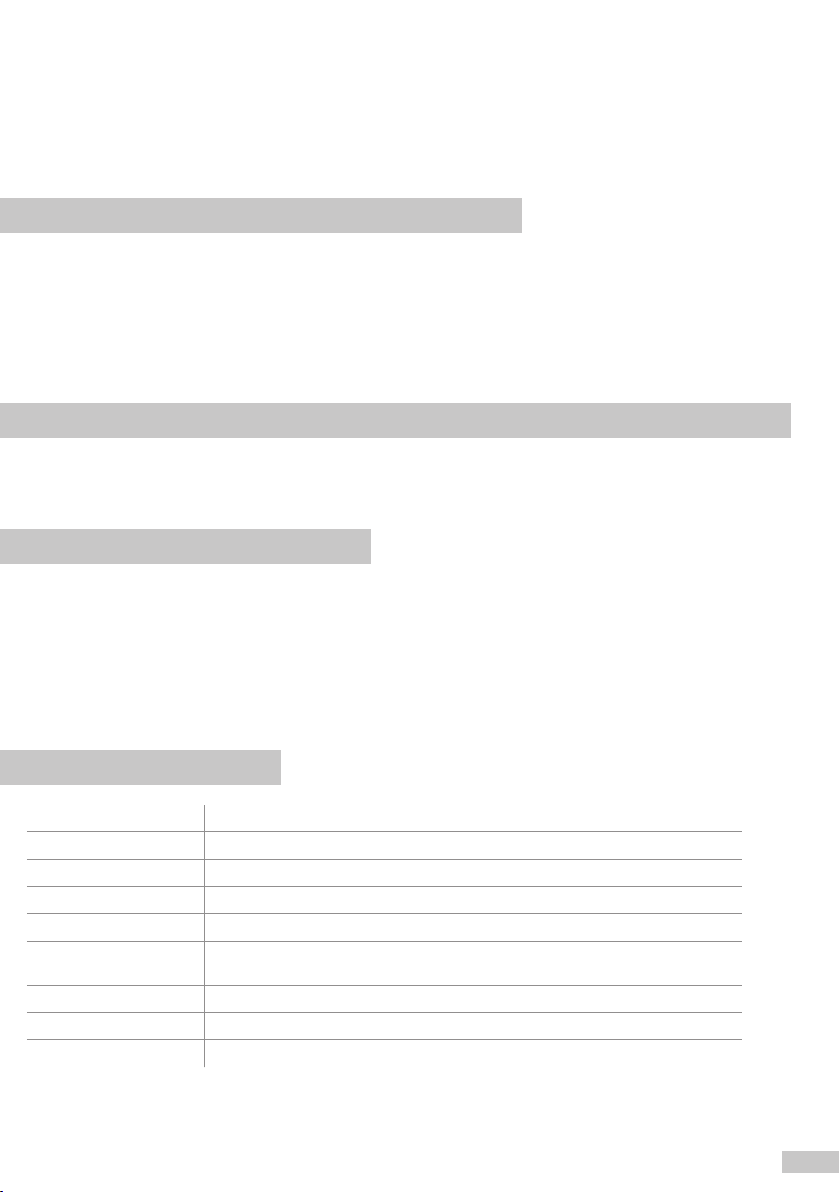
6. Использование входящих в комплект рассеивателей
СветодиоднаявспышкаUltra170LEDобеспечиваетнейтральноедневноеосвещениесцветовойтемпературойпримерно5.400°K.
Есливамтребуетсяболеемягкоеосвещение,выможетеприсоединитьвходящийвкомплектбелыйрассеивательккреплению
передсветодиодами.Есливамнужноболеетеплоеосвещение,используйтежелтыйрассеиватель.Онобеспечиваетцветовую
температурупримерно3.200°K.Дополнительныесветовыеэффектывозможныприиспользованиифильтроврозовогоцвета
«зеленый-минус»(длякомпенсацииизбытказеленого).Прииспользованиирассеивателей,проверьте,чтобыбалансбелогона
вашейкамеребылпереключеннаручнойрежим.Болееподробнуюинформацию,пожалуйста,см.вруководствепользователя
вашей камеры.
Примечания:
• Воизбежаниеполученияразмытыхизображений,мырекомендуемвамиспользоватьштатив.
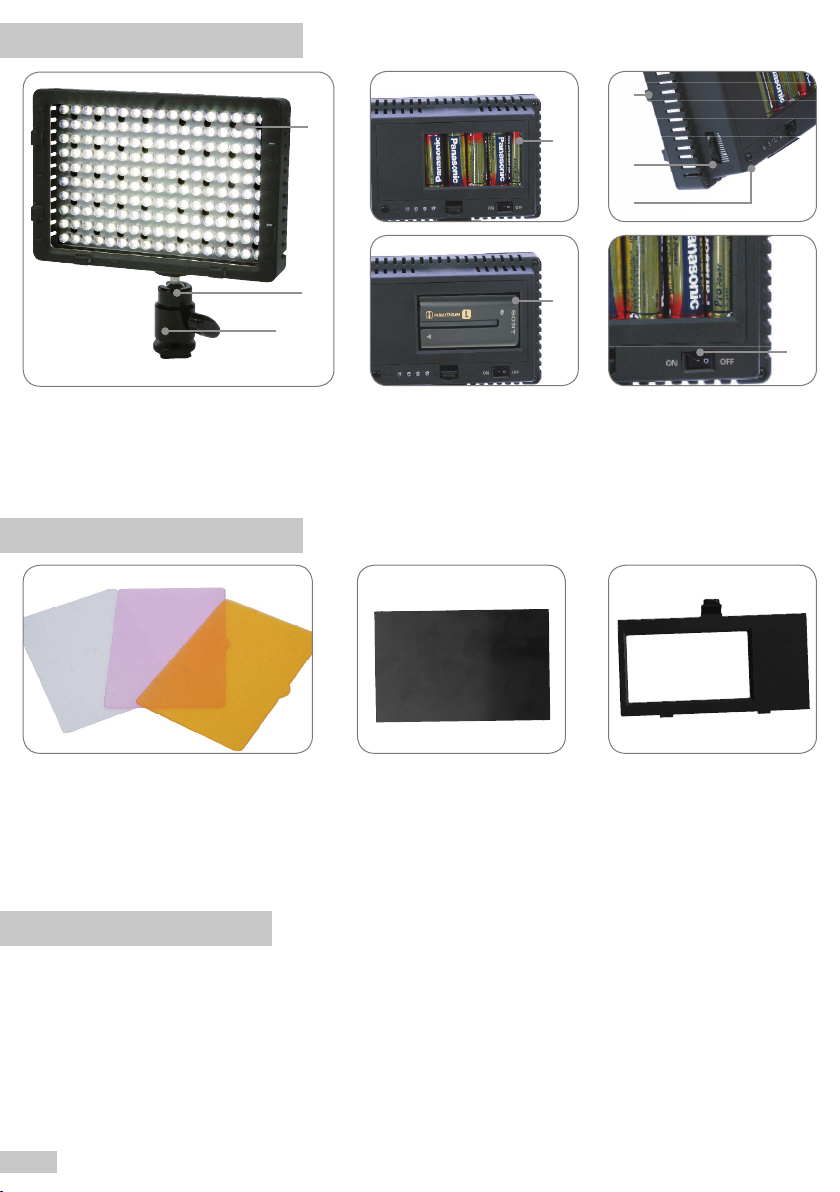
6. Держатель рассеивателя
7. Кнопка для приглушения мощности светодиодов
8. Кнопка теста и светодиоды для контроля заряда
батарей питания
9. Переключатель вкл./выкл
Подходит для фотокамер и камкордеров
Интенсивность света примерно 1200 лк/1м в диапазоне полной мощности (в зависимости от
источника питания)
Регулировка диапазона мощности от 10 до 100 %
Срокэксплуатациисветодиодов примерно 50.000 ч
Цветовая температура примерно 5.400 °K (дневной свет)
Источник питания батареи питания размера АА или литий-ионные аккумуляторы
Panasonic SD, Sony F, FM или FH серий 6 x 1,5В (не входят в комплект)
Размеры 141 x 62 x 150 MM
Вес примерно 240 г (без батарей питания)
В комплектацию входит: Светодиоднаяпанель,3рассеивателя,2держателядлябатарейпитания
Техническиехарактеристикимогутбытьизмененыбезпредварительногоуведомления. 7.