manuals.online logo
Brands
  1. Home
  2. •
  3. Brands
  4. •
  5. Dahua
  6. •
  7. Switch
  8. •
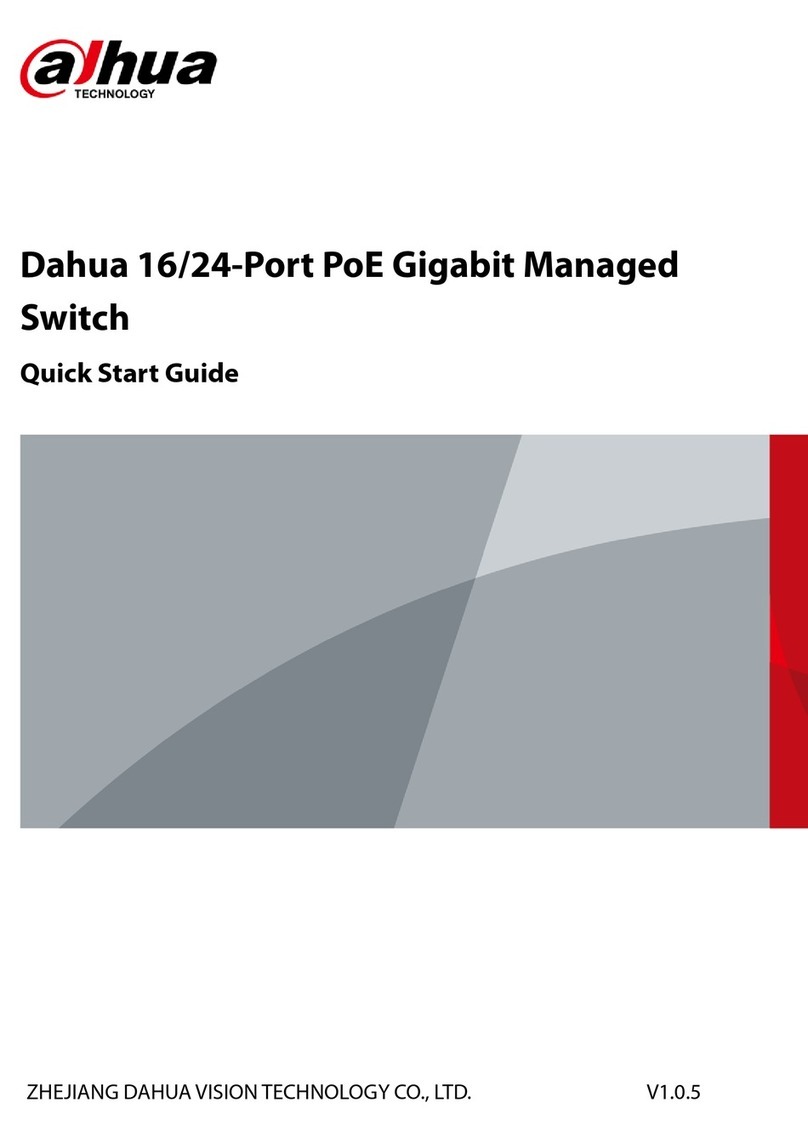
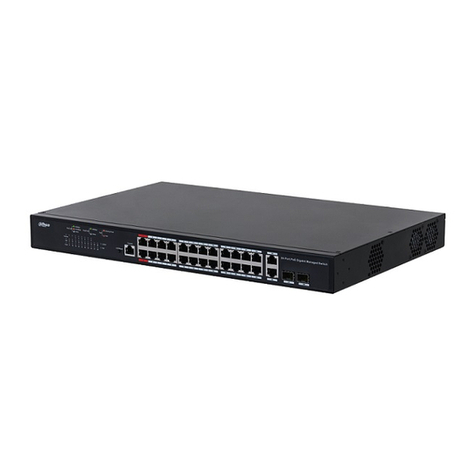
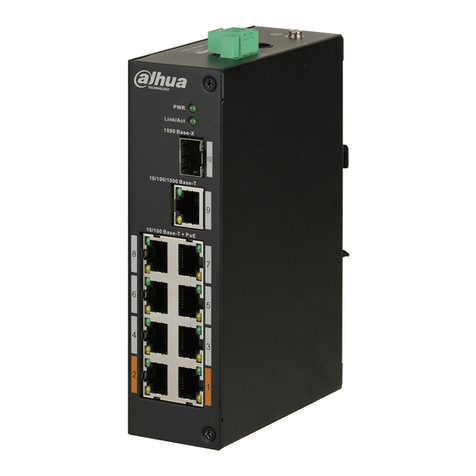
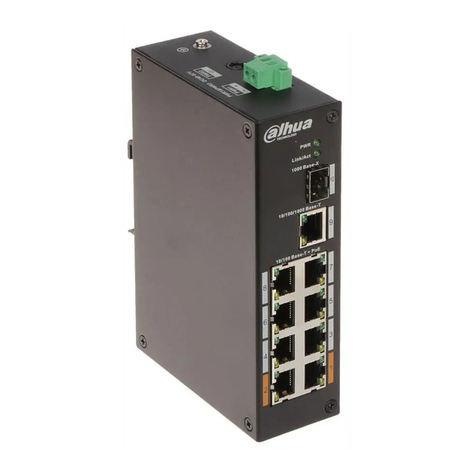
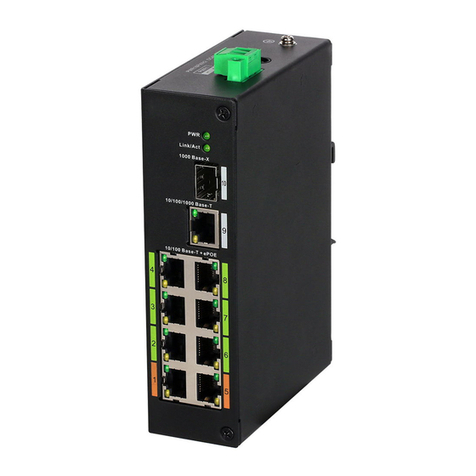
  9. Dahua SERIES Operating and maintenance manual

Dahua SERIES Operating and maintenance manual

No installation tools are provided with the switch. Prepare them yourself as required.
1
Installation tools
Safety recommendations
To avoid any equipment damage or bodily injury during installation, read the following safety
recommendations carefully before installation. Note that the recommendations do not cover
every possible hazardous condition.
!Make sure the environmental conditions such as voltage, temperature, and humidity at the installation
site meet the device requirements.
Make sure the installation site is well-ventilated. Keep the air vents of the switch free of obstruction
during switch operation.
Place the switch in a location away from the interference sources.
Wear an ESD wrist strap during the installation. Make sure the wrist strap makes good skin contact
and is reliably grounded.
To avoid body injury and device damage, power on the switch after the switch is reliably grounded.
Install a filler panel in each unused slot to ensure good ventilation.
Installation accessories
The applicable installation accessories vary by switch model. The packing list describes the
accessories provided with the switch. For the accessories not provided with the switch, purchase
them yourself as required.
To rack-mount a switch not provided with mounting brackets, purchase mounting brackets from
Dahua.
Mounting the switch in a rack
Using front mounting brackets
1
!This installation method is not applicable to a switch provided with both front and rear mounting
brackets.
The applicable front mounting brackets and the installation positions for the brackets vary by switch
model. Select an installation position for the mounting brackets as required.
A Type A front mounting bracket requires four screws to attach to the switch. A Type B, Type C,
or Type D mounting bracket requires two screws to attach to the switch.
Attach the front mounting brackets to the switch
BOM: 3101A0N9
Dahua Switch Series Installation Quick Start-APW100
Product code:
SOHO-SWITCH-FL-02
Attach a Type B front
mounting bracket near the
port side
Attach a Type A front mounting
bracket near the power module
side
Attach a Type A front
mounting bracket near the port
side
2
Phillips screwdriver Diagonal pliers Needle-nose pliers Wire stripper
ESD wrist strap Marker Rubber hammer
Hammerdrill
Cable tieGrounding cableM6 screw and cage nut Rubber feet
Screw anchor
and screw
Rear mounting bracket
and shoulder screw
Type A front mounting
bracket and screw
Type B front mounting
bracket and screw
Type C front mounting
bracket and screw
Type D front mounting
bracket and screw
Product code:
SOHO-SWITCH-FL-01
Dahua Switch Series Installation Quick Start-APW100
Using front and rear mounting brackets
!This installation method is applicable to switch models that are provided with front and rear mounting
brackets.
You can install the front mounting brackets near the port side or power side of the switch as needed.
(This section describes installation near the port side. The installation near the power module is
similar.)
The rear mounting brackets support wide-spacing installation and narrow-spacing installation. For
a switch with a depth of 360 mm (14.17 in), wide-spacing installation is applicable to a rack with a
depth in the range of 327 to 494 mm (12.87 to 19.45 in), and narrow-spacing installation is
applicable to a rack with a depth in the range of 172 to 339 mm (6.77 to 13.35 in). For a switch
with a depth of 460 mm (18.11 in), wide-spacing installation is applicable to a rack with a depth in
the range of 429 to 595 mm (16.89 to 23.43 in), and narrow-spacing installation is applicable to a
rack with a depth in the range of 274 to 440 mm (10.79 to 17.32 in). For narrow-spacing
installation, make sure the distance between the rear rack posts and the inside surface of the
cabinet door is greater than 153 mm (6.02 in).
2
Mount the switch in a rack
4
3
Install cage nuts
Install cage nutsAttach the front mounting brackets and the shoulder screws to
the switch
1U
Mounting the switch on a workbench
Attach the rubber feet to the switch bottom
1 2
Narrow-spacing installation
1U
Attach the rear mounting brackets to the rack and rack mount the switch
Wide-spacing installation
Only switches that have two cross-shaped mounting holes in the bottom and come with screws of 20
mm (0.79 in) and screw anchors support wall mounting.
To avoid bodily injury, check the wall for the presence of electrical wires before drilling holes in the
wall.
Reserve a minimum clearance of 10 cm (3.94 in) around the switch for heat dissipation.
Installing the switch on a wall
Attach a Type D front mounting
bracket near the port side
Attach a Type C front mounting
bracket near the port side
Attach the shoulder
screw to one of the two
installation positions
5
Drill two holes with a diameter of 6 mm (0.24 in) and depth of 25 mm (0.98 in) in the wall.
Hammer a screw anchor into each hole. Use a Phillips screwdriver to drive the screw into
each screw anchor, leaving 1.5 mm (0.06 in) between the screw head and the wall for
hanging the switch.
Mounttheswitchonthewall. Makesuretheswitchportsidefacesdownwardsandtheleft
andrightsidesareperpendiculartotheground.
Connecting the grounding cable
Correctly connecting the grounding cable is crucial to lightning protection and EMI protection. Use the
grounding cable provided with the switch for grounding.
1 3
1.5 mm
(0.06 in)
25 mm
(0.98 in)
Connect the grounding cable to the switch Connect the grounding cable to a grounding strip
Connecting the power cord
For switch models with removable power modules, make sure the power modules are installed
correctly before connecting a power cord.
Before connecting the power cord, make sure the switch is reliably grounded.
To avoid bodily injury, connect the power cord first to the switch and then to the equipment-room
power supply system.
The number of cable ties and installation positions of the cable ties (if provided) depend on the
switch model.
The power cord varies by power module. Do not mix power cords.
1
Method 1
6
Installing a power module
Remove a filler panel (skip this step if no filler panel is in the power module slot)
This section is applicable only to switch models that use removable power modules.
Mark the installation holes on the wall. Make
sure the two installation holes are on the same
horizontal line
Measure the distance between the
two cross-shaped mounting holes.
2
2
7
Starting the switch
2
Before powering on the switch, make sure the power cord is correctly connected to the external
power supply system that supplies power normally and the console cable is correctly connected.
After the switch is powered on, identify whether the switch is operating correctly by observing the
LED status. For more information about LEDs, see LEDs in the installation guide for the switch.
Copyright © 2021, Zhejiang Dahua Technologies Co., Ltd.
The information in this document is subject to change without notice.
To obtain more information, access the Dahua official website at www.dahuatech.com
Accessing the switch for the first time
Connecting the console cable for the switch
1
To access the switch for the first time, you can use a console cable to connect the console port or
micro USB console port on the switch to a configuration terminal. Some devices support HTTP or
HTTPS login by default. Users can use the default login information to log in to the Web interface
of these devices through HTTP or HTTPS. The following figure connects the console port of the
switch to a configuration terminal.
Method 3
12 3
Method 2
12 3

This manual suits for next models

1

Other Dahua Switch manuals

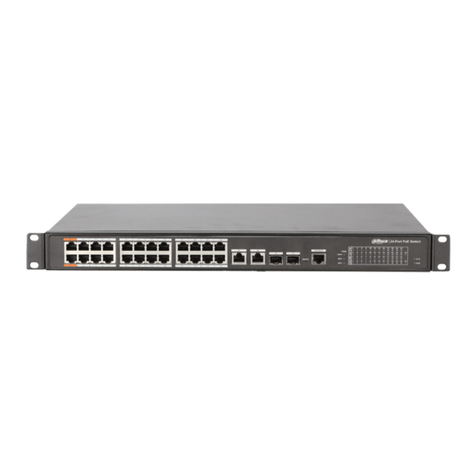
Dahua DH-PFS4226-24GT2GF-360 User manual

Dahua

Dahua DH-PFS4226-24GT2GF-360 User manual

Dahua DH-PFLR2110-8ET-120 User manual

Dahua

Dahua DH-PFLR2110-8ET-120 User manual

Dahua DH-PFS4420-16GT-240 User manual

Dahua

Dahua DH-PFS4420-16GT-240 User manual

Dahua DH-PFM889 Series Installation guide

Dahua

Dahua DH-PFM889 Series Installation guide

Dahua PFS3228-24GT-360 User manual

Dahua

Dahua PFS3228-24GT-360 User manual

Dahua D-PFS4226-24ET-240 User manual

Dahua

Dahua D-PFS4226-24ET-240 User manual

Dahua DH-PFS3008-8GT-96 User manual

Dahua

Dahua DH-PFS3008-8GT-96 User manual

Dahua DH-PFS3110-8ET-96 User manual

Dahua

Dahua DH-PFS3110-8ET-96 User manual

Dahua DHI-VTNS1001B-2 User manual

Dahua

Dahua DHI-VTNS1001B-2 User manual

Dahua PFS4307-4ET-96 User manual

Dahua

Dahua PFS4307-4ET-96 User manual

Dahua D-PFS4226-24ET-240 User manual

Dahua

Dahua D-PFS4226-24ET-240 User manual

Dahua PFS3106-4P-60 User manual

Dahua

Dahua PFS3106-4P-60 User manual

Dahua VTNS1006A-2 User manual

Dahua

Dahua VTNS1006A-2 User manual

Dahua DH-PFS6428-24T Instruction sheet

Dahua

Dahua DH-PFS6428-24T Instruction sheet

Dahua DH-PFS3006-4ET-60 User manual

Dahua

Dahua DH-PFS3006-4ET-60 User manual

Dahua 28DH-PFS4218-16ET-190-V3 User manual

Dahua

Dahua 28DH-PFS4218-16ET-190-V3 User manual

Dahua DH-PFS3010-8ET-96 User manual

Dahua

Dahua DH-PFS3010-8ET-96 User manual

Dahua DHI-ARA3000H-FW2 User manual

Dahua

Dahua DHI-ARA3000H-FW2 User manual

Dahua DH-PFL2106-4ET-96 User manual

Dahua

Dahua DH-PFL2106-4ET-96 User manual

Dahua H1 User manual

Dahua

Dahua H1 User manual

Dahua MJHJ4P User manual

Dahua

Dahua MJHJ4P User manual

Dahua PFS3125-24ET-190 User manual

Dahua

Dahua PFS3125-24ET-190 User manual

Dahua DH-PFS4212-8GT-96 User manual

Dahua

Dahua DH-PFS4212-8GT-96 User manual

Dahua D-PFS4226-24GT-230 User manual

Dahua

Dahua D-PFS4226-24GT-230 User manual

Popular Switch manuals by other brands

Minicom 0SU52016 Quick installation guide

Minicom

Minicom 0SU52016 Quick installation guide

Siemens 3WN Series operating instructions

Siemens

Siemens 3WN Series operating instructions

BestCon RM4C pro S Quick setup guide

BestCon

BestCon RM4C pro S Quick setup guide

Alcatel-Lucent 1850 TSS-3 brochure

Alcatel-Lucent

Alcatel-Lucent 1850 TSS-3 brochure

ABB 3292U-A00003 Instructions for installation and use

ABB

ABB 3292U-A00003 Instructions for installation and use

Altinex MX2436RM user guide

Altinex

Altinex MX2436RM user guide

Cisco IGX 8 Specification sheet

Cisco

Cisco IGX 8 Specification sheet

Huawei NE05E Quick installation guide

Huawei

Huawei NE05E Quick installation guide

Moxa Technologies EtherDevice EDS-P206A-4PoE Series Hardware installation guide

Moxa Technologies

Moxa Technologies EtherDevice EDS-P206A-4PoE Series Hardware installation guide

Icy Box IB-HUB1700-C3 Quick installation guide

Icy Box

Icy Box IB-HUB1700-C3 Quick installation guide

TRENDnet TPE-30102WS user guide

TRENDnet

TRENDnet TPE-30102WS user guide

Lenovo RackSwitch G8272 installation guide

Lenovo

Lenovo RackSwitch G8272 installation guide

CyberPower CP-H420MP quick start guide

CyberPower

CyberPower CP-H420MP quick start guide

Crestron HD-TX-301-C-E Do guide

Crestron

Crestron HD-TX-301-C-E Do guide

Marantz VS3002 user guide

Marantz

Marantz VS3002 user guide

WolfPack HDTV-401MS user manual

WolfPack

WolfPack HDTV-401MS user manual

Pulsar PSB1002435 quick guide

Pulsar

Pulsar PSB1002435 quick guide

Swegon TBLZ-1-81-1 installation instructions

Swegon

Swegon TBLZ-1-81-1 installation instructions

manuals.online logo
manuals.online logoBrands
  • About & Mission
  • Contact us
  • Privacy Policy
  • Terms and Conditions

Copyright 2025 Manuals.Online. All Rights Reserved.