manuals.online logo
Brands
  1. Home
  2. •
  3. Brands
  4. •
  5. DARCHE
  6. •
  7. Tent
  8. •
  9. DARCHE ECLIPSE CUBE T050801084 User manual

DARCHE ECLIPSE CUBE T050801084 User manual

DARCHE.COM.AU
INSTRUCTION MANUAL
T050801084
ECLIPSE CUBE
SHOWER TENT
2
INSTRUCTION MANUAL
CONTENTS
• 1 x Eclipse Cube Shower Tent with transit cover
• 1 x Shower tent roof
• 2 x L-mounting brackets
• 2 x Steel clamp plates
• 1 x 13mm spanner
• 4 x M8 x 55mm hex head bolts
• 4 x M8 x 20mm hex head bolts
• 8 x M8 washers
• 8 x M8 nyloc nuts
• 4 x Steel pegs
• 1 x Shower head holder
• 1 x Elastic cord towel hanger with clips
• 1 x Accessory storage bag
WARNING
Keep all flame and heat sources away from the Shower Tent.
DARCHE® recommends fixing all peg points at all times when
Shower Tent is in use.
Ensure sucient fall for water run-o is provided.
Avoid using this Shower Tent in extreme weather conditions.
BEFORE INSTALLATION AND USE PLEASE READ THE INSTRUCTIONS AND WARNINGS CAREFULLY
Should you have any questions or require assistance, please contact your DARCHE® retailer or call our customer
service line: 1300 367 695
Familiarise yourself with the product. We recommend that you unpack and set up your Eclipse Cube Shower Tent at
home before use.
Damage from incorrect set up or use is not covered under general warranty.
Inspections: During trips regularly check that all nuts and bolts attaching your Eclipse Cube Shower Tent to your
vehicle are tight and in good condition.
SCAN TO WATCH
THE VIDEO
DARCHE.COM.AU
ATTACHING SHOWER TENT TO L-MOUNTING BRACKETS
It is recommended that the Eclipse Cube Shower Tent is set up with two people. DARCHE® recommends using an
experienced after-market 4x4 accessories fitter to mount the Shower Tent to your vehicle. Fasteners and fixing
connections should be checked regularly on both the Shower Tent and roof rack to ensure the Shower Tent is always
mounted securely to your vehicle roof rack.
IMPORTANT!
PROLONGED TRAVEL ON UNEVEN, ROUGH OR CORRUGATED TERRAIN WILL REQUIRE MORE FREQUENT
INSPECTIONS.
STEP 1.
Remove the end cap on the channel and slide the
supplied 4 x M8 x 20mm (short bolts) into the grooves
located in the aluminium backing plate.
STEP 3.
Align Shower Tent into desired position and tighten.
STEP 2.
Position the L-mounting brackets onto the Shower Tent
using the short bolts.
STEP 4.
Recheck the tightness of nuts and bolts then attach the
end cap
4
INSTRUCTION MANUAL
ATTACHING BRACKET TO ROOF RACK
Your DARCHE® Eclipse Cube Shower Tent has been designed for a universal fit on most common roof rack and roof
bar systems. It is advisable that you contact the manufacturer of the roof rack or roof bar system on your vehicle for
the recommended attachments required for fitting this product. Some roof racks are designed to allow direct fitting
of the Shower Tent without the use of the L-mounting brackets.
The 2 x L-mounting brackets supplied are designed to attach to most roof rack and roof bar systems. This Shower
Tent also comes with 2 x steel clamp plates for installation to a roof bar system (if required).
DARCHE TAKES NO RESPONSIBILITY FOR THE FITMENT OF THE SHOWER TENT TO ANY VEHICLE OR ROOF RACK.
TIP: We recommend that you go for a short drive after attaching the Shower Tent to your vehicle, then recheck all
fasteners and fittings. Check the position of the Shower Tent and brackets and ensure the Shower Tent is secure and
adjust if necessary.
DARCHE.COM.AU
SHOWER TENT SET UP
STEP 1 - OPEN / UNZIP THE COVER
Unzip the transit cover and fold it back over the Shower Tent backing plate.
STEP 2 - RELEASE SHOWER TENT
Release the two outer hook and loop fasteners and unroll the shower tent walls.
STEP 3 - OPEN THE SIDE ARMS
Release the centre hook and loop fasteners that hold the side arms in place. Extend the left side arm until it locks
into place. Repeat with the right side arm until it locks into place.
6
INSTRUCTION MANUAL
SHOWER TENT SET UP
STEP 4 - SIDE STRAPS
Adjust the side straps on each of the side arms to the
required height.
STEP 5 - PEG OUT
Peg out the base of the shower tent walls at each of the
four corner points.
STEP 6 - TOWEL CORD
A towel cord can be attached inside the Shower Tent to
hang a towel.
TIP: In case of rain, remove the Shower Tent roof or completely pack away to ensure no water pooling or water build
up occurs.
STEP 8 - ATTACH THE ROOF
Unfold the Shower Tent roof and place over the arms, then connect each of the webbing loops at each corner to the
Shower Tent.
STEP 7 - SHOWER HEAD HOLDER
A shower head holder can be placed onto one of the
arms to secure a shower head.
DARCHE.COM.AU
SHOWER TENT PACK DOWN
1. Ensure Shower Tent is completely dry before storing.
2. Undo all pegs and pack into the storage bag.
3. Disconnect the roof webbing loops and roll up the roof.
4. Unlatch the right hand lock and swing the side arm
inwards. Ensure the hook and loop fasteners are
accessible.
5. Repeat for the left side arm, unlatch the lock and
rotate the side arm inwards.
6. Secure the arms with the middle hook and loop
fasteners.
7. Roll up the Shower Tent to the top, then position
over the arms and secure with the end hook and
loop fasteners.
8. Secure the rolled roof and peg bag in with hook and
loop fasteners.
9. Position the transit cover over the Shower Tent
then zip up to complete pack down.
STEP 9 - LED LIGHTSTRIP
An LED lightstrip may be supplied with this Shower Tent. This LED lightstrip comes with a USB connection that
requires an external power supply from a USB portable power bank (power bank not supplied).
Any alterations to this electrical system may cause a safety risk and will void the product warranty.
For exact lighting specifications and required outlet rating please refer to our website (www.darche.com.au),
orgetin touch with our customer service team (P: 1300 367 695, E: [email protected]).
• The light source of this luminaire is not replaceable; when the light source reaches its end of life the whole
luminaire shall be replaced.
• DO NOT use extension leads to power this light.
• Check the rating of the outlet before connecting the light to avoid a dangerous situation.
• ONLY connect this light to a suitably rated outlet.
• DO NOT stare at the light source as it may cause damage to your eyes.
• This light has been specially designed and should only be used with this product.
• Not suitable for use in any other application other than its intended purpose.
• Disconnect power supply to LED when not using Shower Tent.
INSTRUCTION MANUAL
Designed and tested in Australia for Australian conditions.
A brand by Charles Parsons.
Telephone 1300 367 695 l Email: [email protected]
75 Heyington Avenue, Thomastown VIC 3074, Australia.
DARCHE: LEADERS IN OUTDOOR DESIGN. PROUDLY AUSTRALIAN.
Due to our policy of continual product development,
the specifications, colours and features may vary.
DARCHE.COM.AU
V1-July 2021
CARE & STORAGE INSTRUCTIONS
1. Remove dirt with a soft brush and cold water after use.
2. Do not clean with soap, detergent, petrol, oil or solvents.
3. Ensure Shower Tent is completely dry before storing.
4. Correct storage is vital for the longevity of your Shower Tent. If on occasion the Shower Tent is required to be
stowed wet, it is essential it is unpacked and dried as soon as possible. Water damage, mildew damage and
incorrect storage is not covered under warranty.
5. The transit cover provides weatherproof protection from the elements while in transit. It is recommended that
you open your Shower Tent periodically between use to inspect the material and allow it to dry out.
6. If spot mould is visible, brush it o with a sti bristle nylon brush and vacuum the area to get rid of any residual spores.
STRUCTURAL INTEGRITY
This Shower Tent has been designed for general camping in normal conditions. Always ensure all pegs are anchored
correctly. It may be necessary to re-adjust pegs at times to maintain the structural integrity of the Shower Tent.
This Shower Tent is designed as a temporary shelter, not a permanent structure. Do not leave up for extended
periods and do not leave unattended.
To avoid the chance of personal injury and or property damage, DARCHE® recommends this Shower Tent should not
be erected or used in extreme weather conditions.
Your vehicle should not be moved while the Shower Tent is deployed.
Other DARCHE Tent manuals

DARCHE 270 FREESTANDING LED AWNING User manual

DARCHE

DARCHE 270 FREESTANDING LED AWNING User manual

DARCHE ECLIPSE 270 EC27-W1 User manual

DARCHE

DARCHE ECLIPSE 270 EC27-W1 User manual

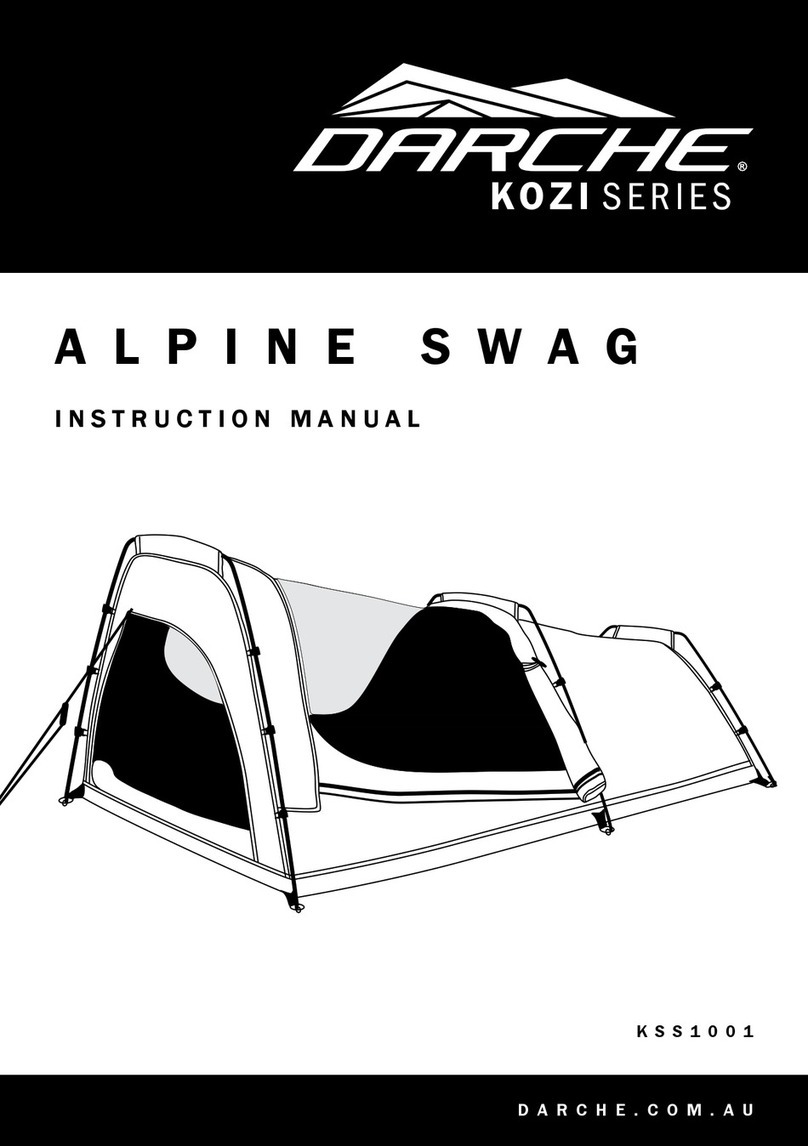
DARCHE kozi Series User manual

DARCHE

DARCHE kozi Series User manual

DARCHE NEBULA 1550 User manual

DARCHE

DARCHE NEBULA 1550 User manual

DARCHE ECLIPSE 180 Installation guide

DARCHE

DARCHE ECLIPSE 180 Installation guide

DARCHE RANGER SOLO + User manual

DARCHE

DARCHE RANGER SOLO + User manual

DARCHE KOZI Series User manual

DARCHE

DARCHE KOZI Series User manual

DARCHE ECLIPSE RETREAT ANNEX Installation guide

DARCHE

DARCHE ECLIPSE RETREAT ANNEX Installation guide

DARCHE AIR-VOLUTION AT-4 User manual

DARCHE

DARCHE AIR-VOLUTION AT-4 User manual

DARCHE Hi View 1400 User manual

DARCHE

DARCHE Hi View 1400 User manual

DARCHE NEBULA+ 1550 SWAG User manual

DARCHE

DARCHE NEBULA+ 1550 SWAG User manual

DARCHE DIRTY DEE+ User manual

DARCHE

DARCHE DIRTY DEE+ User manual

DARCHE ECO Series User manual

DARCHE

DARCHE ECO Series User manual

DARCHE ECLIPSE 270 Installation guide

DARCHE

DARCHE ECLIPSE 270 Installation guide

DARCHE T050801200A User manual

DARCHE

DARCHE T050801200A User manual

DARCHE KOZI Series User manual

DARCHE

DARCHE KOZI Series User manual

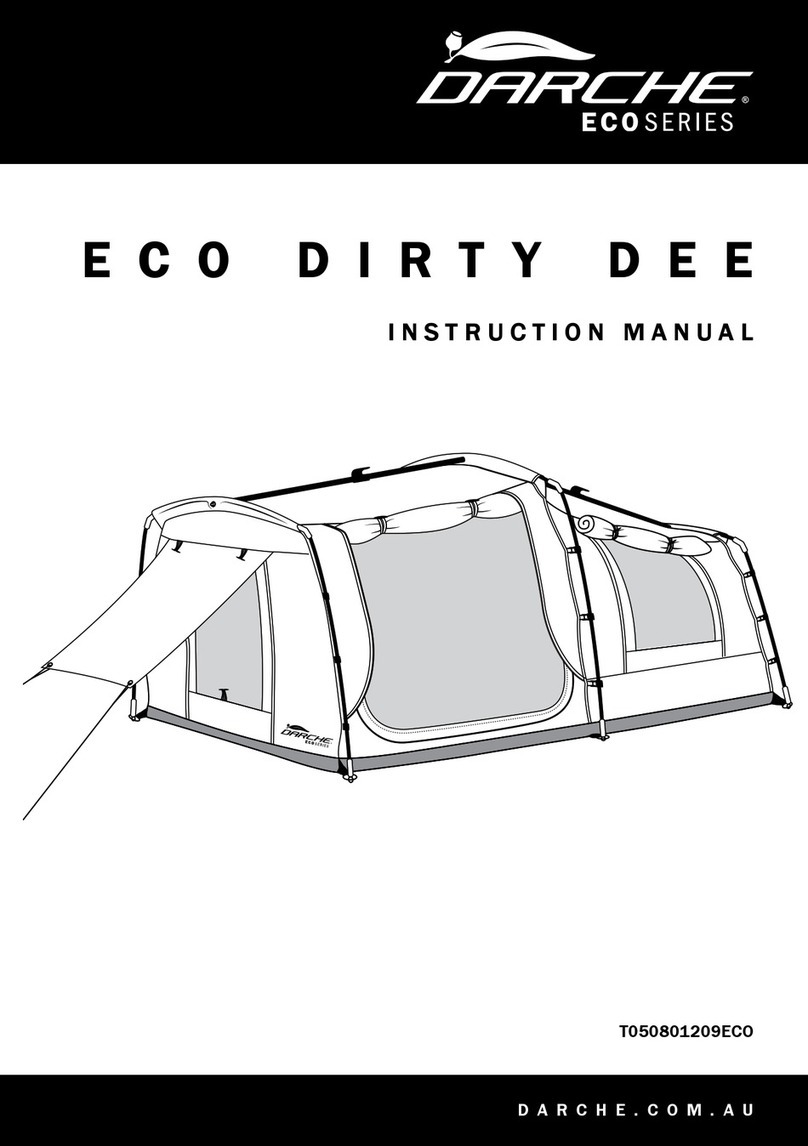
DARCHE DIRTY DEE User manual

DARCHE

DARCHE DIRTY DEE User manual

Popular Tent manuals by other brands

Snow Peak Amenity Dome M instruction manual

Snow Peak

Snow Peak Amenity Dome M instruction manual

Extreme Canopy X5 RANGE Instructions & care guide

Extreme Canopy

Extreme Canopy X5 RANGE Instructions & care guide

SunnyTent Oval manual

SunnyTent

SunnyTent Oval manual

Tentipi Safirflex Nordic tipi manual

Tentipi

Tentipi Safirflex Nordic tipi manual

Clam Command Post 8334 manual

Clam

Clam Command Post 8334 manual

Glasdon ECLIPSE installation instructions

Glasdon

Glasdon ECLIPSE installation instructions

Coleman TIOGA 9273B128 instructions

Coleman

Coleman TIOGA 9273B128 instructions

Rhino Shelter Two Car Peak Assembly instructions

Rhino Shelter

Rhino Shelter Two Car Peak Assembly instructions

Intenda Box Modulare installation manual

Intenda

Intenda Box Modulare installation manual

Wechsel Forum Pitching instructions

Wechsel

Wechsel Forum Pitching instructions

SKYLUX Climalux 36179 Mounting instructions

SKYLUX

SKYLUX Climalux 36179 Mounting instructions

Bestway NuCamp X2 owner's manual

Bestway

Bestway NuCamp X2 owner's manual

Skandika Gotland 6 Setup & maintenance

Skandika

Skandika Gotland 6 Setup & maintenance

Texsport 02853 Assembly instructions

Texsport

Texsport 02853 Assembly instructions

Freedom AEROCanopy instructions

Freedom

Freedom AEROCanopy instructions

Coleman 2000007830 Setup instructions

Coleman

Coleman 2000007830 Setup instructions

Napier SPORTZ SUV TENT 82000 instructions

Napier

Napier SPORTZ SUV TENT 82000 instructions

Creative Structures CROSSOVER M manual

Creative Structures

Creative Structures CROSSOVER M manual

manuals.online logo
manuals.online logoBrands
  • About & Mission
  • Contact us
  • Privacy Policy
  • Terms and Conditions

Copyright 2025 Manuals.Online. All Rights Reserved.