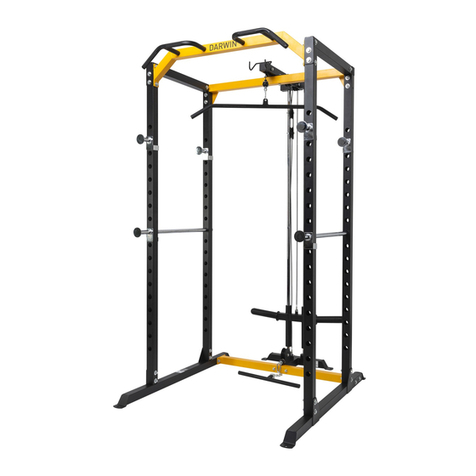
DarwinFitness DF-CAGE User manual

DF-BR
D
A
R
W
I
N
F
I
T
N
E
S
S
G
E
R
M
A
N
Y
DF-CAGE
DF-CAGE-DIP
DF-CAGE-LAT
DFCAGE.01.03
DARWIN Power Cage
DF-CAGE
Assembly
and Operating instructions

2
Power Cage

3
Power Cage
Dear Customer,
Thank you for deciding for a high-quality training equipment of the brand Darwin, the brand that
makes athlete‘s hearts beat faster. Darwin oers a wide range of home tness equipment like
elliptical cross trainers, ergometers, tread-mills and rowing machines. Darwin equipment is the
optimal equipment for all those who want to train at home independent of goals and tness level.
For further information please visit www.sport-tiedje.com.
SAFETY NOTICE
Please read all of the instructions carefully before assembly and rst use. These
instructions are intended to ensure speedy assembly and explain safe usage. Make
sure that all people exercising with the equipment (in particular children and
persons with limited physical, sensory, mental or mo-tor capabilities) are informed
about these instructions and its content in advance. In case of doubt, a responsible
person must supervise the use of the equipment.
This equipment has been manufactured according to the latest safety knowledge. As far as possible,
potential safety hazards which could cause injury have been eliminated. Make sure to follow the
instructions carefully and that all parts are securely in place. If required, read through the instructions
again to correct any mistakes.
Please pay close attention to the safety and maintenance instructions given here. The contract
partner cannot be held liable for damage to health, accidents or damage to the equipment when it
is not used in accordance with these instructions.
The equipment is only suitable for use at home. The equipment is not suitable for semi-professional
(e. g., hospitals, clubs, hotels, schools, etc.) and commercial or professional use (e. g., health clubs).
Please note that all the instructions in this manual apply not only to the Darwin Power Cage but also
its accessories.
Retain these instructions in a safe place for future reference, maintenance or when ordering
replacement parts.

4
Power Cage
Content
1 GERNERAL INFORMATION 5
1.1 Technical data 5
1.2 Personal Safety 6
1.3 Set-Up Place 7
2 ASSEMBLY 8
2.1 General Instructions 8
2.2 Assembly 9
3 ACCESSORIES 13
3.1 Assembly Instructions: Lat Pulldown for the Power Cage 13
3.2 Assembly Instructions: Dip Station for the Power Cage 17
4 STORAGE AND TRANSPORT 18
4.1 General Instructions 18
5 TROUBLESHOOTING, CARE AND MAINTENANCE 19
5.1 General Instructions 19
5.2 Faults and Fault Diagnosis 19
6.1 Maintenance and service calendar 20
6 DISPOSAL 20
7 RECOMMENDED ACCESSORIES 21
8 ORDERING SPARE PARTS 22
8.1 Serial Number and Model Name 22

5
Power Cage
1 GERNERAL INFORMATION
1.1 Technical data
Power Cage:
Article weight (gross, including packaging): 51 kg
Article weight (net, without packaging): 48.5 kg
Package dimensions (L x W x H): 196 cm x 35 cm x 20 cm
Set-up dimensions (L x W x H): 109.5 cm 134.4 cm x 207.6 cm
Maximum user weight: 125 kg
ACCESSORIES
Lat pulldown:
Article weight (gross, including packaging): 17 kg
Article weight (net, without packaging): 14 kg
Package dimensions (L x W x H): 201cm x 37 cm x 18 cm
Maximum load: 75 kg
Dip-Station:
Article weight (gross, including packaging): 3 kg
Article weight (net, without packaging): 2.5 kg
Package dimensions (L x W x H): 17 cm x 10 cm x 40 cm
Maximum load: 125 kg

6
Power Cage
1.2 Personal Safety
⚠DANGER
+ Before you start using the equipment, you should consult your physician that this type of
exercise is suitable for you from a health perspective. Particularly aected are persons who:
have a hereditary disposition to high blood pressure or heart disease, are over the age of 45,
smoke, have high cholesterol values, are overweight and/or have not exercised regularly in
the past year. If you are under medical treatment that aects your heart rate, medical advice
is absolutely essential.
+ Note that excessive training can seriously endanger your health. Please also note that
heart rate monitoring systems can be inaccurate. If you notice any signs of weakness,
nausea, dizziness, pain, shortness of breath, or other abnormal symptoms, stop exercising
immediately and seek advice from your doctor if necessary.
⚠WARNING
+ This equipment may not be used by children under the age of 14.
+ Children should not be allowed unsupervised access to the equipment.
+ Persons with disabilities must have a medical license and must be under strict observation
when using the equipment.
+ The equipment is strictly for use by one person at a time.
+ If your equipment provides a safety key, the clip of the safety key must be attached to your
clothing before starting your training. In the event of a fall, the EMERGENCY STOP of the
equipment can be initiated.
+ Keep your hands, feet and other body parts, hair, clothing, jewellery and other objects well
clear of moving parts.
+ During use, wear suitable sports clothing rather than loose or baggy clothing.When wearing
sports shoes, make sure they have suitable soles, preferably made of rubber or other non-
slip materials. Shoes with heels, leather soles, studs or spikes are unsuitable. Never exercise
barefoot.
⚠CAUTION
+ If your equipment needs to be connected to the power supply with a mains cable, make
sure that the cable is not a potential tripping hazard.
+ Make sure that nobody is within the range of motion of the equipment during training so as
not to endanger you or other persons.
࣑ATTENTION
+ Do not insert any objects of any kind into the openings of the device.
7
Power Cage
1.3 Set-Up Place
⚠WARNING
+ Do not place the equipment in main corridors or escape routes.
⚠CAUTION
+ The training room should be well ventilated during training and not be exposed to any
draughts.
+ Choose the place in which to set up the equipment such that there is enough free space/
clearance to the front, the rear and to the sides of the equipment.
+ The set-up and mounting surface of the equipment should be at, loadable and solid.
࣑ATTENTION
+ The device may only be used in one building, in suciently tempered and dry rooms
(ambient temperatures between 10°C and 35°C). The equipment should not be used
outdoors or in rooms with high humidity (over 70%) like swimming pools.
+ A oor protective mat/equipment underlay can help to protect high-quality oor coverings
(parquet, laminate, cork, carpets) from dents and sweat and can help to level out slight
unevenness.

8
Power Cage
2 ASSEMBLY
2.1 General Instructions
⚠DANGER
+ Do not leave any tools, packaging materials such as foils or small parts lying around,
as otherwise there is a danger of suocation for children. Keep children away from the
equipment during assembly.
⚠WARNING
+ Pay attention to the instructions attached to the equipment in order to reduce the risk of
injuries.
⚠CAUTION
+ Do not open the packaging if it is lying on the side.
+ Ensure to have sucient room for movement in each direction during assembly.
+ The assembly of the equipment must be carried out by at least two adults. If in doubt, seek
the help of a third technically skilled person.
࣑ATTENTION
+ To prevent damage to the equipment and the oor, assemble the equipment on a mat or
packaging board.
LNOTICE
+ In order to make the assembly as simple as possible, some screws and nuts to be used can
already be pre-assembled.
+ Ideally, assemble the equipment at its later set-up place.

9
Power Cage
Step 1:
1. Attach the cross Brace (4) to the left and the right base frame (2 & 3) with four bolts (16), eight big
washers (17) and four lock nuts (18).
2.2 Assembly
Before assembly, take a close look at the individual assembly steps shown and carry out the assembly
in the order given.
LNOTICE
First loosely screw all parts together and check that they t properly. Tighten the screws using
the tool only when you are instructed to do so.

10
Power Cage
Step 2:
1. Attach the four vertical frames (1) to the left and the right base frame (2 & 3) with eight bolts (16),
sixteen big washers (17) and eight lock nuts (18).

11
Power Cage
Step 3:
1. Attach the upper frame (5) to the vertical frame (1) with four bolts (16), eight big washers (17) and
four lock nuts (18).
2. Attach the top beam (6) to the upper frame (5) with six bolts (14) and six big washers (17).
3. Attach the two top beams (6) to the vertical frame (1) with four bolts (16), eight big washers (17)
and four lock nuts (18).

12
Power Cage
Step 4:
1. Attach the left and the right handle (8 & 9) to the chin up bar (7) with four bolts (15) and four large
washers (21).
2. Attach the chin up bar (7) to the vertical frame (1) with four bolts (16), eight big washers (17) and
four lock nuts (18).
3. Insert the left and the right safety catch (10 & 11) and the left and the right adjustment bar (12 &
13) into the vertical frame (1).

13
Power Cage
3 ACCESSORIES
The following two training devices are optional accessories for the Darwin Power Cage. The lat-
pulldown and the dip station are not part of the scope of delivery of the Power Cage and must be
purchased separately. For more information, please contact your contract partner.
3.1 Assembly Instructions: Lat Pulldown for the Power Cage
Step 1:
Attach the weight base tube (2) to the power rack with two bolts (17), four washers (21) and two lock
nuts (23).

14
Power Cage
Step 2:
1. Attach the pulley (8) to the weight base tube (2) with one bolt (15), two washers (21) and one
lock nut (23).
2. Attach the guide rod (3) and the sliding weight post (4) to the weight base tube (2) with the
sliding Sleeves (11) and two square neck bolts (18).
3. Attach the olympic spring clip (10) and the weight holder (9) to the sliding weight post (4).

15
Power Cage
Step 3:
1. Attach the three pulleys (8) to the middle upper post (1) with three bolts (16), six pulley bushings
(12), six washers (21) and three lock nuts (23).
2. Attach the middle upper post (1) to the power rack and the guide rod (3) with two bolts (16), two
bolts (17), six washers (21) and two lock nuts (23).
3. Attach the two pulleys (8) to the two brackets (7) with two bolts (15), four washers (21) and two
lock nuts (23).

16
Power Cage
Step 4:
1. Pass the cable (24) through a-b-c-d-e, and attach the screw at the end of the cable to the sliding
weight post (4)
2. Pass the cable (25) through f-g-h and attach the eyelet end of the cable to the weight base tube (2)
with one bolt (19), two washers (20) and one lock nut (22).

17
Power Cage
3.2 Assembly Instructions: Dip Station for the Power Cage
Step 1: Step 2: Step 3:
INSTALLATION STEP

18
Power Cage
4 STORAGE AND TRANSPORT
4.1 General Instructions
࣑ATTENTION
+ Make sure that the equipment is protected from moisture, dust and dirt in the selected
storage location. The storage location should be dry and well ventilated and have a constant
ambient temperature between 5°C and 45°C.
⚠WARNING
+ The storage location should be chosen so that improper use by third parties or children can
be prevented.
+ If your equipment does not have transportation wheels, the equipment must be
disassembled before transportation.

19
Power Cage
5 TROUBLESHOOTING, CARE AND MAINTENANCE
5.1 General Instructions
⚠WARNING
+ Do not make any improper changes to the equipment.
⚠CAUTION
+ Damaged or worn components may aect your safety and the life of the equipment.
Therefore, immediately replace damaged or worn components. In such a case, contact the
contract partner. The equipment must not be used until it has been repaired. If necessary,
use only original spare parts.
࣑ATTENTION
+ In addition to the instructions and recommendations for maintenance and care given here,
additional service and/or repair work may be necessary; this must only be carried out by
authorised service technicians..
5.2 Faults and Fault Diagnosis
The equipment undergoes regular quality controls during production. Nevertheless, faults or
malfunctions may occur. Frequently, individual parts are responsible for these disturbances, an
exchange is usually sucient. Please refer to the following overview for the most common errors and
how to correct them. If the equipment still does not function properly, contact your contract partner.
Problem Cause Solution
Scraping noises Cable or pulleys not running
smoothly or are damaged
Perform a visual check of the route of
the cable or of the pulley or of the pulley
guide
Weight is suspended
in the air Cable is too tightly stretched Readjust cable tension
Cable is not taut Cable is too slack Readjust cable tension
Squeaking & cracking
noises
Screws are either too loose
or too tight
Check that screws are correctly
tightened or lubricate

20
Power Cage
6 DISPOSAL
At the end of its operational life, this equipment cannot be disposed of in normal
household waste. Instead, it must be disposed of via an electricals recycling centre.
Further information can be obtained from your local authority‘s recycling service.
The materials can be recycled as per their symbols. Through the reuse, recycling
of materials or other forms of recovery of old equipment, you make an important
contribution to the protection of the environment.
6.1 Maintenance and service calendar
To avoid damage from body sweat, the equipment must be cleaned with a damp towel (no solvents!)
after each training session.
The following routine tasks must be performed at the specied intervals:
Part Weekly Monthly Quarterly Half-yearly Yearly
Pulling ropes and rollers C/I
Bolts I
Pulleys and cable guide I
Legends: C= cleaning; I = inspect
Table of contents
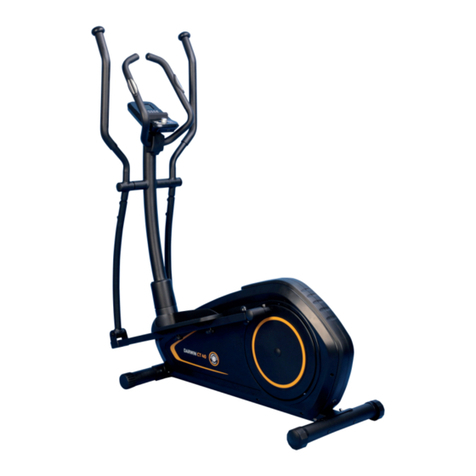
Other DarwinFitness Fitness Equipment manuals

DarwinFitness
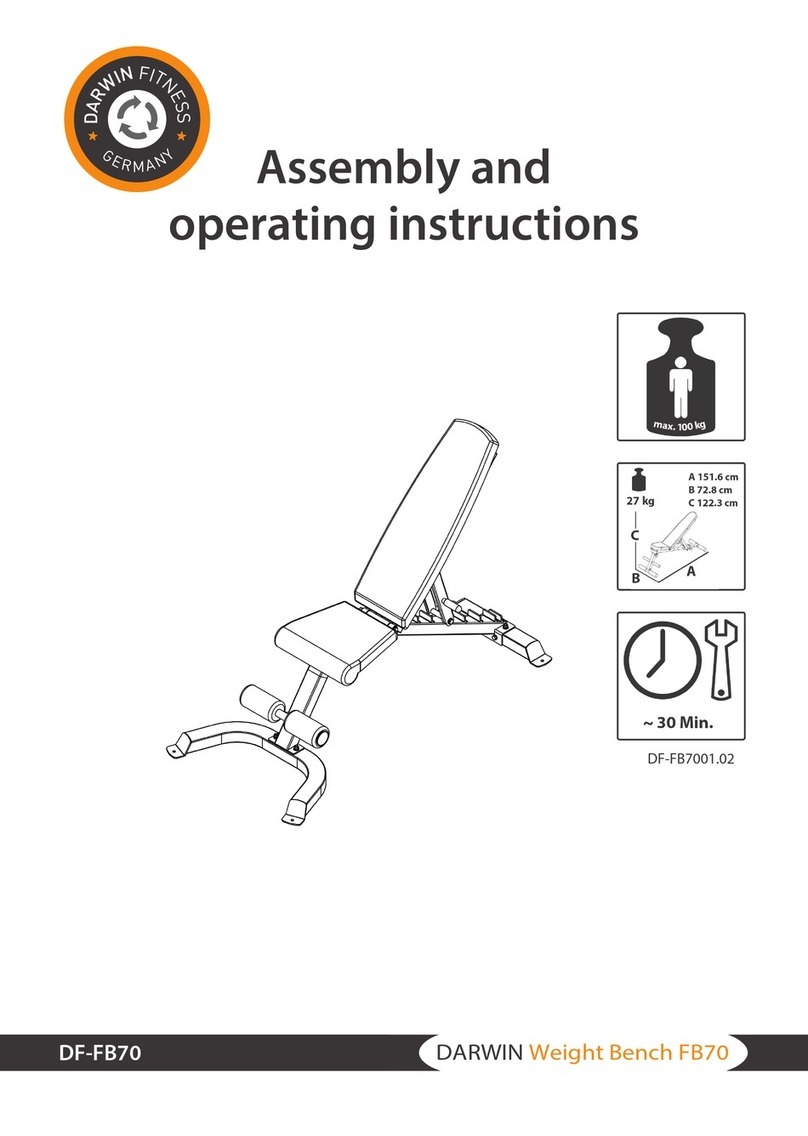
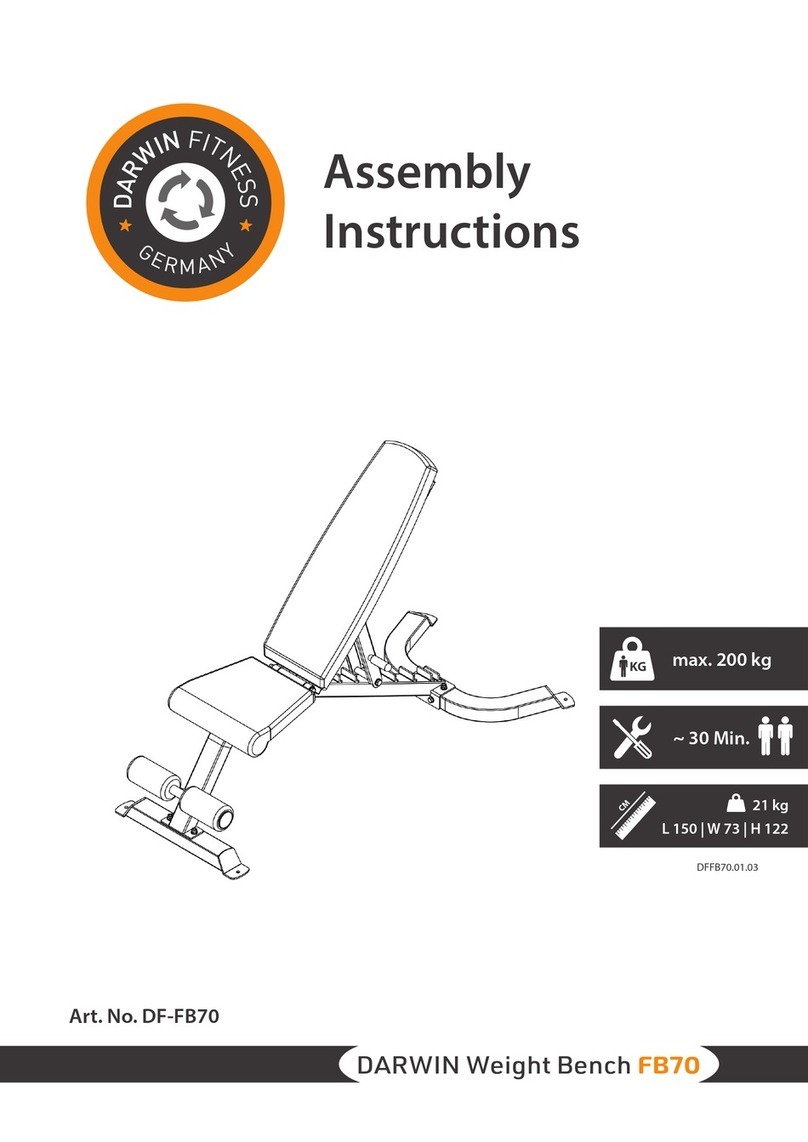
DarwinFitness FB90 User manual

DarwinFitness
DarwinFitness DF-INVERSION User manual

DarwinFitness
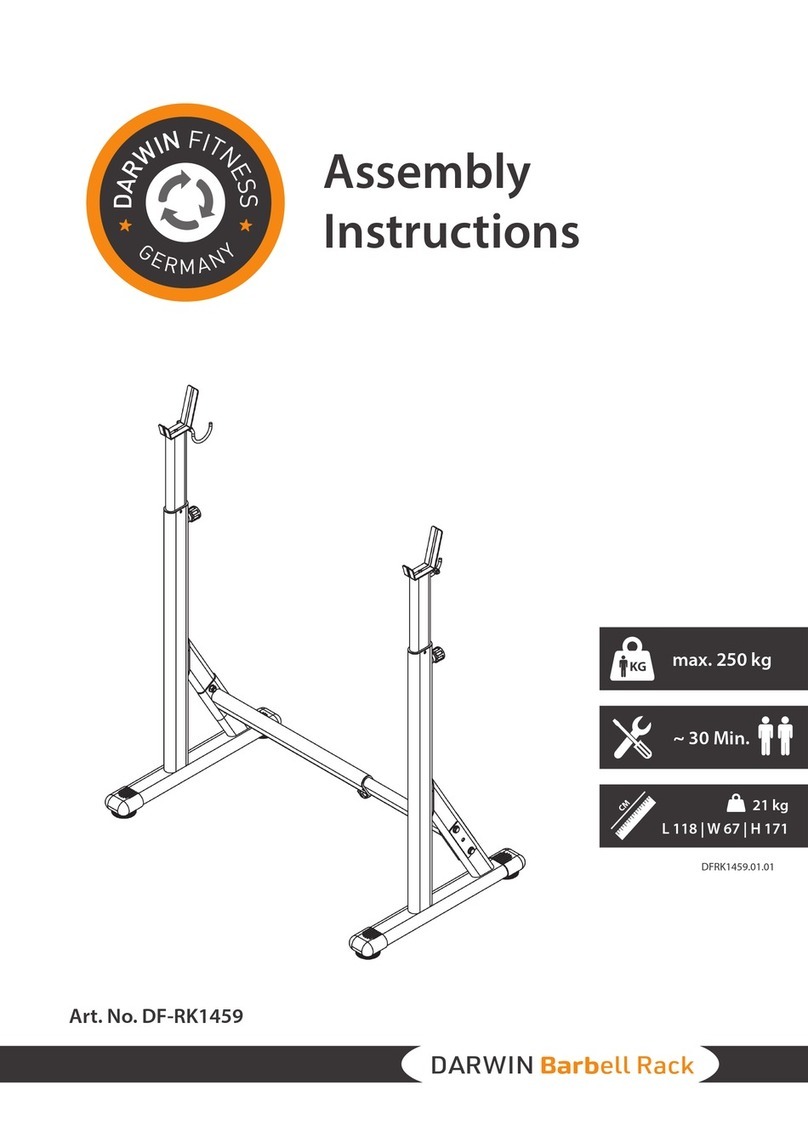
DarwinFitness DF-RK1459 User manual

DarwinFitness
DarwinFitness FB60 User manual

DarwinFitness
DarwinFitness DF-CT40 User manual

DarwinFitness
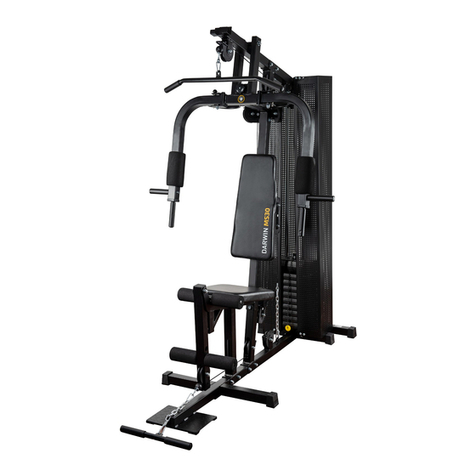
DarwinFitness DF-MS30 User manual

DarwinFitness
DarwinFitness FB80 User manual

DarwinFitness
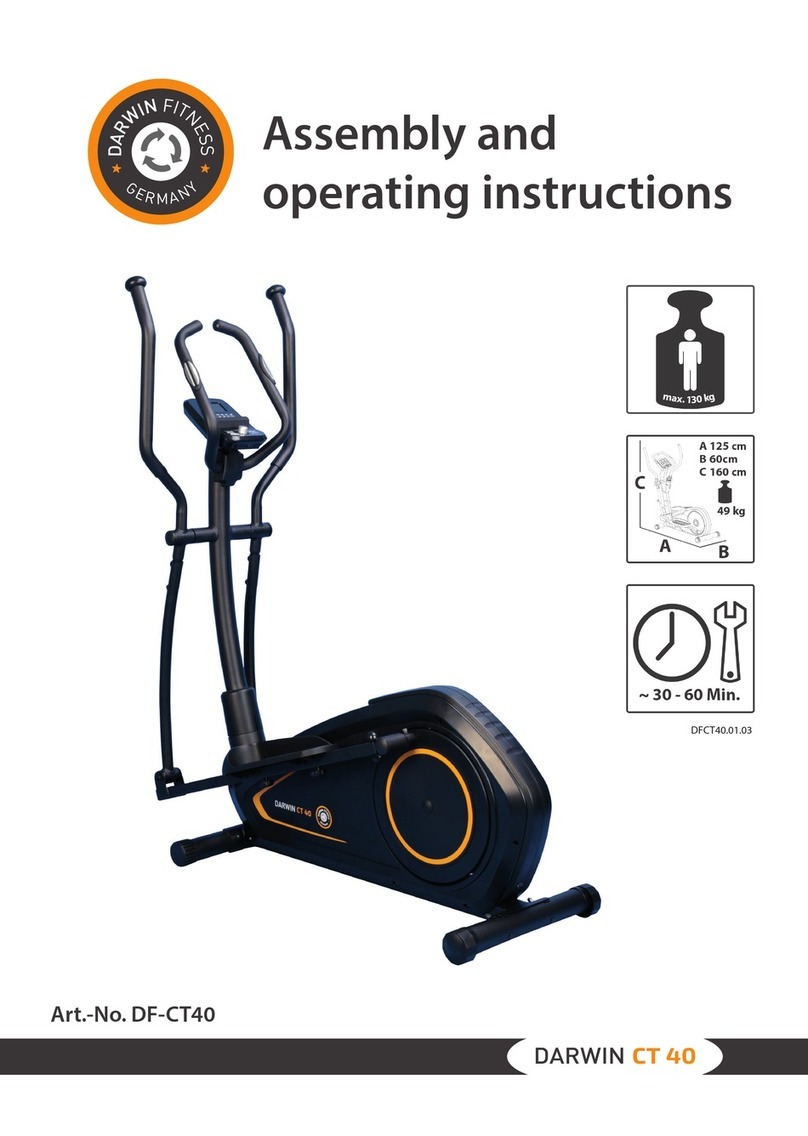
DarwinFitness Power Cage DF-CAGE User manual

DarwinFitness
DarwinFitness RM 50 User manual

DarwinFitness
DarwinFitness CT40 User manual