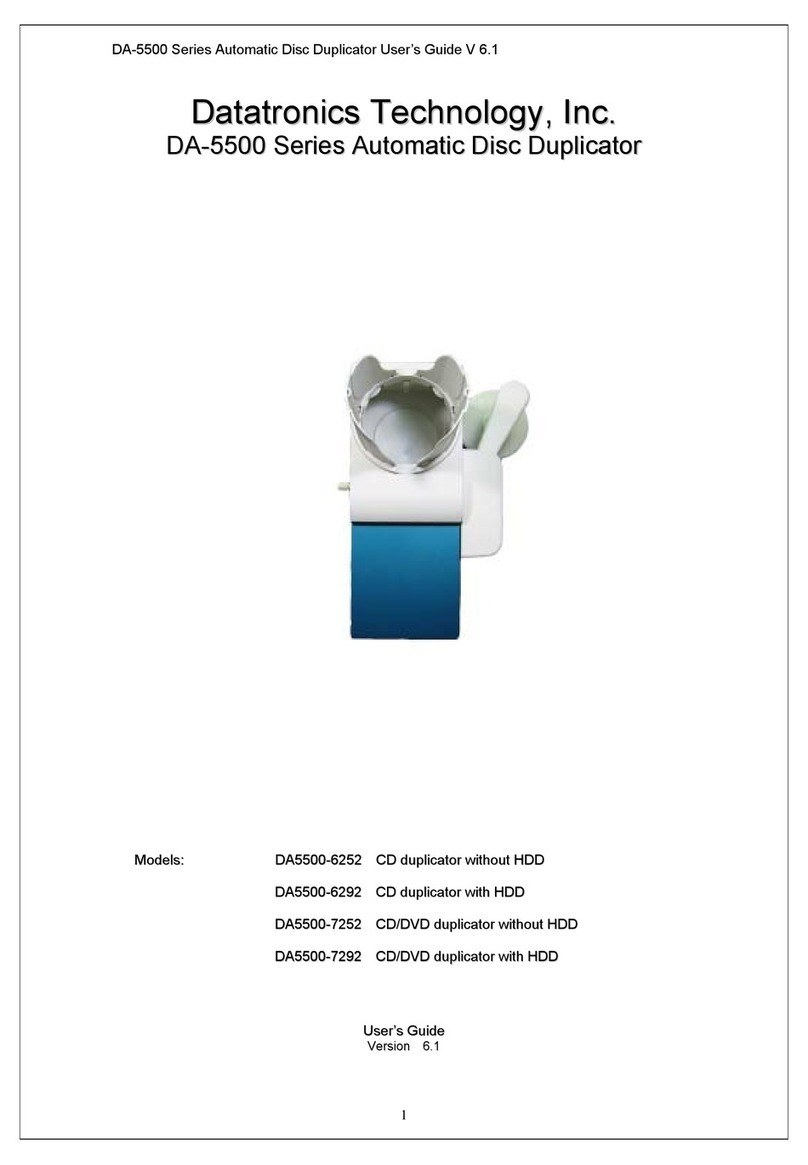
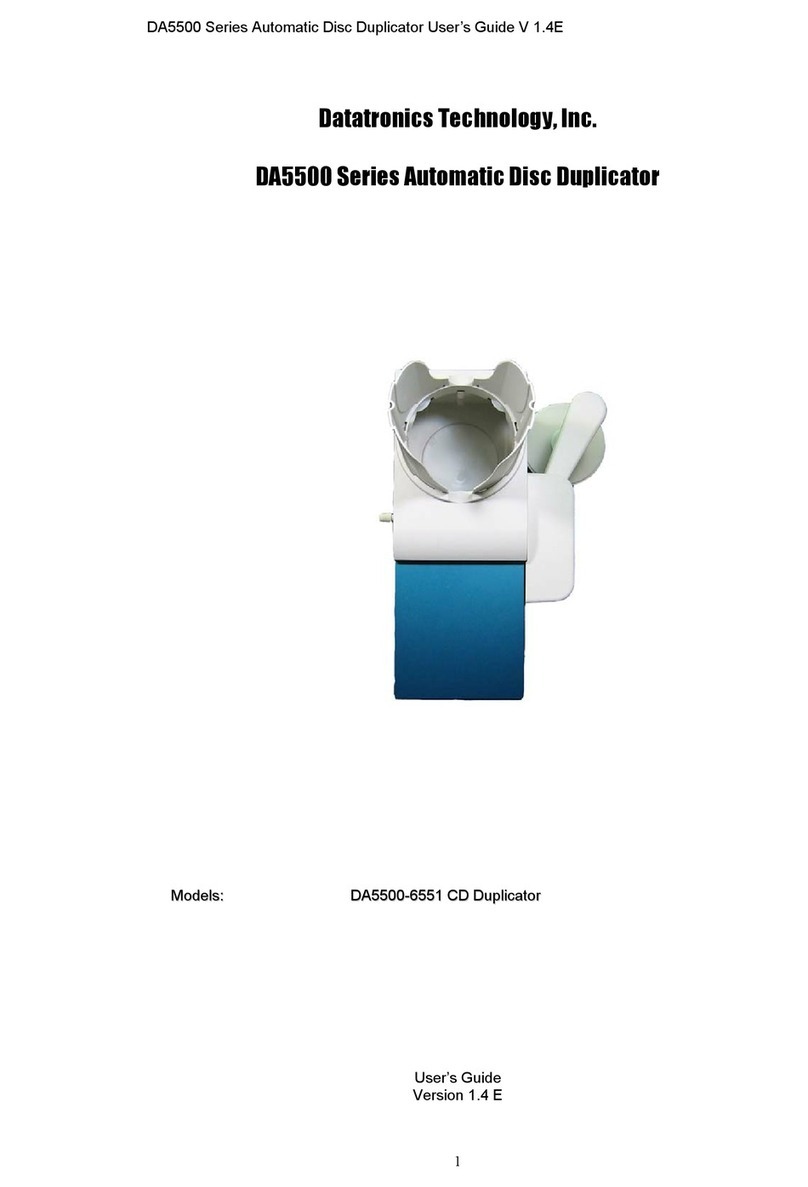
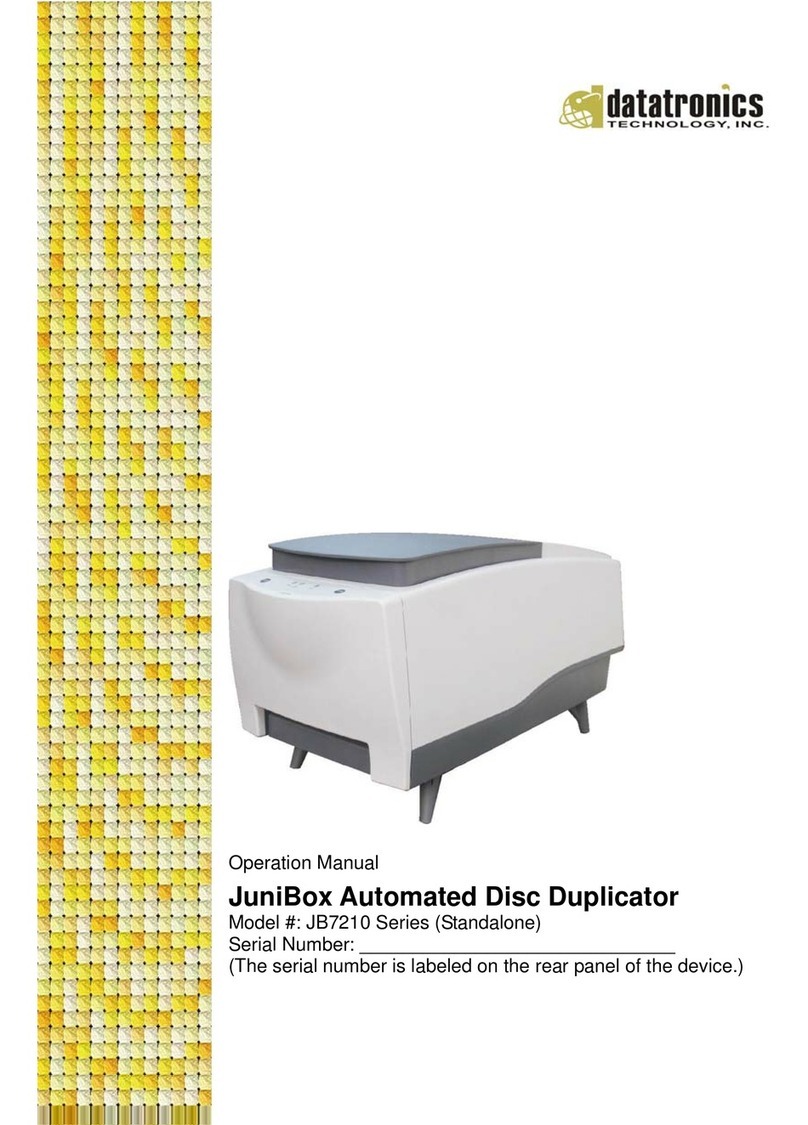
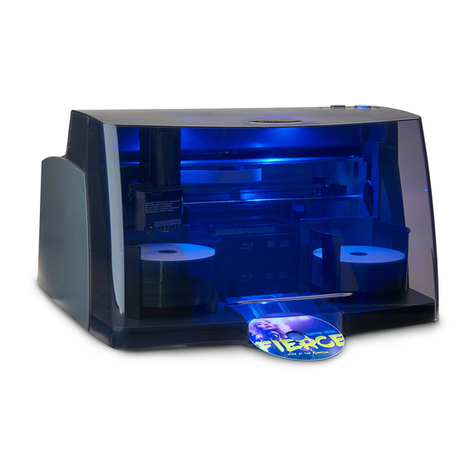
Datatronics DA-5500 Series User manual

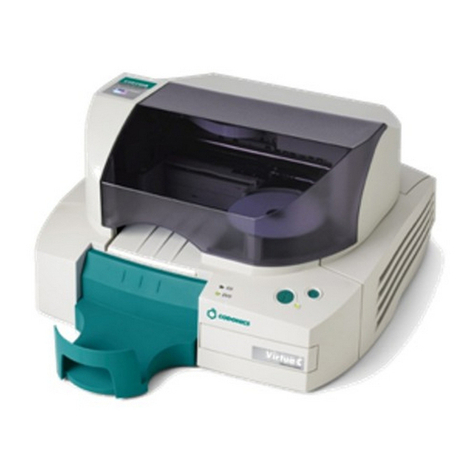
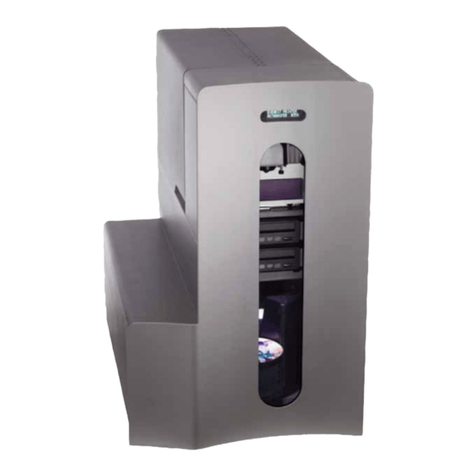
DA5500 Series Automatic Disc Duplicator User’s Guide V 2.1
D
Da
at
ta
at
tr
ro
on
ni
ic
cs
s
T
Te
ec
ch
hn
no
ol
lo
og
gy
y,,
I
In
nc
c.
.
D
DA
A5
55
50
00
0
S
Se
er
ri
ie
es
s
A
Au
ut
to
om
ma
at
ti
ic
c
D
Di
is
sc
c
D
Du
up
pl
li
ic
ca
at
to
or
r
M
Mo
od
de
el
ls
s:
:
D
DA
A5
55
50
00
0-
-6
68
83
30
0
D
DA
A5
55
50
00
0-
-7
78
83
30
0

DA5500 Series Automatic Disc Duplicator User’s Guide V 2.1
_________________________________ Table of Contents
1 Introduction 1
2 Reminders 1
3 Main Functions
3.1 HDD COPY 1
3.2 MULTI-COPY 2
3.3 EMULATE 2
3.4 LOAD DISC 2
3.5 ERASE 2
3.6 DELETE 2
3.7 OPTIONS 3
4 Installation and Set Up
4.1 Inspecting the Shipment for Damage 3
4.2 Unpacking and Verifying Shipment Contents 3
4.3 Setting Up 4
4.4 Loading Discs 5
4.5 Unloading Accepted Discs 5
4.6 Unloading Rejected Discs 5
5 Maintenance 5
6 Troubleshooting
6.1 Frequently Asked Questions 5
6.2 LCD Error Code Definitions 7
7 References
7.1 Warranty 7

Datatronics Series Automatic Disc Duplicator User’s Guide v2.1
1
1. Introduction
Thank you for purchasing DA-5500 series automatic disc duplicator. The DA-5500 series is a
stand-alone unattended duplicator that requires no computer connection during operation. It
consists of robotic mechanism that can automatically move discs from an input bin to the
burner, then to the output bin after duplication is complete. If any disc does not pass, the
robotic arm will pick it up and drop it to the reject bin.
Especially designed for office applications, the DA-5500 series is based upon a controller with
LCD displays, which makes all steps easy to follow during duplication. Should you encounter
any difficulty, please refer to "Trouble Shooting" or contact your dealer directly.
2. Reminders
We strongly suggest you to locate your DA-5500 series in a dust free environment in order to
eliminate contamination of discs that cause duplication rejects. Please also allow enough
space around the unit to make sure it can work properly. For media selection, we recommend
you to choose the branded discs, i.e. Verbatim, TDK, Sony, Samsung, Ricoh, Maxell, etc., and
make sure to reserve some discs for possible troubleshooting tool in the future. For your own
safety and the drive protection as well, do not use any damaged disc in order to prevent any
accident.
Under any circumstance, we do not encourage users duplicate copy protected materials.
3. Main Functions
3.1 HDD COPY
When Hard Drive is empty, please go to 3.4 LOAD DISC first.
When Hard Drive is not empty, and you wish to copy the data from a certain partition, please
place the blank discs on the input bin, then follow the steps here:
1. Press [ENTER] then use ↑↓ to choose which partition to copy the data from.
2. Press [ENTER] it will check source.
3. Press [ENTER] then use ↑↓ to select the write speed.
4. Press [ENTER] then use ↑↓ to set the counter.
5. Press [ENTER] to start duplication.

Datatronics Series Automatic Disc Duplicator User’s Guide v2.1
2
3.2 MULTI-COPY
If you are to duplicate with blank discs, place the first master on the input bin, then the number
of blank discs you wish to copy on top of it. Then place the second master on top, and follow
that order with the rest of blank discs and masters.
1. Press [ENTER] and use ↑↓ to choose the write speed.
2. Press [ENTER] to start duplication.
If you are to duplicate with CD-RW/DVD-RW that contains data, please go to 3.5 ERASE first,
then follow the procedures listed above.
3.3 EMULATE
Place the master on the input bin first, and the blank discs or CD-RW/DVD-RW on top of the
master, press [ENTER] will test if the blank discs are good to copy. Before emulate,
CD-RW/DVD-RW data will be erased first. Please note that EMULATE is not available for DL.
3.4 LOAD DISC
If you want to load the master disc(s) into Hard drive and/or keep it for future use, please
carefully choose the partitions, make sure you do not overlap, otherwise, the original data will
be erased.
1. Press [ENTER] and use ↑↓ to select which partition to store the data to.
2. Press [ENTER] to start loading.
After loading is complete, masters will be removed to the output bin.
3.5 ERASE
Put the CD-RW or DVD-RW discs on the input bin, then press [ENTER] to erase the data.
Please do not mix the discs together.
3.6 DELETE
You can choose what partition to delete the data from.

Datatronics Series Automatic Disc Duplicator User’s Guide v2.1
3
3.7 OPTIONS
Press [ENTER] and use↑↓to choose.
A. SETTING
a. Compare: Choose “Yes” to perform compare after each copy is done. Please reset
the function every time you reboot the unit.
b. Overburn: Choose “Yes” to burn master disc that contains more than 700MB data.
c. Error Skip: Choose “Yes” to ignore the error in the master disc, or master disc will be
rejected.
d. ISRC: Choose “Yes” to copy ISRC code of master disc to the blank discs.
e. CD+G: Choose “Yes” to burn CD+G master disc. Please note that this feature is only
available when Plextor CD/DVD recorder is installed.
B. HDD FORMAT
To clear the data stored on HDD, press [ENTER] to start.
C. TEST
Put all blank discs on the input bin, press [ENTER]. Doing “TEST” can help you
distinguish blank discs from non-blank ones.
D. PARK
Before you pack for transportation, make sure to run this function.
E. UPDATE
To update the Robot Mechanism and the Copy Module requires update tool kit. Please
contact your reseller for assistance.
4. Installation & Set Up
4.1 Inspecting the Shipment for Damage
The DA-5500 series automatic disc duplicator is supplied in one shipping carton. If the carton
shows signs of shipping damage you should notify dealer/shipping company immediately.
4.2 Unpacking and Verifying Shipment Contents
The DA-5500 series automatic disc duplicator carton contains the following items: DA-5500
series automatic disc duplicator +User's guide+ An AC power cord. If any of these items are
damaged or missing, please contact your dealer directly.

Datatronics Series Automatic Disc Duplicator User’s Guide v2.1
4
4.3 Setting up
Please follow the procedures:
A. Remove Input bin on top B. Remove the form.
C. Insert the Reject bin.
D. Insert the Input bin.
E. Insert the Input bin.
F. Attach the plate to the unit.
G. Install the whole Output bin.
H. Completed.

Datatronics Series Automatic Disc Duplicator User’s Guide v2.1
5
4.4 Loading Discs
Wear lint free gloves whenever you handle discs to avoid fingerprints that can affect
duplication. Make sure the first 5 discs have to be leveled while inserted. You can add discs to
the input bin while the system is running. (Capacity: 100pcs)
4.5 Unloading Accepted Discs
It is the responsibility of the operator to keep passed discs away from "rejected" discs.
4.6 Unloading Rejected Discs
It is the responsibility of the operator to keep rejected discs away from accepted discs and
master disc.
5. Maintenance
If you need to clean the outside cabinet and plastic panels, always turn off the AC power
switch first and make sure your masters and blanks are covered. Please use a clean lint free
cloth moistened with warm water and dry the unit immediately with a clean lint free cloth.
6. Trouble Shooting
6.1 Frequently asked questions
What is the best speed to duplicate audio?
We recommend 16X or under. If you duplicate audio in max speed, there is a great possibility
of failure.
Why is the failure rate so high?
Always make sure that master and blank discs are in good condition. If the failure rate is still
high, please lower the write speed.
What should I do if disc jams?
Don't panic! Just carefully remove the disc from loader or tray and reload the master and blank
discs, then press key to start the job. In order to prevent such problem from happening again,
please choose quality discs between 119.85mm ~ 120.30 mm and follow the instruction of 4.4.
Why disc jams?
Sometimes when discs are sticky, which is commonly seen on the plastic wrapped bulk discs,
it is more difficult to remove disc from each other, therefore, we suggest you loosen discs
completely before loading.

Datatronics Series Automatic Disc Duplicator User’s Guide v2.1
6
Why is that the power switch does not work every time?
This can be easily solved if you allow 5 seconds interval between turn on/off.
Why is that the Robotics arm fails to pick up the discs?
If the robotics arm is still in the accurate position as it should be, which means no force has
been pressed upon it to cause dislocation, check if discs are the right size and not distorted in
any form. Normally if robotics arm is having mechanical problems, it will not pick up any disc at
all. So to determine the cause you might use other discs to see if it works. If none of the above
is the reason, you have to check the burner position and the length of tray when it reaches out.
Please contact your dealer for assistance.
What should I do if the robotics arm does not move?
The easiest way is to reboot the unit. If the robotics arm still hangs, please contact your dealer
for assistance.
What should I do if 2 or more discs drop at the same time?
Turn off the unit! Carefully remove the discs from tray, then reboot. To prevent this, loosen
the blank discs if they are bulk discs wrapped in plastic. Reload the master and blank discs
and make sure all discs are leveled.
What should I do if discs can not be dropped into the rod?
1. Please make sure the unit is placed in a flat area and the output bin is attached to the unit
properly.
2. Sometimes when discs are defected or a DVD disc is loading into the CD-RW burner, the
unit will drop the unrecognized disc out of the rod.
Where to get the serial number of the unit?
Please check the rear sticker for serial number. (*S/N=serial number)

Datatronics Series Automatic Disc Duplicator User’s Guide v2.1
7
6.2 LCD Error Code Definitions
ERROR CODE 0 ----> Loader mechanism is not working smoothly. Reboot the unit
please.
ERROR CODE 1 ----> Moving robotic arm to output spindle is not working smoothly.
Reboot the unit please.
ERROR CODE 2 ----> Moving robotic arm to reject bin is not working smoothly.
Reboot the unit please.
ERROR CODE 3 ----> Moving robotic arm to pick position is not working smoothly.
Reboot the unit please.
ERROR CODE 4 ----> Releasing disc mechanism is not working smoothly. Reboot
the unit please.
ERROR CODE 5 ----> There is no disc in the tray, but sensed by robotics arm.
ERROR CODE 6 ----> Job completes, but robotics arm does not sense the disc in
the tray.
ERROR CODE 7 ----> Job fails, and robotics arm does not sense the disc in the
tray.
If reboot does not solve the problem, please contact your dealer directly.
7. Warranty
Please send the unit in its original shipping carton to the store you purchased. Prior to shipping
the unit back, you must refer to their RMA policy to assure proper processing. You are
responsible for the shipping charges on equipment returned for analysis or repair.
Other manuals for DA-5500 Series
2
This manual suits for next models
2
Table of contents
Other Datatronics Disc Duplicator manuals
Popular Disc Duplicator manuals by other brands
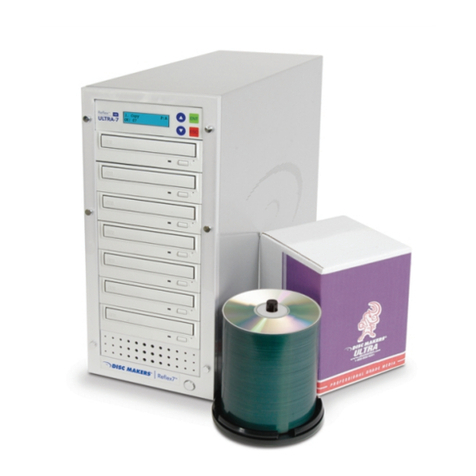
Disc Makers
Disc Makers ReflexUltra user guide
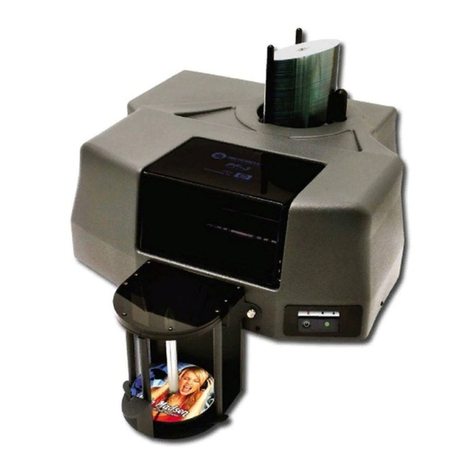
MicroBoards Technology
MicroBoards Technology PrintFactory PF-3 Quick reference guide
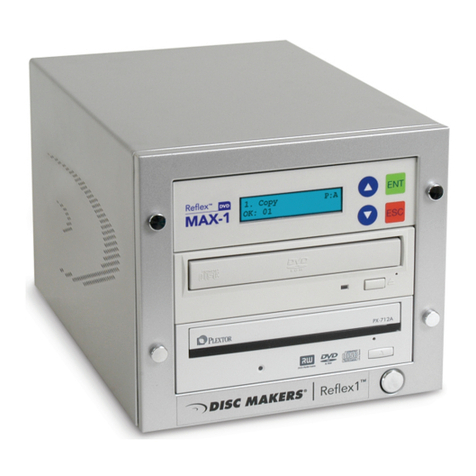
Disc Makers
Disc Makers ReflexMax1 user guide
MicroBoards Technology
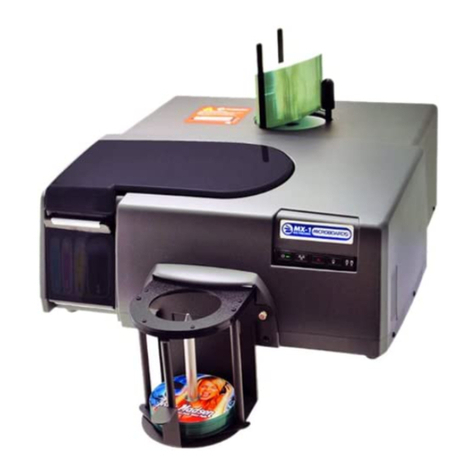
MicroBoards Technology PF3-1000 Specifications

Vinpower
Vinpower TITAN SUPREME specification
Primera
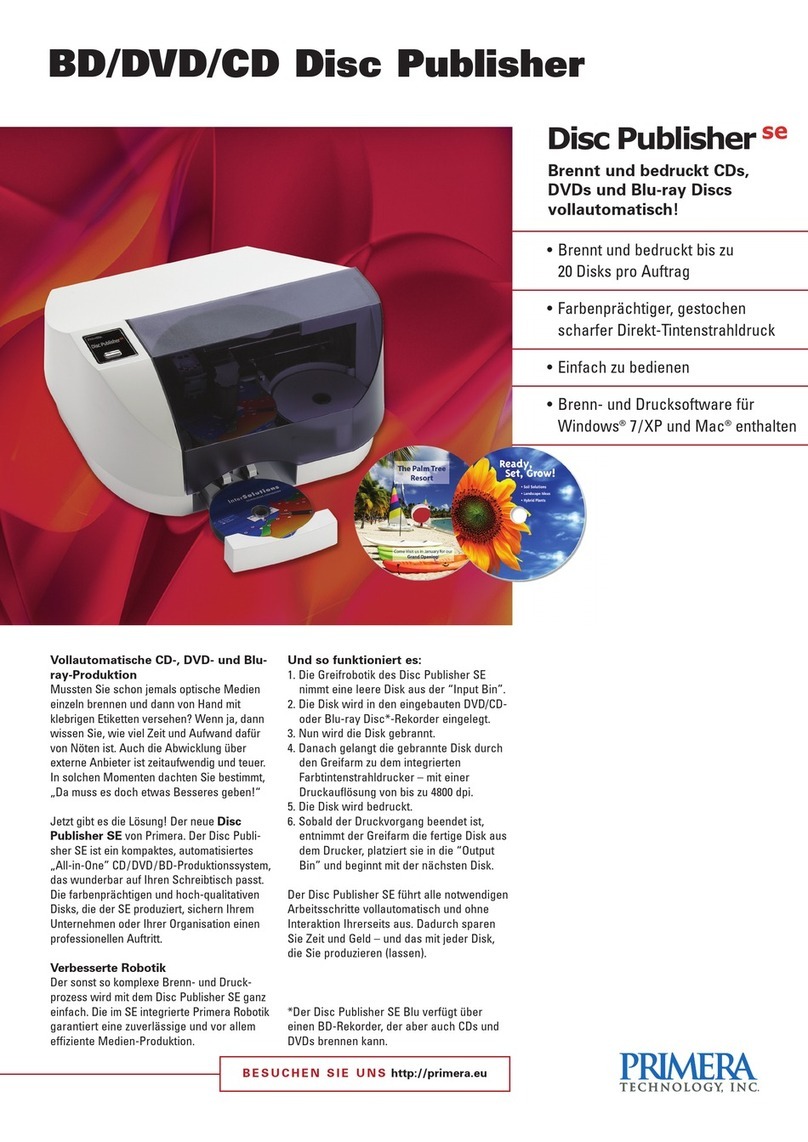
Primera Disc Publisher SE Specifications
