manuals.online logo
Brands
  1. Home
  2. •
  3. Brands
  4. •
  5. Davey
  6. •
  7. Water Pump
  8. •
  9. Davey XP500H User manual

Davey XP500H User manual

Installation and
Operating Instructions
for Davey XP350H,
XP500H, XP700H, XP900H
Pressure Systems
Maintenance
The only regular attention your new pressure system requires is to check the pressure
tank’s air charge every 6 months. This is ‘factory set’ at 130kPa (19psi) and can be
checked at the air valve with a tyre gauge. Do not charge tank to a higher pressure
than 130kPa.
To check air pressure in tank:
1. Switch off pump.
2. Open outlet nearest to pump to release water pressure.
3. Charge tank to 130kPa (19psi) using air pump and check
with tyre gauge.
4. Switch on.
5. Close outlet.
Water Quality
Where the water being pumped contains high levels of dissolved solids
(hard water) or biological organisms, a scale build up on the Hydrascan
CL sensor plate may occur over time. This will cause the pump to cycle
at higher than normal ow rates (eg while using the shower). To x the
problem, clean the sensor plate, using a blunt object, such as a timber
icy pole stick or toothbrush - as illustrated.
Trouble Shooting Check List
a) MOTOR RUNS FOR SHORT PERIOD ONLY WHEN SWITCHED ON BUT DOES
NOT PUMP - LOW PRESSURE INDICATOR LIGHT REMAINS ILLUMINATED
1. Suction line and pump body not lled with water.
2. Air leaks in suction lines or suction pipe not under water.
3. Air trapped in suction lines (also possible with ooded suction due to uneven
rise in piping; eliminate humps and hollows).
4. No water at source or water level too low.
5. Valve on suction lines closed.
b) PUMP SWITCHES ON AND OFF FREQUENTLY (CYCLING)
1. Check that tank air charge is 130kPa (19psi).
2. Cycling may occasionally be caused by oat valves lling tanks. This can be
overcome by tting a Davey Supercell 8C or 18C tank in place of the priming
plug.
3. Leaking taps, oat valves etc. check plumbing.
4. Leaking check valve/foot valve.
5. Scale on sensor - see Water Quality.
c) MOTOR DOESN’T START WHEN SWITCHED ON - LOW PRESSURE
INDICATOR LIGHT NOT ILLUMINATED
1. Power not connected or no power available from supply outlet.
2. Supply voltage too low.
3. System already primed and pressurised.
d) MOTOR DOESN’T START WHEN SWITCHED ON - LOW PRESSURE
INDICATOR LIGHT IS ILLUMINATED
1. Supply voltage too low.
2. ”Over temperature” cut-out tripped - switch off, wait 10 minutes and switch on
again.
3. Motor not free to turn - e.g. a jammed impeller.
4. Internal motor fault.
e) PUMP WILL NOT STOP
1. Flow Cone not tted in Hydrascan®.
2. Air lock in Hydrascan®.
3. Water leaks on discharge side of pump.
f) PUMP WILL OPERATE NORMALLY INITIALLY BUT WILL NOT RESTART ON
WATER DEMAND - LOW PRESSURE INDICATOR LIGHT NOT ILLUMINATED
1. Power supply problem - see c) 1 or c) 2 above.
2. Static discharge head too high - measure vertical height to top outlet.
i. If height over 10 metres, consult your Davey dealer for advice.
ii. If height less than 10 metres, adjust the cut-in screw setting.
3. Suction depth too great.
4. Suction air leak.
5. Hot water in suction pipe (75°C+).
g) PUMP WILL OPERATE NORMALLY INITIALLY BUT WILL NOT RESTART ON
WATER DEMAND - LOW PRESSURE INDICATOR LIGHT IS ILLUMINATED
1. Suction depth too great.
2. Suction air leak - pump has lost prime.
3. Blocked impellers or suction.
4. Cut-in pressure set too high - must be at least 50kPa below maximum pump
pressure.
After Sales Service
For professional after sales service or repair contact your Davey Dealer. For
assistance in locating your nearest dealer contact the Davey Customer Service Centre
on 1300 367 866.
Adjustable cut-in screw setting
How do I set or adjust?
Quick Set Method
Equipment required:
Flat blade screwdriver
Tea cup
Tyre pressure gauge
Step 1 Fill the pump with water.
Step 2 Start pump and open tap to purge
air out of pipework.
Step 3 Close tap and pump will turn off.
Step 4 Remove cut-in screw cover
and gently turn the adjusting screw
anticlockwise until it comes to a stop.
NB If the pump starts during step 4,
simply wait a few seconds until the pump
stops then repeat step 4.
Step 5 Slowly draw off 1/2- 1 tea cup of
water and close the tap.
NB If you have a 8 litre or 18 litre tank
draw off 3/4and 11/2litres respectively,
close the tap.
Step 6 Slowly turn the adjusting screw
clockwise until the pump starts. The pump
will start for a few seconds and then stop.
Step 7 Replace the cut-in screw cover.
Congratulations: Your pump is ready to
use.
Accurate Method
Equipment required:
Hydrascan®test kit
Flat blade screwdriver
Fit Hydrascan®test kit to top of
Hydrascan®to allow test to be conducted
at the pump.
Step 1 Fill the pump with water.
Step 2 Start pump and open tap to purge
air out of pipework.
Step 3 Close tap and pump will turn off.
Step 4 Remove cut-in
screw cover and gently
turn the adjusting screw
anticlockwise until it
comes to a stop.
NB If the pump starts
during step 4, simply wait
a few seconds until the
pump stops then repeat
step 4.
Step 5 Slowly open
the tap and allow the
pressure gauge to drop
to the desired cut-in pressure. Close the
tap to hold the system at this pressure.
Step 6 Slowly turn the adjusting screw
clockwise until the pump starts. The pump
will start for a few seconds and then stop.
The low pressure indicator light will be
illuminated momentarily when the pump
rst starts. If the pump stops and the light
does not go out adjust to a lower cut-in
pressure or consult the trouble shooting
guide.
Step 7 Replace the cut-in screw cover.
Congratulations: Your pump is ready to
use.
P/N 48023-9 Supersedes P/N 48023-8
DAVEY WATER PRODUCTS GUARANTEE FOR AUSTRALIA & NEW ZEALAND
Davey XP Pressure systems fitted with Hydrascan®control and sold after 31 January 1995 are guaranteed for a period of two years from the date
of original purchase to be free of material or manufacturing defects. Should any part fail as a result of such defects within this period, the pressure
system will be repaired free of charge. Additionally, a three year pro-rata, parts only guarantee commencing from the end of the two years fol-
lowing purchase shall apply only to the Hydrascan®control unit and to any pump component damaged as a direct consequence of a Hydrascan®
malfuction.
TERMS AND CONDITIONS
1. This guarantee applies to all states and territories of Australia and New Zealand only and is subject to the provisions of the Trade Practices
Act (Aust.), the Goods and Consumer Protection Legislation of the various Australian states and the Consumers Guarantee Act 1993 (NZ) as
applicable.
2. The guarantee period commences on the date of original purchase of the equipment. Evidence of this date of original purchase must be
provided when claiming repairs under guarantee. It is recommended you retain all receipts in a safe place.
3. This guarantee covers parts and workshop labour only. Goods should be forwarded, with proof of date of original purchase, to an Authorised
Davey Service Centre freight paid.
4. The pro-rata parts only guarantee means that after two years the owner will pay all labour costs for repairs and pay for parts used on the fol-
lowing basis: for 25-36 months from purchase - 40% of list price; for 37-48 months from purchase - 60% of list price; for 49 -60 months from
purchase - 80% of list price.
NOTE: This guarantee only applies to Hydrascan®or parts damaged through a Hydrascan®malfunction.
5. This guarantee is subject to due compliance by the original purchaser with all directions and conditions set out in the Installation and Operat-
ing Instructions. Failure to comply with these instructions, damage or breakdown caused by fair wear and tear, negligence, misuse, incorrect
installation, chemical or additives in the water, inadequate protection against freezing, rain or other adverse weather conditions, corrosive or
abrasive water, lightning or high voltage spikes or through unauthorised persons attempting repairs are not covered under guarantee. The
product must only be connected to the voltage shown on the nameplate.
6. Without limiting the original purchaser’s entitlements under the Trade Practices Act (Aust.), the Goods & Consumer Protection Legislation of
the various Australian states, or the Consumers Guarantee Act 1993 (NZ), Davey shall not be liable for any loss of profits or any consequential,
indirect or special loss, damage or injury of any kind whatsoever arising directly or indirectly from the product or any defect.
7. Where the Trade Practices Act (Aust.), the Goods and Consumer Protection Legislation of the various Australian states and the Consumers
Guarantee Act 1993 (NZ) does not apply, Davey shall not be liable for any loss of profits or any consequential, indirect or special loss, dam-
age or injury of any kind whatsoever suffered by the purchaser arising directly or indirectly from the product or any defect and the purchaser
shall indemnify Davey against any claim by any other person whatsoever in respect of any such loss, damage or injury.
8. Nothing in this guarantee is intended to have the effect of contracting out of the provisions of the Trade Practices Act (Aust.), the Goods and
Consumer Protection Legislation of the various Australian states and Consumers Guarantee Act 1993 (NZ) except to the extent permitted by
the various Acts and this guarantee is to be modified to the extent necessary to give effect to that intention.
9. Davey may be collecting personal information from you in order to provide you with a service. Davey Water Products Pty Ltd promises only
to use this information in accordance with the Provisions of the Privacy Act 1988 (Cth) and the Privacy Policy of Davey Water Products Pty Ltd
which is available at davey.com.au.
® Davey and Hydrascan are registered trademarks of Davey Water Products Pty Ltd. ©Davey Water Products Pty Ltd 1999
Please pass these instructions on to the operator of this equipment.
WARNING: When servicing or attending pump, always ensure power is switched
off and lead unplugged. Electrical connections should be serviced only by
qualied persons. If the electrical supply lead of this pressure system is
damaged, it must only be replaced by authorised Davey service personnel as
special tools are required.
Care should also be taken when servicing or disassembling pump to avoid
possible injury from hot pressurised water. Unplug pump, relieve pressure by
opening a tap on the discharge side of the pump and allow any hot water in the
pump to cool before attempting to dismantle.
Always check air precharge in tank - see maintenance section.
During servicing, use only approved, non-petrochemical based oring and gasket
lubrication. If unsure, consult your Davey Dealer for advice.
WARNING: Do not use hydrocarbon based or hydrocarbon propelled sprays
around the electrical components of this pump.
Davey Water Products Pty Ltd
Member of the GUD Group
ABN 18 066 327 517
Head Office and Manufacturing
6 Lakeview Drive,
Scoresby, Australia 3179
Ph: +61 3 9730 9222
Fax: +61 3 9753 4100
Website: davey.com.au
Customer Service Centre
Ph: 1300 367 866
Fax: 1300 369 119
E-mail: sales@davey.com.au
Interstate Offices
Sydney • Brisbane • Adelaide
Perth • Townsville
International
6 Lakeview Drive,
Scoresby, Australia 3179
Ph: +61 3 9730 9222
Fax: +61 3 9753 4248
AH: +61 3 9730 9121
E-mail: export@davey.com.au
Germany
Kantstrasse 53,
04275 Leipzig
Ph: +49 341 301 0412
Fax: +49 341 301 0413
E-mail: [email protected]
New Zealand
7 Rockridge Avenue,
Penrose, Auckland 1330
Ph: +64 9 570 9135
Fax: +64 9 527 7654
Website: daveynz.co.nz
E-mail: [email protected]
U.S.A. - Davey Pumps Inc.
1005 N. Commons Drive
Aurora, Illinois 60504
Ph: +1 630 898 6976
Fax: +1 630 851 7744
Website: daveyusa.com
E-mail: [email protected]
*NOTE:
a) For protection, the Davey® pump motor is tted with an automatic “over
temperature” cut-out. Constant tripping of this overload device indicates a
problem e.g. low voltage at pump, excessive temperature (above 45°C) in
pump enclosure.
b) The ‘Hydrascan®’ control device may have to be reset after rectifying any of
the above operating troubles. This is done by pushing in the yellow button
and releasing it after 2 seconds.
WARNING: Failure to follow these instructions and
comply with all applicable codes may cause serious
bodily injury and/or property damage.
NOTE: Prior to installation remove the red transport
plugs & associated seals from the suction and/or
discharge ports.
Installations with ooded suction require a gate valve
so water supply can be turned off for pump removal
and servicing.
For Automatic Pressure Pumps Installed with a Mains
Pressure Hot Water System
To protect your system from damage caused by back pressure
from hot water systems, your Hydrascan®module has
been tted with a non-return valve. Any replacement
Hydrascan® should also be tted with a non-return valve.
Use of your system without this non-return valve in place
may cause damage. Such damage is not covered by
guarantee.
Connection of Mains Scheme or Town Water Supply
to either Suction or Discharge of Pumps & Pressure Systems
Most Water Supply Authorities have strict regulations regarding direct connection of
pumps to mains water supplies. In most cases an isolating tank is required between
mains supply and pump. Davey also recommend this method. Directly applied mains
pressure can exceed pump operating pressure and damage pump.
Davey Products Pty Ltd can not accept
responsibility for loss or damage resulting from
incorrect or unauthorised installations.
When used with a Float Valve
Where your pressure system is required to discharge through oat valves lling tanks,
the possibility of excessive cycling may be overcome by tting a Supercell 8C or 18C
pressure tank in place of the priming plug.
Priming and Operation
The Hydrascan® module tted to your XP system is provided with a yellow push button.
This button is used during initial priming of the pump and also acts as a reset button if
the Hydrascan®switches out in pump protection mode.
Choosing a Site
Choose a site with a rm base and as close to the
water source as possible with correct power supply.
Make sure your pressure system is always connected
to an adequate, reliable source of clean water.
Housing your Davey Pressure System
To protect your pressure system from the weather, make
sure the pump house is both water proof, frost free and
has adequate ventilation. The pump should be horizontally
mounted on a rm base allowing for drainage, to avoid
damage to ooring etc., that over time may occur from
leaking pipe joints or pump seals. Do not mount the pump
vertically.
Preparing your system
On removing your pressure system from its carton you will need
to position the Hydrascan®control module on top of the pump.
Make sure the ow cone is secured in place in the Hydrascan®
body, position Hydrascan® module on top of the pump and
tighten the locking nut. The Hydrascan®unit is capable of
360° rotation to enable the most convenient positioning of the
discharge piping. Loosening the locking nut enables convenient adjustment.
Rotary Coupling Installation
Your Davey (XP500H, XP700H & XP900H only) Water Pressure system is equipped with
the convenience of the Davey Rotary Coupling. This coupling allows the pump controller
to be tted simply and easily to the pump discharge.
The rotary coupling is already tted to the pump discharge port. The controller adaptor
nut is able to rotate independent of the pump adaptor nipple and thus the complete
pump, this allows it to be tightened onto the pump controller inlet - see illustration
below. Hand tighten only the controller adaptor nut to ensure a rm connection to your
controller. The oring on the base of the controller will ensure a leak-proof seal between
the rotary coupling and the controller.
The ability to rotate the adaptor nut also means that the complete controller, once tted
to the rotary coupling, can be rotated a full 360 degrees in the horizontal plane, without
causing the coupling to unscrew from the pump outlet.
Large lead-in on thread to ensure positive tment and
overcome possible cross threading.
Controller adaptor nut rotates independent of the pump
adaptor nipple, and has hand tightening ribs.
Pump adaptor nipple can be tted to the pump discharge and
tightened independently of the controller nut.
Large section Oring provides positive seal on pump discharge.
Circlip retains controller nut and pump nipple as one
assembly.
Prior to using this pump you must ensure that:
• The pump is installed in a safe and dry environment
• The pump enclosure has adequate drainage in the event of leakage
• Any transport plugs are removed
• The pipe-work is correctly sealed and supported
• The pump is primed correctly
• The power supply is correctly connected
• All steps have been taken for safe operation
Appropriate details for all of these items are contained in the following Installation and
Operating Instructions. Read these in their entirety before switching on this pump. If you
are uncertain as to any of these Installation and Operating Instructions please contact
your Davey dealer or the appropriate Davey ofce as listed on the back of this document.
Congratulations on your purchase of a high quality, Australian built Davey pressure
system. All components have been designed and manufactured to give trouble free,
reliable operation.
Your new pressure system incorporates ‘Hydrascan®’, electronic ow control – a Davey
designed feature that enables the use of a highly efcient pump design and offers the
following benets:–
1. Enables the pump to deliver a constant ow of water particularly at low ow rates -
reducing the inconvenience of pressure variation in showers etc.
2. Provides automatic “cut-out” protection should the pump run out of water or
overheat.
Power Connection
Connect lead to power supply designated on pump label. Do not use long extension
leads as they cause substantial voltage drop, poor pump performance and may cause
motor overload.
Electrical Power Surge Protection
An electrical power surge or spike can travel on the supply lines and cause serious
damage to your electrical equipment. The Hydrascan® CL tted to this pump has a
metal oxide varistor (MOV) tted to help protect it’s circuit. This MOV is a “sacricial”
device, meaning that it effectively gradually destroys itself every time it takes a surge.
The MOV is not a lightning arrestor and may not protect the Hydrascan CL if lightning
or a very powerful surge hits the pump unit.
If the installation is subject to electrical power surges or lightning we strongly
recommend the use of suitable additional surge protection devices on ALL electrical
equipment.
Pipe Connections
For best performance use P.V.C. or
polythene pipes at least the same
diameter as the pump’s inlet and delivery
outlet openings. Larger diameter pipe may
be used to minimise resistance to ow
when pumping longer distances.
Use unions at pipe connections to enable easy removal and servicing.
Use sufcient tape to ensure airtight seal and hand
tighten only. To prevent strain on pump threads always support heavy
inlet and outlet pipes. If there is a likelihood the water supply
may contain solid particles such as pieces of plant or vegetable
matter, a lter should be installed before the pump to avoid
blocking of water ways. Lay suction pipe at a
constant gradient to avoid air pockets which may reduce pump
efciency.
Where to use Check Valves and Foot Valves
Installations with a suction lift over 1m require a good quality foot
valve to avoid loss of prime.
XP350H, in this case, the poppet valve inside the pump should be
removed.
XP500H, XP700H or XP900H in this case, the check valve chock
supplied with the pump, must be fully screwed into the suction inlet
before installing suction piping. This can easily be done using a
standard screwdriver handle.
WARNING: Some insects, such as small ants, nd electrical devices attractive
for various reasons. If your pump enclosure is susceptible to insect infestation
you should implement a suitable pest control plan.
The Davey Hydrascan® tted to this pump has a low pressure indicator light
mounted on its side panel, adjacent to the yellow reset button. This light will
be illuminated whenever the Hydrascan® senses low pressure. The light will
only work when unit is connected to the correct electrical supply.
Do not use pipe thread sealing compounds on any part of this pump. ONLY use
Teon sealing tape.
NOTE: Suction leaks are the largest cause of poor pump performance
and are difcult to detect. Ensure all connections are completely
sealed using thread tape only.
Abrasive Materials
The pumping of abrasive materials will cause damage to the pressure system
which will then not be covered by the guarantee.
5. If the pump stops with the tap open
and if the low pressure indicator light
is illuminated go to steps 5a) or 5b)
as applicable. If the pump stops with
the tap open and if the low pressure
indicator light is not illuminated check
the power supply to the pump (see
troubleshooting checklist).
a) If a partial ow only
was established before
the pump stopped
itself, press the yellow
button and hold until a
full ow is evident from
the open discharge.
This should only take
approximately 15
seconds.
b) If no ow at all was established
before the pump stopped itself,
repeat the process from step 1.
6. Close the open outlet or tap and the
pump should stop after a few seconds
(the low pressure indicator light should
not be illuminated, if it is see the
troubleshooting checklist).
To Reset if Pump switches out in Pump
Protection Mode
1. Make sure pump is primed.
2. Open tap, push button.
3. Close tap and pump will stop.
1. Remove priming plug
and ll casing and
suction line (on ooded
suction, simply open
gate valve to pump).
When full, replace
priming plug.
2. Ensure outlet nearest to
pump is open.
3. Ensure all valves in suction line are
open.
4. Switch on power - The low pressure
indicator light will be
illuminated for a few
seconds and the pump
will run. A full ow of water
should be discharged from
the open tap.
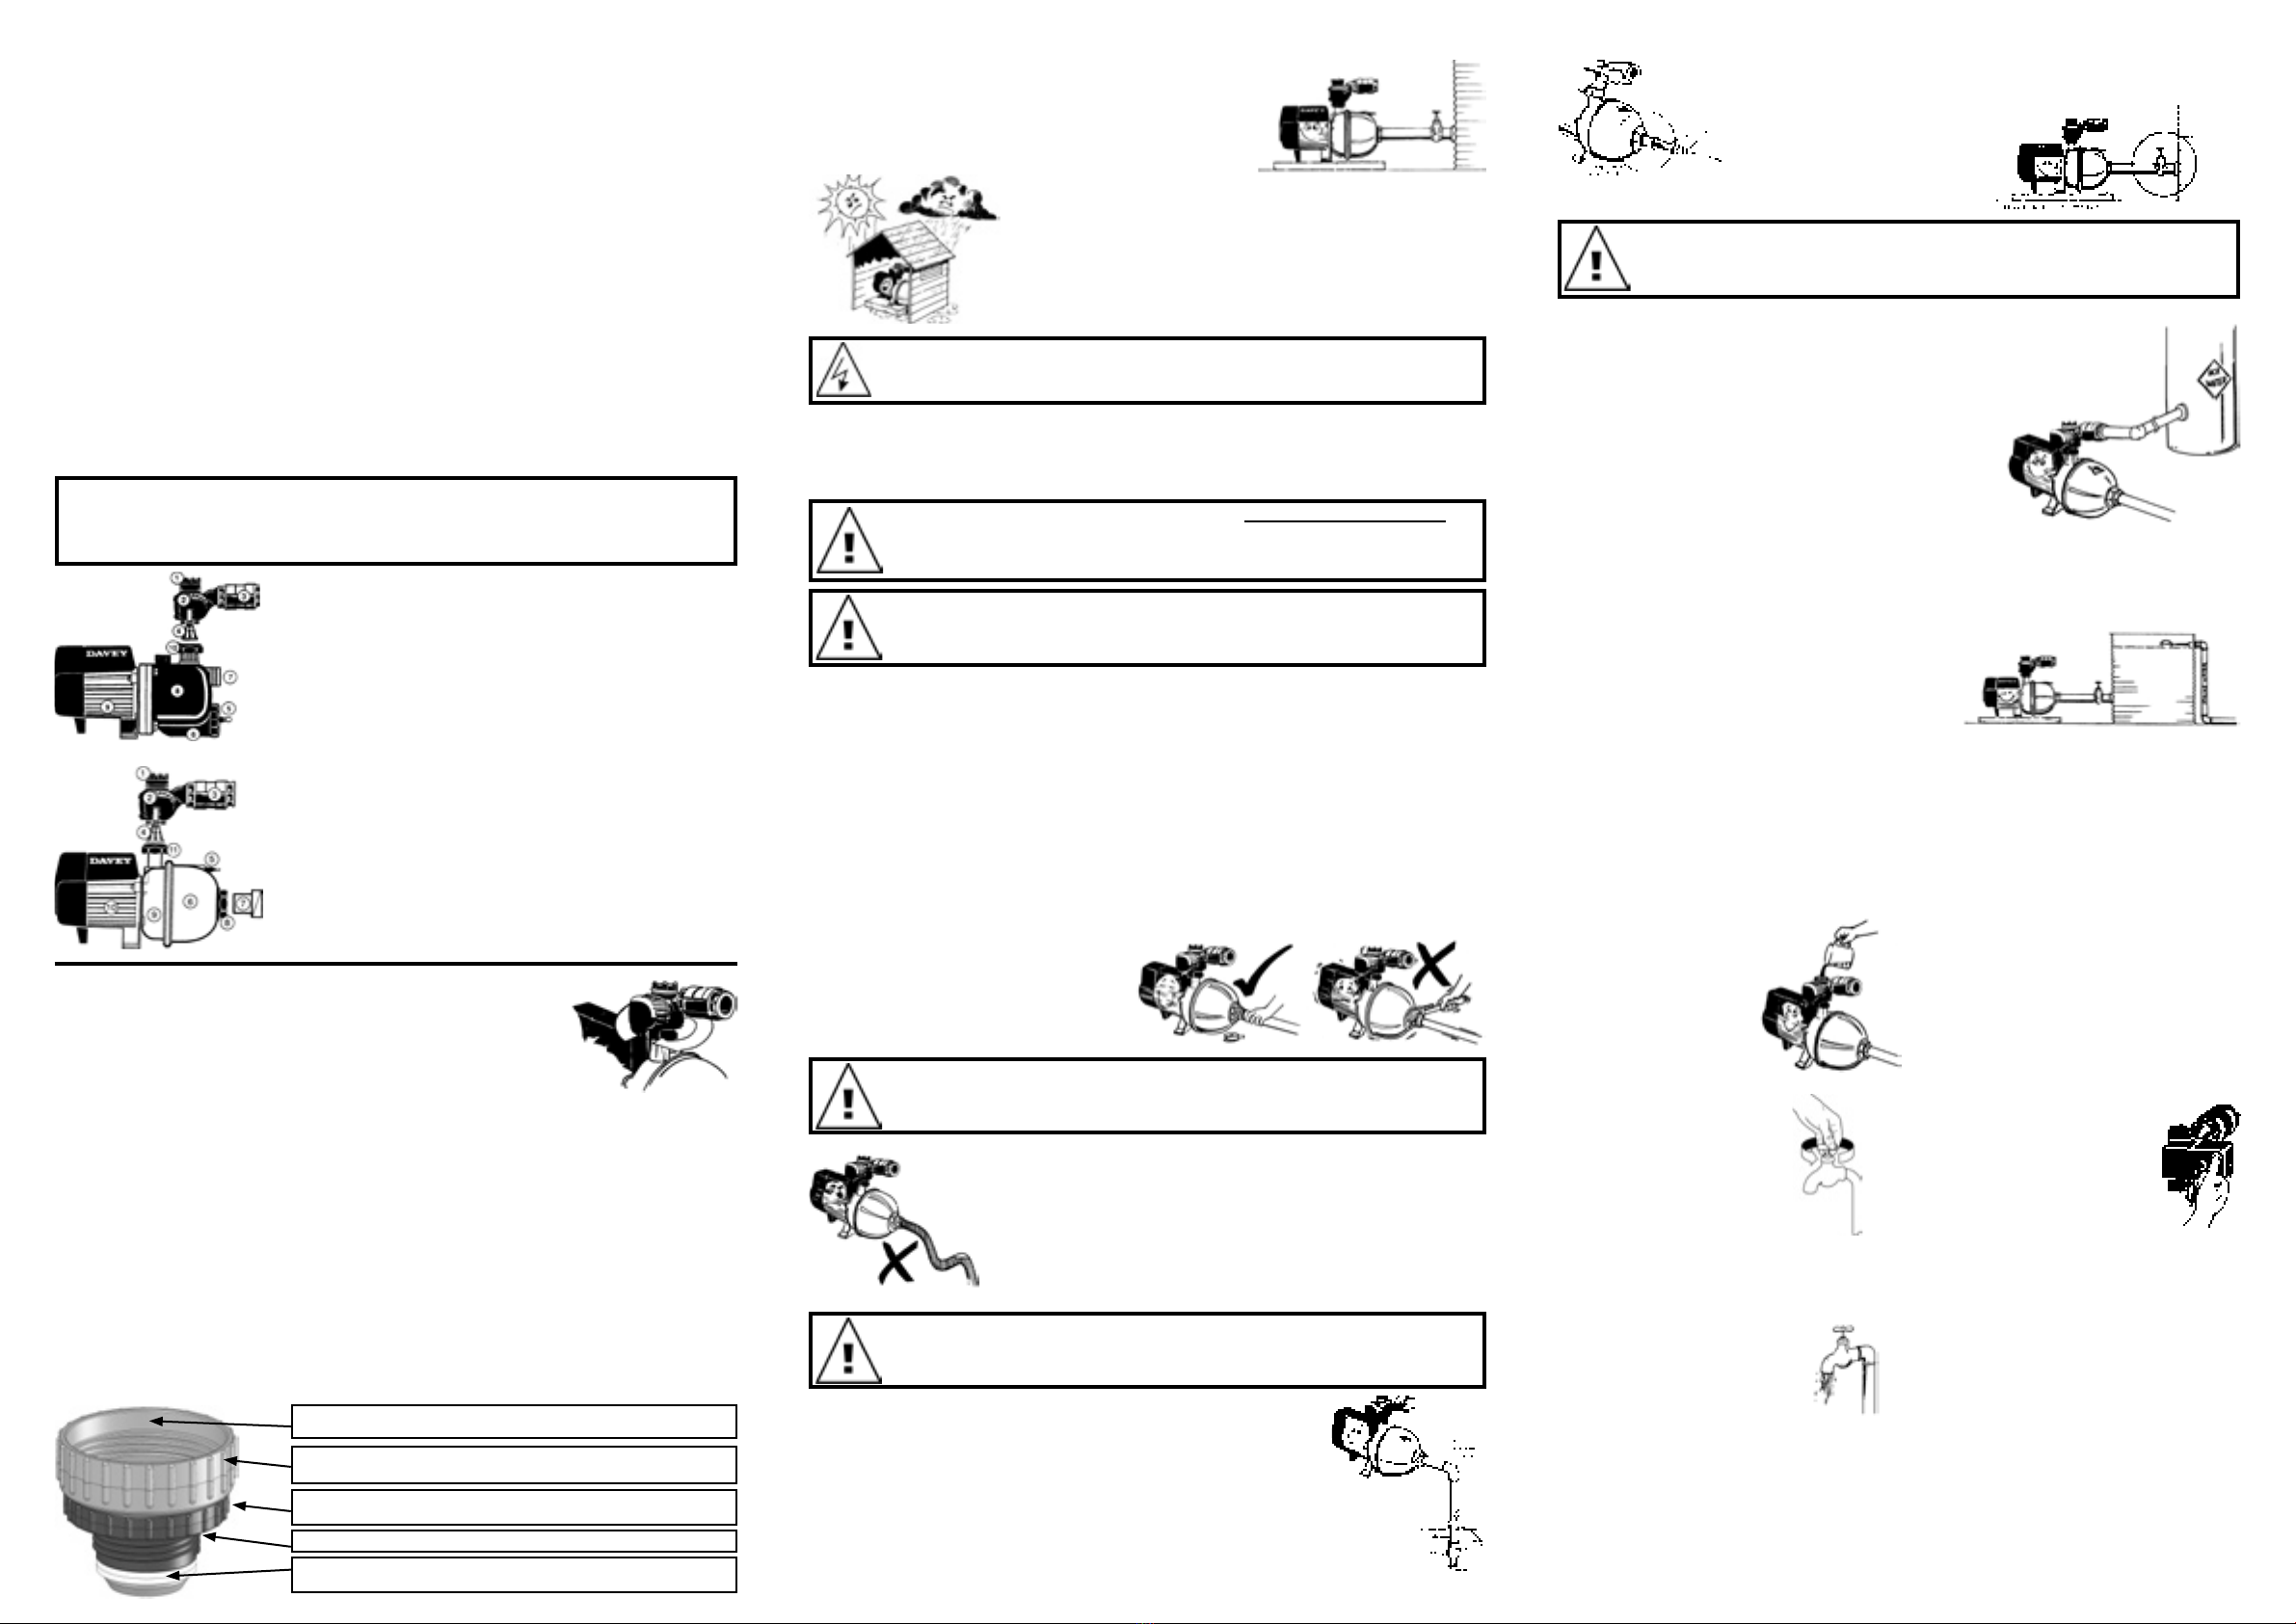
Model XP350H 5. Air Valve
1. Priming Plug 6. Pressure Tank
2. Hydrascan®Control Module 7. Suction Inlet (1” BSPF)
3. Permanently attached 8. Pump Body
Non-Return Valve (1” BSPF) 9. Motor
4. Flow Cone 10.Locking Nut
Models XP500H, XP700H, XP900H 6. Pressure Tank
1. Priming Plug 7. Insertable Check
2. Hydrascan®Control Module Valve Chock
3. Permanently attached 8. Suction Inlet (11/4” BSPF)
Non-Return Valve (1” BSPF) 9. Pump Body
4. Flow Cone 10.Motor
5. Air Valve 11.Locking Nut
Before installing your new pump, please read all instructions carefully as failures caused
by incorrect installation or operation are not covered by the guarantee. Your XP pressure
system is designed to handle clean water. The system should not be used for any other
purpose without specic referral to Davey. The use of the system to pump ammable,
corrosive and other materials of a hazardous nature is specically excluded.
In accordance with AS 3350.2.41 we are obliged to inform you that this pump is
not to be used by children or inrm persons and must not be used as a toy by
children.

This manual suits for next models

2

Other Davey Water Pump manuals

Davey D10A User manual

Davey

Davey D10A User manual

Davey TotalFlo TF117MS User manual

Davey

Davey TotalFlo TF117MS User manual

Davey Dynapond 7000 User manual

Davey

Davey Dynapond 7000 User manual

Davey Firefighter 5148YEV User manual

Davey

Davey Firefighter 5148YEV User manual

Davey QB Series User manual

Davey

Davey QB Series User manual

Davey DynaDrive DD60-10 User manual

Davey

Davey DynaDrive DD60-10 User manual

Davey HS20-65Y2 User manual

Davey

Davey HS20-65Y2 User manual

Davey JY Series User manual

Davey

Davey JY Series User manual

Davey CS Series Manual

Davey

Davey CS Series Manual

Davey XF111SS User manual

Davey

Davey XF111SS User manual

Davey M5138 User manual

Davey

Davey M5138 User manual

Davey RainBank Evolution MkII User manual

Davey

Davey RainBank Evolution MkII User manual

Davey PowerMaster Eco PMECO User manual

Davey

Davey PowerMaster Eco PMECO User manual

Davey SureFlo DSF750 User manual

Davey

Davey SureFlo DSF750 User manual

Davey 6200 User manual

Davey

Davey 6200 User manual

Davey Davey XP/T User manual

Davey

Davey Davey XP/T User manual

Davey HS Series User guide

Davey

Davey HS Series User guide

Davey RainBank KRBCABS1/20 User manual

Davey

Davey RainBank KRBCABS1/20 User manual

Davey CY/A Series User manual

Davey

Davey CY/A Series User manual

Davey jumbo floodfighter User manual

Davey

Davey jumbo floodfighter User manual

Davey CD40-40 User manual

Davey

Davey CD40-40 User manual

Davey M5138 User manual

Davey

Davey M5138 User manual

Davey HM Series User manual

Davey

Davey HM Series User manual

Davey DynaDrive DD15-35NPT User manual

Davey

Davey DynaDrive DD15-35NPT User manual

Popular Water Pump manuals by other brands

Reefe PRJ55E Exploded View & Instruction Manual

Reefe

Reefe PRJ55E Exploded View & Instruction Manual

Graco D51 instructions

Graco

Graco D51 instructions

pumpeng Raptor 8kw The installation, care and use

pumpeng

pumpeng Raptor 8kw The installation, care and use

Generac Power Systems ST20 owner's manual

Generac Power Systems

Generac Power Systems ST20 owner's manual

Calpeda E-MXPM operating instructions

Calpeda

Calpeda E-MXPM operating instructions

Deming 3060 Series Installation, operation & maintenance manual

Deming

Deming 3060 Series Installation, operation & maintenance manual

Renkforce 1529145 operating instructions

Renkforce

Renkforce 1529145 operating instructions

Crane BARNES 10XSHTB Installation and operation manual

Crane

Crane BARNES 10XSHTB Installation and operation manual

Ingersoll-Rand MP PUMPS CHEMFLO 3 Operator's manual

Ingersoll-Rand

Ingersoll-Rand MP PUMPS CHEMFLO 3 Operator's manual

DAISHIN CORAL SCR252M2 Instructions for use

DAISHIN

DAISHIN CORAL SCR252M2 Instructions for use

GORMAN-RUPP AMT 576B-95 manual

GORMAN-RUPP

GORMAN-RUPP AMT 576B-95 manual

IWAKI EW Series instruction manual

IWAKI

IWAKI EW Series instruction manual

Finish Thompson GP22 Series Installation and maintenance instructions

Finish Thompson

Finish Thompson GP22 Series Installation and maintenance instructions

Espa WIPER Series instruction manual

Espa

Espa WIPER Series instruction manual

Aqueon ACP500 instructions

Aqueon

Aqueon ACP500 instructions

TorcUP EP1000 Operating & maintenance instructions

TorcUP

TorcUP EP1000 Operating & maintenance instructions

Reefe RSF980 user manual

Reefe

Reefe RSF980 user manual

Liberty Pumps Omnivore XLSG Series installation manual

Liberty Pumps

Liberty Pumps Omnivore XLSG Series installation manual

manuals.online logo
manuals.online logoBrands
  • About & Mission
  • Contact us
  • Privacy Policy
  • Terms and Conditions

Copyright 2025 Manuals.Online. All Rights Reserved.