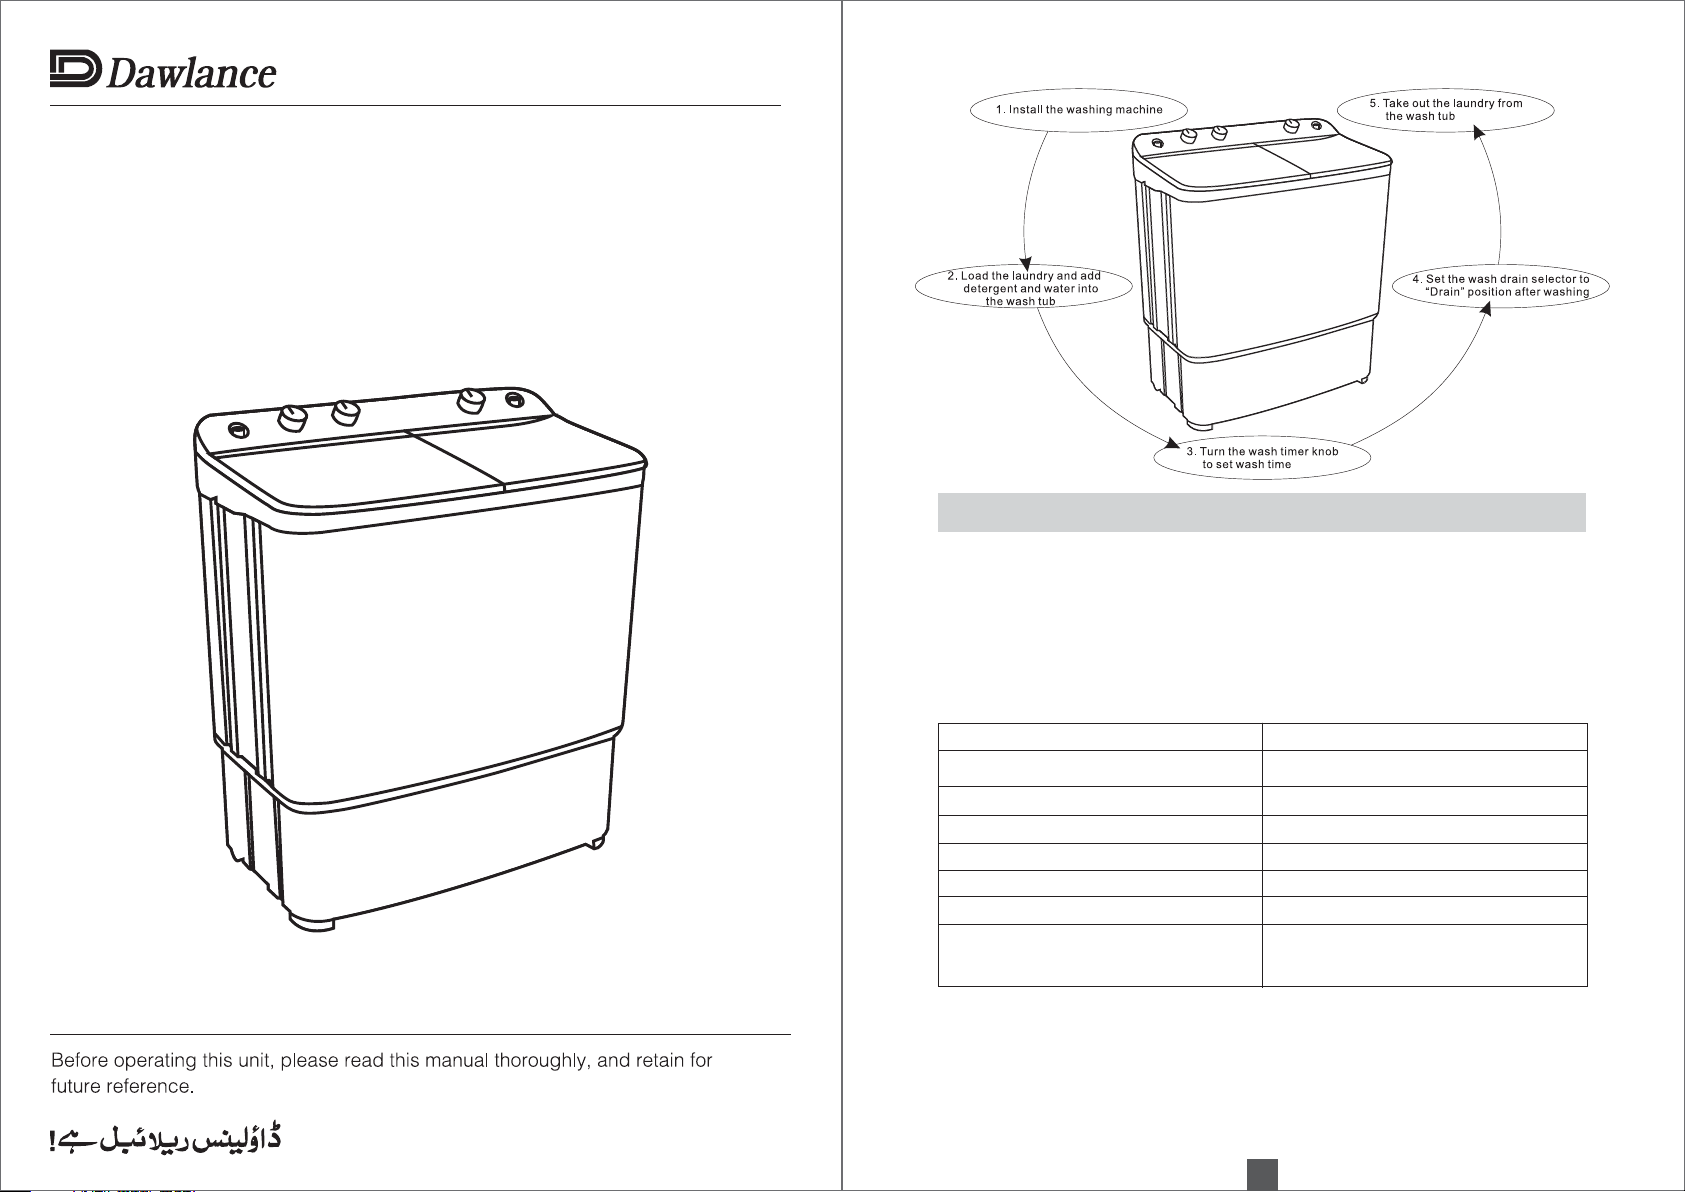
INSTALLATION
Location & Environment
*
*
*
*
Do not place the twin tub in steamy rooms or where the twin tub is directly exposed to rain. Moisture may destroy
the electrical insulation and cause an electric shock hazard.
Place twin tub on a sturdy flat surface. If the twin tub is placed on an uneven or weak surface, noise or vibrations
may occur. (Allowable inclination is max. 2 degrees).
Avoid direct sunlight or heating device. As plastic and electrical components are affected by direct heat, never
place the washer near heater, boilers etc.
Do not place or store the washer below 0ºC (32ºF) to avoid any damage from freezing.
Electrical Connection
*This unit is designed to operate from an adequate supply mentioned at the rating label sticked to the rear of it.
Caution: If the power cord is damaged, it should be replaced by a repair shop appointed by the manufacturer,
because special purpose tools are required.
*
*
*
Sort the clothes into groups-white, colorfast, non-colorfast, delicates, lint free, lint producer, etc., and
wash according to the LAUNDRY GUIDE. (See Laundry Guide).
Clothes with worn or torn patches should first be mended. Empty out all pockets and close all side
fasteners. (pocket, covers, belts, etc). Treat bad stains prior to washing.
Insert power cord plug into the power point and switch on.
HOW TO WASH
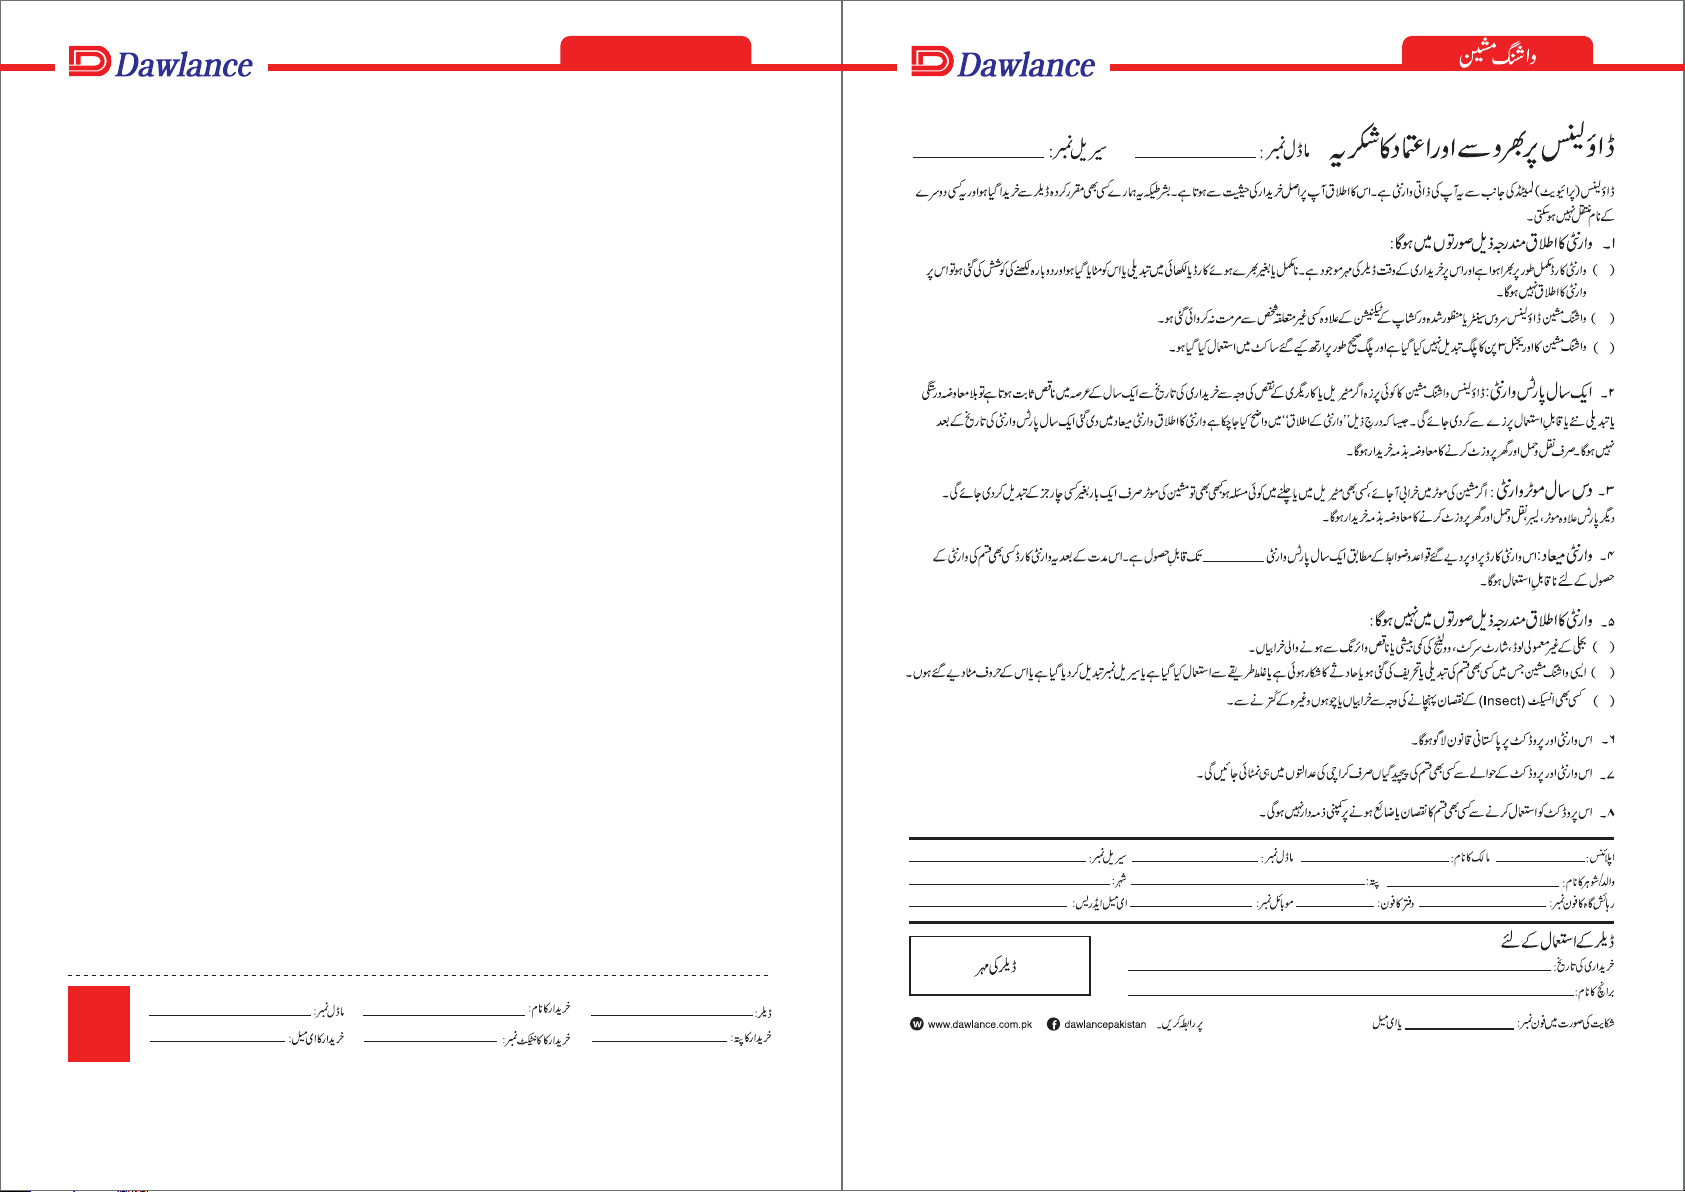
Preparation
1. Set the wash timer knob to position “0”.
2. Select the wash action to the desired position.
3. Open the water faucet and feed water to the water level indicated inside the wash tub.
4. Put detergent and laundry into the wash tub.
5. Set wash time by the wash timer.
How to Wash
HOW TO RINSE
1. Set the wash action to the desired position.
2. Turn the water tap on.
3. When the rinsing water becomes clear, turns off the water tap.
HOW TO SPIN DRY
1. Put the wet clothes into the spin dryer drum, being sure that they are well balanced as shown below.
Caution: Ensure that the spin dryer drum completely stops before reaching into remove the laundry. Be specially
careful of children.
*
*
If there is any abnormal vibration during spinning, open the spin dryer lid to stop the spin dryer drum and rearrange
the clothes to be in good balance.
Should spinning fail to stop within 15 seconds after spin dryer lid is open, the brake is out of order. Immediately stop
using the machine and call Dawlance Customer Service.
2. Place the safety cover horizontally on the top.
3. Close the inner lid and spin dryer lid. (The machine will not spin if the spin dryer lid is open)
4. Turn the spin timer to the clockwise direction until you reach the desired spin time position.
02 03
Note: Cleaning after use will extend the life of your washing machine. Before cleaning disconnect the power cord
from the electrical outlet.
Note: If during washing, some residue or deposits have accumulated in the net, then after finish washing,
remove the filter by first push down and pull it out.
Note: The above procedure will remove the dirt, lint etc. accumulated underneath the pulsator and on the
drain strainer.
Lint Filter
Cleaning of dirt underneath Pulsator & on Drain Strainer
LAUNDRY GUIDE
Washing Time & Wash Action Table
Extremely soiled heavy fabric
Linen, cotton, etc.
Ordinary clothes (underwear, etc.)
Slightly soiled synthetic ber
100% wool, mixed wool knitting, thin synthetic
ber with tags indicating hand washing
10-15 minutes
8-10 minutes
7 minutes
2-5 minutes
2-5 minutes
KIND OF CLOTHING WASHING TIME
Dirt, lint etc. may accumulate underneath the pulsator and on a Drain Strainer. Carry out cleaning after every four to six
washes or whenever required, as per following procedure:
Step I After finishing the wash, fill the wash tub upto three quarters with clean lukewarm water.
Step II Set wash action to “STRONG” position.
Step III Operate washer for 10 minutes.
Srep IV Drain out the water.
Step I Remove the overflow filter by pulling it forward.
Step II Wash off the lint stuck on the overflow filter during overflowing.
Step III Re-fix the overflow filter by first inserting its bottom section and then pushing
the upper part firmly into the socket.
CLEANING AND MAINTENANCE
At the end of every washing:
Switch off the electricity.
Ensure that timer knob reached back to “0” position.
Wipe off spillage (detergent powder, etc.) and generally wipe over the tub and base with a dry duster.
Cautions
Do not connect to the hot water supply.
This appliance is not intended for use by persons (including children) with reduced physical, sensory or mental
capabilities, or lack of experience and knowledge, unless they have been given supervision or instruction
concerning use of the appliances by a person responsible for their safety. Children should be supervised to ensure
that they do not play with the appliance.
This product should not be disposed with other household wasters. To prevent possible harm to the environment or
human health from uncontrolled waste disposal, recycle it responsibly to promote the sustainable reuse of material
resources. To return your used device, please use the return and collection system or contact the retailer where the
product was purchased. They can take this product for environment safe.