ddrum BETA PRO User manual

Drum Sound Module
BETA PRO
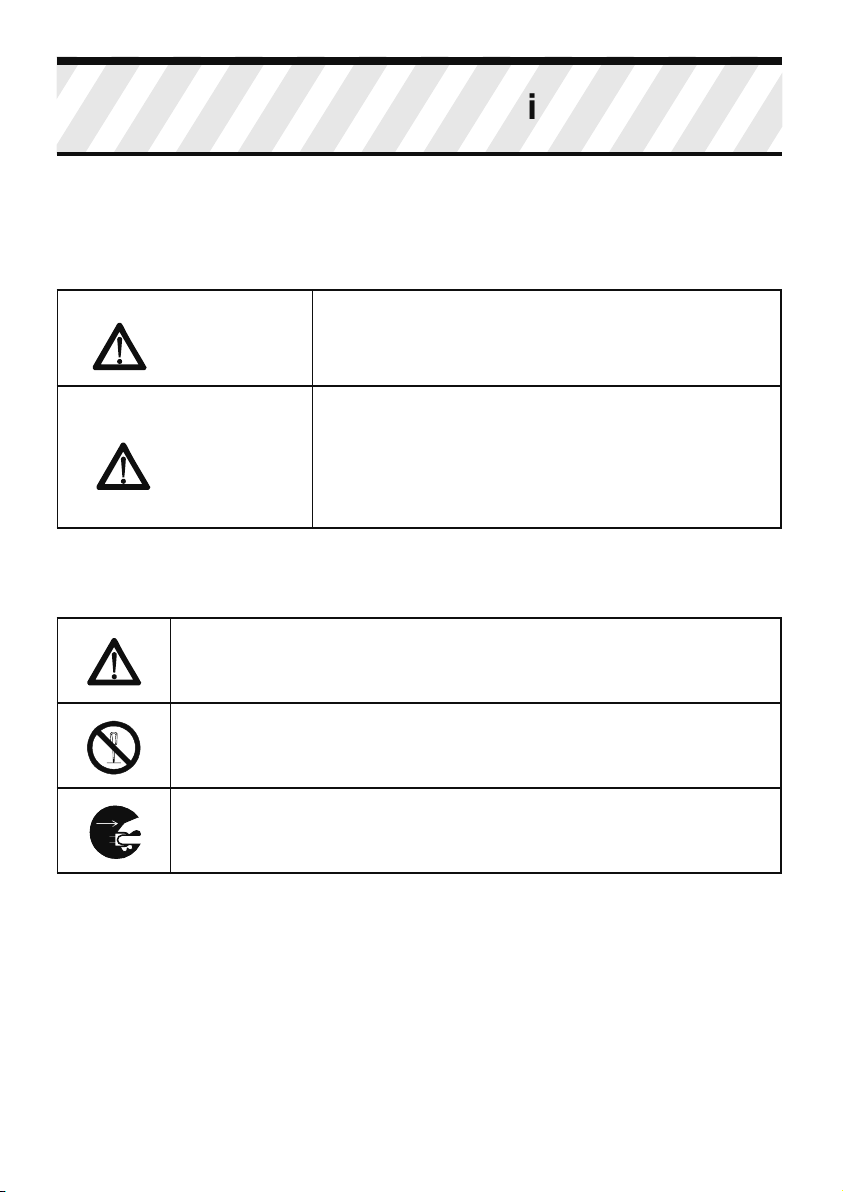
Operation Warning
Warning & Caution Signs
WARNING
This sign indicates the risk of serious physical injury or
even death. Please operate the machine according to
instructions.
CAUTION
This sign indicates the risk of serious physical injury and
even death. Please operate the machine according to
instructions.
*Object damage refers to any harm or adverse effects to
household, furniture, pets, and etc.
About Signs
This sign indicates a warning or caution. Please read the accompanied
instruction to prevent any dangers.
This sign indicates any forbidden activity.
This sign indicates an instructional procedure for users to follow with.
ALWAYS FOLLOW THE INSTRUCTIONS
AS DESCRIBED BELOW
1
WARNING
Please read the following instructions
before operation.
Do not open or in any way modify the
machine or adapter.
Do not attempt to repair or replace any
internal parts by yourself, unless
instructed to do so by the manual. In
case of technical assistance, please
contact with your retailer, or their
customer service, or any recognized
retailers printed on the information page.
Do not store or operate the machine
under the following conditions:
• Near areas with extreme
temperature. (For example,in the car
under the sun, near a heat venting
pipe, and etc.)
• In very humid environments. (For
example, in the bathroom or near other
damp environments.)
• Exposing to rain or any other liquids
• In the sand.
• In shaking & unstable environments.
Recommended support stands
accessories only.
For proper operation, make sure that
the support stands are placed on flat
and stable ground in order to support
the machine safely and stably.
WARNING
Please only use the adapter that is in-
cluded with the unit. Make sure that
the voltage of the socket matches the
voltage indicated on the unit.
Please do not over-twist or over-bend
the power cable, or place any objects
on it. Doing so may result in short-
circuit that can lead to fire and electric
shock.
Prevent letting any object like coins or
pins, or any liquid slip inside the
machine.
Should any of the following situations
result, please stop operation and remove
the adapter from the socket, remove the
adapter from the socket, and consult with
your retailer, the nearest customer service,
or any of the recognized retailers listed on
the information page:
• The adapter or the power cable is
damaged.
• An object, or liquid has slipped into
the interior of the machine.
• The module has been exposed in
rain, or has got wet.
• The module is not operating or is
operating with noticeable problems.
2
Please do not operate with high volume
over a long period of time regardless of
using an amplifier or a headphone.
Doing so may prevent damage to your
hearing. Should any hearing discomfort
develop. Stop using and consult a hearing
doctor.

WARNING
If there are children in the household,
the adults should follow the safety
precautions explained in the manual.
Do not share the power supply with
too many adapters at the same time.
When using an extension power
supply, please make sure that the
total power usage does not exceed
the limit stated on the extension power
supply. Doing so may result in melting
of the cables and fire.
When using the module in other coun-
tries, please consult your retailer, the
nearest customer service, or any of
the recognized retailers listed on the
information page to find out correct
voltage for that country.
CAUTION
Always place the module and the
adaptor in areas with good airflow.
When inserting or removing the power
cable into/from the socket or the
machine, always grab the plug instead
of the cable.
If you do not plan to operate the
module for a long period of time,
please remove the adapter from the
socket.
To prevent the cables from tangling,
place the cables out of reach of
children.
Do not place heavy objects on the
module.
When moving the module, or during
insertion/removal of the plug, always
insertion/removal of the plug, always
use dry hands.
Please turn off the power and remove
the adapter from the socket before
cleaning the module.
When there is a risk of lightning strike,
please remove the adapter from the
socket.
3

Power Supply
• Do not share the power supply with other
electronics that can produce cable statics, for
example, electric motors.
• It is normal for direct current (DC) to produce
heat with extended usage, and there is no need
to be worried.
• Before connecting the module to other
electronics, always turn off the power to prevent
damage.
Placement/Location
• Operating the module near a post-amplifier or
machines that use High-power converters, buzzing
may result. To prevent this problem, please
change the module’s facing direction, or place the
machine away from the interrupting sources.
• This machine may interfere with the radios and
televisions. Please do not operate the module
near them.
• Do not place the module under sun, or near any
heat source, as high temperature may cause the
module or components to deform or discolor.
• To prevent permanent damage, please do not
expose the module or components to moist or in
humid environments.
Maintenance
• For normal cleaning, please use soft cloth with
little or no moist for wiping. For tougher spots, use
neutral-pH and wear-free cleaner then use dry soft
cloth to wipe clean.
• Never use volatile oil, diluting solutions, alcohol,
or any other kinds of solvents to prevent the
machine from deforming or discoloring.
Additional Precautions
• During operation, please handle with care to
prevent any damage. Do not hit or press against
the display screen.
• Always grab the heads of cables during in-
sertion/removal to prevent damage to the cables
or the machine.
• To prevent disturbing your neighbors, please
operate the machine at an acceptable volume, or
use a headphone, especially at night.
• Although this electronic drum set is designed to
minimize unwanted noise during operation, the
percussive sound may still pass through the floor
or walls, resulting in unexpected noise.Please be
careful not to let such sound disturb your neighbors,
especially at night.
• When transporting, please use the original or
similar packaging and box.
• Please use official cables for connection. When
using cables from other companies, please note
the following:Some cables may consist of resistors,
which may be incompatible and result in extremely
low volume. For information about the specifications
of cables, please consult with the manufacturer.
• Please do not hit the pads with excessive force to
prevent the risk of hurting your fingers.
Precautions
Please read the following precautions aside from the safety in-
structions
4

LINE IN
PHONES
手機 音樂播
放器
3.5mm Stereo
3.5mm Stereo
1/4"(6.35mm) Stereo
1/4"(6.35mm) Stereo
1/4"(6.35mm) Stereo
1/4"(6.35mm) Stereo / Mono
1/4"(6.35mm) Stereo / Mono
2 zone
1 zone
1 zone
5

MIDI OUT
Micro USB
MIDI 5-pin DIN
DC 9V1A
(AC adaptor)
Micro SD SD
CARD Page 42
USB connector
(USB TO MIDI)
6

⑧
⑦ ⑥⑤
⑥
②
⑦⑦
⑥
③
⑤
⑦
⑦
②
①
③
7

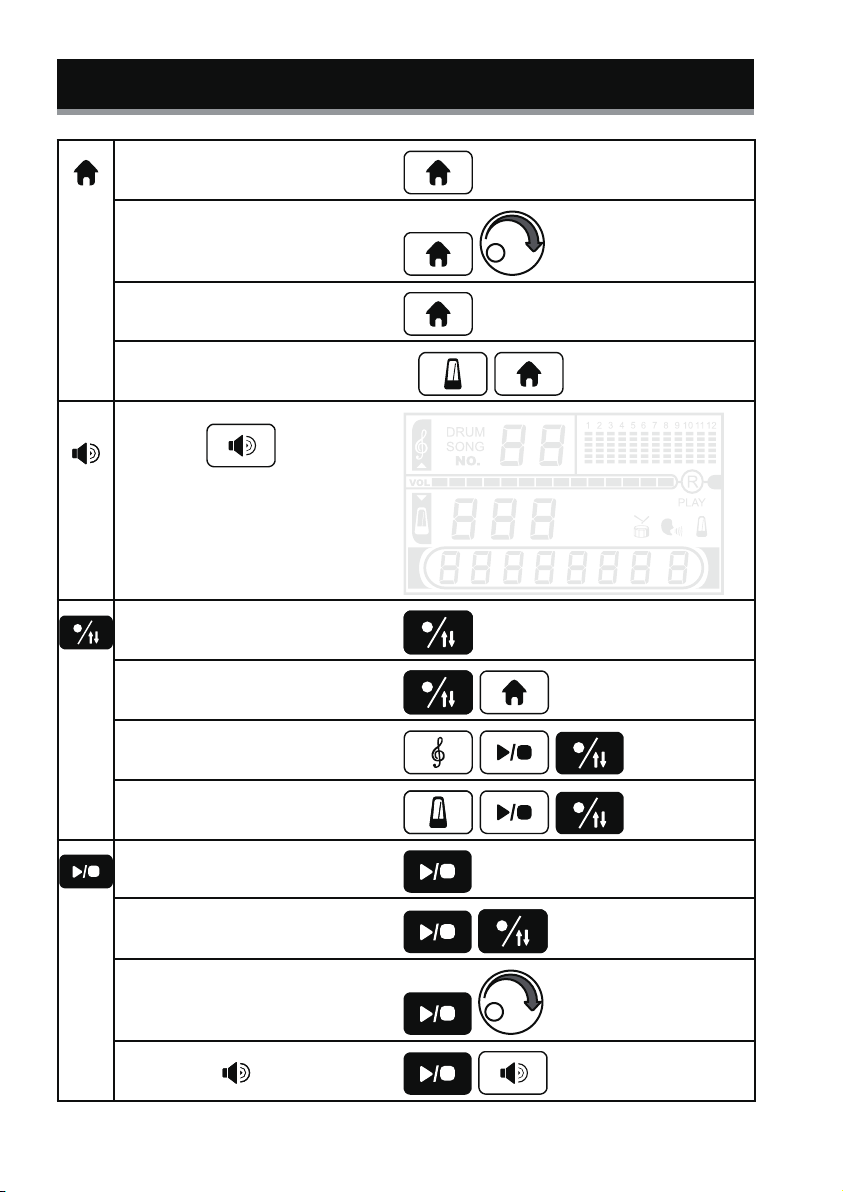
Home
Back to main page,
Knob
Menu select & adjust the value
save preset setting, default setting
On / Off
Switch power on / off
Range & Sensitivity
user customized sensitivity
Custom Drum Kit
Drum Kit(Home)
1. SD-card
①. ①- 1. p.11
②. ②- 1.
②- 2.
p.12
③. ③- 1. p.13
③- 1. p.14
④.
④- 2. p.14
⑤. ⑤- 1. p.16
⑥. ⑥- 1. p.22
⑥- 2. p.24
⑦. ⑦- 1. p.26
⑦- 2. p.27
⑦- 3.
⑧. ⑧- 1. p.29
⑧- 2. p.31
⑧- 3. p.32
p.32
SD CARD
Display
Control
Power
Control
Volume
REC.
Mode
User
Channel 1~8
Drum Kit
Choose Drum Kit.
Volume
REC.
Playback
Song mode
Click mode
Play/Stop
Select user mode
8
Home (drum kit)
Drum kit (home)
01~17, U-1~U-4
Save preset Press and hold
Reset ( )Press and hold
Volume
1. vol.
2. mode vol.
3~18. ch.vol.
1
2
2
3~18
REC.
REC. cancel (at loading)
Song mode REC.
Click mode REC.
Playback
Playback mute BGM
(Song/ Click track)
Playback Drum kit
01~17, U-1~U-4
Playback vol. (x1~11)
List of Commands
9

Song mode
1. Song no.01~99
2. Both/vocal/drum/none
1
2
Song mode Vol. ×2
Play Click
Click mode
1. 30~250 BPM
2. 9 kind of beats
3. vocal/click
2
3
1
Click mode vol. ×2
Select user mode
Sensitivity
Custom drum kit
sensitivity
2~17. Power range
18~33. Sensitivity
19. Bell & Bow / edge exchange
20. Mesh drum / other drum pad exchange
20. Midi out on / off
Custom drum kit
1. U-1~U-4 drum kit
2.
3.
4. Sound list ch.
Sound list
1
3
4
2
Power range &
Playing along to songs.
User drum kit ch.
10

On/ Off
11

①
Drum Kit(Home)
②
③Rotate to select Drum Kit.
The sequence of preset: Starting with 001~017
The following are user kits presets: U-1~U-4 12
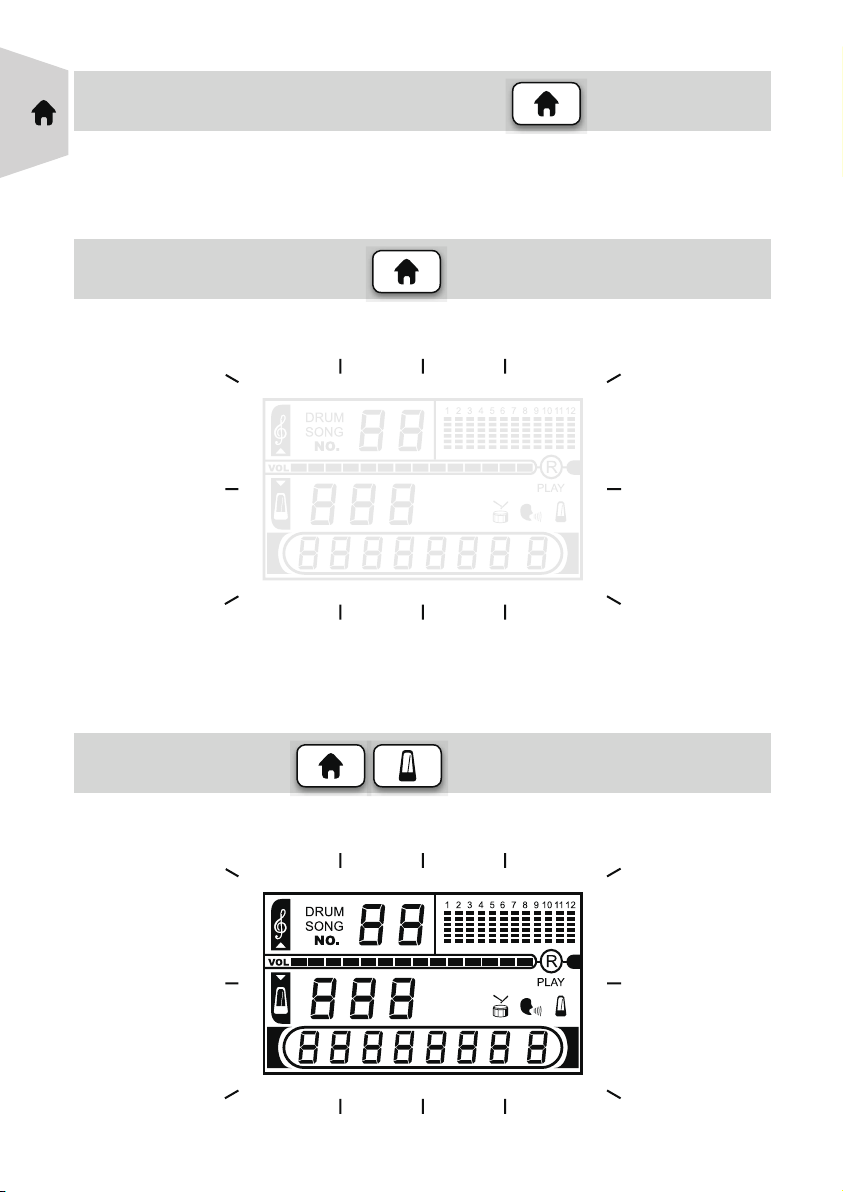
Home (Drum Kit):
Save Preset: ~~ Press and hold
the display will blink once when compeleted.
Reset: ( )~~ Press and hold
the display will blink once when compeleted.
13

8
2
1
3 4
5
6 7
Channel 1~8
Display
Drum kit
Drum kit
5
9
Hi-hat
14

How to use
①Press the button to select.
②
③Rotate knob to select or adjust.
③
①
②
Watch the change in the display.
15

Select Display Adjust
1/18 Volume (All drum)
- +
2/18 Mode Volume (Tone)
Volume
- +
3/18 Mode Volume(Hi-hat)
- +
8
2
3 4
5
6 7
9
Hi-hat
1
16

- +
5/18 Mode Volume (Tom1)
- +
6/18 Mode Volume (Tom2)
- +
7/18 Mode Volume (Tom3)
- +
4/18 Mode Volume (Snare)
17

- +
8/18 Mode Volume (Crash)
- +
9/18 Mode Volume (Ride)
- +
10/18 Mode Volume (Kick)
- +
11/18 Mode Volume (Effect 1)
18

- +
14/18 Mode Volume (HH ctrl)
12/18 Mode Volume (Effect2)
- +
15/18 Mode Volume (Snare rim)
- +
13/18 Mode Volume (Effect3)
- +
19
Other manuals for BETA PRO
1
Table of contents
Other ddrum Recording Equipment manuals


