DEC LA30N User manual

Order Number: EK-LA30E-UG-001
User Guide
TM
LA30
N
/LA30
W
Companion Printer
*1 Cover (1)-UG 28/05/96, 13:581

*1 Cover (1)-UG 28/05/96, 13:582

LA30N/LA30W Companion Printer
User Guide
Digital Equipment Corporation
Maynard, Massachusetts
#00_0 Title Page (2) 23/05/96, 14:091

#00_0 Title Page (2) 23/05/96, 14:092

iii
Table of Contents
Preface .................................................................................................... vii
About This Guide............................................................................................................... vii
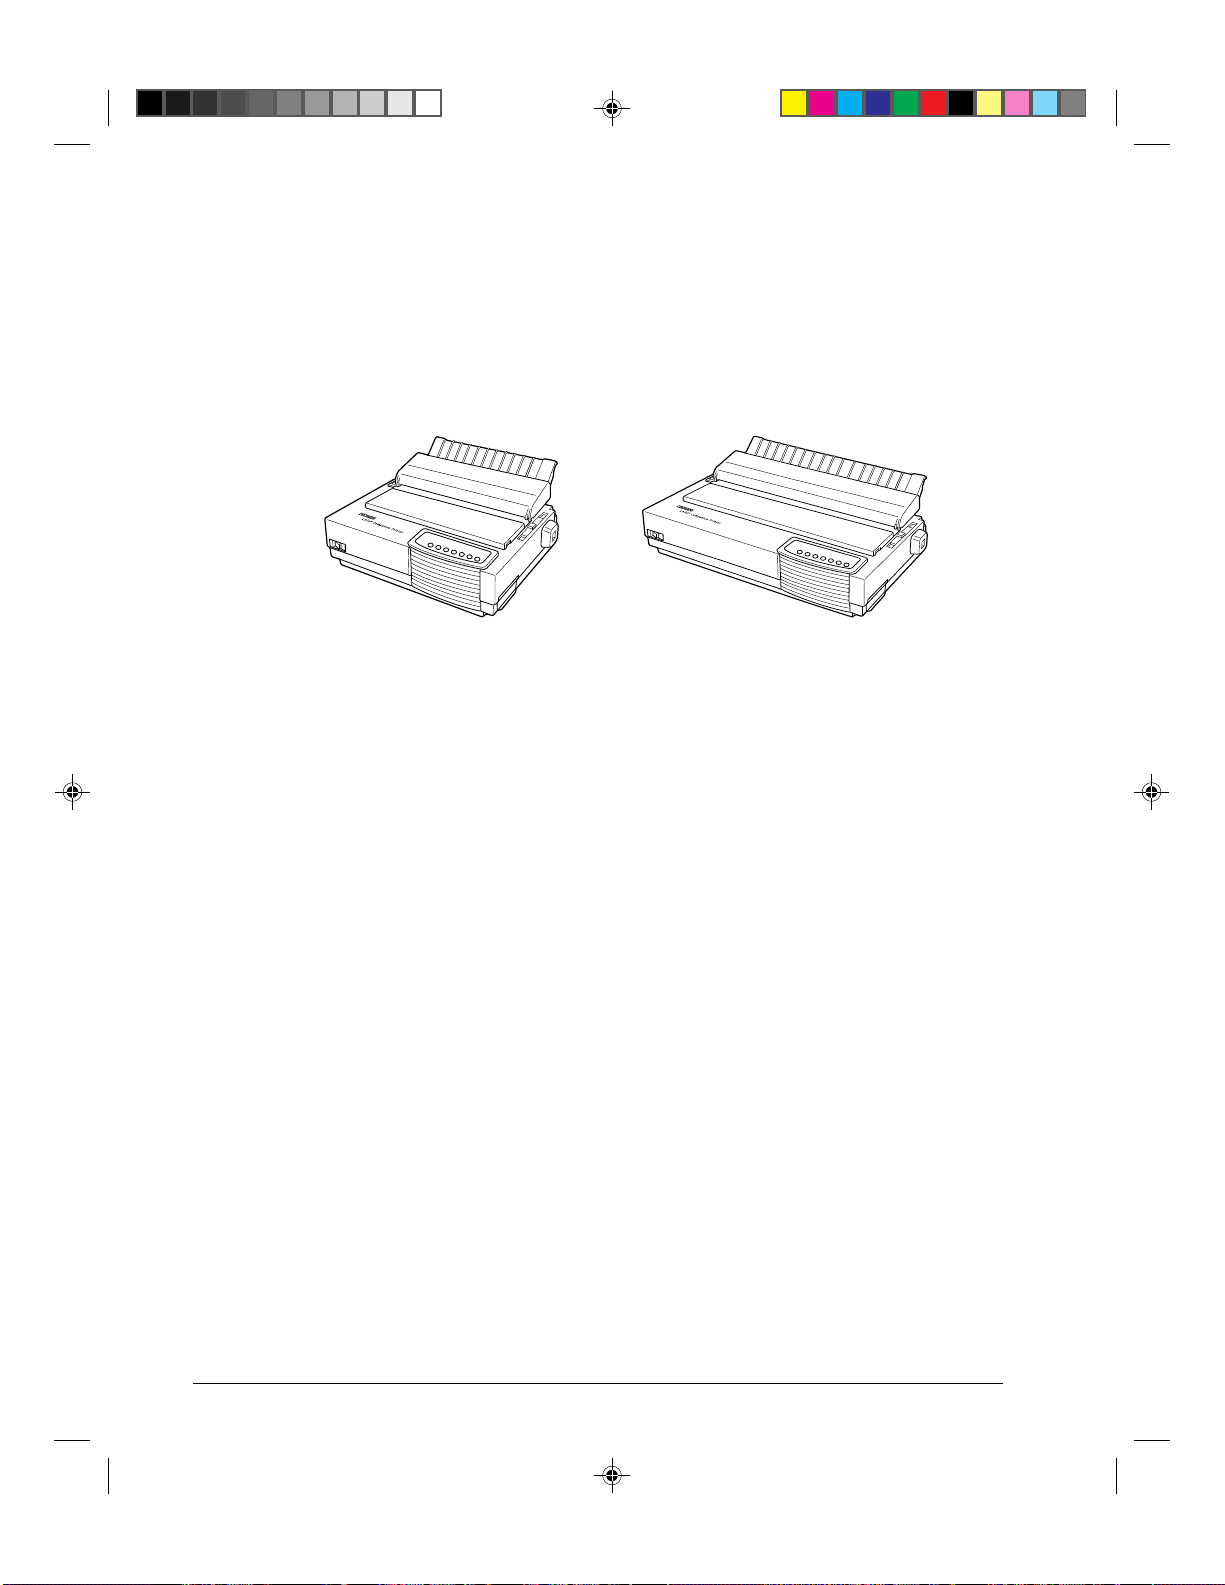
Printer Models and Options ............................................................................................... vii
Organization....................................................................................................................... viii
The LA30N and LA30W Model Specifications ....................................................... viii
Notes, Cautions and Warnings........................................................................................... ix
1. Introduction ........................................................................................ 1-1
Features .............................................................................................................................. 1-1
Options ............................................................................................................................... 1-2
2. Paper Handling ................................................................................... 2-1
Getting to Know the Printer’s Major Parts and the Control Panel ................................... 2-1
Parts of the Printer..................................................................................................... 2-2
Operations of the Control Panel................................................................................ 2-4
Selecting Paper .................................................................................................................. 2-7
Overview of Paper Operations .......................................................................................... 2-8
Adjusting for Paper Thickness .......................................................................................... 2-10
Using Single Sheets ........................................................................................................... 2-11
Loading a Single Sheet of Paper ............................................................................... 2-11
Ejecting Single Sheets............................................................................................... 2-13
Using Continuous Forms ................................................................................................... 2-14
Positioning the Paper Stack....................................................................................... 2-15
Loading Continuous Forms (Push Tractor and Rear Feed) ...................................... 2-16
Loading Continuous Forms (Pull Tractor and Bottom Feed) ................................... 2-19
Unloading Continuous Forms (Push-Feed Mode) .................................................... 2-24
Tearing Off Continuous Forms ................................................................................. 2-24
Feeding and Positioning Paper .......................................................................................... 2-26
Print Area Definition ................................................................................................. 2-26
Line Feed/Form Feed ................................................................................................ 2-28
Top-of-Form Adjustment........................................................................................... 2-28
Switching Paper Types....................................................................................................... 2-29
Switching from Continuous Forms to Single Sheets (Push-Feed Mode)................. 2-30
Switching from Single Sheets to Continuous Forms (Push-Feed Mode)................. 2-30
Switching between Push-Feed and Pull-Feed........................................................... 2-31
Tips on Paper Handling ..................................................................................................... 2-32
General Tips .............................................................................................................. 2-32
Multipart Forms......................................................................................................... 2-32
Envelopes .................................................................................................................. 2-32
Labels ........................................................................................................................ 2-32
#00_2 TOC (2) 24/05/96, 10:573

iv
3. Printing................................................................................................ 3-1
Selecting Print Features ..................................................................................................... 3-1
Using Commercial Software ..................................................................................... 3-2
Using the Control Panel ............................................................................................ 3-2
Selecting Macro 1 or Macro 2 .......................................................................... 3-3
Switching Macros and Selecting Features on the Control Panel ..................... 3-4
Selecting a Resident Font ................................................................................. 3-7
Changing the Protocol ...................................................................................... 3-8
Starting or Stopping Printing ............................................................................................. 3-9
Starting Printing ........................................................................................................ 3-9
Stopping and Viewing Printing ................................................................................. 3-9
Resuming Printing..................................................................................................... 3-9
Resuming from a Paper-Out...................................................................................... 3-9
Removing Printed Pages.................................................................................................... 3-10
Removing Single Sheets ........................................................................................... 3-10
Removing Continuous Forms ................................................................................... 3-10
4. Using Set-Up Mode ............................................................................ 4-1
What is Set-Up Mode for?................................................................................................. 4-1
How Set-Up Works ............................................................................................................ 4-2
Entering the Set-Up Mode ................................................................................................. 4-2
Overview of the Set-Up Mode........................................................................................... 4-5
Set-Up Mode Functions ............................................................................................ 4-5
Points to Remember .................................................................................................. 4-11
Printing the Printer Configuration ..................................................................................... 4-11
Deciding Which Options to Change.................................................................................. 4-13
Changing Macro 1 and Macro 2 Options .......................................................................... 4-14
Macro 1 and Macro 2 Options List.................................................................................... 4-15
Changing Install Options ................................................................................................... 4-25
Install Options List ............................................................................................................ 4-25
Adjusting Top-of-Form Origin .......................................................................................... 4-29
Changing Menu Access Options........................................................................................ 4-30
Exiting and Saving............................................................................................................. 4-30
Recalling Factory Settings................................................................................................. 4-31
Using the Diagnostic Functions......................................................................................... 4-31
Printing Test............................................................................................................... 4-31
Hex Dump Mode ....................................................................................................... 4-32
Set-Up Mode Quick Reference.......................................................................................... 4-34
#00_2 TOC (2) 24/05/96, 10:574

v
5. Maintenance........................................................................................ 5-1
Cleaning ............................................................................................................................. 5-1
Cleaning and Vacuuming the Printer ........................................................................ 5-1
Cleaning the Platen and Paper Bail Rollers .............................................................. 5-2
Cleaning the Print Head ............................................................................................ 5-3
Replacing the Ribbon Cartridge ........................................................................................ 5-3
Replacing the Print Head ................................................................................................... 5-5
6. Trouble-Shooting................................................................................ 6-1
Solving Problems ............................................................................................................... 6-1
Print Quality Problems and Solutions....................................................................... 6-1
Paper Handling Problems and Solutions................................................................... 6-4
Operating Problems and Solutions............................................................................ 6-5
Printer Failures .......................................................................................................... 6-6
Diagnostic Functions ......................................................................................................... 6-6
Checking Vertical Alignment............................................................................................. 6-7
A. Supplies and Options........................................................................A-1
Supplies.............................................................................................................................. A-1
Options ............................................................................................................................... A-1
Documentation................................................................................................................... A-1
Installing Options............................................................................................................... A-2
Installing the Color Kit.............................................................................................. A-2
B. Printer and Paper Specifications .....................................................B-1
Physical Specifications ...................................................................................................... B-1
Functional Specifications................................................................................................... B-2
Performance Specifications ............................................................................................... B-4
Paper Specifications........................................................................................................... B-5
Print Area................................................................................................................... B-5
Paper Thickness......................................................................................................... B-7
C. Command Sets................................................................................... C-1
DEC PPL2 Quick Reference Guide................................................................................... C-2
IBM Proprinter X24E and XL24E Quick Reference Guide ............................................. C-22
Epson ESC/P2 Quick Reference Guide............................................................................. C-26
D. Interface Information .........................................................................D-1
Parallel Interface ................................................................................................................ D-1
Serial Interface ................................................................................................................... D-4
Serial Options ............................................................................................................ D-5
Cable Wiring.............................................................................................................. D-5
Buffer Control ........................................................................................................... D-5
#00_2 TOC (2) 24/05/96, 10:575

vi
E. Character Sets.................................................................................... E-1
DEC PPL2 Protocol ........................................................................................................... E-1
Common to IBM Proprinter X24E and XL24E Protocol and Epson ESC/P2 Protocol ... E-18
Default Sets ............................................................................................................... E-18
IBM Proprinter X24E and XL24E Protocol...................................................................... E-24
IBM Set 1/2 ............................................................................................................... E-24
Epson ESC/P2 Protocol ..................................................................................................... E-25
National Character Sets............................................................................................. E-25
F. Resident Fonts................................................................................. F-1
Glossary............................................................................................... GL-1
Index..................................................................................................... IN-1
#00_2 TOC (2) 24/05/96, 10:576

vii
Preface
About this Guide
Thank you for buying a Digital LA30 Companion Printer. You can expect years of reliable
service with very little maintenance. The information provided in this guide applies both to
the Digital LA30N Companion Printer (80-column printer) and to the Digital LA30W
Companion printer (136-column printer). However, illustrations are of LA30N Companion
Printer. This guide explains how you can use your printer to full advantage. It is written for
both new and experienced printer users.
This guide consists of two parts: Setting UpYour Printer and User Guide. The former
describes how to install and set up your printer. This part is easily identifiable, as each page
has a gray border. The latter, this part, describes how to use your printer and printer options,
how to keep the printer in good working condition, and what to do should something go
wrong. Detailed procedures are provided for first-time users. Experienced users can skip
some of the details, using the table of contents and chapter introductions to locate specific
information.
This part has several appendixes, a glossary, and an index. Appendix A lists supplies and
options available from your dealer or authorized representative of Digital Equipment
Corporation.
Printer Models and Options
Model LA30N is an 80-column printer and model LA30W is a 136-column printer. Both
models have a dual interface made up of Bitronics parallel and DEC-423 serial. The power
supply of the printer is either for 100-120 VAC input or for 220-240 VAC input. You must
specify the print line and the power rating when purchasing the printer. Other options
include a color print feature which you can add by yourself after purchasing the printer. The
configuration is:
LA30N/LA30W
Basic specifications
Print line at 10 cpi*: 80 columns for LA30N
136 columns for LA30W
Interfaces: Bitronics parallel and DEC-423 serial
Alternative specification
Power supply: 100–120 VAC or 220–240 VAC
User add-on options
Color Kit
* cpi: characters per inch
#00_3 Preface 23/05/96, 13:557

viii
The LA30N and LA30W Model Specifications
The main difference between the LA30N and the LA30W is the “print span”.
The LA30N is an 80-column printer and the LA30W a 136-column printer. As shown in the
following figure, the physical specifications are thus different (size, weight, ...).
Digital LA30N Companion Printer Digital LA30W Companion Printer
Some minor differences concern mechanical internal parts that do not impact the general
uses of the printer (top cover hinges, bail rollers mechanism, ...). The only visible difference
concerns the accurate location of the notch scale of the paper thickness lever.
Specification differences are clearly identified further in this User Guide.
Organization
The user guide is organized as follows:
1 - Introduction
This chapter introduces the printer and identifies key features and options that enhance the
printer’s capabilities.
2 - Paper Handling
This chapter explains how to load your printer and use paper with it.
3 - Printing
This chapter covers basic printing operations and provides detailed descriptions of everyday
operations from the printer’s control panel, including print feature selection.
#00_3 Preface 23/05/96, 13:558

ix
4 - Using Set-Up Mode
This chapter describes how to change the printer’s optional settings, such as print features,
hardware options, and top-of-form. Most settings only affect print features such as the type
style and page format. Note that certain settings directly affect hardware and software
compatibility. Refer to this chapter as indicated in the part Setting Up Your Printer or as
required.
5 - Maintenance
This chapter explains basic maintenance procedures for this printer.
6 - Trouble-Shooting
This chapter describes problem-solving techniques. Before you contact your dealer for help,
check the list of problems and solutions provided in this chapter.
At the end of this guide, you will find several appendices, a glossary, and an index.
Appendix A gives order numbers for printer supplies and options, explaining how to install
them. Other appendices provide additional technical information about the printer.
Notes, Cautions and Warnings
The text contains three different types of annotation which should always be read.
Note: This NOTE annotation provides you with additional information, or indicates
where you can find it.
Caution: This CAUTION annotation should catch your attention, advising you of a
particular situation/problem which may occur/be avoided as a result of a certain
sequence of operations. It may also contain a reminder to execute a particular
operation.
Warning: This WARNING annotation indicates a specific procedure which must be strictly
observed. Failure to comply with the instructions given may result in injury to the
operator and/or damage to the printer.
#00_3 Preface 23/05/96, 13:559

#00_3 Preface 23/05/96, 13:5510

1-1
Introduction
1
Introduction
Congratulations on purchasing a Digital LA30 Companion Printer. This printer is a
compact, versatile printer that offers maximum compatibility with today’s software packages
and personal computers. The 24-wire print head provides crisp, clear printing for business,
office, and home environments. This printer is also easy to install and use.
Digital LA30 Companion Printer
Features
Key printer features and options are listed in the next two sections.
•Software compatibility. This printer, which operates with the DEC PPL2 protocol, the
IBM Proprinter X24E (LA30N) or IBM Proprinter XL24E (LA30W) protocol and the
Epson ESC/P2 protocol (for Epson LQ870 or LQ1170 printers or equivalent).
•Various character sets. For the DEC PPL2 protocol, 31 character sets (twenty-five 94-
character sets and six 96-character sets) are available. For IBM Proprinter X24E and
XL24E protocol, set 1, set 2, and 30 default sets (code pages and specific character sets)
are available. For Epson ESC/P2 protocol, 15 national character sets and 30 default sets
(code pages and specific character sets) are available.
#01 Chapter 1 23/05/96, 14:121

1-2
Introduction
•Multiple fonts. The printer has eighteen resident fonts: Ten bit-map fonts — Draft,
High-speed (HS) Draft, High-impact (Hi) Draft, Courier 10, Pica 10, Prestige Elite 12,
Compressed 17, Boldface PS, OCR A, and OCR B; six outline fonts — Timeless and
Nimbus Sans, each in upright, italic, and bold; three outline fonts — Courier in upright,
italic, and bold (available for the Epson ESC/P2 protocol only); and nine Barcode fonts
— Code 3 of 9, Industrial 2 of 5, Interleaved 2 of 5, Matrix 2 of 5, EAN 8, EAN 13,
UPC-A, Codabar, and Postnet.
•High-speed printing. At 10 cpi, print speed ranges from 100 cps for letter quality to
333 cps for high-speed draft quality.
•64K bytes of input buffer. 64K bytes are available for storing input data and
downloading custom fonts. A minimum download buffer capacity is available separately.
•Simple switching of paper types. The ability to “park” continuous forms makes it easy
to switch between continuous forms and single sheets.
•Bottom feeding capability. The tractor unit is removable and can be converted to push-
feed or pull-feed. Installing the tractor unit on the platen allows the paper to be fed
through the slot at the bottom of the printer.
•Automatic tear-off advancing. With factory settings of the Set-Up mode, continuous
forms’ perforations are automatically advanced up to the tear bar at the end of each job
so that forms can be torn off. The tear-off feed can be also activated by pressing the
Pause button.
•Auto viewing. Paper (continuous forms or single sheets) is automatically advanced at
the end of each printing so that the last printed line can be read.
•Maintenance-free. The printer only requires periodic cleaning and changing of the
ribbon cartridge.
•Windows printer driver. Printer drivers for Windows 3.x and Windows 95 are
delivered with your printer. The printer driver is a control program to be installed on
your computer for controlling document printing on your printer (for example,
controlling the page size, the paper orientation, and so on). It receives print data from
your application software, converts the data into commands that the printer can execute,
and sends the commands to the printer.
Options
Printer add-on options are listed below. For details, see Appendix A “Supplies and
Options”.
•Color kit. You can turn your monochrome printer into a color printer. Seven-color
printing using a color ribbon is possible if supported by your software.
#01 Chapter 1 23/05/96, 14:122

2-1
Paper Handling
2
Paper Handling
This chapter explains how your printer uses paper. Topics covered are:
• Getting to know the printer’s major parts and the control panel
• Selecting paper
• Overview of paper operations
• Adjusting for paper thickness
• Using single sheets
• Using continuous forms (push-tractor feed and pull-tractor feed)
• Feeding and positioning paper
• Switching paper types
Tips for paper handling are given at the end of this chapter. Check that section if you are
using multipart forms, envelopes, or labels.
Getting to Know the Printer’s Major Parts and the Control Panel
This section describes the major parts and controls of the printer and operations of the
control panel. Take a moment to become familiar with the printer.
#02 Chapter 2 23/05/96, 14:151

2-2
Paper Handling
Parts of the Printer
Front and Rear Views
w
e
r
t
y
u
q
i
o
!0 !1
!7
!6
!5
!3
!2
!8
!4
#02 Chapter 2 23/05/96, 14:162

2-3
Paper Handling
The figures on the previous page show front and rear views of the printer. The following
parts are indicated:
Front View
1. Front cover (to protect the print head)
2. Cut sheet stand (to hold printing and printed pages)
3. Paper thickness lever (to adjust the print head gap)
4. Platen knob (to manually advance the paper)
5. Platen (to support the paper)
6. Interface connector (to connect the printer to the host system)
7. Control panel (to load and feed paper, select print features, or change the
printer’s optional settings)
8. Power switch (to switch the printer on/off)
9. Paper select lever (to switch the paper source)
10. Print head (to apply ink to the page)
11. Print guide (to indicate the print line)
Rear View
12. Acoustic cover (to reduce sound noise)
13. Paper guide (to insert single sheets and envelopes)
14. Rating label (to indicate the printer power specifications)
15. Power connector (to connect the printer to the power supply)
16. Forms tractors (to hold and feed continuous forms)
17. Back cover (to protect forms tractors)
18. Top cover (to protect the platen and serve as the tear bar)
#02 Chapter 2 23/05/96, 14:163

2-4
Paper Handling
Operations of the Control Panel
This section summarizes status indications and operations of the control panel in Normal
mode. For details on Set-Up mode, see Chapter 4 “Using Set-Up Mode”.
Normal mode operation includes everyday operations, such as paper handling, font
selection, macro selection, and protocol selection. The first table lists basic states
represented by the Ready and Fault indicators. The second table lists Normal mode
operations and required user response. Operations are listed by functions.
Basic States of the Printer
Indicator Status Printer Status
Ready On The printer is ready for printing
or
The printer is receiving or printing data.
Blinking The printer is not ready and holds printing data.
Off The printer is not ready and it does not hold printing data.
Fault On The printer is out of paper.
Blinking slowly The printer has software errors (paper jam, interface
error, carriage error, paper unloading error, etc.).
Blinking fast The printer detected diagnostic errors at power-up.
#02 Chapter 2 23/05/96, 14:164

2-5
Paper Handling
Control Panel Operations
— : This operation has no connection with this condition.
N/A : The condition does not apply because this operation is executed before powering on.
Operation Required Conditions*1 Required Action
Ready Printing *2
Fault
Load continuous forms paper — Not printing On Press FF/Load.
Load single sheet paper — Not printing On Press FF/Load if single sheet
load is switched from AUTO
to MANUAL in Set-Up mode.
Feed paper a page — Not printing Off Press FF/Load.
Feed paper a line — Not printing Off PressLF.
Advance perforation to tear bar — Not printing Off
Press
Pause
if the TEAR
option is switched from AUTO
to MANUAL in Set-Up mode,
or
press FF/Load.
Advance paper for viewing — Not printing Off
Press
Pause
if the TEAR
option is switched from AUTO
to MANUAL in Set-Up mode.
Return paper to previous position — Not printing Off
Press
Pause
if the TEAR
option is switched from AUTO
to MANUAL in Set-Up mode,
or
press FF/Load.
Eject single-sheet paper — Not printing Off Press FF/Load or Park or turn
the printer off and on again.
Unload continuous-forms — Not printing Off Press Park.
paper *3
Pause printing On Printing Off Press Pause.
Resume printing Blinking Not printing Off Press Pause.
Resume printing after a fault Off Not printing On Clear error and press Pause.
Resume printing after paper-out Off Not printing On Load paper.
Place printer in Ready state Off Not printing Off Press Pause.
Place printer in pause state On — Off Press Pause.
Enter Normal mode N/A N/A N/A Turn power on without
pressing any buttons
Printing test N/A N/A N/A Turn power on while pressing
FF/Load.
#02 Chapter 2 23/05/96, 14:165

2-6
Paper Handling
Operation Required Conditions*1 Required Action
Ready Printing*2
Fault
Select a resident font — Not printing Off Press Font.
Enter Macro selection mode — Not printing Off Press Macro. (M1 and M2
will turn blinking
alternately for 3 seconds.)
Select Macro 1 — *4 Off Press M1 within 3 seconds
after pressing Macro.
Select Macro 2 — *4 Off Press M2 within 3 seconds
after pressing Macro.
Switch the protocol — Not printing *4 Off Press Protocol.
Enter Top-of-Form Adjustment mode
— Not printing Off
Press
Set-Up/Quit
and
Top
.
Move paper by 1/60 inch Off — Off Press or button.
Use the adjustment temporarily Off — Off Press Set-Up/Quit.
Use the adjustment permanently
Off — Off Press Exit/Save.
Clear the adjustment Off — Off Press Top.
Enter Set-Up mode N/A N/A N/A Turn power on while
pressing Set-Up/Quit.
Move cursor to select Off Not printing Off Press or button.
a Set-Up Function or Value
Move cursor to select Off Not printing Off Press or button.
a Set-Up Option
Select a Set-Up Function Off Not printing Off Press or button.
or Value
Select a Set-Up Value and Off Not printing Off Press Exit/Save.
move cursor to SAVE&EXIT
Quit Set-Up mode without
Off Not printing Off Press Set-Up/Quit.
saving values
Clear software-detected errors — — Blinking Press Pause.
Initialize the printer — — —
Turn power off and on again.
*1 In Normal mode operation, all buttons except Pause are inactive in the Busy state in which the printer is receiving
or printing data.
*2 Not printing includes the following situations: the printer is ready and awaiting data, or the Pause button is
pressed and the printer is awaiting data, or the Pause button is pressed during printing.
*3 This operation is available in the rear-feeding push-tractor mode.
*4 Switching is not done if the printer is holding printing data.
#02 Chapter 2 23/05/96, 14:166
This manual suits for next models
1
Table of contents
Other DEC Printer manuals