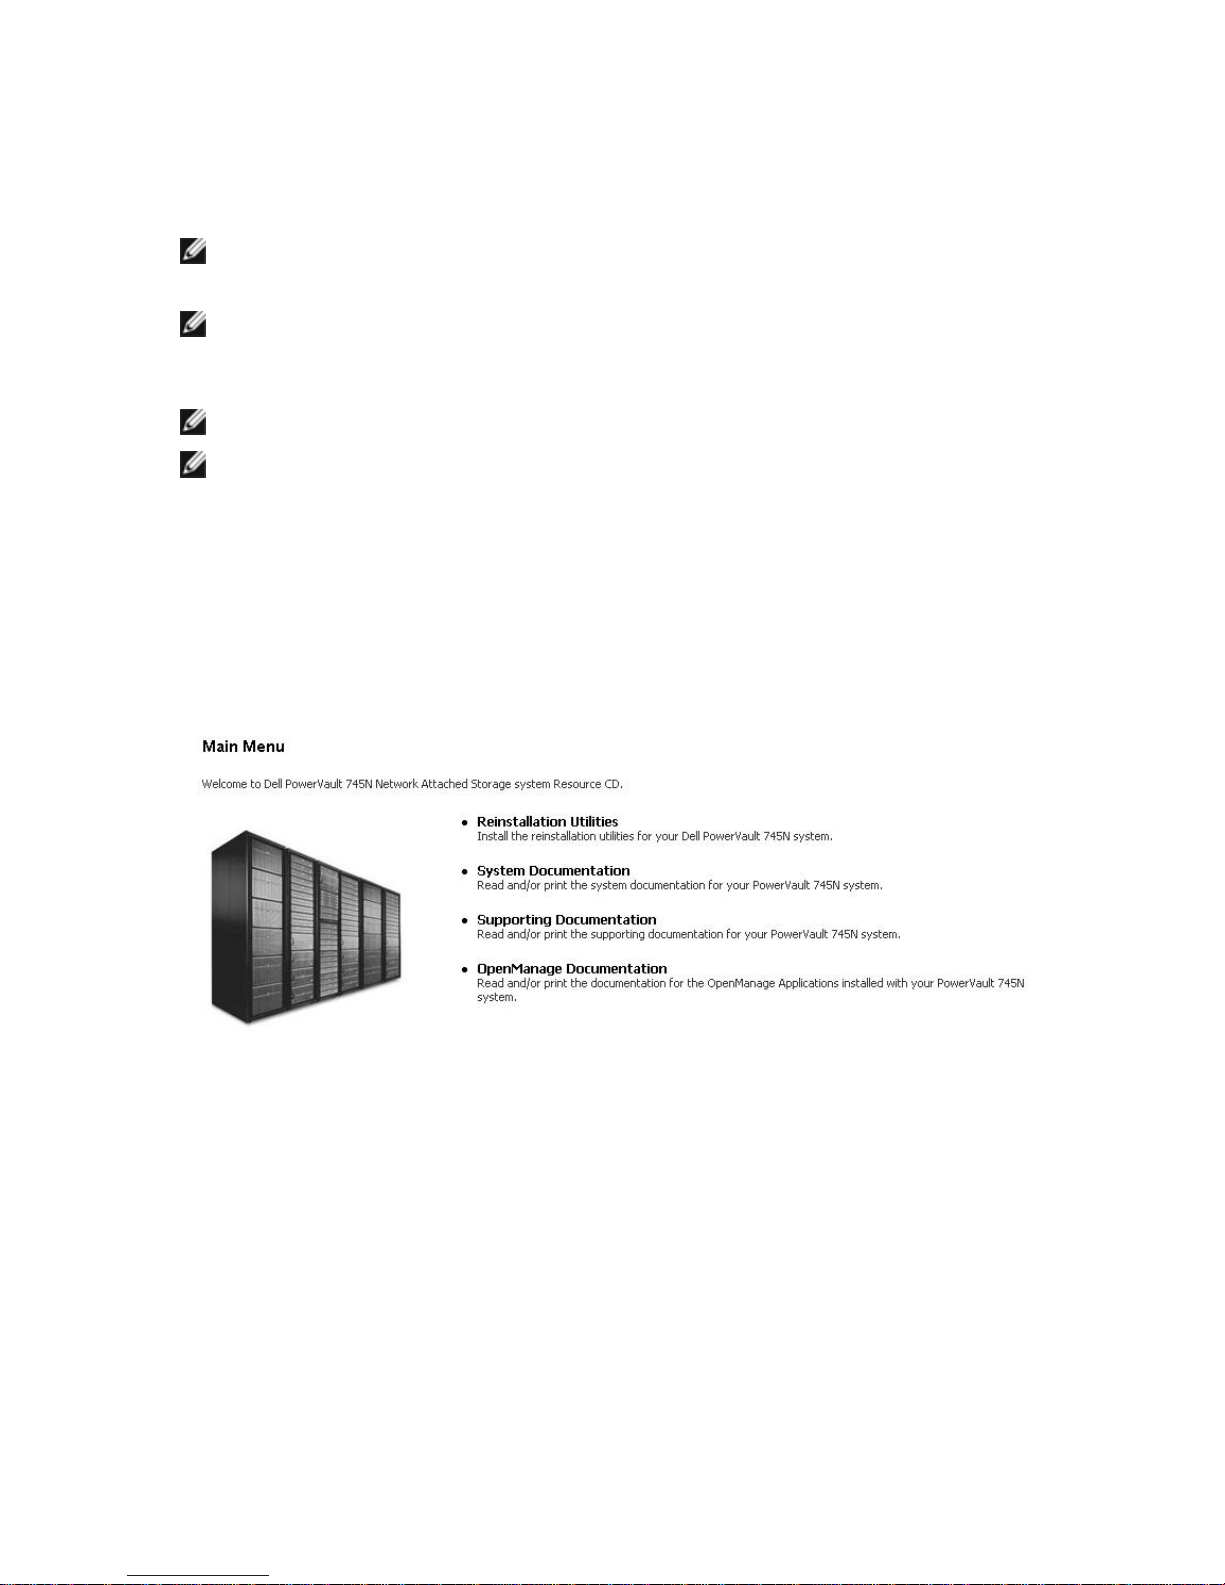
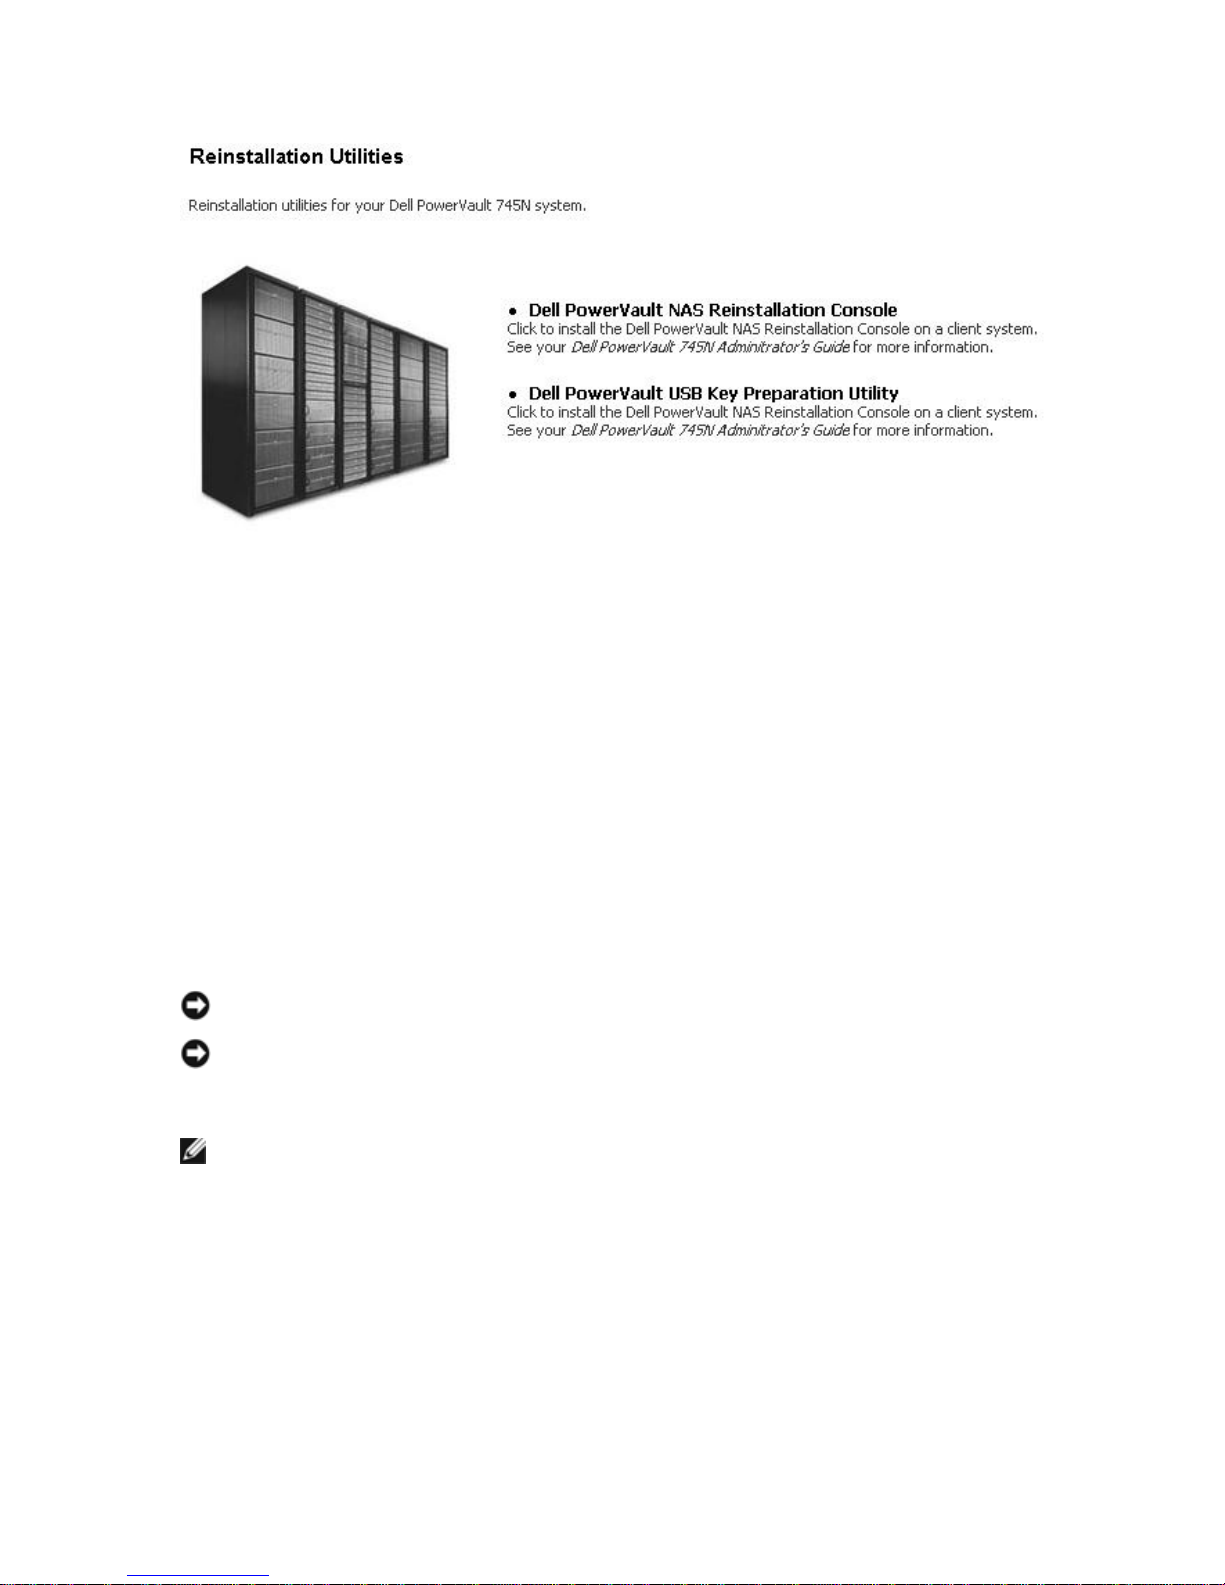
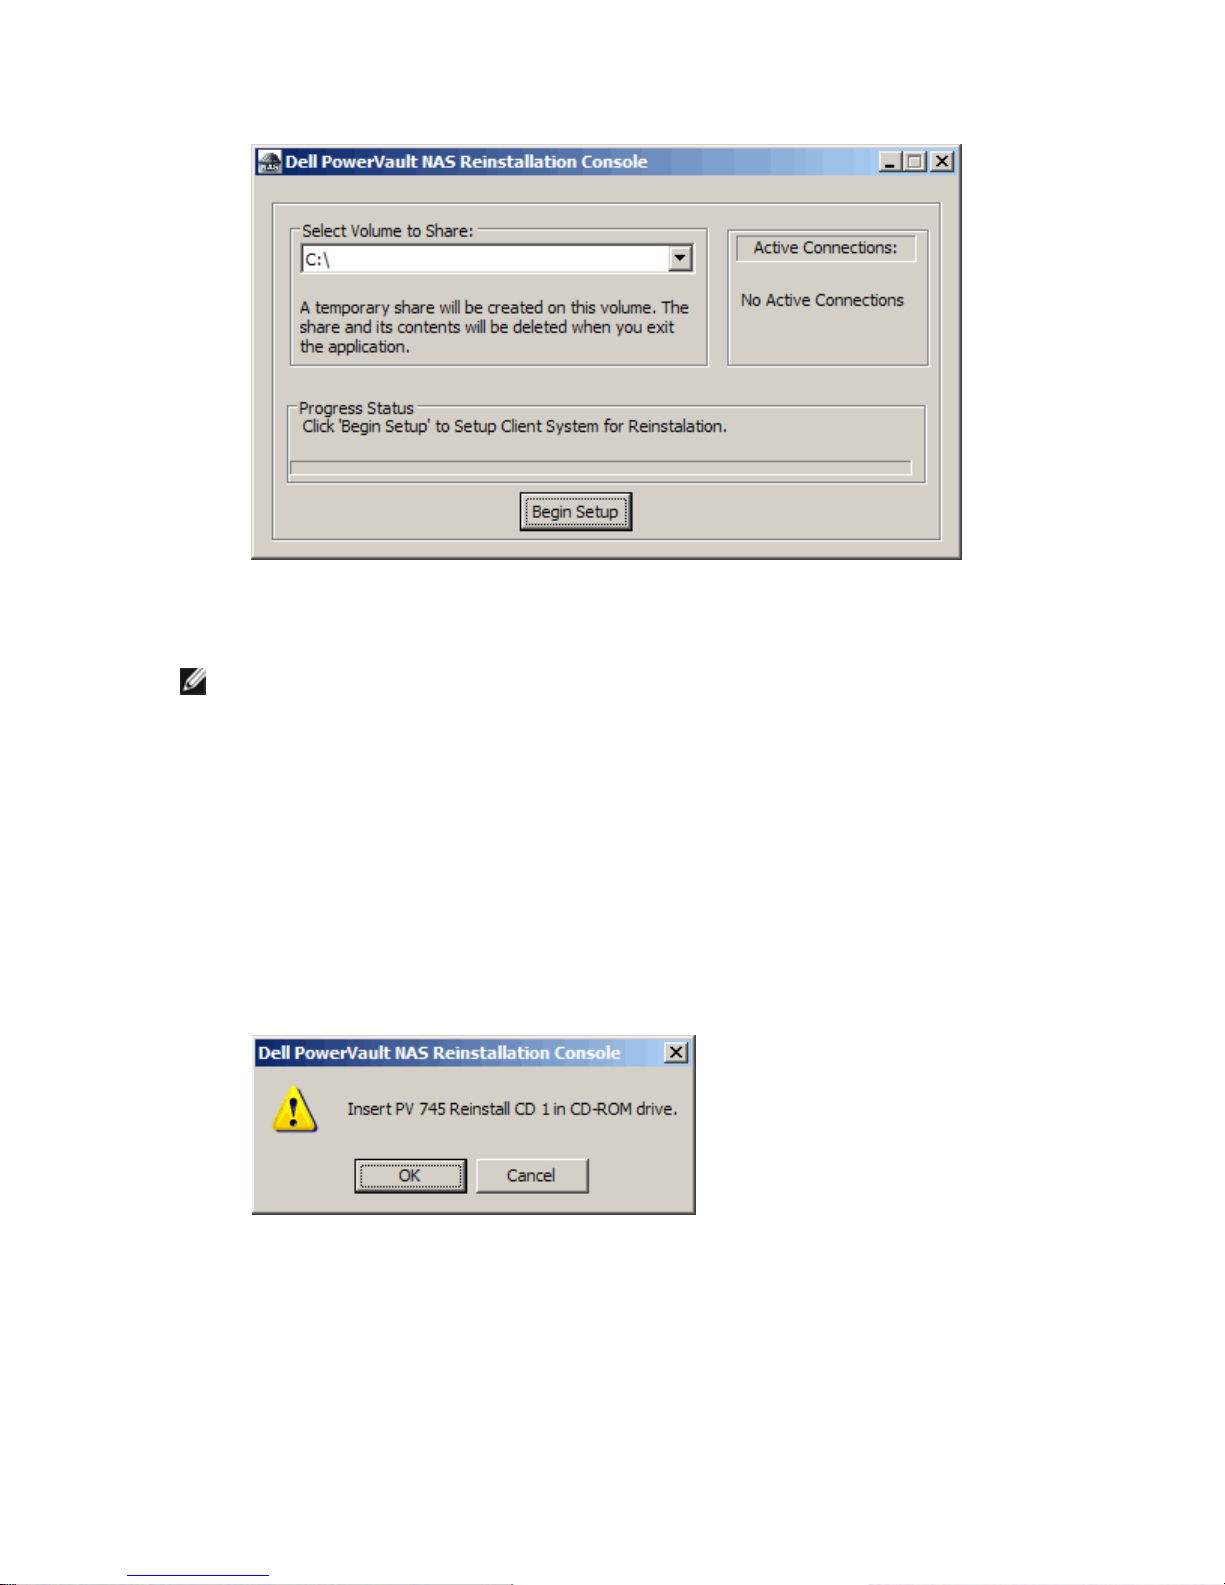
Dell PowerVault 745N User guide


Other manuals for PowerVault 745N
2
Other Dell Network Storage Server manuals

Dell
Dell PowerEdge T410 Quick start guide

Dell
Dell PowerVault NX3300 User instructions

Dell
Dell EqualLogic PS Series User manual

Dell
Dell PowerEdge T410 User manual

Dell
Dell PS Series User instructions

Dell
Dell PowerVault 725N Technical manual

Dell
Dell PowerVault 725N Technical manual

Dell
Dell PowerEdge R815 Quick start guide

Dell
Dell PowerVault NX3600 Quick reference guide

Dell
Dell PowerVault 770N Owner's manual

Dell
Dell EqualLogic FS7600 User manual

Dell
Dell PowerVault NX3000 User manual

Dell
Dell PowerEdge R815 Quick start guide

Dell
Dell DCS-1130 Owner's manual

Dell
Dell PowerVault NX3000 Quick reference guide

Dell
Dell PowerVault NX3600 User manual

Dell
Dell PowerVault DL2100 User instructions

Dell
Dell PowerEdge T710 Quick start guide

Dell
Dell PowerVault 3000i User guide

Dell
Dell PowerVault 715N Technical manual


Popular Network Storage Server manuals by other brands

HP
HP NetStorage 6000 user guide

Seagate
Seagate U10 ST320423A installation guide

Synology
Synology RackStation RS816 Hardware installation guide

D-Link
D-Link ShareCenter Pro DNS-1200-05 user manual

Avid Technology
Avid Technology VideoRAID ST Setup and user guide

Western Digital
Western Digital My Cloud Home Duo user manual


