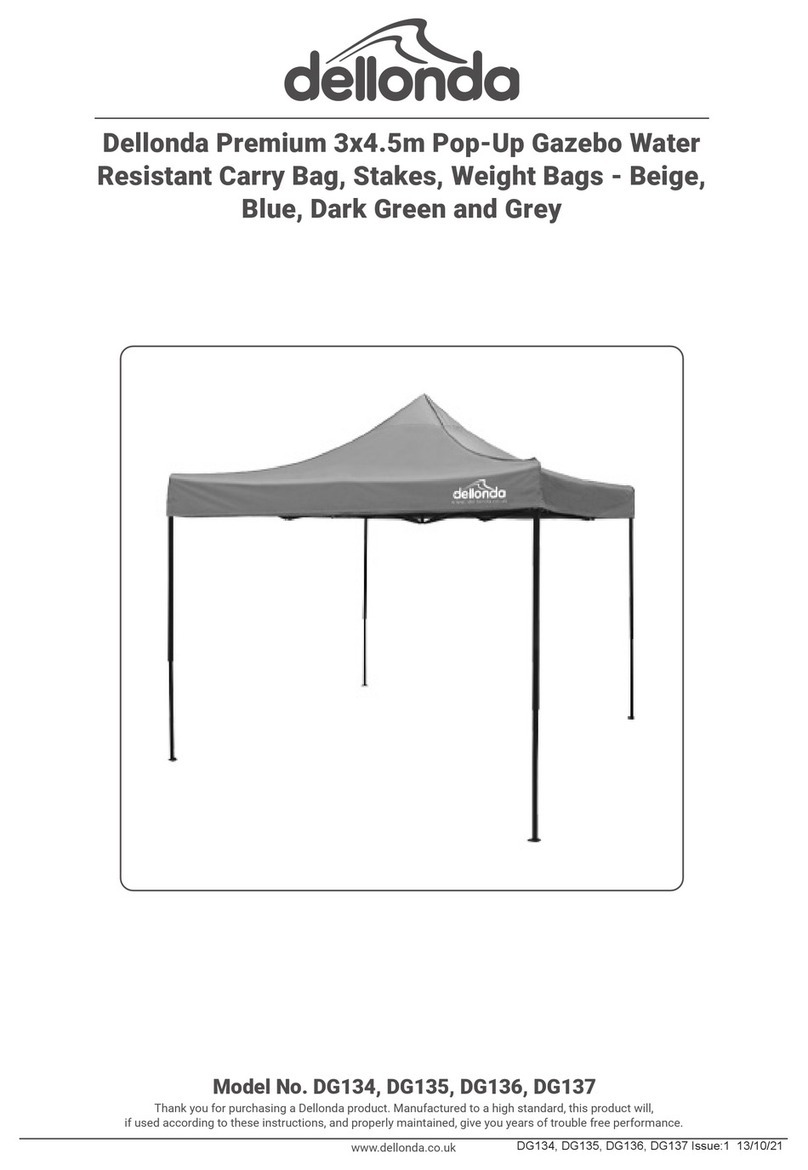
dellonda DG138 User manual

Model No. DG138, DG139, DG140, DG141
Thank you for purchasing a Dellonda product. Manufactured to a high standard, this product will,
if used according to these instructions, and properly maintained, give you years of trouble free performance.
DG138, DG139, DG140, DG141 Issue:1 13/10/21
www.dellonda.co.uk
Dellonda Premium 3x6m Pop-Up Gazebo Water
Resistant Carry Bag, Stakes, Weight Bags - Beige,
Blue, Dark Green and Grey

About the Product
Premium, height adjustable pop-up style gazebo. Features PVC coated, water resistant canopy making it the perfect shelter even on rainy days.
Suitable for use on a range of surfaces such as grass, decking and patios. Support struts in the gazebo roof mean there is no need for wind bars.
Supplied with 4 x guide ropes, 6 x pegs/stakes, 6 x weight bags suitable for use with sand and 1 x carry bag. Available in four canopy colours: Beige,
Blue, Dark Green & Grey. Side walls available separately.
• SPECIFICATION
• Model no: ............................................................................. DG138, DG139, DG140, DG141
• Size: .............................................................................................................. 3x6m (10 x 20ft)
• Gazebo Legs: ...................................................................................... Steel Tube 30 x 25mm
• Gazebo Metal Struts/Cross Bars Thickness: ............................................................. 0.7mm
• Canopy: ........................................................................ 260g/m² PVC Coating Oxford Fabric
Safety Instructions
• Always read these instructions fully before assembling and using your Gazebo.
• This is a temporary structure and is not recommended as a permanent structure.
• Choose your shelter’s location carefully. Check for overhead utility lines, branches, etc.
• DO NOT install near rooves or other structures that may shed snow, ice or excessive run-off onto your shelter. Keep away from electrical wires!
• Have an overview of all parts before attempting erection and positioning.
• DO NOT use this product in environments for which it is not intended (i.e. extreme cold, high winds, extreme heat, heavy rainfall, etc).
• Always wear safety glasses when assembling this product. Wear gloves when working with tubing to prevent cuts or abrasions.
• WARNING! Anchors must be used with all shelters.
• Proper anchoring and keeping cover tight and free of snow and debris, is the responsibility of the consumer. Damages caused by improper
anchoring are not covered under warranty.
• WARNING! Keep all ame and heat sources away from the shelter fabric. The fabric will burn if left in continuous contact with a ame source.
• DO NOT use open ames or cooking or heating devices inside or in close proximity to the product, including all types of stoves, gas heaters, gas
lanterns, citronella torches, mosquito coils, etc.
• WARNING! In order to reduce risk of burning and avoid damage, DO NOT:
- cook, smoke, refuel or use any open ame devices in or around the shelter.
- store ammable liquids (gasoline, kerosene, propane, etc.) in the shelter.
- operate gas powered equipment in or around the shelter.
• Keep open ames a safe distance away from the shelter.
• DO NOT use hard-edged tools or instruments, such as rakes or shovels, to remove snow. These can cause punctures to the cover.
• DO NOT use bleach, alkaline or harsh detergents for cleaning. Soap and warm water are recommended.
• This temporary shelter is intended to offer some protection from sunlight, light rain, light snow, tree sap, bird and animal excrements.
• DO NOT use it to shield goods from high winds, heavy snow or ice storms. Only use it for its intended use.
• WARNING! This gazebo should be erected with the ground xing kit provided, this is so it will not be affected by stronger winds or adverse
weather conditions.
• DO NOT position the gazebo within 2 metres of anything such as paddling pools, trampolines, swings, slides and climbing frames, fences walls or
other garden structures.
• Ensure there is always adequate ventilation if the walls and doors are being used, never block the entrance and ensure you always have a clear
route to the exit.
• Components are not equally durable and so may need to be replaced over time at different intervals.
• To clean, use warm soapy water and a soft damp cloth.
• Never use solvents, scourers, abrasives, bleach, acids, strong detergents or aggressive chemical cleaners on these products.
• DO NOT use a high-pressure washer to clean this product.
• This product has a reasonable level of protection against UV degradation, however as with any material it will begin to fade and degrade after
long periods of exposure to the sun.
• DO NOT use in strong wind conditions and secure using the appropriate ground xings and/or weights.
• WARNING! This Gazebo is for outdoor use only.
Important Information
Please read these instructions carefully. Note the safe operational requirements, warnings & cautions. Use the product correctly and with care
for the purpose for which it is intended. Failure to do so may cause damage and/or personal injury and will invalidate the warranty. Keep these
instructions safe for future use.
1
www.dellonda.co.uk
Refer to
instruction
manual
Wear protective
gloves

2
www.dellonda.co.uk
PITCHING THE GAZEBO
• NOTE: Follow these instructions carefully to avoid pinching your
hands or ngers in any of the moving parts as the frame opens and
closes.
• Requires four people ideally (2 minimum).
• CAUTION: Attempting to put up the Pop-Up Gazebo in windy
conditions may be hazardous and could result in injury and/or
damage to the product.
• Place your Pop-Up Gazebo in the centre of the area to be sheltered.
Remove the carry bag and stand the Gazebo on its feet.
• Check to make sure that the roof struts are not stuck before moving.
• With your assistant on the opposite side, grasp two outer legs,
slightly lift the frame off the ground and take a small step
backwards.
• Be careful not to pull backwards too hard as this will result in the
side supports bending.
• Push the top and bottom of the diamond formed by side supports
together.
• Move to the opposite corner and do the same.
• Move from one corner pole to the other taking a small step
backwards each time until the Gazebo is almost fully open.
• (You may nd it easier to place the canopy over frame at this stage.
Loose t it over the corners, you can attach the tabs over the frame
struts as detailed after the next section).
• Engage the slider at each corner by pushing up with one hand while
holding down the top of the leg with the other hand.
• A snap button will engage in the locating hole.
• Repeat this operation on the remaining three legs.

3
www.dellonda.co.uk
• Place the canopy over frame.
• Attach the hook and loop tabs, located on the underside of the top
cover, around the frame struts.
• You and your assistant should each place a foot on the foot plate of
the bottom of adjacent legs and lift up the leg, sliding the inner leg
out until the snap button locks in the locating hole.
• Repeat this operation for the other two legs.
• Square up the Pop-Up Gazebo.
• Use the guide ropes attached to the ring on each corner of the roof
cover and the ground stakes to secure your Pop-Up Gazebo to the
ground.
• Alternatively (or in addition), use the stakes through the hole in each
leg foot.
• Weight bags are also included and can be lled with a suitable
material and tied around the base of the gazebo legs.
• Note: The roof canopy is tted with ‘storm drain’ eyelets to help
prevent water pooling up on the roof in extreme weather conditions
– these should not be blocked.

4
www.dellonda.co.uk
TAKING THE GAZEBO DOWN
• Remove any ground stakes and guide ropes, undo the hook and loop
tabs off the top cover from around the top of the frame.
• You and your assistant should each lift up two adjacent outer legs
lightly, depress the snap button and push the telescopic inner legs
into the out legs.
• Repeat this for the remaining two legs.
• Release the slider at all four corners with a slight upward lift
pressure with one hand while depressing the snap button to release
the slider with the other.
• Push slider down past the snap button.
• Each person should grasp the top of the diamond (see diagram) on
the opposite side and slightly lift up. Shake the canopy a little. Pull
hands apart while stepping towards your partner until the unit is
three quarters closed.
• Grasp the two outer legs. Slightly lift off the ground and push
together to fully close.
• Finally having made sure the canopy material is completely dry
return the folded up canopy to the storage bag.

Environment Protection and Waste Protection and Electrical Equipment Regulations (WEEE)
Recycle unwanted packaging materials. When this product is no longer required, or has reached the end of it’s useful life, please dispose of it
in an environmentally friendly way. Drain any fluids (if applicable) into approved containers, in accordance with local waste regulations. It is our
policy to continually improve products and we reserve the right to alter data, specifications and parts without prior notice. No liability is accepted
for incorrect use of this product.
Dellonda Limited
Kempson Way, Suffolk Business Park, Bury St Edmunds, Suffolk. IP32 7AR
Note: It is our policy to continually improve products and as such we reserve the right to alter data, specifications and component parts without prior
notice.
Important: No Liability is accepted for incorrect use of this product.
Warranty: Guarantee is 12 months from purchase date, proof of which is required for any claim.
SIDE WALLS (Optional)
• Side walls are available for this product, they hang from the canopy skirt and attach with hook and loop seams.
STORAGE
• Ensure that the canopy and walls are clean, mud-free and completely dry before they are packed away in their storage bags.
• Wipe down the bottom part of the frame legs that may have been exposed to mud and dirt.
• Ensuring the gazebo is completely dry before storage give the best chance for the integrity of the components and materials.
This manual suits for next models
3
Table of contents
Other dellonda Outdoor Furnishing manuals

dellonda
dellonda Buxton DG80 User manual

dellonda
dellonda DG59 User manual

dellonda
dellonda DG134 User manual

dellonda
dellonda DG8 User manual

dellonda
dellonda Buxton DG76 User manual

dellonda
dellonda Fusion DG56 User manual

dellonda
dellonda DG126 User manual

dellonda
dellonda Kyoto DG52 User manual

dellonda
dellonda Echo DG58 User manual
Popular Outdoor Furnishing manuals by other brands

Santa & Cole Urbidermis
Santa & Cole Urbidermis TRAPECIO manual

Surtek
Surtek MEPLE Assembly instructions

Gardenline
Gardenline 55662 user manual

Hesperide
Hesperide SALON BELOHA 171352 manual

Backyard Creations
Backyard Creations FRN-913050 Assembly & care instructions

PHI VILLA
PHI VILLA THD7-0604-097 Use and care guide