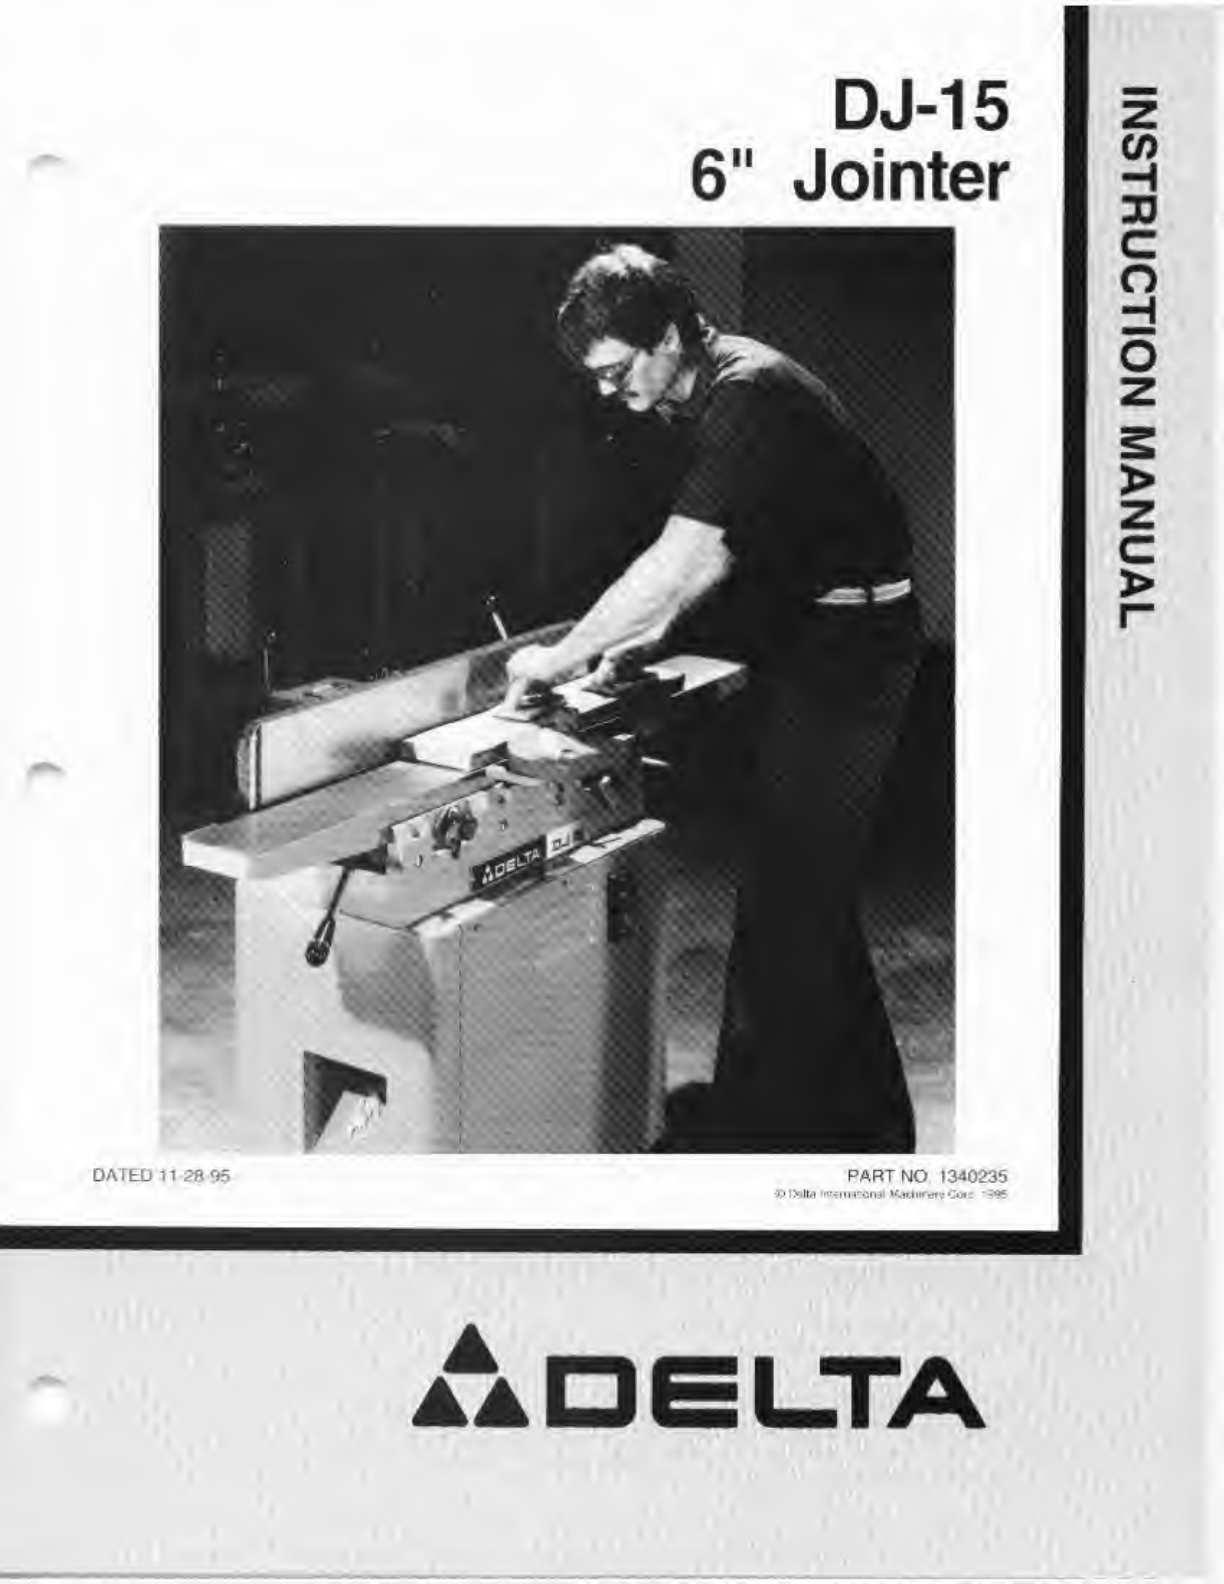
Delta DJ-15 User manual
Other Delta Power Tools manuals

Delta
Delta DJ-15 User manual

Delta
Delta Delta JT360 User manual

Delta
Delta 17-950L User manual

Delta
Delta Shopmaster GR050 User manual

Delta
Delta Delta JT360 User manual

Delta
Delta 37-360 User manual

Delta
Delta Platinum Edition 43-420 User manual

Delta
Delta 14-651 User manual

Delta
Delta 32-100 User manual

Delta
Delta 32" Radial Drill Press User manual

Delta
Delta 36-205 User manual

Delta
Delta 37-070 User manual

Delta
Delta 32-326 User manual

Delta
Delta 43-290C User manual

Delta
Delta 43-431 User manual

Delta
Delta ShopMaster MM300 User manual

Delta
Delta DJ-30 User manual

Delta
Delta 11-950 User manual

Delta
Delta 432-01-651-0006 User manual

Delta
Delta 43-435 User manual