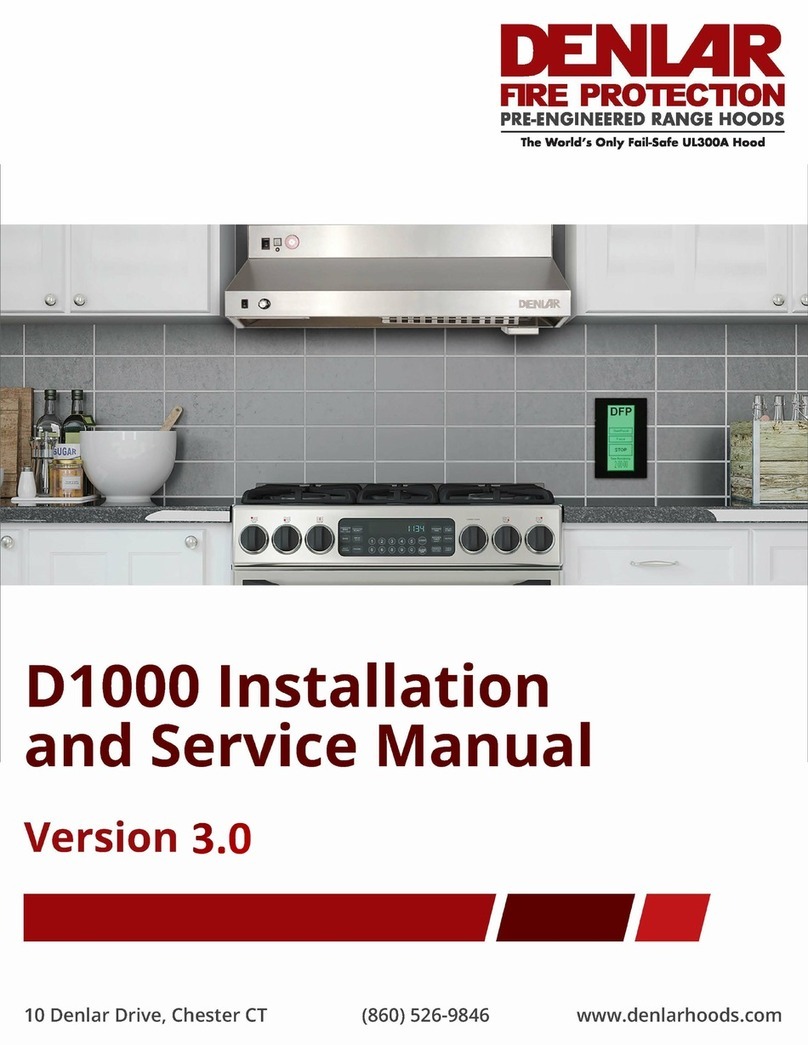
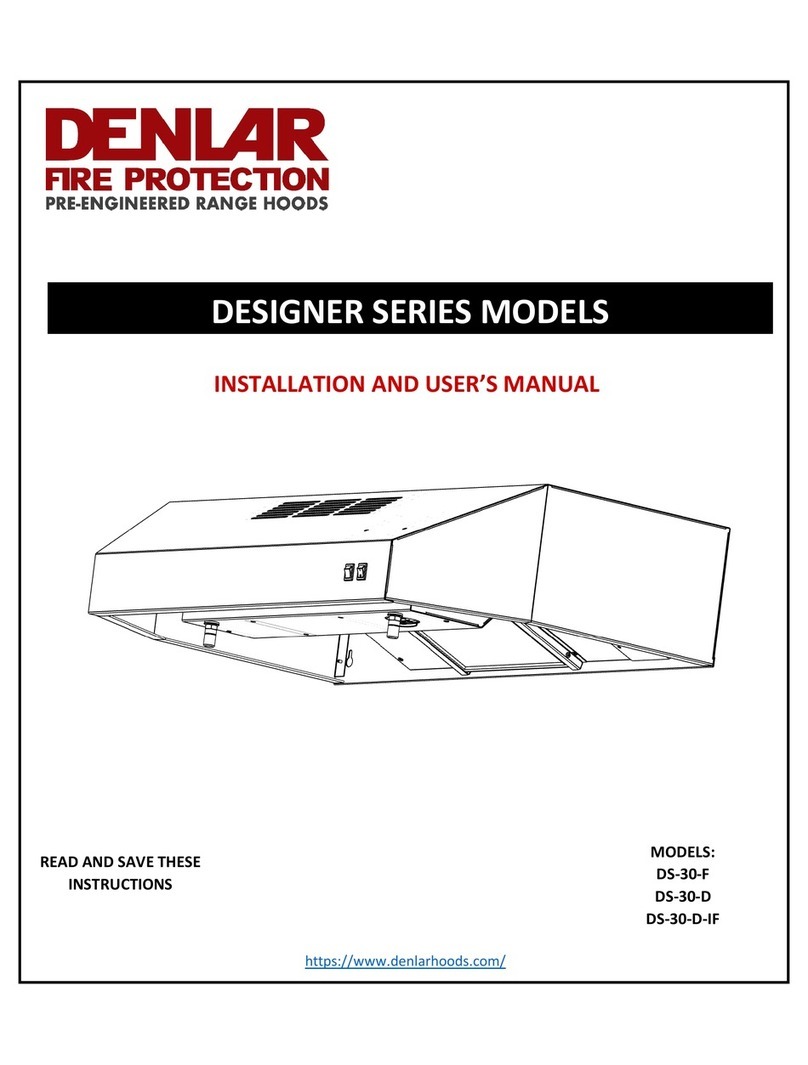
Denlar Designer Series User manual

READ AND SAVE THESE INSTRUCTIONS
20 Denlar Dr. Chester, CT 06412
(860) 526-9846 Fax: (860) 526-9585
[email protected] www.DenlarHoods.com
Service & Testing Manual
Series
Automatic Fire Suppression Range Hood
WARNING
TO REDUCE THE RISK OF FIRE, ELECTRIC SHOCK, OR INJURY TO PERSONS, OBSERVE THE FOLLOWING:
1. Use this unit only in the manner intended by the manufacturer. If you have questions, contact the manufacturer at the address or telephone number
listed on the front cover of this manual.
2. Before servicing or cleaning unit, switch power off at service panel and lock the service disconnecting means to prevent power from being switched
on accidentally. When the service disconnecting means can-not be locked, securely fasten a prominent warning device, such as a tag, to the ser-
vice panel.
3. Installation work and electrical wiring must be done by a qualied person(s) in accordance with all applicable codes and standards, in-cluding re-
rated construction codes and standards.
4. Sufcient air is needed for proper combustion and exhausting of gases through the ue (chimney) of fuel burning equipment to prevent backdraft-
ing. Follow the heating equipment manufacturer’s guideline and safety standards such as those published by the National Fire Protection Associa-
tion (NFPA), and the American Society of Heating, Refrigeration and Air Conditioning Engineers (ASHRAE), and the local code authorities.
5. When cutting or drilling into wall or ceiling, do not damage electrical wiring and other hidden utilities.
6. To reduce the risk of re or electric shock, do not use this range hood with an additional speed control device.
7. Ducted fans must always be vented to the outdoors.
8. To reduce the risk of re, use only metal ductwork.
9. Use with approved wiring only.
10. This unit must be grounded.
TO REDUCE THE RISK OF A RANGE TOP GREASE FIRE:
1. Never leave surface units unattended at high settings. Boilovers cause smoking and greasy spillovers that may ignite. Heat oils slowly on low or
medium settings.
2. Always turn hood ON when cooking at high heat or when ambéing food (i.e. Crepes Suzette, Cherries Jubilee, Peppercorn Beef Flambé).
3. Clean ventilating fans frequently. Grease should not be allowed to accumulate on fan or lter.
4. Use proper pan size. Always use cookware appropriate for the size of the surface element.
TO REDUCE THE RISK OF INJURY TO PERSONS IN THE EVENT OF A RANGE TOP GREASE FIRE, OBSERVE THE FOLLOWING:*
1. SMOTHER FLAMES with a close-tting lid, cookie sheet, or metal tray, then turn off the burner. BE CAREFUL TO PREVENT BURNS. If the ames
do not go out immediately, EVACUATE AND CALL THE FIRE DEPARTMENT.
2. NEVER PICK UP A FLAMING PAN — You may be burned.
3. DO NOT USE WATER, including wet dishcloths or towels - violent steam explosion will result.
4. Use an extinguisher ONLY if:
A. You know you have a Class ABC extinguisher and you already know how to operate it.
B. The re is small and contained in the area where it started.
C. The re department is being called.
D. You can ght the re with your back to an exit.
* Based on “Kitchen Fire Safety Tips” published by NFPA.
CAUTION
1. For general ventilating use only. Do not use to exhaust hazardous or explosive materials and vapors.
2. To avoid motor bearing damage and noisy and/or unbalanced impellers, keep drywall spray, construction dust, etc. off power unit.
3. For best capture of cooking impurities and performance of re extinguisher, your range hood should be mounted so that the bottom of the hood is
20-26” above the cooking surface.
4. Please read specication sheets for further information and requirements.
5. To reduce risk of re and to properly exhaust air, be sure to duct air outside – Do not vent exhaust air into spaces within walls or ceilings or into at-
tics, crawl spaces, or garages. La PRUDENCE - Pour réduire le risque de feu et correctement épuiser l’air, soyez sûrs à l’air de conduit à l’extérieur
– ne déchargent pas d’air épuisé dans les espaces dans les murs ou les plafonds ou dans les greniers, crawlent des espaces, ou des garages.
!

(860) 526-9846
2
TM
Please take a moment to
ll out the model and serial
number for the Denlar Unit in
the spaces provided, for future
reference
It’s a good idea to record the model and serial number(s) of your Denlar
Unit and the date you received it in the Service Manual. Our service
department uses this information, along with the manual number, to
provide help for the specic unit you installed.
Please keep this Service and Testing Guide along with the Installation
Manual together for future reference.
Copy the information from the serial number tag inside the unit:
Model Number:
Serial Number:
Installation Date:
DISCLAIMER: Denlar Fire Protection LLC, shall not be liable for er-
rors contained in this Manual or for incidental, consequential damages in
connection with the furnishing, performance or use of this information.
Denlar makes no warranty of any kind with regard to this information,
including, but not limited to the implied warranties of merchantability and
tness for a particular purpose.
Copyright 2011 Denlar Fire Protection LLC All Rights Reserved

Service & Testing Manual v.1.2
3
TABLE OF CONTENTS
What is a Denlar? 4
Theory of Operation 4
Servicing the Unit
Inspection Intervals 6
System Inspection Procedure 6
Cleaning 6
Inspecting the Nozzles 7
After a Discharge 8
Testing and Verication
Testing Suppression and Alarm System- Test Tank 9
Testing Suppression and Alarm System- Retrot Tank 10
Balloon Testing 12
Testing of all optional audio/visual alarms 12
Testing the Remote Manual Pull Station 13
Recommended Maintenance Schedule
Monthly Annually Every 12 years
Cleaning (p. 8)
Inspect Nozzles (p. 8)
Clean or Replace Fusible Links
Replace Extinguisher Bottle (p. 12)

(860) 526-9846
4
TM
What is a Denlar Range
Hood ?
The Denlar Designer series is the rst affordable residential range hood
with a fully integrated re suppression system. Designed to be installed
over a residential range, the Denlar unit functions as a standard ventila-
tion range hood with the added capability to suppress stove top res
through a wet chemical suppression system.
The units are delivered from the factory ready to install and function. No
servicing is required at initial installation.
Theory of Operation The Designer Series Range Hood is comprised of a painted or stainless
steel ventilation hood; a wet chemical suppression system including a
mechanical fusible link chain to control discharge and outputs for audible
and re alarms.
The unit is powered from standard 115 VAC / 60Hz / single phase and is
powered from a hard wire building circuit. Switches located at the front
of the unit control the integral fan and lights. Power is not required for the
suppression system to function.
The Fan Control switch is a 3 position switch with a High and Low set-
tings, and a on / off Light Switch is provided for the incandescent bulbs.
At the High settings, the fan provides approximately 250 CFM (free air)
of ow, pulling air through a lter screen and discharging either through
the front louvers or connected 7” duct. The inlet lter may be washed and
should be replaced annually.
The Wet Chemical Discharge System is comprised of the following
components:
• A nitrogen pressurized tank with 760 mL of a potassium based
aqueous salt solution, that includes a pressure gauge;
• A distribution system with 2 discharge nozzles located near the
front of the unit over the range surface; total discharge time is 35 – 40
seconds;
• A cable / link system comprised of (2) JOB brand FAST ACTING
glass tube links (rated at 250 deg F), a turnbuckle for tension adjustment,
a valve actuation lever and a tension spring;
• A pair of micro-switches located at the actuator paddle, one pro-
viding switched power to the fuel disconnect device, the other a set of dry
contacts for the building alarm system;
• (Optional) A cable release mechanism designed to be attached to a
manual pull station.
The glass tube link system operates simply. The glass links with the
tension bar and turnbuckle serves to hold back the actuation lever from
pressing on the tank valve assembly. As the heat from ames on the range
Note that the wet-chemical
suppression system is me-
chanically based and does not
require power to be connected
to allow normal operation.

Service & Testing Manual v.1.2
5
top reach the links and as the temperature of the glass tubes quickly reach
250 Deg F, one or both of the glass tube breaks, and separates causing the
tension in the spring to pull the actuator paddle to press on the tank valve
assembly. This causes discharge of the tank through the manifold and
nozzles.
At the initiation of discharge, several additional events happen:
1) The energy disconnect to the stove (gas valve or contactor) is de-
energized, shutting off power to the stove;
2) The “re” alarm contact is closed, enunciating a re alarm condi-
tion to the building system;
3) The on-board audible alarm sounds (90 db high pitched tone).
Note that the relays are dry contact type, rated for low voltage, and have
normally open (NO) or normally closed (NC) contacts, with a common.
They therefore do not produce any current or voltage output.
IMPORTANT NOTE: Once the system is discharged, the micro-switches
controlling the fuel shutoff can not be readily reset by the user, hence the
range will remain disconnected from its fuel source until the tank assem-
bly is serviced or replaced. This is a design feature integral to the fail
safe nature of the product.
Figure 1 - Operational Features
The tank assembly in the De-
signer Series Hoods is easily
removable, allowing a system
to be quickly placed back into
service.
The Audible Alarm is LOUD
and will continue to sound un-
til power is removed from the
hood or the tank assembly is
replaced with a fully charged
Unit!

(860) 526-9846
6
TM
Periodic Servicing
The Denlar Range Hood System should be regularly inspected and ser-
viced to insure proper operation and readiness for a re event. Regular
cleaning of the range hood interior should be conducted and the system
should be inspected regularly.
Recommended Intervals:
Annual Inspection: Installations that involve average west-
ern style residential cooking.
Semi Annual Inspection: Eastern style cooking or grease
and oil intensive cooking use or as required by AHJ.
Twelve (12) Year Insepction: The pressure tank must be
hydrostatically tested by an approved service facility OR
the Suppressant Tank assembly should be replaced.
Cleaning The Range Hood:
To insure proper operation of the ventilation fan, lights and suppression
system, it is recommended that the visible hood components be regularly
cleaned. Mild soap and warm water may be used periodically to prevent
the buildup of grease or cooking fats on the surfaces of the hood.
Some care needs to be taken when washing around the mechanism of
the tank assembly, as the glass tube links are somewhat fragile and may
be broken by metal objects or rough handling. Should they break, the
system will discharge immediately, spraying high pressure solution
downward.
Tough buildups of grease may be cleaned with a mild detergent, or ordi-
nary mineral spirits. Avoid using harsh chemicals as they may damage the
painted surfaces or the glass tube links.
System Inspection:
The Denlar Range Hood System should be regularly inspected and ser-
viced to insure proper operation and readiness for a re event. Regular
cleaning of the range hood interior should be conducted with the follow-
ing steps:
1. Verify that all components are clean and not damaged or corroded;
Corrosion may be a sign that the tank system has leaked and should be
serviced immediately;
Regular servicing and
cleaning will keep your
range hood and the sup-
pression system in good
working order!

Service & Testing Manual v.1.2
7
2. Verify the tank pressure gauge is indicating pressure in the Green
range, (100 psi nominal). Low pressure in the tank indicates a leak
and it should be serviced immediately;
3. For maintenance personnel, check to see that the range operates nor-
mally;
4. Verify fan operation (high / low speed) and proper fan discharge vol-
ume and replace the fan lter if required;
5. Replace blown light bulbs as required;
6. Clean and inspect the JOB glass tube links. The links do not need to
be replaced at regular inspection intervals, but may be at the owners
discretion;
7. Inspect and clean nozzles per the following section;
Inspecting the Nozzles:
During cleaning, or periodically, the nozzles should be inspected for
cleanliness. Remove the protective cap and note that the nozzle surfaces
are completely clean and free from any residue, lms or that the spray
hole is clear and not blocked. A normal nozzle will be shiny brass in color
and have a small hole in the end of the tip.
Should a nozzle appear clogged and may not be cleaned by simply wiping
the end of the nozzle, have the unit serviced immediately. Do not attempt
to clear any nozzle blockage by inserting a pin or other object into the
nozzle hole as it may just push the blockage farther into the nozzle itself.
A blocked nozzle will prevent proper operation of the suppressant
system and therefore the range hood will not be able to control a re!
Warning!
Should you come into con-
tact with the suppressant
solution, or if it gets in your
eyes, wash thoroughly with
warm soap and water. Flush
eyes out for 15 minutes with
water until irritation is gone.
Safety Pin & Tag
Nozzle & Cap
Tank Assembly - Safety Key and Nozzle Assy

(860) 526-9846
8
TM
After an “Event” or Discharge:
Should the system be triggered by a re or inadvertent handling of the
tank assembly, the system will discharge solution onto the range surface.
This solution is slightly acidic and should be cleaned up completely using
warm soapy water. Be sure to clean all surfaces including under burners,
around the sides of the range, and even in the oven. Long term exposure
to this solution will cause some corrosion of metal surfaces.
You may want to shut the circuit breaker off that supplies power to the
range hood, which will silence the audible alarm. Once a fully charged
and reset tank assembly is installed, the power can be restored and the
buzzer will be silenced.
Once the area is cleaned up, the tank assembly should be serviced by a
qualied Denlar service technician and reinstalled in the unit.
Multiple unit installations may elect to have a spare charged tank assem-
bly on hand to permit quick restoration of the range hood and allow the
range to be put back into service.
JOB glass link
Turnbuckle
Valve Paddle
Elec Connector
Micro Switches
Tank Assembly - Internal Components
The Audible Alarm is LOUD
and will continue to sound un-
til power is removed from the
hood or the tank assembly is
replaced with a fully charged
Unit!

Service & Testing Manual v.1.2
9
Testing Suppression & Alarm System - Using the
Test Tank Assembly
The optional test tank assembly (purchased separately) is provided as a
‘dry’ system, i.e., no wet chemical, only charged with nitrogen and sup-
plied with test links in place of the glass tube links. Test the discharge and
alarm system by carrying out the following steps:
1. Insert the safety pin in the tank paddle as shown in Fig ()
2. Remove installed tank assembly by removing the 2 nuts holding the
tank assembly in place; lowering the tank unit; disconnecting the
multi-pin connector;
3. Install the test tank assembly into the hood by reversing the previous
process;
4. Remove the safety pin from the test tank assembly;
5. Prepare for discharge of the system and to verify alarm outputs;
6. Using wire snips, cut one of the test links to initiate a mechanical ac-
tuation of the system.
When the test link is cut, the valve assembly should be actuated by the
spring loaded paddle. Verify the following:
1. Discharge of nitrogen through both nozzles for approximately 20-30
seconds;
2. The audible alarm will sound (90 dB);
3. The building re alarm system should be triggered;
4. The power / gas to the range should be ‘OFF’
5. The hood fan and lights should be working.
The audible alarm will continue to sound until a replace-
ment tank assembly is installed or the 110VAC power to the
range hood is disconnected.
Upon completion of the test, replace the standard tank assembly follow-
ing the steps above. Be sure to install the safety pin during installation to
prevent injury from an inadvertent discharge.
With the fully charged suppressant tank assembly in place, the power may
be reset to the range hood and the range should now operate normally.
Testing and Verication
CAUTION:
Discharge of the suppressant
system will cause the nozzle
caps to blow off and high
pressure discharge through
the nozzles. Wear eye pro-
tection for all phases of this
test procedure.

(860) 526-9846
10
TM
Testing Suppression & Alarm System - Using the
Standard Tank Assembly
Should a test be required without obtaining the optional test tank assem-
bly, the supplied suppression tank may be used with minor modication.
Be aware that the use of this tank assembly will result in the discharge
of the suppressant uid on the surface of the stove. Extra care should be
taken to either collect the uid during discharge or promptly and com-
pletely clean up afterward.
Note that the tank assembly will have to be recharged by an
authorized service representative and reinstalled after the test in
order to allow normal operation of the hood or range.
The suppressant solution is slightly acidic and may cause long term dam-
age to the range due to corrosion, if not cleaned up properly.
The installed test tank assembly needs to be modied to replace one of the
glass tube links with a special test link.
1. Insert the safety pin where the actuator arm protrudes from the tank
assembly.
2. Remove installed tank assembly by removing the 2 nuts holding the
tank assembly in place; lowering the tank unit; disconnecting the
multi-pin connector;
3. Twist the turnbuckle to remove the tension from the link / bar system.
Remove one of the JOB glass links and install one of the test links in
its place.
4. Twist the turnbuckle in the opposite direction to restore tension in the
link assembly, so that the safety pin may be freely removed. Do not
overtighten - just enough tension to get the safety pin loose in its hole.
5. Re-install the tank assembly in the range hood, being sure to reconnect
the electrical connector;
Prepare for the discharge test:
1. Prepare the range surfaces for discharge of the solution;
2. Remove the safety pin from the test tank assembly;
3. Prepare for discharge of the system and to verify alarm outputs;
4. Using wire snips, cut one of the test links to initiate a mechanical ac-
tuation of the system.
CAUTION:
Discharge of the suppressant
system will cause the nozzle
caps to blow off and high
pressure discharge through
the nozzles. Wear eye pro-
tection for all phases of this
test procedure.

Service & Testing Manual v.1.2
11
When the test link is cut, the valve assembly should be actuated by the
spring loaded paddle. Verify the following:
1. Discharge of nitrogen through both nozzles for approximately 20-30
seconds;
2. The audible alarm will sound (90 dB);
3. The building re alarm system should be triggered;
4. The power / gas to the range should be ‘OFF’
5. The hood fan and lights should be working.
The audible alarm will continue to sound until a replace-
ment tank assembly is installed or the 110VAC power to the
range hood is disconnected.
Upon completion of the test, replace the standard tank assembly follow-
ing the steps above. Be sure to install the safety pin during installation to
prevent injury from an inadvertent discharge.
With the fully charged suppressant tank assembly in place, the power may
be reset to the range hood and the range should now operate normally.
NC -125 Normally Closed -Pos. 6
Normally Open -Pos. 3
Common -Pos. 1
NO -118
COM -116
Designer Alarm Wiring Connector

(860) 526-9846
12
TM
Testing of all optional audio/visual alarms
The Designer Series of Range Hoods include both an audible and a remote
alarm connection. Both these alarms are integrated into the range hood
and suppressant tank assembly and do not have means to independently
test them. Both of these alarms will operate at mechanical discharge of
the system.
Alarm testing must be conducted as part of a discharge test as described
above
Balloon Testing
A balloon test may be conducted to make sure all the nozzles are operating
properly, and to see that all the nozzles are capable of discharging similar
amounts of extinguishing agent.
It is strongly recommended that a test tank assembly be used for the
balloon testing, as only nitrogen will be discharged during the test.
Small balloons are available from Denlar Fire Protection for this purpose
or any small latex balloon may be used for the purpose.
To prepare for the balloon test:
1. Remove the nozzle caps from the nozzles;
2. Attach one balloon to each nozzle, pushing the neck of the balloon on
the nozzle as far as it will go;
3. Conduct the discharge test as noted previously. The balloons should
ll and pop off during the test;
4. Replace the tank assembly and restore the hood to normal operation.

Service & Testing Manual v.1.2
13
Testing the Remote Manual Pull Station
The manual pull station option may be functionally tested as part of an
in service inspection process. Be advised that with the Designer Series
Units, this test will cause discharge of the system and accordingly, the
suppressant tank assembly should be swapped out with a test tank assem-
bly prior to conducting this test.
It is highly recommended that a qualied service technician
conduct this test and restore the system to normal opera-
tion.
1. Install a ‘Manual Pull Test Tank Assembly’ (sold separately).
2. At the remote pull station, remove the plastic break (red) rod by remov-
ing the set screw in the side of the stud and sliding the rod out.
3. Pull the handle on the remote station. The cable should easily release
the actuator arm on the tank assembly and the system should discharge. If
not, you must check the pulleys and conduit, remote pull station, and cable
path within the range hood to locate the source of the problem.
4. Replace the standard tank assembly and manual pull kit system and
inspect for proper installation.
CAUTION:
Discharge of the suppressant
system will cause the nozzle
caps to blow off and high
pressure discharge through
the nozzles. Wear eye pro-
tection for all phases of this
test procedure.
Other manuals for Designer Series
1
Table of contents
Other Denlar Ventilation Hood manuals

