0The device is equipped with a AirPlay® function in addition to
network functions such as Internet radio etc.
You can enjoy a wide variety of content, including listening to Internet
Radio, playing audio files stored on your PC. This unit also supports
Apple AirPlay which lets you stream your music library from an iPhone®,
iPad®, iPod touch® or iTunes®.
0Supports AirPlay 2® wireless audio
Sync multiple AirPlay 2 compatible devices/speakers for simultaneous
playback.
This unit supports AirPlay 2 and requires iOS 11.4 or later.
0Wireless connection with Bluetooth devices can be carried out
easily
You can enjoy music simply by connecting wirelessly with your
smartphone, tablet, PC, etc.
0Support for Gapless playback
Playback with no gap between music files.
(for WAV/FLAC/Apple Lossless/DSD only)
0Compatible with the HEOS Appz for performing basic operations
of the unit with an iPad, iPhone or Android™ devices (Google,
Amazon Kindle Fire)
zDownload the appropriate HEOS App for your iOS or Android devices. This unit
needs to be connected to the same LAN or Wi-Fi (wireless LAN) network that
the iPad, iPhone or Android devices are connected to.
0HEOS provides streaming music from your favorite online music
sources
.
HEOS wireless multi-room sound system that enables you to enjoy your
favorite music anywhere and everywhere around your home. By utilizing
your existing home network and the HEOS App (available for iOS,
Android and Amazon devices), you can explore, browse, and play
music from your own music library or from many online streaming music
services.
When multiple HEOS devices are connected to the same network,
HEOS devices can be grouped to play back the same music on all
devices simultaneously, or different music can be played on each
separate HEOS device.
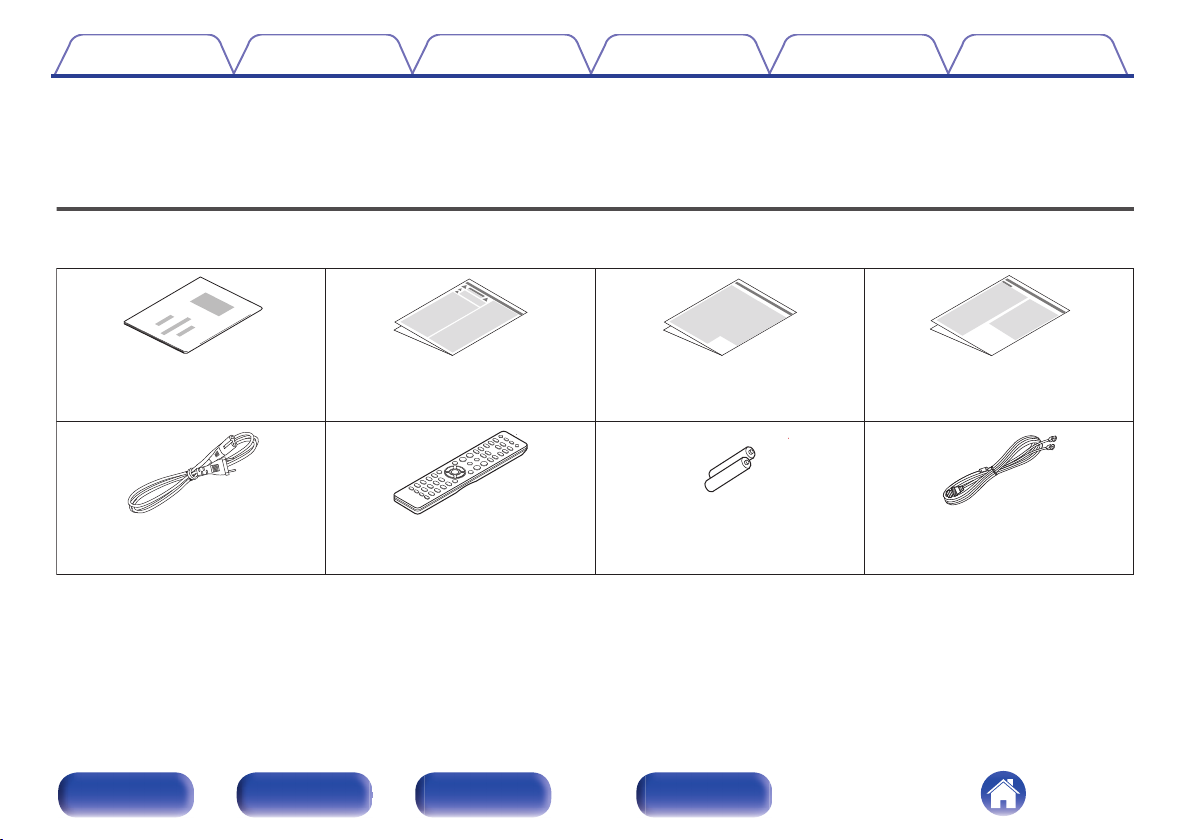
Contents Connections Playback Settings Tips Appendix
10
Front/Top
panel Rear panel
Remote control
unit
Index