3
Table of contents
1 Safety and responsibility .................................................................................................................................................4
1.1 Intended use ..........................................................................................................................................................................................4
1.2 Operator qualifications.....................................................................................................................................................................4
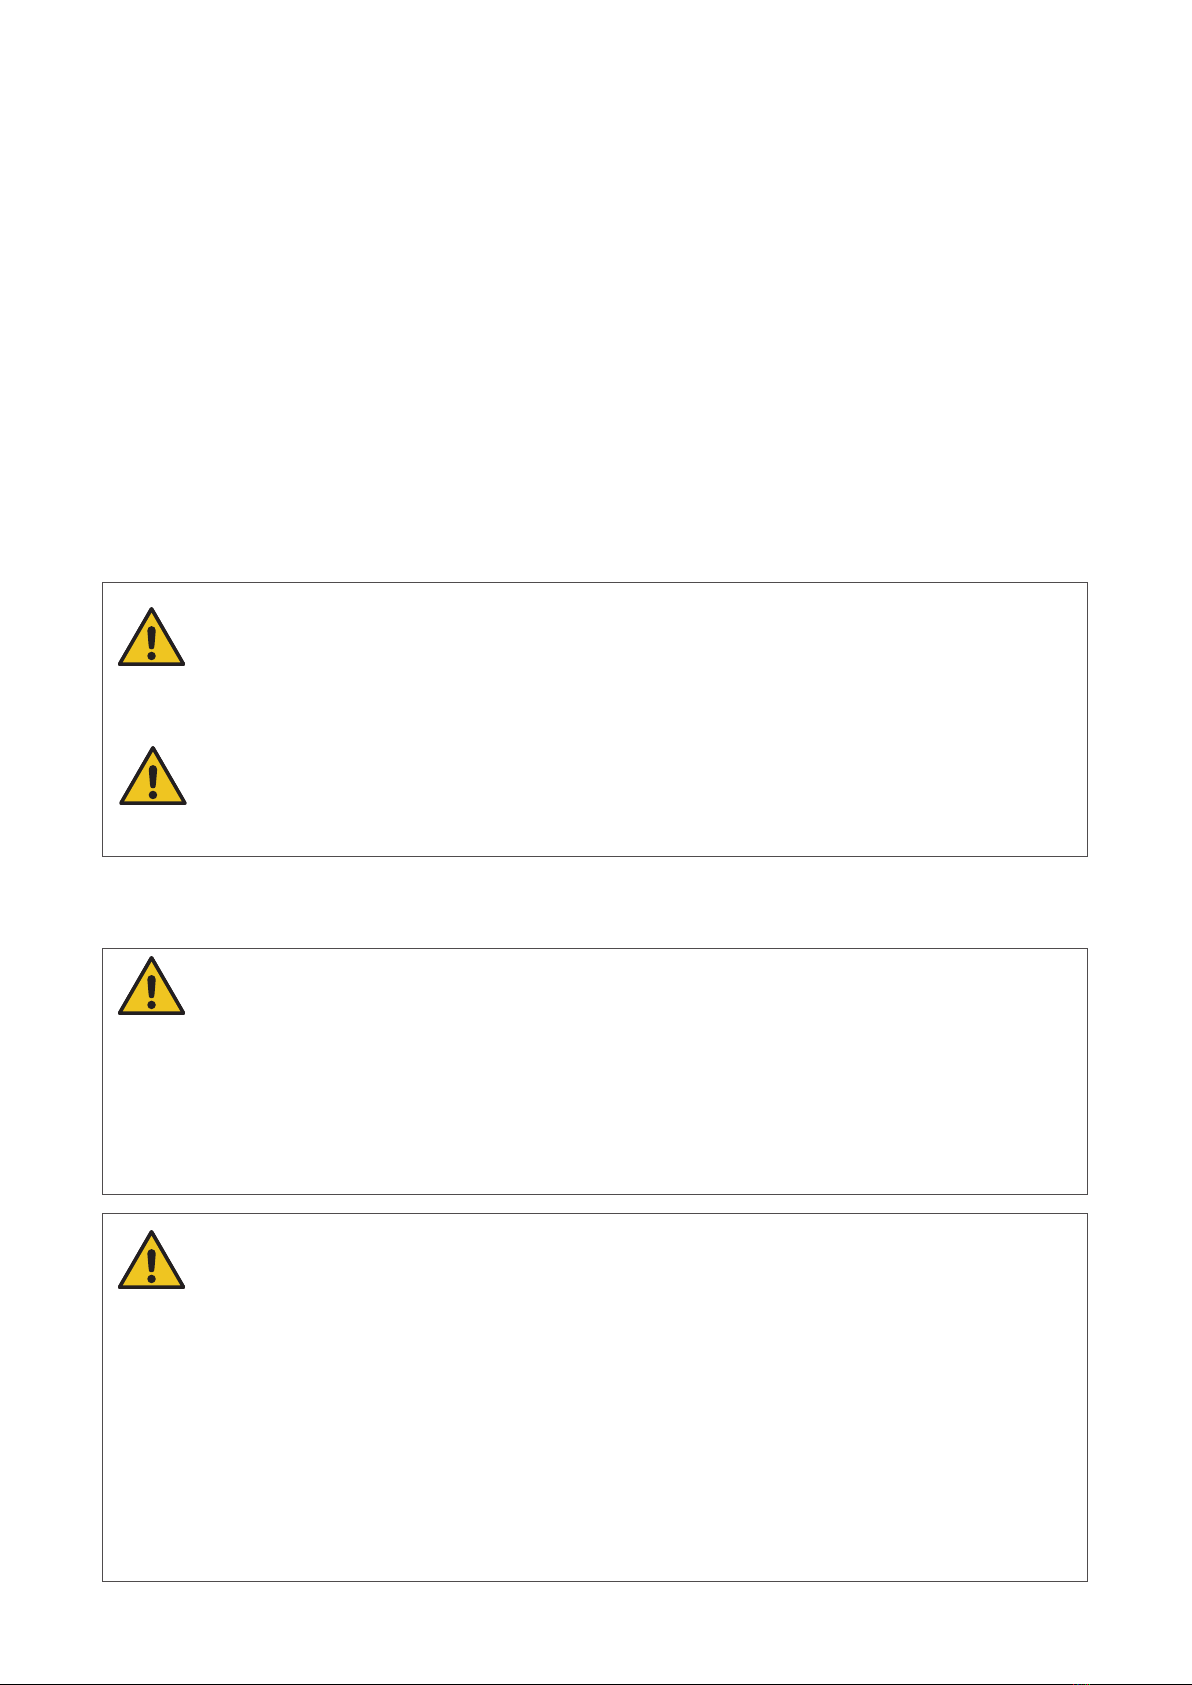
1.3 Warning messages in this manual...............................................................................................................................................4
1.4 Operator obligations.......................................................................................................................................................................... 5
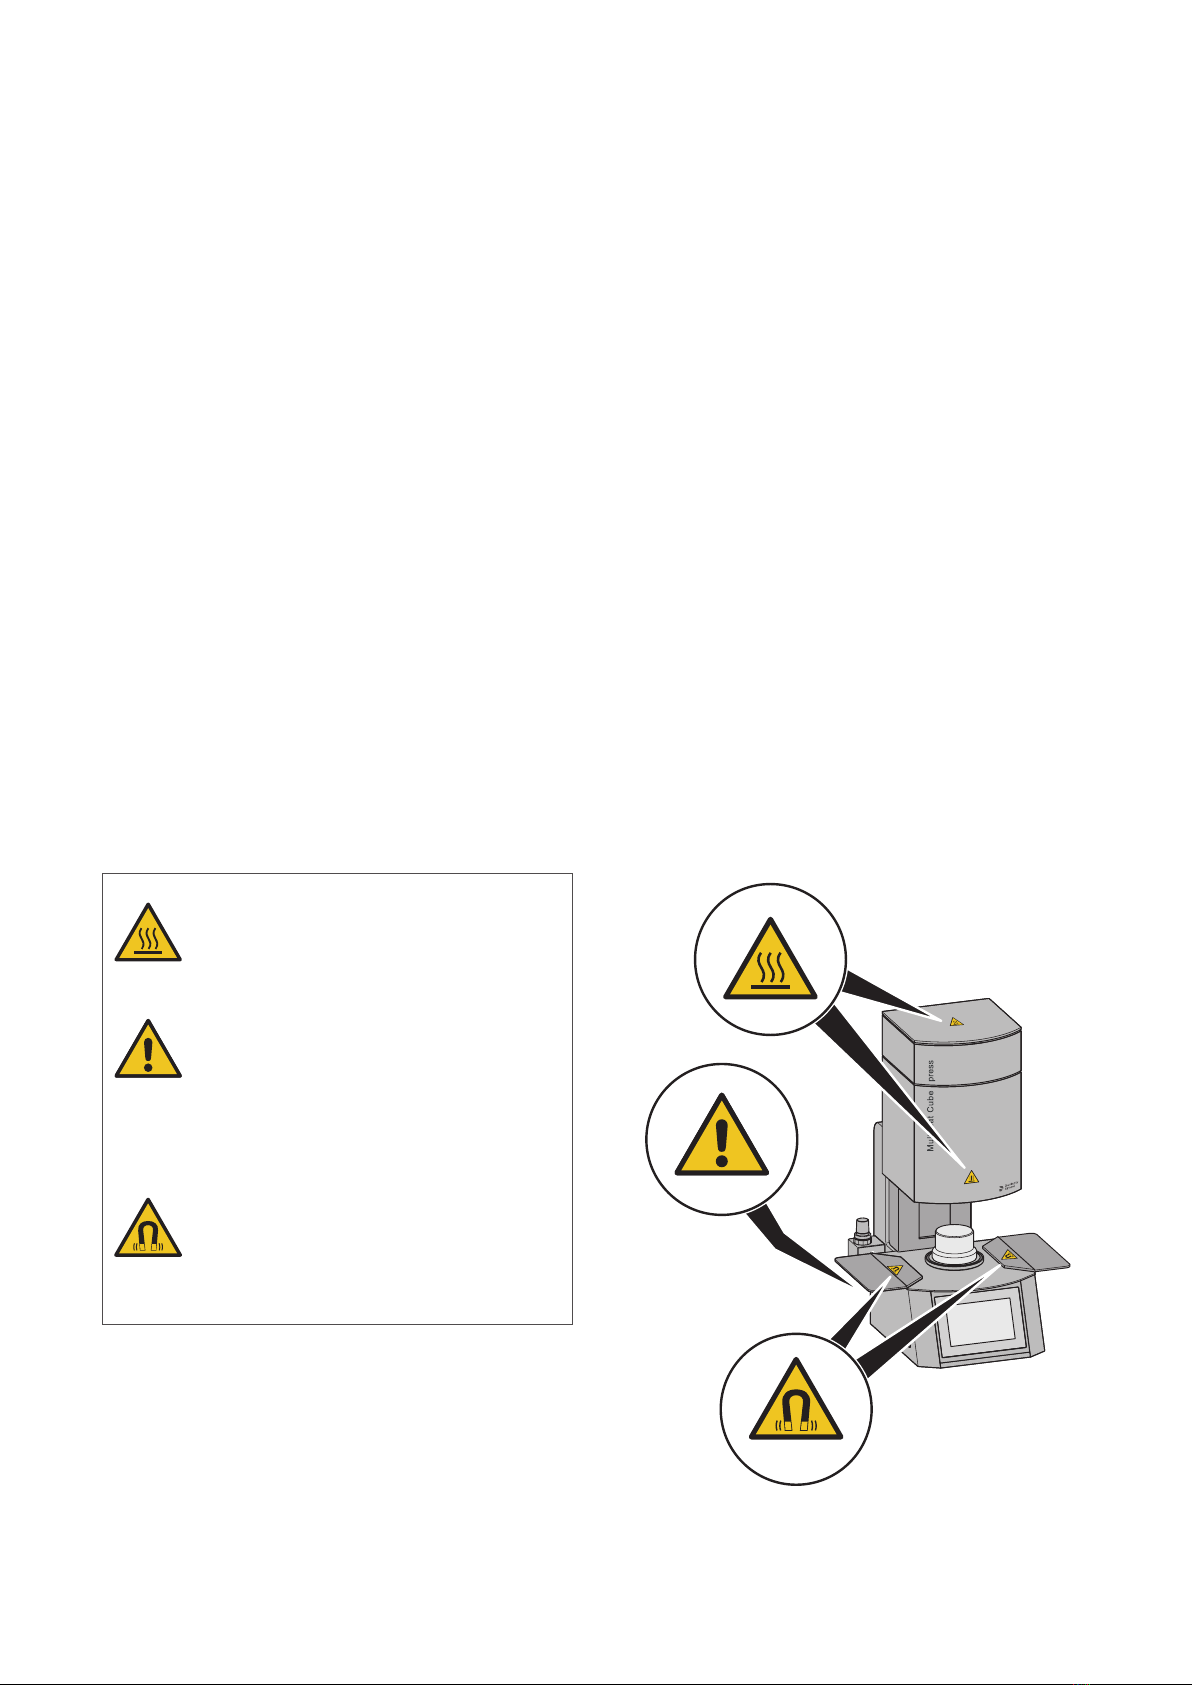
1.5 Safety symbols on the device .......................................................................................................................................................5
1.6 Safe handling of ceramic fibres....................................................................................................................................................6
1.7 Safety instructions for transport and storage.......................................................................................................................6
1.8 Safety instructions for commissioning......................................................................................................................................6
2 Technical description ........................................................................................................................................................7
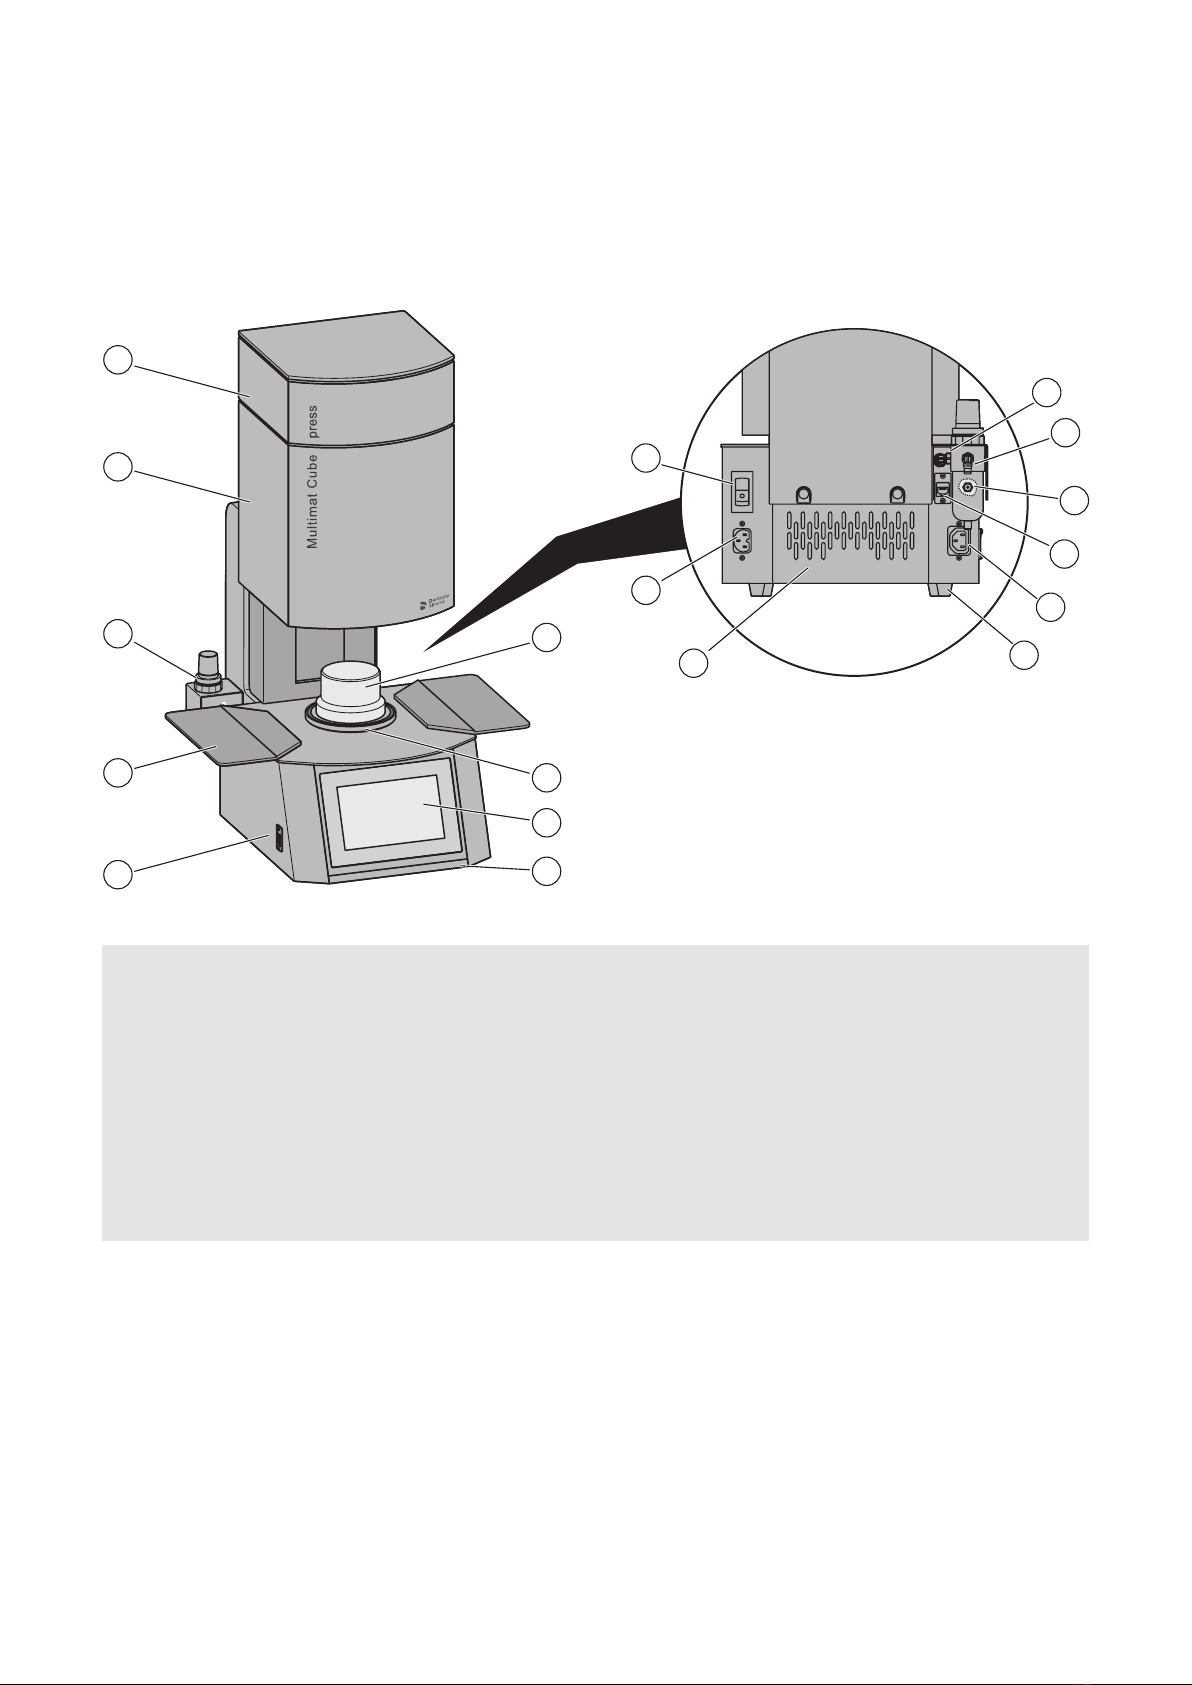
2.1 Description of the unit...................................................................................................................................................................... 7
2.2 LED status display on the unit ......................................................................................................................................................8
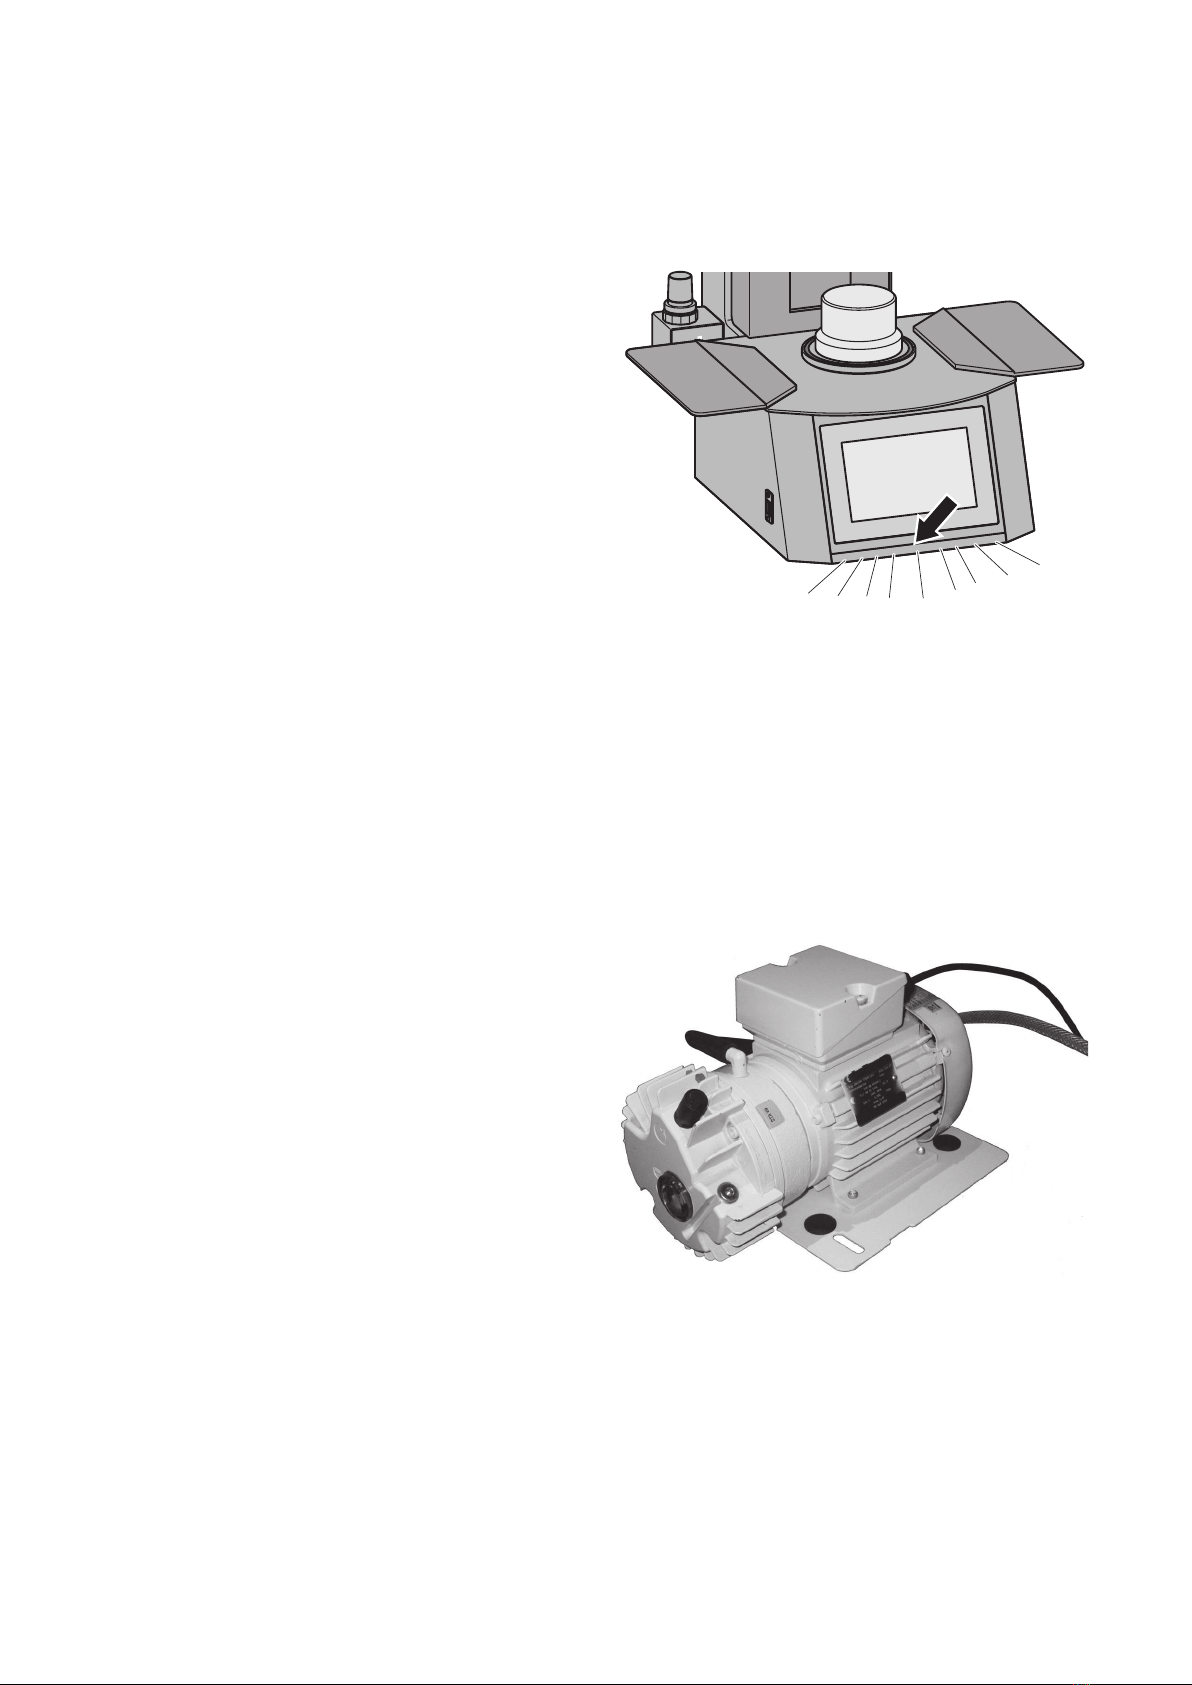
2.3 Accessories (optional) ......................................................................................................................................................................8
2.4 Technical specifications....................................................................................................................................................................9
3 Unpacking and commissioning..................................................................................................................................... 10
3.1 Unpacking the unit ........................................................................................................................................................................... 10
3.2 Inspecting the shipment ................................................................................................................................................................ 10
3.3 Connecting the unit............................................................................................................................................................................11
4 Operation ........................................................................................................................................................................... 12
4.1 Turning on the unit.............................................................................................................................................................................12
4.2 Commissioning (initial configuration) ......................................................................................................................................12
4.2.1 Working with the touch screen .....................................................................................................................................12
4.2.2 Initial configuration .....................................................................................................................................................13 – 15
4.3 Self-test .................................................................................................................................................................................................. 16
4.4 Setting the pressing pressure (Multimat® Cube press only)..........................................................................................17
4.5 The user interface...............................................................................................................................................................................18
4.5.1 Home screen ...........................................................................................................................................................................18
4.5.2 Main menu............................................................................................................................................................................... 19
4.5.3 <Settings> menu........................................................................................................................................................19 – 20
4.5.4 <Standby mode> field........................................................................................................................................................21
4.5.5 <Fast cooling>........................................................................................................................................................................21
4.5.6 <File Manager> menu .............................................................................................................................................. 21 – 26
4.5.7 Favourites................................................................................................................................................................................27
4.6 Firing and pressing programs .................................................................................................................................................... 28
4.6.1 Overview of firing and pressing parameters......................................................................................................... 28
4.6.2 Start firing or pressing program........................................................................................................................29 – 30
4.7 Special programs................................................................................................................................................................................31
4.8 Smart pre-heating program ..........................................................................................................................................................31
4.9 Power failure behaviour...................................................................................................................................................................31
4.10
Mue fracture (Multimat® Cube press only).........................................................................................................................31
5 Troubleshooting ......................................................................................................................................................32 – 33
6 Maintenance and cleaning ............................................................................................................................................ 34
6.1 Cleaning the unit............................................................................................................................................................................... 34
6.2 Calibrating the unit................................................................................................................................................................34 – 35
6.3 Updating the firmware and software...................................................................................................................................... 36
7 Waste disposal..................................................................................................................................................................37
7.1 Disposing of the packaging..........................................................................................................................................................37
7.2 Disposing of the unit........................................................................................................................................................................37
8 Warranty ............................................................................................................................................................................38
© Copyright
This instruction manual is protected by copyright and is intended exclusively for use by the operator of the product or their
personnel. The content may only be reproduced for internal use and must be included if the product is resold. Any other form
of transfer to third parties requires prior written permission.
For safe and proper use, carefully read this instruction manual and other documents
accompanying the product.