English
Instructions
CAUTION: Prior to using the DermLite DL3N, read these instructions
and keep them in a safe place for future reference.
CAUTION: United States Federal Law restricts this device to sale by or
on the order of a physician.
CAUTION: The DermLite DL3N is designed for external examination
only.
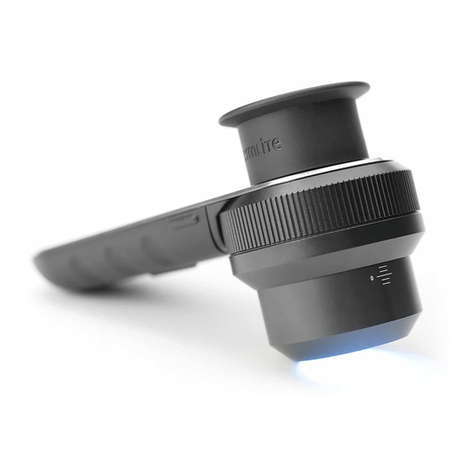
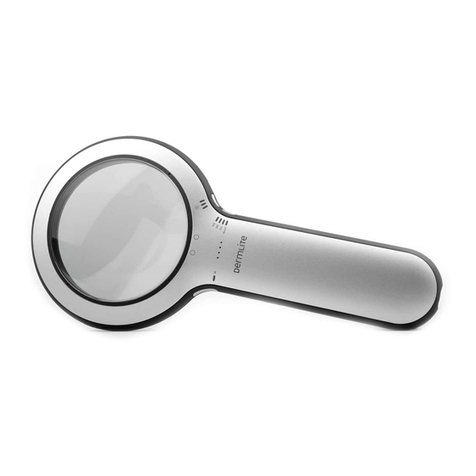
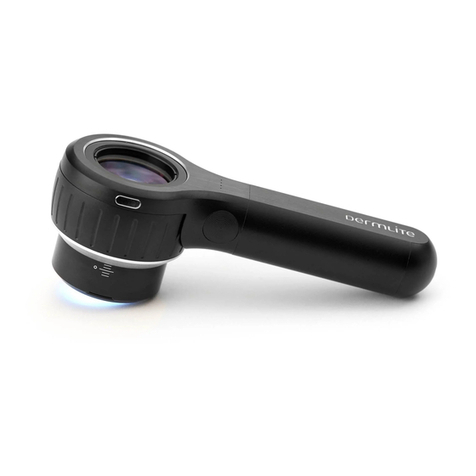
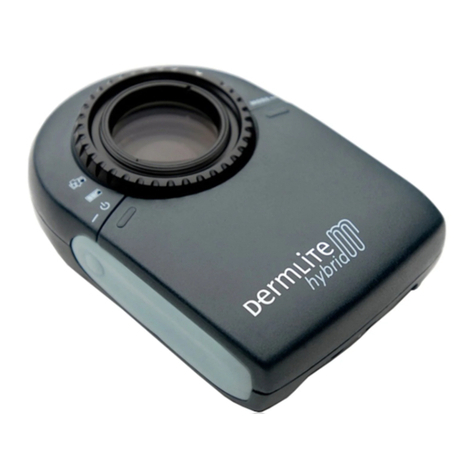
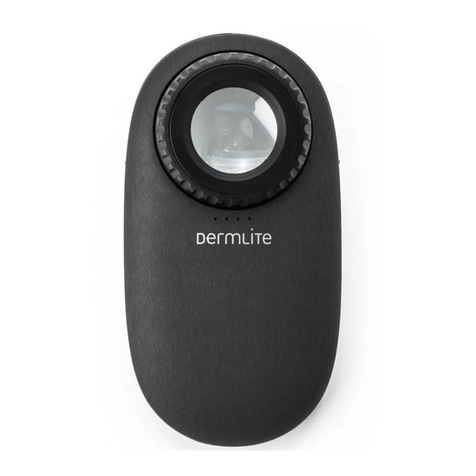
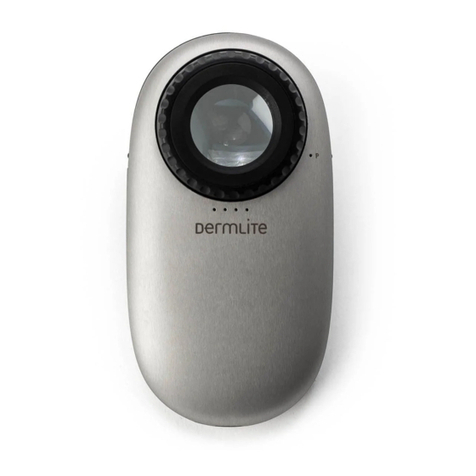
DermLite DL3N is a camera-compatible pocket dermatoscope designed
to view skin lesions with high magnification and clarity.
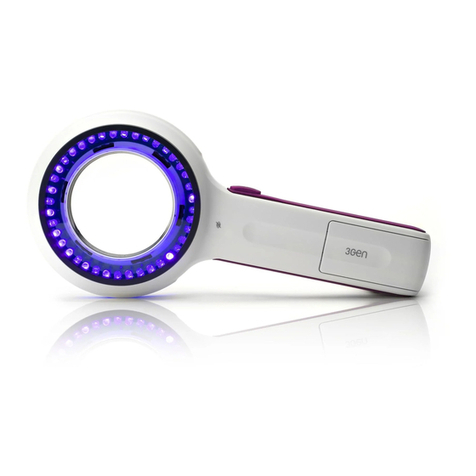
Two sets of white LEDs (light emitting diodes) can be activated indepen-
dently; one set of LEDs provides cross-polarized light (by canceling the
reflected light from the skin), whereas the other set of LEDs provides
non-polarized light for traditional immersion fluid dermoscopy. A special
PigmentBoost™ button activates a third set of LEDs.
A high quality, four-element, 25 mm, 10x lens with superb color cor-
rection and reduced image distortion produces an image rich in surface
detail.
To facilitate the use of immersion fluids, and allow for fixed digital imag-
ing, the unit is equipped with a retractable faceplate spacer.
Directions for Use
CAUTION: Do not look directly into the bright LED light. Patients must
close their eyes during facial examinations.
IMPORTANT: Before initial use, please charge the internal lithium ion
battery for a minimum of 4 hours using the charging base provided. See
“Charging” for details.
Hold your DermLite DL3N so that the LEDs are aimed in the direction of
the lesion to be examined. Place the device approximately 1” (~25mm)
from the skin. Push and hold the power button (A1) at the right side of
the unit for approximately 1 second to turn on the cross-polarized mode.
A quick tap of the button enables the non-polarized mode for immer-
sion fluid dermoscopy, another tap toggles back to the cross-polarized
illumination. In either mode, the additional PigmentBoost™ illumination
may be activated via the left button (A2).
Look through the lens with your eye placed about 1 to 4” (25-100 mm)
above your DermLite. Move the device closer or further away from the
skin to obtain the desired image focus. For dermoscopy with skin con-
tact, or for camera use, rotate the Focus Dial (B) to the left or right. The
position “0” indicates the ideal distance for photography. To turn off your
DermLite DL3N, push & hold the power button for approx. 1 sec.
CAUTION: If your DermLite is used for oil immersion imaging, place the
oil only on the skin and then place the extended faceplate spacer on top
of the oil. Do not allow oil to contact the charging contacts or battery
compartment.
Removing the Spacer
Unscrew the Retaining Ring (B1) and rotate the Focus Dial (B) until the
Spacer (B2) drops.
To re-attach the Spacer, slip its three pins through the three notches (D)
and gently rotate the Focus Dial until the Spacer is being pulled back in.
Reattach the Retaining Ring.
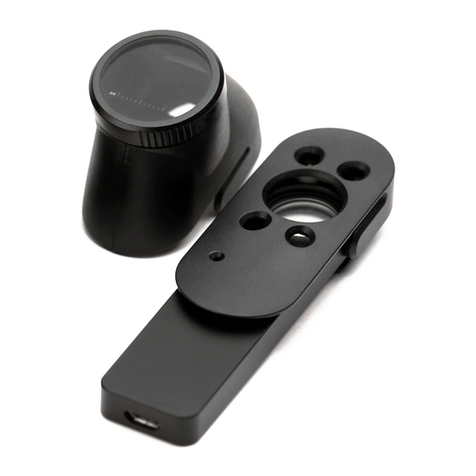
Eyepiece
To reduce internal reflections and improve the contrast of the image,
attach the optional eyepiece onto the 28mm thread (E).
Camera Use
To enable you to attach your DermLite DL3N to a camera, the device
is equipped with a 28 mm thread (E). A simple ring adapter (such as a
28-37 mm stepping ring) may be all that is required to adapt the device
to your camera of choice, although many cameras require a special
adapter made by the camera manufacturer or a photography supply
company. Prior to taking images, wipe the Faceplate (F) clean and extend
the Spacer to the “0” position. Generally, good images may be obtained
by setting your camera to automatic or “P” mode, activating the “macro”
function, and deactivating the flash. Please contact 3Gen or your camera
dealer for more information.
Charging
Prior to using the DermLite, insert the 110V-220V power plug into an
electrical outlet and the other end into the back of the charging base.
