Desert Aire CM3530 Series User manual

Installation and Operations Manual
for LC/LV Units
Backlit LCD User
Interface
Custom programming for
complex dehumidification
temperature & humidity
control
Multiple communication
options:
- LonW
orks®
- BACnet™ Ethernet
- BACnet™ MS/TP
- Modbus
®
A
larm history retention
Integral remote access
capability
CM3530 Series
Controller

2

3
DANGER
ONLY TRAINED, QUALIFIED PERSONNEL SHOULD INSTALL AND/OR SERVICE
DESERT AIRE EQUIPMENT. SERIOUS INJURY, DEATH AND PROPERTY DAMAGE CAN
RESULT FROM IMPROPER INSTALLATION/SERVICE OF THIS EQUIPMENT. HIGH VOLTAGE
ELECTRICAL COMPONENTS AND REFRIGERANT UNDER PRESSURE ARE PRESENT.
Desert Aire
Dehumidication Equipment Standard Limited Warranty
Desert Aire warrants the dehumidifying unit to be free from defects in materials and workmanship subject to the terms,
conditions and limitations stated herein.
TERMS
Desert Aire warrants all components (except as noted) for a period of two (2) years from the date of shipment. This
warranty shall be limited to the supply of new or rebuilt parts for the part which has failed because of
defects in workmanship or material, and does not include the cost for labor, transportation or other costs not herein
provided for. Replaced parts are warranted only for the remaining portion of the original warranty period.
CONDITIONS
The warranty is subject to the following conditions:
1. The unit must be properly installed and maintained in accordance with the Desert Aire
“Installation and Operation Manual” provided with each unit and/or other documentation provided.
2. The Start-Up Report must be completed and returned to Desert Aire Service for evaluation. If no
decienciesareidentiedaWarrantyValidationLetterwillbeissuedthatprovidesallwarrantydates
andcoverage.Ifinstallationorstart-updecienciesarepresent,thesemustbecorrectedand
communicated to Desert Aire in order to activate warranty.
3. This warranty shall not apply to any part that has been tampered with, or has been subject to
misuse, negligence or accident. A warranty can be obtained for altered equipment but only with
written consent from Desert Aire.
4. The following parts and components are excluded from the warranty: belts, lters, driers, fuses and
refrigerant.
5. Refrigerant coils or other components that corrode due to improperly balanced pool chemistry or
corrosive air quality will not be warranted.
6. All replacements or repairs will be FOB Germantown, WI.
7. This warranty shall be null and void if defects or damages result from unauthorized opening of the
refrigerant circuit, tampering with factory set controls, or operating outside the original design
conditions.
8. Desert Aire shall not be liable for labor costs incurred in diagnosing the problem, or the removal
or replacement of the part or parts being repaired.
9. Desert Aire must preauthorize all warranty coverage described herein.
Desert Aire - CM3530 Manual

4
ExtendedWarranty:
Your Desert Aire unit may have extended warrantees beyond this Standard Limited Warranty document.
Extended warrantees are only available at the time of the purchase of the original equipment. These extended
warrantees are covered under a separate document and their terms and conditions are separate from this document.
It is mentioned in this document for informational purposes only. Any Extended Warranties will be identied on the
Warranty Validation Letter.
Any and all incidental or consequential damages are expressly excluded from this warranty. Some states do not allow
the exclusion of incidental or consequential damages for personal injury, so the above limitations may not apply to you
for certain damages. This warranty gives you specic legal rights, and you may also have other rights, which vary
from state to state. No person or representative is authorized to make any warranty or assume any liability not strictly
in accordance with the aforementioned.
Inquiries regarding warranty matters should be addressed to:
Desert Aire Corp
c/o Service Manager
N120 W18485 Freistadt Road
Germantown, WI 53022
PH: (262) 946-7400
TOLL FREE: (800) 443-5276
FAX: (262) 946-7401
Additional copies of this manual can be purchased for a nominal fee from Desert Aire. Desert Aire also posts the
most current revision of our I/O Manuals on our website. For a digital copy of the I/O Manual for your unit revision,
please submit request to the contact information listed above.
Desert Aire - CM3530 Manual

5
ProductWarningfortheStateofCalifornia
Desert Aire - CM3530 Manual

6Desert Aire - CM3530 Manual

7
TABLEOFCONTENTS
1. Installation ....................................................................................
..............................
....... 9
1.1 Introduction ............................................................................................................. 9
1.2 Sensor Installation ................................................................................................. 9
1.2.1 Unit Mounted Sensor .............................................................
................
..... 9
1.2.2 Wall-Mount Humidity and Temperature Sensor ...................
.............
......... 9
1.2.3 Water Temperature Sensors .................................................
.....................
1 0
1.3 Auxiliary Air Heating Control Wiring .............................................
.........................
1 0
1.3.1 Auxiliary Heating - Dry Contact Closure ................................................... 10
1.3.2 Auxiliary Heating - Proportional Signal ..................................................... 10
1.4 CM3530 Controller Overview .......................................................
.........................
11
2. LC / LV Controller Details ................................................................................................ 13
2.1 Menu Overview and General Instructions ..........................
.....................................
13
2.2 Zone Setpoints ..................................................................................
..................
... 14
2.3 Main Menu .........................................................................................
..................
... 15
2.3.1 Unit Status ...................................................................
.....................
.......... 15
2.3.2 Occupancy Schedule ..................................................
.....................
.......... 16
2.3.2.1 Time Settings ................................................................................ 17
2.3.2.2 Daily Events .................................................................................. 17
2.3.2.3 Vacation Periods ........................................................................... 18
2.3.2.4 Special Days ................................................................................. 18
2.3.2.5 Temporary Occupancy .................................................................. 18
2.3.3 Service Menu ..............................................................
............................
... 19
2.3.3.1 Commissioning ............................................................................. 20
2.3.3.1.1 Conguration-Blower Setup ........................................... 20
2.3.3.1.2 Conguration-Condenser Setup .................................... 21
2.3.3.1.3 Conguration-Movable Roof/Wall .................................. 21
2.3.3.1.4 Conguration-Roof Open Action .................................... 22
2.3.3.2 Airow Setup ................................................................................ 22
2.3.3.2.1 Current Conditions ......................................................... 23
2.3.3.2.2 Commissioning Tests ..................................................... 23
2.3.3.2.3 Motor Phasing ............................................................... 24
2.3.3.3 BMS Setup ................................................................................... 25
2.3.3.4 Tuning-Deadbands ....................................................................... 28
2.3.3.4.1 Tuning-Differentials ....................................................... 31
2.3.3.4.2 Tuning-Air Heat ............................................................. 31
2.3.3.4.3 Tuning-Air Heating ........................................................ 32
Desert Aire - CM3530 Manual

8
2.3.3.5 I/O Status ..................................................................................... 32
2.3.3.5.1 Digital Inputs (Binary) .................................................... 33
2.3.3.5.2 Analog Inputs ................................................................ 34
2.3.3.5.3 Digital Outputs (Binary) ................................................. 36
2.3.3.5.4 Analog Outputs .............................................................. 38
2.3.3.6 Sensor Offsets ............................................................................... 38
2.3.3.7 Diagnostics ....................................
.............................................
.... 39
2.3.3.8 Memory Options ........................................................................... 40
2.3.4 Unit Revision ...............................................
..................................
............ 41
3. Alarm Menu ....................................................................................................................... 43
3.1 Mult Suction Pr ..........................................................................
..............
................ 44
3.2 Discharge Pressure .......................................................
.................
......................... 44
3.3 Compressor Overload ............................................................................................ 45
3.4 Smoke Alarm ............................................................................................................ 45
3.5 c.pCOe Comm Fault ............................................................................................... 45
3.6 c.pCOe Cnfg Fault .................................................................................................. 45
3.7 Modbus Sensor Fault .............................................................................................. 45
3.8 Blower Overload ..................................................................................................... 45
3.9 Too many mem writings or Retain mem write error ................................................ 45
3.10 Alarm Log ................................................................................................................ 46
4. Hardware Details .............................................................................................................. 47
4.1 Programmable Controller ............................................................
..............
.............. 47
4.2 Suction Pressure Transducer ............................................................
......
................ 47
4.3 Discharge Pressure Transducer ........................................................
......
................ 47
4.4 Suction Line, Liquid & DHU Temperature Sensor .............................
......
................ 48
4.5 Zone Air Temperature and Relative Humidity Sensor .......................
......
................ 48
4.6 Reheat Condenser and Evaporator Bypass Differential Air Pressure Sensors ...... 48
4.7 EC Blower Differential Air Pressure Sensor ......................................
......
................ 48
5. Appendix ............................................................................................................................ 49
5.1 Internal Web Page ......................................................................
..............
.............. 49
Desert Aire - CM3530 Manual

9
1. Installation
1.1 Introduction
Your Desert Aire controller is designed for precise monitoring and control of air temperature
and relative humidity (RH) within a conditioned environment.
This CM3530 control system is easy to install and operate. The controller features an internal
display terminal (IDT). This display allows viewing and adjustment of the unit’s sensors and
set points. It also indicates the operating status of major components inside the dehumidier.
The CM3530 controller also has the ability to control auxiliary equipment such as a pool water
or tower water pumps and auxiliary heating devices for optimum energy efciency.
Most sensors and devices have been factory-installed and wired inside the dehumidier. In
most cases, only connection to a remote condenser, electrical power connection and an
ethernet connection to the facilities computer network are required. For units requiring a wall
mounted zone air temperature and relative humidity sensor, wiring to the unit will be required.
Also, units with a pool condenser will require temperature sensors to be wired in the pool
water piping.
The control system includes a web page which allows a virtual display terminal to be accessed
from any device on the computer network. Simply browse to the IP address assigned to the
dehumidier, enter the appropriate credentials, [user – Desert-Aire, password – 18485] and
select the DISPLAY tab. Logging is also available from this web page.
The CM3530 controller also features optional building automation access. This includes
options for network connect ability including LONWORKS, BACnet IP, BACnet MS/TP,
ModBus RTU and ModBus IP.
1.2 Sensor Installation
The CM3530 control system is normally provided with a unit mounted combination relative
humidity and temperature sensor. This sensor provides accurate control without the problems
associated with wall mounted sensors, such as faulty readings due to hot spots or drafts. If a
pool water condenser has been provided in the dehumidier, pool water temperature sensors
will need to be installed in the water piping.
1.2.1 Unit Mounted Sensor
This sensor is factory mounted in the return air duct upstream of any outdoor
air intakes.
1.2.2. Wall-MountHumidityandTemperatureSensor
If your dehumidier was ordered with a wall-mount humidity and temperature sensor,
mount the sensor about ve feet above the pool deck on an interior wall with natural
air circulation. Avoid the following locations:
Desert Aire - CM3530 Manual

10
• Hot spots near concealed heating pipes, warm air ducts, supply register
outlets, or solar radiation.
• Cold spots due to a cold wall or draft from stairwells, doors, windows, or
supply register outlets.
• Dead spots such as behind doors or in corners where room air cannot
circulate freely.
1.2.3 WaterTemperatureSensors
Desert Aire dehumidiers ordered with the pool water heating option are supplied with
two water temperature sensors and two immersion wells.
• Screw the wells into the adapter ttings of the inlet and outlet pool water
piping. The wells are equipped with a 1/2” MPT connection.
• Install the sensors upstream and downstream from the dehumidier or the
auxiliary pool water heater.
• The sensors must be installed in a location where they will accurately sense
the pool water inlet and outlet temperature conditions. This means you must
have continuous water ow at the sensor locations.
1.3 AuxiliaryAirHeatingControlWiring
Note: You must use the Desert Aire CM3530 control system to control or interlock with the
room heating system. This prevents the heater from trying to heat the room while the
dehumidier is running in cooling mode.
1.3.1 AuxiliaryHeating-DryContactClosure
The standard Desert Aire CM3530 Controller provides a dry contact closure to operate
the auxiliary space heater. The contact closes to energize a heater (may be supplied
by others) which has its own power source.
Install two wires from the thermostat terminal blocks on the heater to the terminals H1
and H2 in the control panel of the dehumidier. See your wiring schematic for
connection details.
Note: Units with an internal electric air heater have an airow proving switch installed
between the heater and the control enclosure. If an air heater is installed external to
the unit, provide an external airow proving switch for protection of the heater.
1.3.2 AuxiliaryHeating-ProportionalSignal
Desert Aire will provide a proportional 0-10 VDC direct-acting signal to modulate a
heating coil control valve or other auxiliary modulating heater. Most proportional valves
have either three (3) or four (4) terminals for eld-installed wiring.
• Four-terminal valves have two terminals for 24 VAC power and two terminals
for the signal input.
Desert Aire - CM3530 Manual

11
• Three-terminal valves have one terminal for the “hot” 24 VAC input, a second
terminal for the “neutral” 24 VAC input and the “negative” signal input.
The control signal may also be set for reverse-acting or for 2-10 VDC. Contact
Desert Aire’s service department for recommendations or instructions on how these
options can be implemented.
1.4 CM3530 Controller Overview
Desert Aire’s CM3530 microprocessor controller is a powerful, exible controller with many
useful features including:
• Display of room air temperature, relative humidity and refrigerant pressures.
• Display of equipment operating status such as dehumidication and cooling.
• Display of alarms for abnormal conditions such as sensor failures or tripped
safety controls.
• An optional seven-day occupancy timer which can control outdoor air dampers
(if used) to bring in fresh air when the dehumidier is an occupied state.
• A convenient, easy-to-understand display interface which allows the operator to
view and change set points and time schedules.
Desert Aire - CM3530 Manual

12 Desert Aire - CM3530 Manual

13
2. LC/LVControllerDetails
2.1 MenuOverviewandGeneralInstructions(Figure1)
Your Desert Aire controller is pre-programmed and congured at the factory for use in the
application you have specied. The internal display terminal (IDT, see Figure 1) allows the
operator to monitor and adjust the set points of your Desert Aire system. The IDT has an LCD
screen and six keys. These keys are labeled as below:
The Home Screen (Figure 1) displays the Desert Aire logo and shows the dehumidier status,
zone temperature and relative humidity and the operational state of the fan, compressor and
air heating. The unit type is displayed in the upper right of the screen indicating either an LC or
LV and the tonnage. Below this line, “Esc → Menu” indicates that if the Esc key is pressed, the
Main Menu will be displayed. Pressing Esc on any other screen will take you back one screen.
The “Prg → Stpt” indicates that if the Prg key is pressed, the set points can be changed. The
“↑↓ → Help” indicates that if the UP or DOWN keys are pressed, the help screens will be
shown. The UP or DOWN keys will now scroll through the help screens.
Menu screens allow the user to select from a series of actions. The action that is capitalized
on the screen is selected by pressing the ENTER key. To cycle through the selections on a
menu screen, use the UP and DOWN keys.
If set points or selections can be altered on a screen, the ENTER key will cycle through those
items. Once the cursor is over an item, the UP and DOWN arrow keys will modify the setting.
Numeric values require that the ENTER key be pressed to accept the value. An “on” or “off”
selection is altered as soon as the UP or DOWN keys are pressed.
When an alarm is triggered, the red LED behind the ALARM key will light and remain on until
the alarm is reset.
To view the alarms from any menu, simply press the ALARM key. If no alarm is active, the
display will state NO ALARMS. If an alarm is present, it will be displayed along with the date
and time it was triggered. The bottom two lines will display two data points recorded when the
alarm was triggered.
To reset the alarm, use the DOWN key until the reset instructions are shown. Pressing the
ALARM key for three seconds will reset all active alarms. See Section 3 for further alarm and
alarm data logging information.
Desert Aire - CM3530 Manual

14
Screens which display a small up arrow in the upper right and a small down arrow in the lower
right are part of a series of screens which can be accessed by pressing either the UP or
DOWN arrow keys. If the operator has not pressed a key for an hour, the remote terminal will
return to the Home Screen.
Figure 1
2.2 ZoneSetpoints(Figure2and3)
Pressing the Prg key from the Home Screen displays the ZONE SETPOINTS (Figure 2). This
menu allows for modications of the temperature and humidity set points specic to the unit.
To modify the set points, press the ENTER key and use the arrow keys until the desired
setting is shown. Press the ENTER key to accept the set point value. To return to the Home
Screen, press the Esc key.
Figure 2
If pool heating is included in the unit, the up and down arrow keys will be shown on the right of
the screen. Press the DOWN key and the screen shown in Figure 3 will appear. Set the pool
water temperature set point with the ENTER and UP and DOWN keys and press the ENTER
key to modify. The Partial Pool set point will be shown in a similar manner when the partial pool
condenser is supplied with the dehumidier.
To return to the MAIN MENU, press the Esc key.
Desert Aire - CM3530 Manual

15
Figure 3
2.3 MainMenu(Figure4)
Pressing the Esc key from the Home Screen displays the MAIN MENU (Figure 4). This menu
allows the operator to select the UNIT STATUS, set the Occupancy Schedule, enter the
Service Menu and view the Unit Revision.
To return to the Home Screen, press the Esc key.
Figure 4
2.3.1 UnitStatus(Figure5)
Selecting Unit Status from the MAIN MENU displays a text explanation of the unit.
The ROC Available or ROC Unavailable is shown on the rst line of this display.
This is based on the state of the digital input #7. A water ow switch or a jumper will
determine if a remote condenser is available for heat rejection. The Occupied state
(either Occupied or Un-Occupied) is shown on the second line along with the state of
the blower. The Unit Status will show one of the following states on the third line.
• Off / Satised
• Heating Req.
• Cooling Req.
• Dehum & Heat
• Dehum & Cool
• Low Suct. Pr
Desert Aire - CM3530 Manual

16
• Low Air Flow
• Low DHU Tmp
The fourth line will display the pool ow state if pool heating is required. The fth line
displays if the compressor is on or off. The sixth line will indicate if the compressor is
waiting for its non-short cycling timer to time out and the time left before a restart is
available.
To return to the MAIN MENU, press the Esc key.
Figure 5
2.3.2 OccupancySchedule(Figure6)
Select the OCCUPANCY SCHEDULE from the MAIN MENU to enable a schedule to
place the dehumidier in the occupied mode. See Figure 6. To enable a schedule,
select Yes, and press ENTER. The schedule will need to be setup before this will be
enabled. Pressing the Prg key from this menu allows the date and time to be modied.
To return to the MAIN MENU, press the Esc key.
Figure 6
Desert Aire - CM3530 Manual

17
2.3.2.1 TimeSettings(Figure7)
This screen sets the time, date and day of week. To modify these settings,
press the ENTER key until the cursor is over the appropriate item and use the
arrow keys until the desired setting is shown. All times are set in the 24 hour
format. Pressing the ENTER key will accept that value and step to
the next item.
To return to the OCCUPANCY SCHEDULE, press the Esc key.
Figure 7
2.3.2.2 DailyEvents(Figure8)
This is where each day’s events are set. Four settings are possible, which will
allow two separate occupancy periods. Check the rst box by pressing the UP
key when the cursor is over the check box. Set the time in 24 hour format and
then select ‘Occupied’ or ‘Un-Occupied’. Save this data at the bottom of this
screen by selecting ‘Yes’ and pressing ENTER.
Once a day is entered, these settings can be copied to any other day by
selecting the day to copy, setting the Copy To: the appropriate day, and then
selecting Ok? to ‘Yes’. Modify these days as appropriate.
To return to the OCCUPANCY SCHEDULE MENU, press the Esc key.
Figure 8
Desert Aire - CM3530 Manual

18
2.3.2.3 VacationPeriods(Figure9)
The Vacation Periods will allow three sets of vacation to keep the
dehumidier ‘Occupied’ or ‘Un-Occupied’. Set the range of days that this will
occur, the Start Date and the End Date for that holiday.
To return to the OCCUPANCY SCHEDULE MENU, press the Esc key.
Figure 9
2.3.2.4 SpecialDays(Figure10)
Also available are 6 special days where the full day can be set for either
‘Occupied’ or ‘Un-Occupied’.
To return to the OCCUPANCY SCHEDULE MENU, press the Esc key.
Figure 10
2.3.2.5 TemporaryOccupancy(Figure11)
This screen allows the unit to be manually set to Occupied for a preset
amount of time. Press the ENTER key and enter the hours you would like the
unit to be temporarily in the occupied mode. Press the ENTER key again and
enter the minutes you would like the unit to be temporarily in the occupied
mode. Press the ENTER key again and the cursor will begin blinking over the
‘Set Override’ message. Press the UP and ENTER keys to set this override to
Desert Aire - CM3530 Manual

19
‘On’. The dehumidier will now be ‘Occupied’ for this period of time. When the
override expires, the screen will again display Set Override, and the
dehumidier will return to its normal state.
To return to the OCCUPANCY SCHEDULE MENU, press the Esc key.
Figure 11
2.3.3 ServiceMenu(Figure12and13)
Selecting the SERVICE MENU will display the Login Screen (Figure 12). Enter the
service password, 1234, and press ENTER.
Figure 12
The SERVICE MENU gives access to Commissioning, Tuning, I/O Status, Sensor
Offsets, Diagnostics and Memory Options (Figure 13).
To return to the MAIN MENU, press the Esc key.
Desert Aire - CM3530 Manual

20
Figure 13
To return to the MAIN MENU, press the Esc key. The user remains logged
in for 30 minutes after the password is entered. During this time, the Login
screen reads “Logged In For” and the seconds left before the password
expires. To login without entering the password, while this message is shown,
press the Prg key.
2.3.3.1 Commissioning(Figure14)
Selecting the COMMISSIONING MENU from the Service Menu displays the
COMMISSIONING MENU (Figure 14). This menu allows the operator to
select the Conguration, Airow Setup, Current Conditions, Commissioning
Test, Motor Phasing and BMS Setup. To return to the Service Menu, press the
Esc key.
Figure 14
2.3.3.1.1Conguration–BlowerSetup(Figure15)
Selecting the CONFIGURATION from the Commissioning Menu
displays the BLOWER SETUP screen (Figure 15). The blower
can be set for either CONTINUOUS or AUTOMATIC. Only set the
blower to automatic if a wall mount sensor is used.
Desert Aire - CM3530 Manual
Table of contents
Other Desert Aire Controllers manuals
Desert Aire
Desert Aire CM3570 Series User manual
Desert Aire
Desert Aire CM3540 Series User manual
Desert Aire
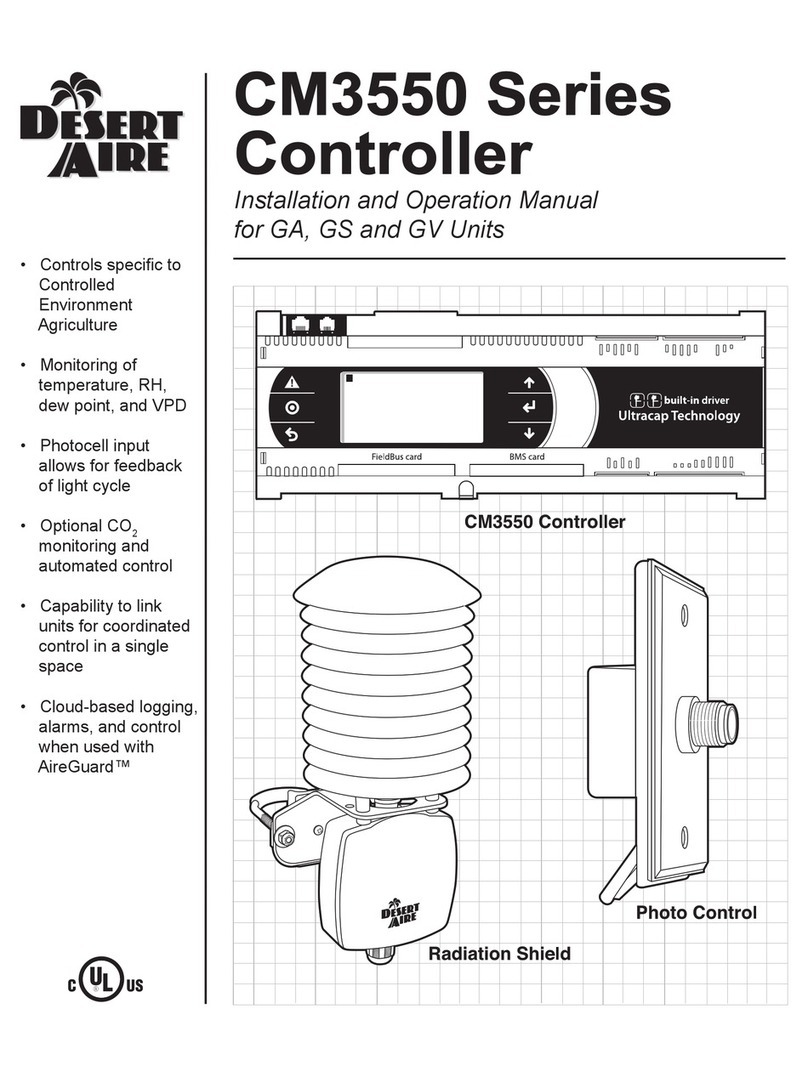
Desert Aire CM3550 Series User manual

Desert Aire
Desert Aire CM35xx User manual
Desert Aire
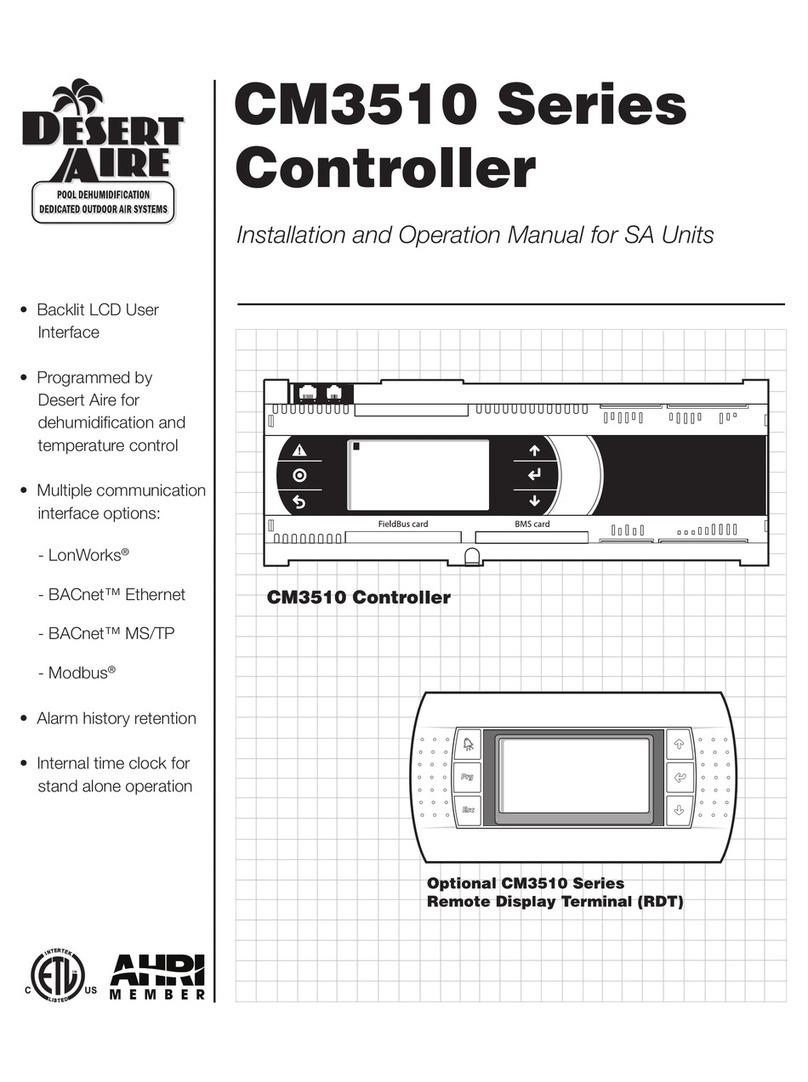
Desert Aire CM3510 Series User manual
Desert Aire
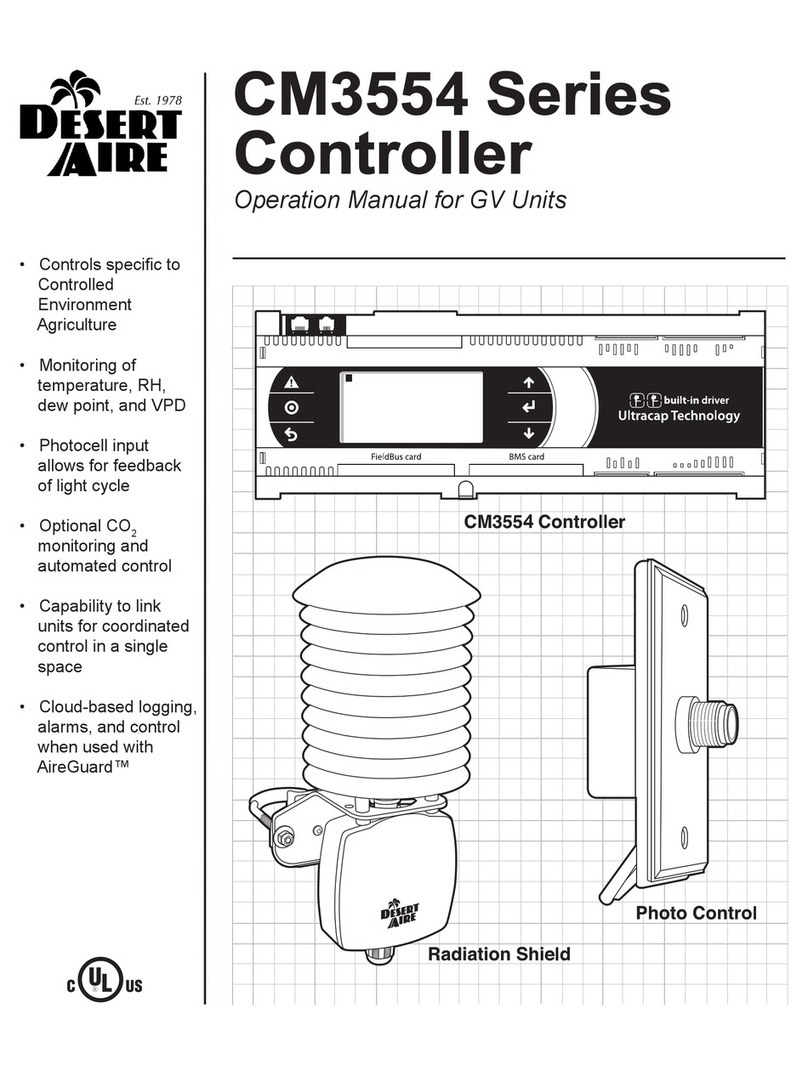
Desert Aire CM3554 Series User manual

Desert Aire
Desert Aire CM3540 Series User manual

Desert Aire
Desert Aire CM3510 Series User manual
Desert Aire
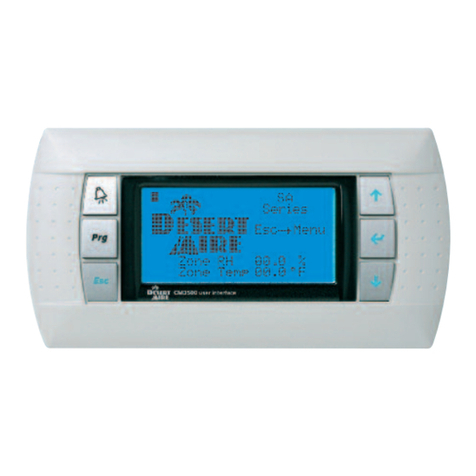
Desert Aire CM3560 Series User manual
Desert Aire
Desert Aire CM3500 Series User manual
