manuals.online logo
Brands
  1. Home
  2. •
  3. Brands
  4. •
  5. Detech
  6. •
  7. Accessories
  8. •
  9. Detech DtSpot360-WL User manual

Detech DtSpot360-WL User manual

DeTech srl DTSPOT 31 10 2018 [Digitare qui]
DtSpot360-WL
Dual technology wireless
sensor 868 Mhz
INSTRUCTIONS
CHARACTERISTICS
-Adjustable sensitivity of detection.
-Antiflickering technology.
-Microstrip microwave with pulsed emission
-Fresnell lens 18 fasci on 4 levels.
-Installation height: up to 4 meters
-180° coverage
-Absorption at rest 26 uA.
-Power supply: 3,6v- n.1 lithium battery 3v6
mod. ER14505 wired AA 2,4Ah.
-3 years of autonomy (at standard use).
-Radio Freq. 868MHz-FM bidirectional.
-Tamper protection.
-Wireless supervision.
-Display of the battery life.
-Detection bulk ( 2 minutes) when the system
is off, absent when the system is on.
The DtSPOT offers the advantage of two
different sensitivity levels, which allow you to
chose di the best one for the place you need
protection on, obtaining the best ratio between
maximum capacity and minimum possibility of
wrong signaling
ATTENTION: Before every trial, link the
sensor to the receiver.
Guida all'installazione
DtSPOT has a 360° coverage and needs to be installed on the ceiling, in the
middle of the area you want to protect. Its cover zone has a diameter that
is double its height. Ex: if placed at a 3 mt height, the diameter it covers
will be of 6 mt, enough to protect an area of 36 m^2.
Open the sensor, turning the upper li clockwise
Dip1 Pos OFF LED ON
Displaying is enabled when the GREEN LED is on, the alarmi s received
correctly
Dip1 Pos ON LED OFF
Disabled displaying
Dip3 Pos OFF SENS HIGH
Standard sensibility
Dip3 Pos OFF SENS
Low sensibility, best for areas with environmental instability
Preforatura
serraggio
frontale
Preforatura
fissaggio
Preforatura
fissaggio
Antenna
Preforatura
fissaggio
Preforatura
fissaggio
0 m
Microwave
4 m
2 m
6 m
3 m
0 m
3 m
6 m
DeTech srl DTSPOT 31 10 2018 [Digitare qui]
ATTENTION: Before every trial, link the sensor to the receiver
1 Installing guide
Pick the best installation point for both the technologies and, if possible, position the unit towards the inside
of the area and far from doors, windows, moving objects and heat sources.
You get the best coverage by installing the detector at a 2.1 m heighmake sure the sensor has a clear view.
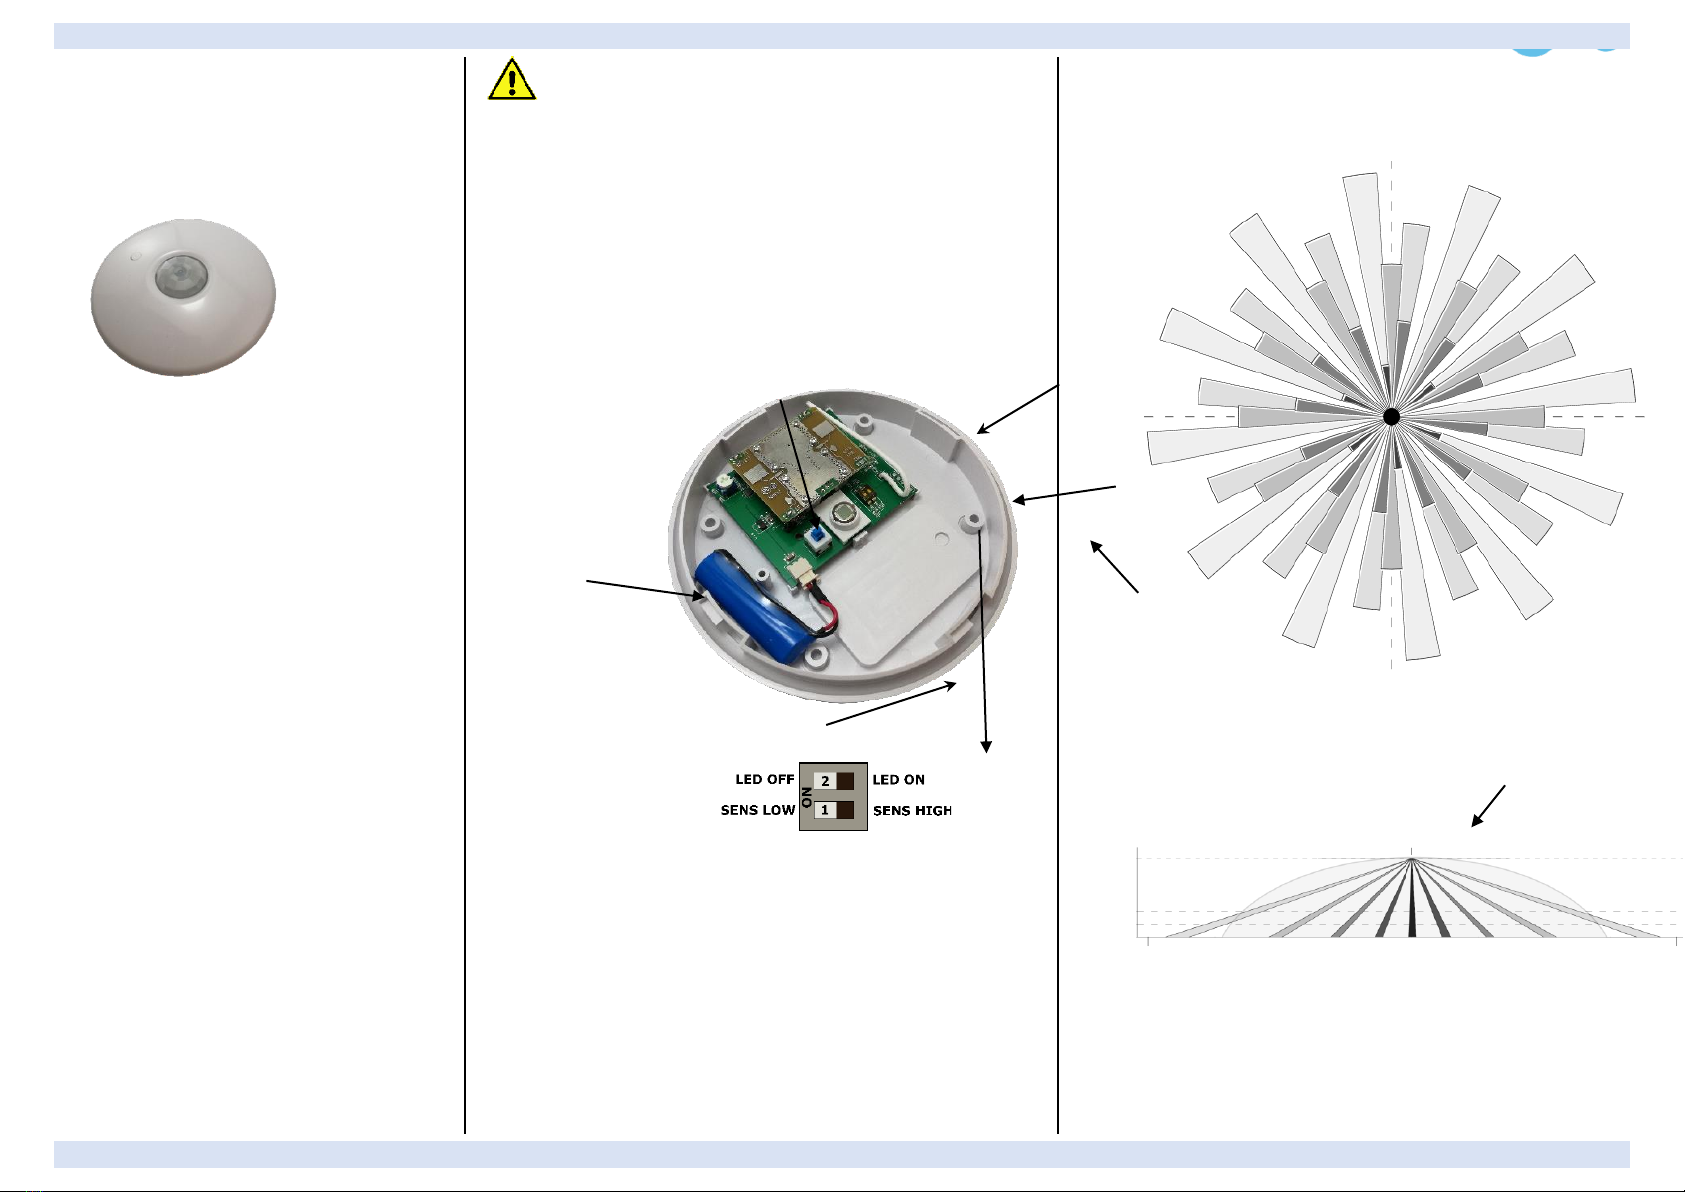
2.BATTERY INSERTION Remove the board and connect the battery to the circuit through the
connector, positioned on the back of the board and put it in the battery carrier on the D bottom.
Wait 2 minutes for the auto-calibration. The GREEN and RED LEDs will blink alternatively.
3. ACQUISITION The acquisition of the sensor in the system takes place when a Tamper alarm is
generated (by releasing the Tamper button) or setting the battery in “acquisition” mode.
4RADIO COVERAGE TEST When the battery is disconnected, push the Tamper button and
connect the battery. When the LED will blink, drop the Tamper button. The GREEN LED suggests a
good signaling, when the GREEN and RED LEDs blink, the wireless signal is not fit, with no blinking
the signal is absent. To end the Test, push the Tamper or wait for 4 minutes.
5. WALK TEST Once the lid is closed, the sensor will prepare for 3 minutes at the coverage test.
Move towards the space you need protection and verify the coverage through the microwave
green led and the infrared red led (the display is delayed 2 sec). The ending of the test will be
signaled by the green led. If the LED is off, increase the range by turning the trimmer clockwise.
Repeat the trial until you have obtained the requested status.
. N.BThe range a sto be set on the minimum required because the uW crosses the walls and a high range
won’t increase the performance of the system in the area.
When the RED LED blinks, it reports the infrared relevation
Premise: when functioning, at the detection of an alarm, the sensor is inhibited for 2 sec. If
the SET line of the De Unire is connected, the sensor won’t be inhibited, once the system is
inserted.
6. ALARM MEMORY
When the system is off, the sensor will display a possible alarm through the blinking of the green
and red led. The memory will be cancelled at the next insertion. It’s activated in LED OFF as well.
7. BATTERY SIGNALING The low battery status is signaled through the blinking of the RED LED. In
LED OFF also.
8.BATTERY REPLACEMENT To replace the battery, set the system in MAINTENANCE mode, open
the sensor, remove the battery, insert a new battery and close the lid.
9. WARNING:
•explosion danger if the battery isn’t replaced correctly. Replace it only with an equal or
equivalent type.
•In case the battery shows leakage of liquid, change it immediately. Afterwards, clean
your hands if you touched the fluid.
Warning: Because of its small dimensions, the product can be ingested easily. Keep away from
children
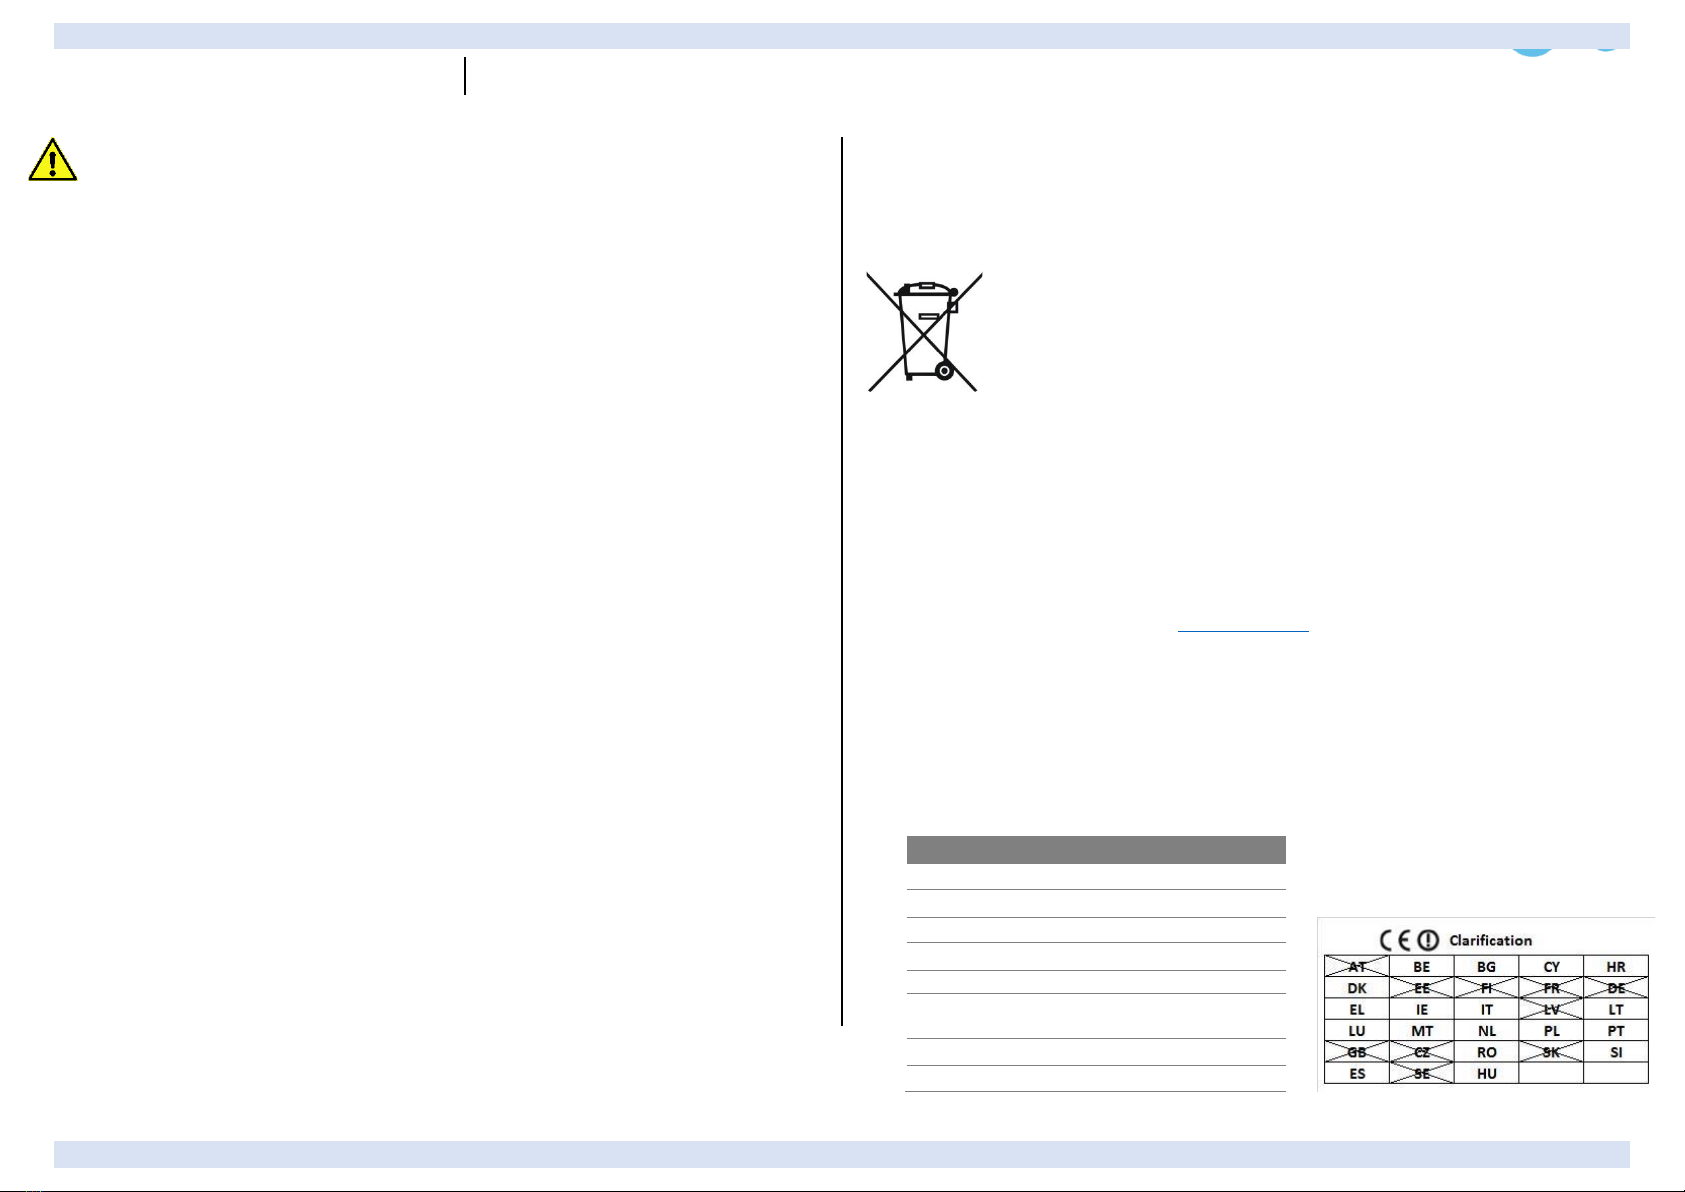
10. INFORMATION RELATING TO THE DISPOSAL (RAEE GUIDELINE)
•Warning: don’t throw this product in the normal trash bin!
•The electrical and electronical equipment must be managed separately in accordante with the
legislation requiasting the management, the disposal and recycling of such products
DISPOSAL OF THE BATTERY:
Warning: the battery contains polluting substances, therefore it must be put in special
predisposed to the collecting and disposal of polluting waste.
RED directive, rule EN 60950-1, EN 50130-4, EN 50130-5 EN61000-6-3, EN 300 440,
EN301489-3 e EN 62479
DECLARATION OF CONFORMITY EU
DeTech declares that the product is in accordance with the 2014/53/UE directive. The EU declaration of
conformity is available on the following site www.DeTechsrl.it
This product is ensured for 5 years (upon the occurrence of
malfunctioning or manufacturing faults).
DATA
Power supply
3,6V cc+/-30%
Max absorption
30 uA
Microwave
Strip 10.525GHz 8 dBm
Alarm length
3 sec.
RFI immunity
0,1/500 MHZ 3V/m
Working
temperature
-5°C/+55°C
Radio Freq
868 FM bidirezionale
Humidity
95%
DeTech 3Sniper-WL REV D 18/03/2019
D e T e c h s r l
Via Enzo Benedetto 27/b 00173 Roma Italia
Tel 06/72016428info@detechsrl.itwww.detechsrl.it

Other Detech Accessories manuals

Detech OneGateWL User manual

Detech

Detech OneGateWL User manual

Detech GATE WL User manual

Detech

Detech GATE WL User manual

Popular Accessories manuals by other brands

Chamberlain PIR2300R user manual

Chamberlain

Chamberlain PIR2300R user manual

Baumer OADM 12U6460/S35A manual

Baumer

Baumer OADM 12U6460/S35A manual

Spectris Bruel & Kjaer Vibro ASA-062 ATEX  Series manual

Spectris

Spectris Bruel & Kjaer Vibro ASA-062 ATEX Series manual

SGL 4680 instruction manual

SGL

SGL 4680 instruction manual

Di-soric FSB 10 M G1-B8 operating manual

Di-soric

Di-soric FSB 10 M G1-B8 operating manual

Mooer S10 owner's manual

Mooer

Mooer S10 owner's manual

Mobicool FR 35 operating manual

Mobicool

Mobicool FR 35 operating manual

Esco Medical MIRI TL 6 user manual

Esco Medical

Esco Medical MIRI TL 6 user manual

Hama 00121954 operating instructions

Hama

Hama 00121954 operating instructions

Waterpik WP-360 manual

Waterpik

Waterpik WP-360 manual

Oregon Scientific BAR609HGA user manual

Oregon Scientific

Oregon Scientific BAR609HGA user manual

Anker PowerCore+ 19000 PD Welcome guide

Anker

Anker PowerCore+ 19000 PD Welcome guide

COMSOL R78DP user manual

COMSOL

COMSOL R78DP user manual

Audient iD44 user manual

Audient

Audient iD44 user manual

Wen 56380i quick start guide

Wen

Wen 56380i quick start guide

GEONAUTE ONpower 710 user manual

GEONAUTE

GEONAUTE ONpower 710 user manual

Sony CP-V10 operating instructions

Sony

Sony CP-V10 operating instructions

Anritsu MA24 A Series Operation manual

Anritsu

Anritsu MA24 A Series Operation manual

manuals.online logo
manuals.online logoBrands
  • About & Mission
  • Contact us
  • Privacy Policy
  • Terms and Conditions

Copyright 2025 Manuals.Online. All Rights Reserved.