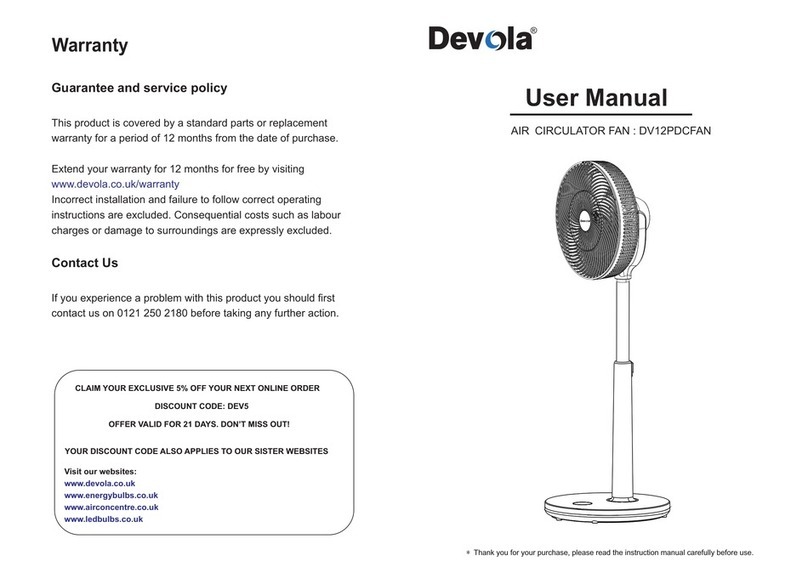
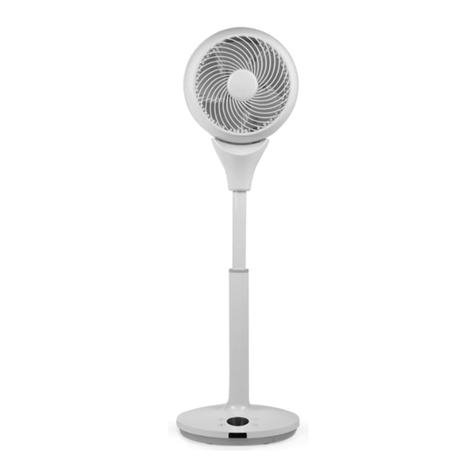
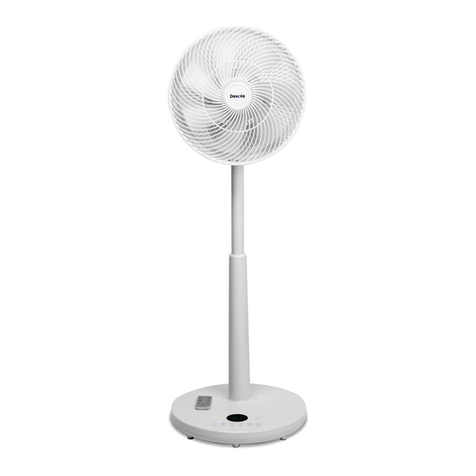
DEVOLA DVF7DCFAN User manual

USER MANUAL
DC 7” Air Circulator Fan
Model: DVF7DCFAN

CONTENTS
1. IMPORTANT SAFETY INSTRUCTIONS
2. PARTS IDENTIFICATION
3-4. OPERATING INSTRUCTIONS
5. CARE AND MAINTENANCE
6. WARRANTY

IMPORTANT SAFETY INSTRUCTIONS
Thank you for purchasing the Devola 7” Air Circulator Fan. All users of this appliance must
read and understand this instruction manual before operating.
•Make sure that all the fan components are kept clean and ensure that they are dry when
using the appliance.
•Before use, check that the voltage power corresponds to the one shown on the appliance
rating label or specification table below.
•Do not place the appliance close to fire, water or easily flammable materials.
•Not suitable for use in areas where infants may be left unattended.
•Do not allow infants to insert anything into the fan.
•Make sure that the fan is on a flat and secure surface before being switched on.
•When not in use, please shut down the power supply. Do not unplug by pulling on the supply
cord, gently remove the plug.
SPECIFICATIONS
Brand
Devola
Model
DVF7DCFAN
Motor
DC
Voltage
100-240V
Frequency
50/60Hz
Wind Speeds
1-9
Wind Modes
Normal/Nature/Sleep
Oscillation
Vertical, Horizontal
Timer
1-9h
Control
Control Panel and Remote Control
Wattage
20W

PARTS IDENTIFICATION
01. Front Guard 07. Digital Display
02. Front Guard Ring 08. Base
03. Copper Nut 09. Rear Guard
04. Blade 10. Support Frame
05. DC Motor 11. Handle
06. Touch Button 12. Remote Control

OPERATING INSTRUCTIONS
You can operate the appliance by the manual touch controls located on the unit or by using the
remote control. The remote control offers additional functions that cannot be operated using the
control panel. Therefore, please ensure it is kept safe by attaching it to the magnet on the side of the
appliance when not in use.
Remote Control
•The power (ON/OFF) button switches the appliance on and off.
•When the fan is switched on the digital display will automatically illuminate. Press the light
button on the remote to turn off the digital display.
•The wind mode functions can only be controlled on the remote by pressing the mode
button. The fan has three wind modes: Normal, Nature and Sleep.
Normal is the default wind mode, whereby the airflow will remain consistent and the strength
will correspond with the desired selected wind speed level between 1 and 9.
Nature mode varies the fan speed to simulate a natural sea breeze.
Sleep mode is designed to create a comfortable and soothing sleeping environment. The fan
speed will decrease by one level every 30 minutes so that the fan becomes quieter. This
mode is best used in conjunction with the timer function to avoid sleep disturbances.
•Press the timer on button whilst the fan is in standby mode to set a time for the fan to switch
on within a 1-9-hour range. Note, you can only set the timer in one-hour intervals. When the
timer is set, the digital display will alternate between the current wind speed and the duration
until the fan switches on (providing the display light has not been switched off). If the time
frame that the timer has been set to switch on in is beyond one hour, the number displayed
next to the timer will reduce by an hour after each hour that passes, to provide a more
accurate indication of when the fan will switch on. Please note that if the fan is switched on
and off after the timer is set, this will erase the pre-scheduled timer.
•Press the timer off button whilst the fan is on to set a time for the fan to switch off within a 1-
9-hour range. Note, you can only set the timer in one-hour intervals. When the timer is set,
the digital display will alternate between the current wind speed and the duration until the fan
switches off (providing the display light has not been switched off). If the time frame that the
timer has been set to switch off in is beyond one hour, the number displayed next to the timer
will reduce by an hour after each hour that passes, to provide a more accurate indication of
when the fan will enter standby mode. Please note that if the fan is switched off and back on
after the timer is set, this will erase the pre-scheduled timer.
•Press the vertical OSC button for the fan to automatically swing left and right. If you require
the fan to stay in a desired position, press this button again and it will become fixed in this
position.
•Press the horizontal OSC button for the fan to automatically swing up and down. If you
require the fan to stay in a desired position, press this button again and it will become fixed in
this position.
•Press the mute button to mute or unmute the sound.
•Press the plus (+) speed button to increase the fans wind speed.
•Press the minus (-) speed button to decrease the fans wind speed.
•The remote control works within 3 metres at an angle of around 30 to 45 degrees.

Control Panel
Power Switch & Wind Speed
•Pressing the ON/OFF touch button to turn the fan on or off.
•Pressing the SPEED touch button will enable you to cycle between the 9 wind speeds.
Oscillation Buttons OSC
•Press the OSC touch button for the fan to swing both vertically and horizontally. If you press
the OSC touch button again the fan will no longer swing horizontally, and solely swing
vertically. If you press the OSC button again the fan will stop swinging vertically and solely
horizontally. Pressing the OSC touch button for a further time will turn off all OSC functions
and the fan will remain in a fixed position.
【Note】Do not adjust the OSC swing angle by hand!
Timer Function
•Press the TIMER touch button whilst the fan is in standby mode to set a time for the fan to
switch on within a 1-9-hour range. Note, you can only set the timer in one-hour intervals.
When the timer is set, the digital display will alternate between the current wind speed and the
duration until the fan switches on (providing the display light has not been switched off). If the
time frame that the timer has been set to switch on in is beyond one hour, the number
displayed next to the timer will reduce by an hour after each hour that passes, to provide a
more accurate indication of when the fan will switch on. Please note that if the fan is switched
on and off after the timer is set, this will erase the pre-scheduled timer.
•Press the TIMER touch button whilst the fan is on to set a time for the fan to switch off within
a 1-9-hour range. Note, you can only set the timer in one-hour intervals. When the timer is
set, the digital display will alternate between the current wind speed and the duration until the
fan switches off (providing the display light has not been switched off). If the time frame that
the timer has been set to switch off in is beyond one hour, the number displayed next to the
timer will reduce by an hour after each hour that passes, to provide a more accurate
indication of when the fan will enter standby mode. Please note that if the fan is switched off
and back on after the timer is set, this will erase the pre-scheduled timer.

CARE & MAINTENANCE
1. Make sure that the appliance is switched off and unplugged before cleaning or attempting to store
the fan.
2. Press the four clips situated between the grilles of the rear guard to remove the front guard.
3. Turn the cap bolt on the blade clockwise to detach it from the blade or rotate the blade
anticlockwise to remove the blades from the rear guard.
4. You can clean the front guard, blade and bundle with water.
5. Do not immerse the power cord into liquids. Wipe the exterior with a soft damp cloth or sponge.
Remove stubborn spots with a cloth moistened with mild liquid detergent. Do not use abrasive
scouring pads or powders. See the images below for reference.
6. You will need to reassemble the appliance after cleaning. Install the front guard and fan blades in
the reverse order of disassembly.
7. If you are storing the appliance ensure it is in suitable protective packaging, then store in a cool dry
place.

WARRANTY
Guarantee and Service Policy
This product is covered by a standard parts or replacement warranty for a period of 12 months from
the date of purchase.
Extend your warranty for 12 months for free by visiting www.devola.co.uk/warranty
Incorrect installation and failure to follow correct operating instructions are excluded. Consequential
costs such as labour charges or damage to surroundings are expressly excluded.
Contact Us
If you experience a problem with this product you should first contact us on 0121 250 2180 before
taking any further action.
CLAIM YOUR EXCLUSIVE 5% OFF YOUR NEXT ONLINE ORDER
DISCOUNT CODE: DEV5
OFFER VALID FOR 21 DAYS. DON’T MISS OUT!
YOUR DISCOUNT CODE ALSO APPLIES TO OUR SISTER WEBSITES
Visit our websites:
www.devola.co.uk
www.energybulbs.co.uk
www.airconcentre.co.uk
www.ledbulbs.co.uk
Table of contents
Other DEVOLA Fan manuals
Popular Fan manuals by other brands

Sulion
Sulion VANITY manual

Ensy
Ensy AHU-700 BV/1 user manual

Hunter
Hunter Granville Owner's guide and installation manual
Fanimation
Fanimation Vetricco FP3120 Series owner's manual
Home Decorators Collection
Home Decorators Collection PIERSSON Use and care guide
TECHWOOD
TECHWOOD TVC-981T instruction manual

