3. MAKE-UP AIR: Adequate make-up air must be supplied to replace air exhausted by dryers on
all types of installations. Refer to specications for the minimum amount of make-up air opening
to outside for each dryer. This is a net requirement of eective area. Screens, grills or lou
vers, which will restrict the ow of air, must be considered. Consult the supplier to determine the
free area equivalent for the grill being used. The source of make-up air should be located
suciently away from the dryers to allow an even airow to the air intakes of all dryers. Multiple
openings should be provided.
The sources of all make-up air and room ventilation air movement to all dryers must be located
away from any dry cleaners. This is necessary so that solvent vapors will not be drawn into
the dryer inlet ducts. Dry cleaner solvent vapors will decompose in contact with open ame
such as the gas ame present
in clothes dryers. The decomposition products are highly corrosive and will cause damage to the
dryer(s) ducts and clothes loads.
4. ELECTRICAL REQUIREMENTS. The electrical power requirements necessary to operate the
unit satisfactorily are listed on the serial plate located on the back panel of each dryer and
in the specications section of this manual. The electrical connection should be made to the ter
minal board, on the rear of the unit. It is absolutely necessary that the dryer be grounded
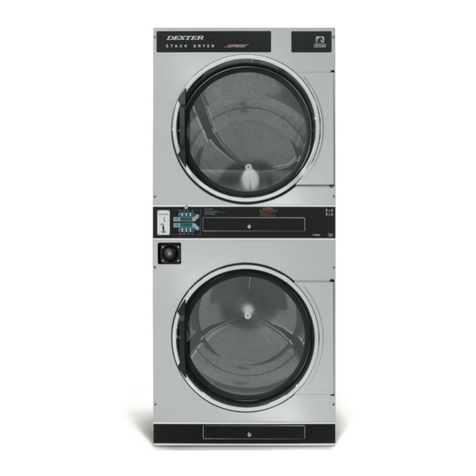
to a known ground. Individual circuit breakers for each stacked dryer are required. Dryer
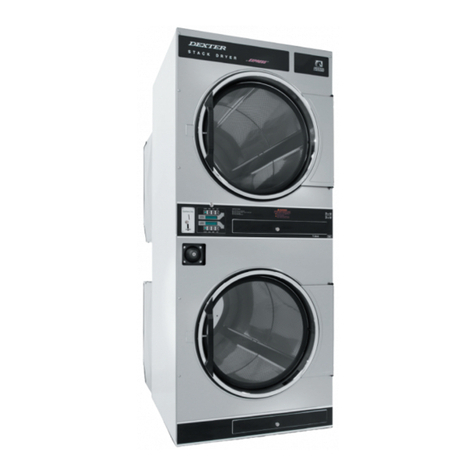
-65 models are adjusted for 120V as shipped. They can be converted to 208-240V
(neutral required) as required. Instructions for this conversion are located at this
end of this manual.
5. GAS REQUIREMENTS. The complete gas requirements necessary to operate the dryer satisfactorily
are
listed on the serial plate located on the back panel of the dryer and in the specications section of
this manual. The inlet gas connection to the unit is 1/2-inch pipe thread. However, the size of the
piping to supply the dryer should be determined by reference to the National Fuel Gas Code ANSI
Z223.1A and consultation with the local gas supplier.
A joint compound resistant to the action of liqueed petroleum gases should be employed in ma
ing pipe connections.
A 1/8-inch NPT plugged tapping, accessible for test gage connection, must be installed immediately
upstream of the gas supply connection to the dryer.
A drip tee is provided in the unit gas piping to catch dirt and other foreign articles.
All pipe connections should be checked for leakage with soap solution. Never check with an open
ame.
For altitudes above 2,000 feet (610m), it is necessary to derate the BTU input. Contact your local
distributor for instructions.
L.P. gas conversion kits are available for this dryer. Contact your local distributor.
CAUTION: The dryer and its individual shuto valve must be disconnected from the gas supply pip
ing system during any pressure testing of that system at test pressures in excess of 1/2 psig (34.5
mbar). The dryer must be isolated from the gas supply piping system by closing its individual
manual shuto valve during any pressure testing of the gas supply piping system at test pressures
equal to or less than 1/2 psig (34.5 mbar).
Burner Set-Up
All gas burner manifolds should be checked for proper gas pressure while burning. Stack dryer
burners should be set at 3.5 W.C. while burner operating.
6. EXHAUST INSTALLATION. (Refer to Figure 3) Exhausting of the dryer(s) should be planned
and constructed so that no air restrictions occur. Any restriction due to pipe size or type of
installation can cause slow drying time, excessive heat, and lint in the room.
From an operational standpoint, incorrect or inadequate exhausting can cause a cycling of the high
limit thermostat, which shuts o the main burners and results in inecient drying.
The exhaust duct connection near the top of the dryer will accept an 8” (200 mm) round duct.
Individual exhausting of the dryers is recommended. All heat, moisture, and lint should
be exhausted outside by attaching a pipe of the proper diameter to the dryer adapter collars and
extending it out through an outside wall. This pipe must be very smooth on the inside, as
rough surfaces tend to collect lint, which will eventually clog the duct and prevent
the dryer from exhausting properly. All elbows must be smooth on the inside. All joints must be
made so the exhaust end of one pipe is inside the next one downstream. The addition of
an exhaust pipe tends to reduce the amount of air the blower can exhaust. This does not
aect the dryer operation if held within practical limits. For the most ecient operation, it
is recommended that no more than 14 ft. (4.25 m) of straight 8 in. diameter pipe with two right
angle elbows be used for each cylinder.
Maintain a minimum of 1” (25mm) clearance between duct and combustible material.
If the exhaust pipe passes through a wall, a metal sleeve of slightly larger diameter should be set
in the wall and the exhaust pipe passed through this sleeve. This practice is required by some local
codes and is recommended in all cases to protect the wall.
This type of installation should have a means provided to prevent rain and high winds from enter
ing the exhaust when the dryer is not in use. A hood with a hinged damper can be used for
this purpose. Another method would be to point the outlet end of the pipe downward to prevent
entrance of wind and rain. In either case, the outlet should be kept clear, by at least 24 in.
(610 mm) of any objects, which would cause air restriction.
Never install a protective screen over the exhaust outlet.
When exhausting a dryer straight up through a roof, the overall length of the duct has the same
limits as exhausting through a wall. A rain cap must be placed on top of the exhaust and must be
of such a type as to be free from clogging. The type using a cone shaped “roof” over the pipe is
suitable for this application.
Exhausting the dryer into a chimney or under a building is not permitted. In either case there is a
danger of lint buildup, which can be highly combustible.
Installation of several dryers, where a main discharge duct is necessary, will need the following
considerations for installation (see Figure 3). Individual 8” (200 mm) exhaust ducts from each dryer
should enter main discharge duct at a 45-degree angle in the direction of discharge airow.
NOTE: Never install the individual ducts at a right angle into the main discharge duct. The indi
vidual ducts from the dryers can enter at the sides or bottom of the main discharge duct. Figure 3
indicates the various round main duct diameters to use with the individual dryer ducts. The
main duct can be rectangular or round, provided adequate airow is maintained. The to
tal exhausting (main discharge duct plus duct outlet from the dryer) should not exceed the equiva
lent of 14 ft. (4.25 m) and two elbows. The diameter of the main discharge duct at the last
dryer must be maintained to exhaust end.
NOTE: STATIC BACK PRESSURE should be a maximum of 0.3 in. w.c (7.6 mm w.c) at the rear
exhaust outlet of the dryer. If multiple dryers are connected to the common duct, ensure the back
draft damper is installed properly.
20 21
Part # 8533-085-001 1/22 Part # 8533-085-001 1/22